• site home
  • blog home
  • galleries
  • contact
  • underwater
  • the bleeding edge

the last word

Photography meets digital computer technology. Photography wins -- most of the time.

You are here: Home / The Last Word / Sony a7RII current draw test methodology

Sony a7RII current draw test methodology

November 3, 2016 JimK 3 Comments

This is a continuation in a series of posts on power consumption in the Sony a7RII. The more recent incarnation of the series starts here.

I’ve been telling you all about what I’ve been finding out about the a7RII battery draw under various conditions. It’s time I showed you how I’m doing the testing. Warning: if you don’t know the first thing about electricity and electronics, this won’t mean a lot to you.

I’m powering the camera with a regular Sony battery that’s been removed from the camera so that I can look at the current. I started out with a a7x USB battery charger:

_d518979

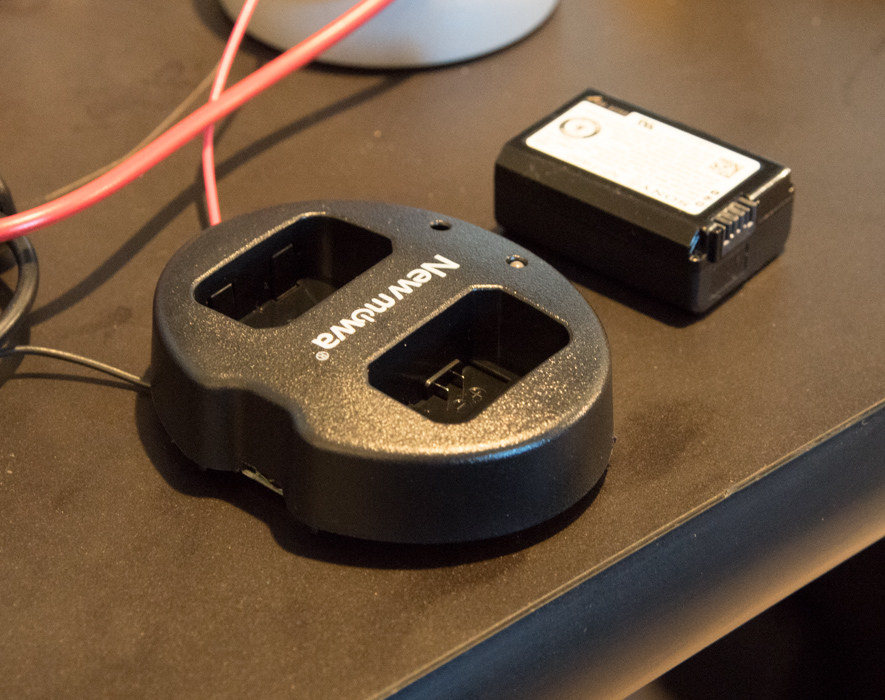
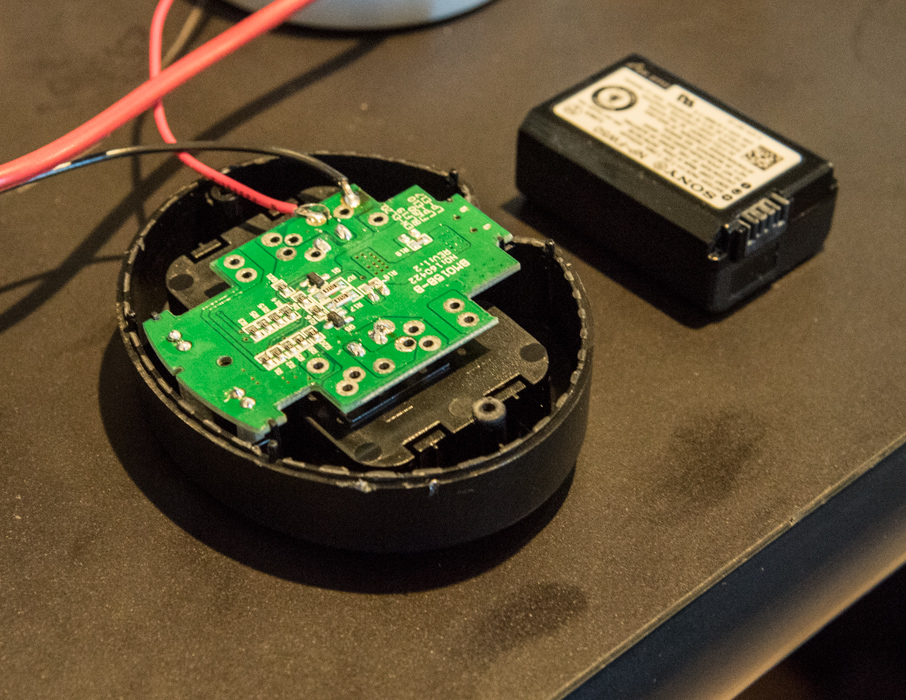
Then I modified it so that I could get at the battery terminals:

_d518981

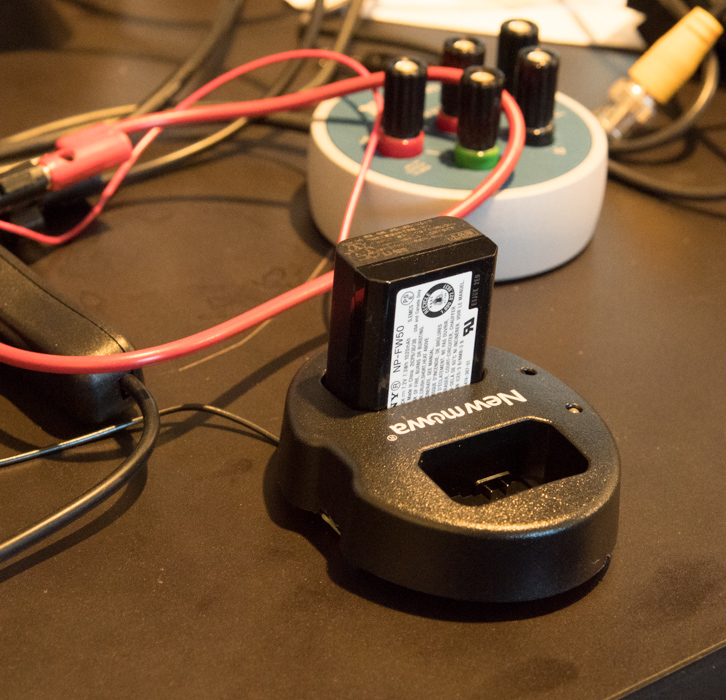
To power the camera, I plug the battery into the charger socket:

_d518987

Then I plug the output of the charger into the camera with one of the leads running through the Keithley Digital Multimeter (DMM) set to the 1 amp scale, which gives a series resistance of 0.1 ohm:

_d519002

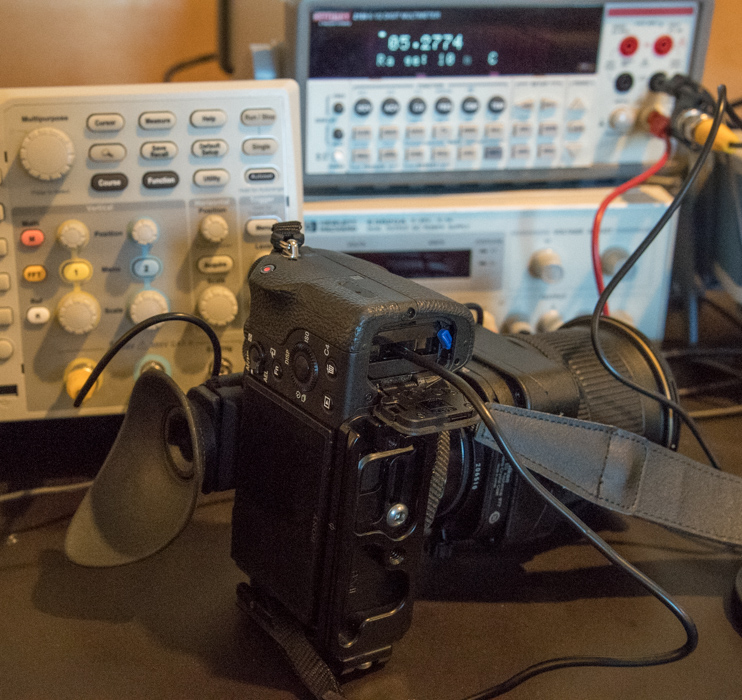
The multimeter is at the upper right. It’s sitting on an hp power supply that I was using before I decided to use a real battery. To the left in the background is the oscilloscope I use for examining rapid dynamic current behavior. The ‘scope reads the voltage across the 0.1 ohm resistance of the DMM.  

Now I’ll show you a technique that I’ve developed over the last few days to get cleaner traces with the scope, whose lowest-bandwidth setting is 20 MHz. First, I’m using a 0.1 ohm (more or less; it’s not critical since I’m doing waveform captures, not current measurements with the ‘scope; I’ve go the DMM for that) nichrome wire shunt in place of the meter to shorten up on the leads:

_d519039

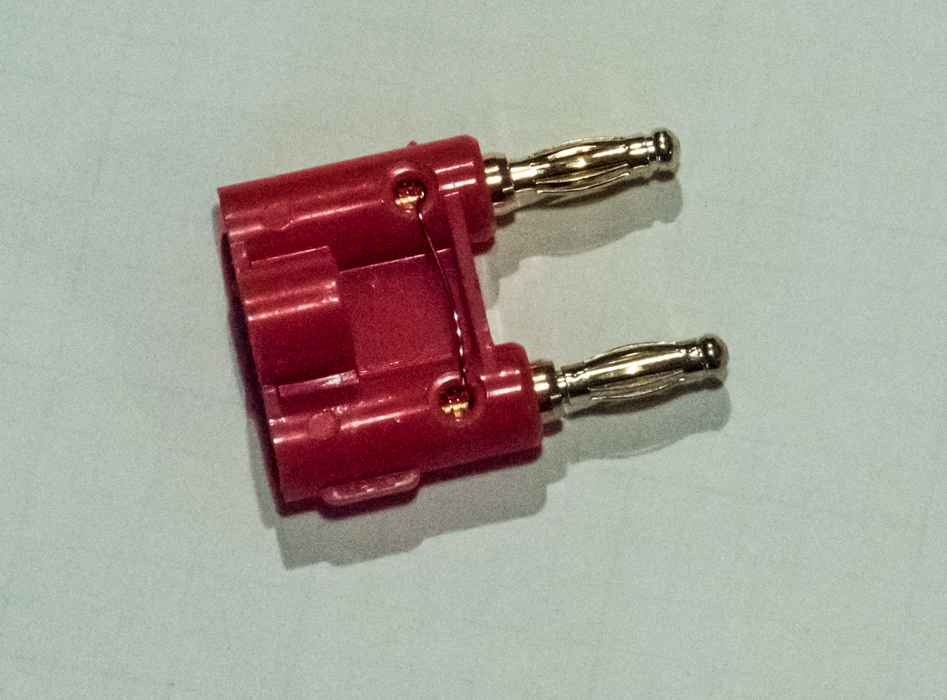
I plug a couple of banana leads into the shunt, and run them to a 1 K ohm series resistor:

_d519036

And then to a 0.01 microfarad capacitor to ground:

_d519032

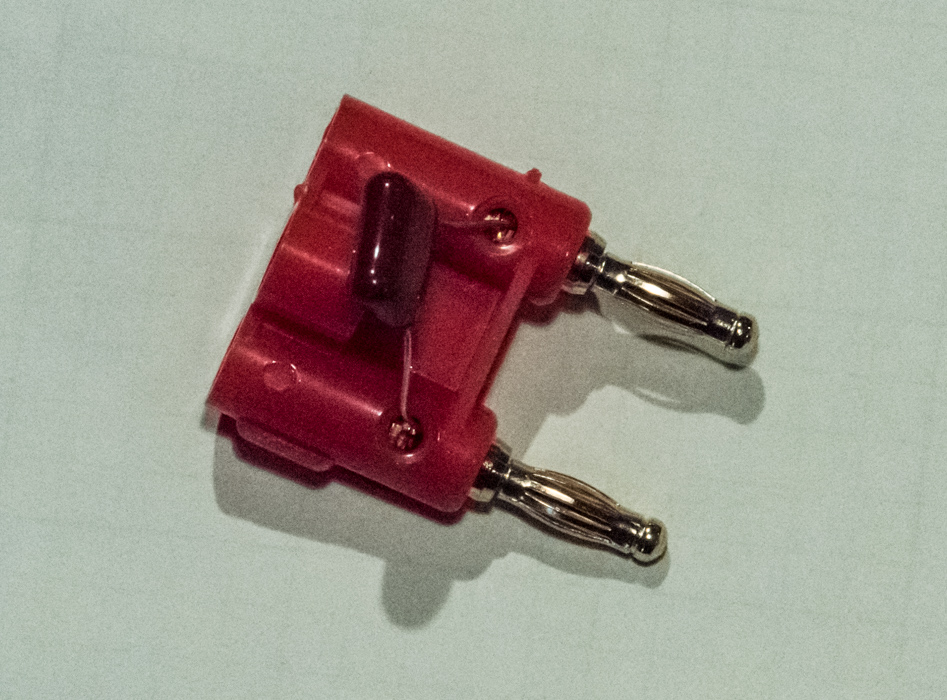
I used to have the cap on the same assembly as the 1K resistor, but I’ve separated the two to make it easy to change capacitance, and thus rise time. 

When all this stuff is plugged together along with some kleudged-together BNC gender-changing hardware, it loks like this:

_d519020

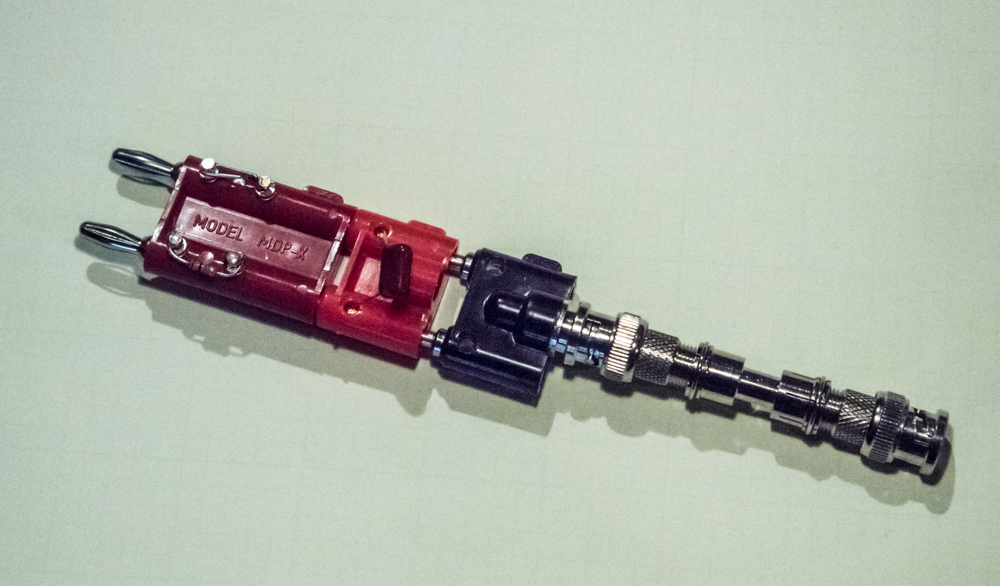
The right-side end ot the above assembly plugs into the ‘scope, and the left side is connected via two banana leads to the 0.1 ohm shunt. 

The result is a lower-bandwidth signal at the scope, and far less noise and aliasing. It works pretty well. I’ll show you some results soon.

The Last Word

← Adobe CC 2017 — GPU Sniffer inhales initial performance Sony a7RII current — EVF, LCD, neither →

Trackbacks

  1. Sony a7RII current — EVF, LCD, neither says:
    November 4, 2016 at 3:31 pm

    […] at the end of a post about my battery current testing methodology, I showed you my new technique for relatively high-speed dynamic measurements. Today, I’ll […]

    Reply
  2. Is IBIS costing you battery life in your Sony a7RII? says:
    November 4, 2016 at 3:52 pm

    […] the techniques that I describe here, I’ve gotten less noisy […]

    Reply
  3. Refining the a7RII battery current measurements says:
    November 9, 2016 at 8:49 am

    […] reported on my battery current measurement setup here. In the last few days, I’ve refined it somewhat, and I’d like to document what […]

    Reply

Leave a Reply Cancel reply

Your email address will not be published. Required fields are marked *

May 2025
S M T W T F S
 123
45678910
11121314151617
18192021222324
25262728293031
« Apr    

Articles

  • About
    • Patents and papers about color
    • Who am I?
  • How to…
    • Backing up photographic images
    • How to change email providers
    • How to shoot slanted edge images for me
  • Lens screening testing
    • Equipment and Software
    • Examples
      • Bad and OK 200-600 at 600
      • Excellent 180-400 zoom
      • Fair 14-30mm zoom
      • Good 100-200 mm MF zoom
      • Good 100-400 zoom
      • Good 100mm lens on P1 P45+
      • Good 120mm MF lens
      • Good 18mm FF lens
      • Good 24-105 mm FF lens
      • Good 24-70 FF zoom
      • Good 35 mm FF lens
      • Good 35-70 MF lens
      • Good 60 mm lens on IQ3-100
      • Good 63 mm MF lens
      • Good 65 mm FF lens
      • Good 85 mm FF lens
      • Good and bad 25mm FF lenses
      • Good zoom at 24 mm
      • Marginal 18mm lens
      • Marginal 35mm FF lens
      • Mildly problematic 55 mm FF lens
      • OK 16-35mm zoom
      • OK 60mm lens on P1 P45+
      • OK Sony 600mm f/4
      • Pretty good 16-35 FF zoom
      • Pretty good 90mm FF lens
      • Problematic 400 mm FF lens
      • Tilted 20 mm f/1.8 FF lens
      • Tilted 30 mm MF lens
      • Tilted 50 mm FF lens
      • Two 15mm FF lenses
    • Found a problem – now what?
    • Goals for this test
    • Minimum target distances
      • MFT
      • APS-C
      • Full frame
      • Small medium format
    • Printable Siemens Star targets
    • Target size on sensor
      • MFT
      • APS-C
      • Full frame
      • Small medium format
    • Test instructions — postproduction
    • Test instructions — reading the images
    • Test instructions – capture
    • Theory of the test
    • What’s wrong with conventional lens screening?
  • Previsualization heresy
  • Privacy Policy
  • Recommended photographic web sites
  • Using in-camera histograms for ETTR
    • Acknowledgments
    • Why ETTR?
    • Normal in-camera histograms
    • Image processing for in-camera histograms
    • Making the in-camera histogram closely represent the raw histogram
    • Shortcuts to UniWB
    • Preparing for monitor-based UniWB
    • A one-step UniWB procedure
    • The math behind the one-step method
    • Iteration using Newton’s Method

Category List

Recent Comments

  • JimK on Goldilocks and the three flashes
  • DC Wedding Photographer on Goldilocks and the three flashes
  • Wedding Photographer in DC on The 16-Bit Fallacy: Why More Isn’t Always Better in Medium Format Cameras
  • JimK on Fujifilm GFX 100S II precision
  • Renjie Zhu on Fujifilm GFX 100S II precision
  • JimK on Fuji 20-35/4 landscape field curvature at 23mm vs 23/4 GF
  • Ivo de Man on Fuji 20-35/4 landscape field curvature at 23mm vs 23/4 GF
  • JimK on Fuji 20-35/4 landscape field curvature at 23mm vs 23/4 GF
  • JimK on Fuji 20-35/4 landscape field curvature at 23mm vs 23/4 GF
  • Ivo de Man on Fuji 20-35/4 landscape field curvature at 23mm vs 23/4 GF

Archives

Copyright © 2025 · Daily Dish Pro On Genesis Framework · WordPress · Log in

Unless otherwise noted, all images copyright Jim Kasson.