One of the things that I usually do with ISOless cameras is make a series of images of my bookcase that have all received the same exposure, but with different in-camera ISO settings. I then use the Exposure control in Lightroom (Lr) to push the “underexposed” images by the amount that they were “underexposed”. I put quotes around the word “underexposure”, because in an ISOless camera, this is not an error.
The a7RII isn’t ISOless, since it changes its conversion gain at the transition from ISO 500 to ISO 640, but I’m doing my usual bookcase test with it anyway.
I set the a7RII on a tripod with the Zony 35/2.8 FE lens attached, determined that a not-very-aggressively-ETTR’d exposure at ISO 3200 was f/8 at 1/30 second. Varying nothing but the ISO setting, I made five more exposures at ISO 1600, 800, 400, 200, and 100. I also made exposures at ISO 640 and 500 that aren’t in this post, but that I’ll tell you about later.
I developed the images in Lightroom CC 2015.1.1 with the Adobe Standard profile and default settings except for the same custom white balance for all the images which was obtained from the middle gray square on the Macbeth chart. Then I set the Exposure control on the ISO 100 image to an extra +5, the Exposure control on the ISO 200 image to an extra +4, the Exposure control on the ISO 400 image to an extra +3, the Exposure control on the ISO 800 image to an extra +2, the Exposure control on the ISO 1600 image to an extra +1, and didn’t adjust the Exposure of the ISO 3200 image.
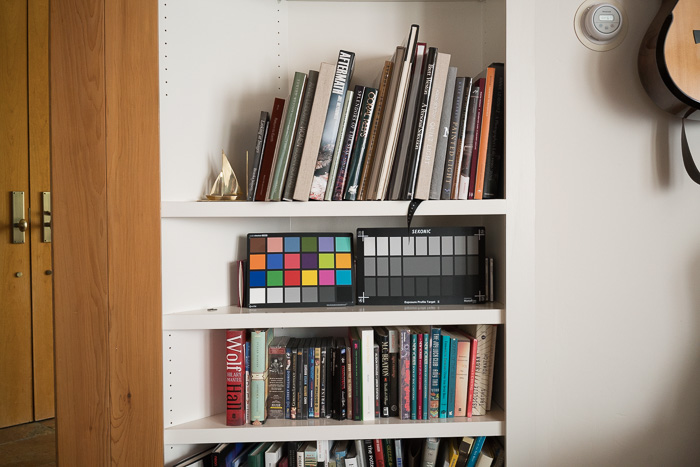


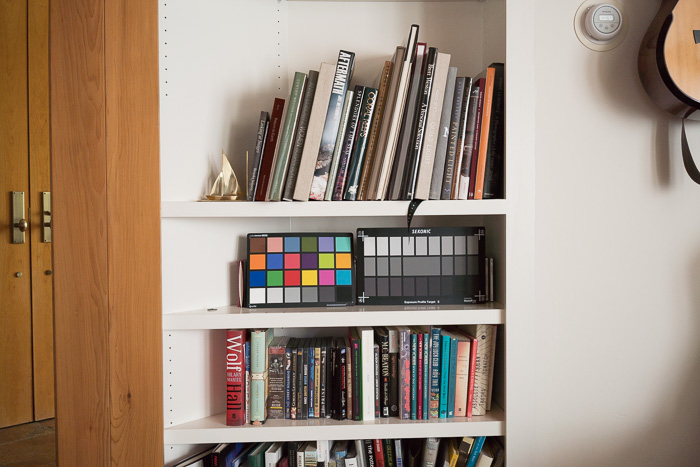
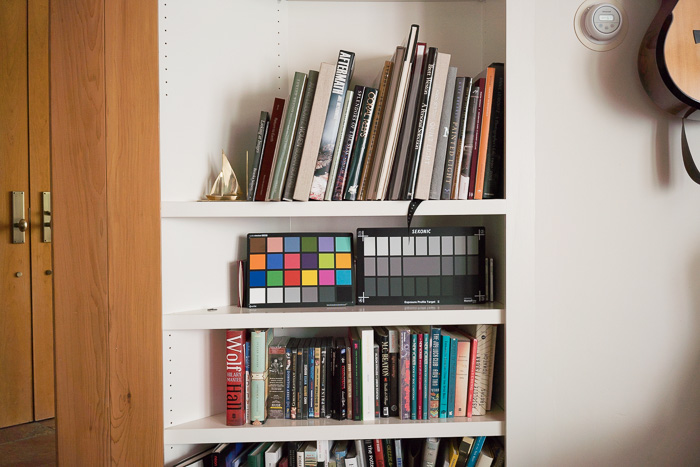
The Adobe Standard profile isn’t designed with this kind of extreme pushes in mind, and some people have reported color shifts. Let’s take a look at the Macbeth card.

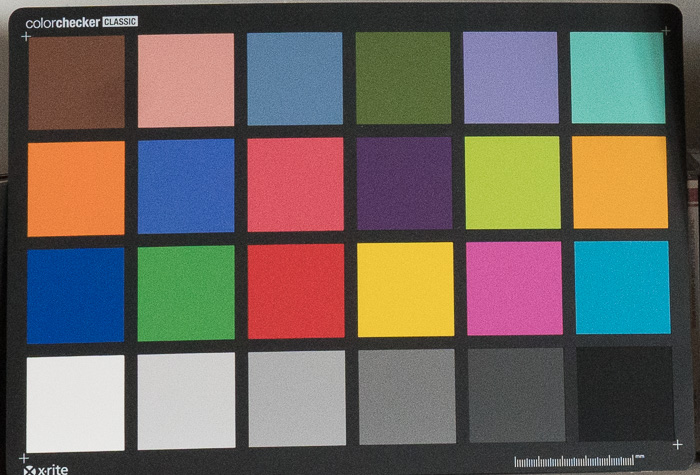

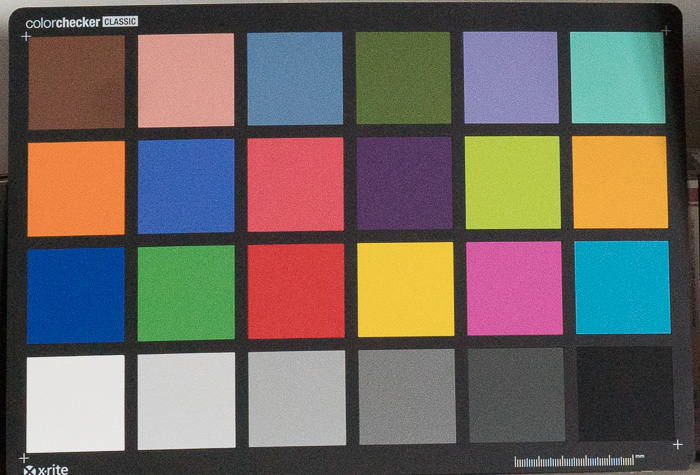
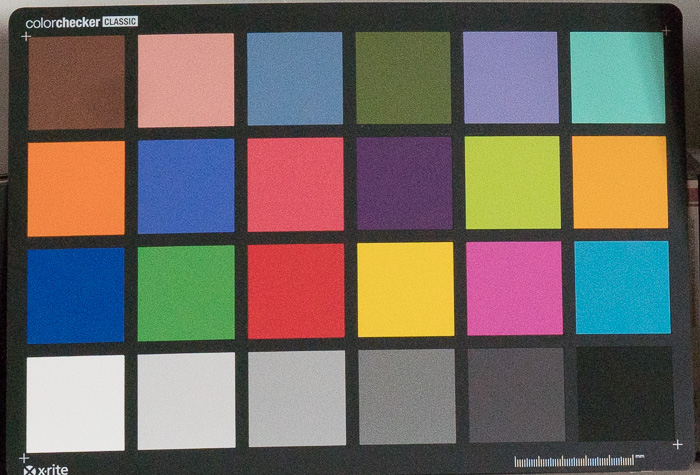
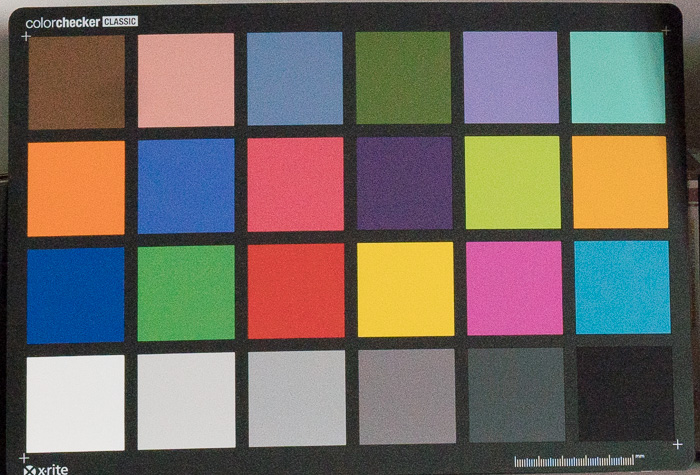
The color shifts look minor to me. In the next post I’ll look at noise.
[…] In this post, I’ll present pairs of images made with the a7RII on both sides of the conversion gain transition, corrected in post explained here. […]