This is the 50th in a series of posts on the Fujifilm GFX-50S. The series starts here.
I am another 35 mm lens to try on the GFX. It’s a Zeiss Distagon ZF.2.
All images were refocused at each aperture, with three exposures ofr each image. All the exposures at the same apreture ended up looking the same; this was a very easy scene to focus, thanks to a fortuitous combination of subject detail, lens resolving power, and the low peaking setting at maximum magnification which I used to focus. The focsuing ring was a little sensitive to movement, but it wan’t too bad. Then a made a series focused wide open. It looked the same, so that’s what I will show you. Daylight white balance selected in Lightroom, and Exposure to taste with a bit more in the crops; all other Lr settings at default.
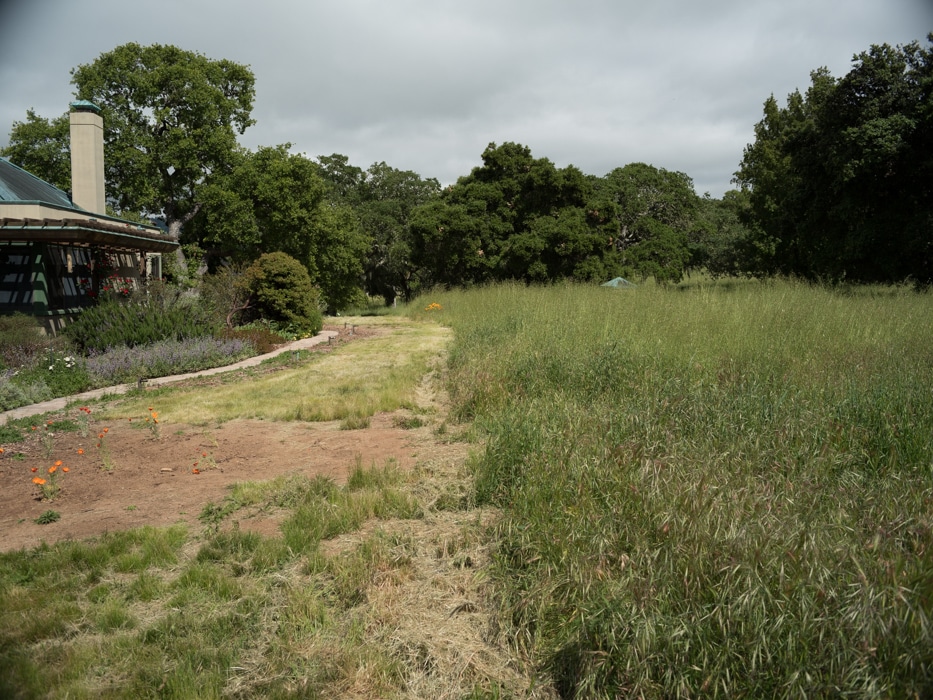
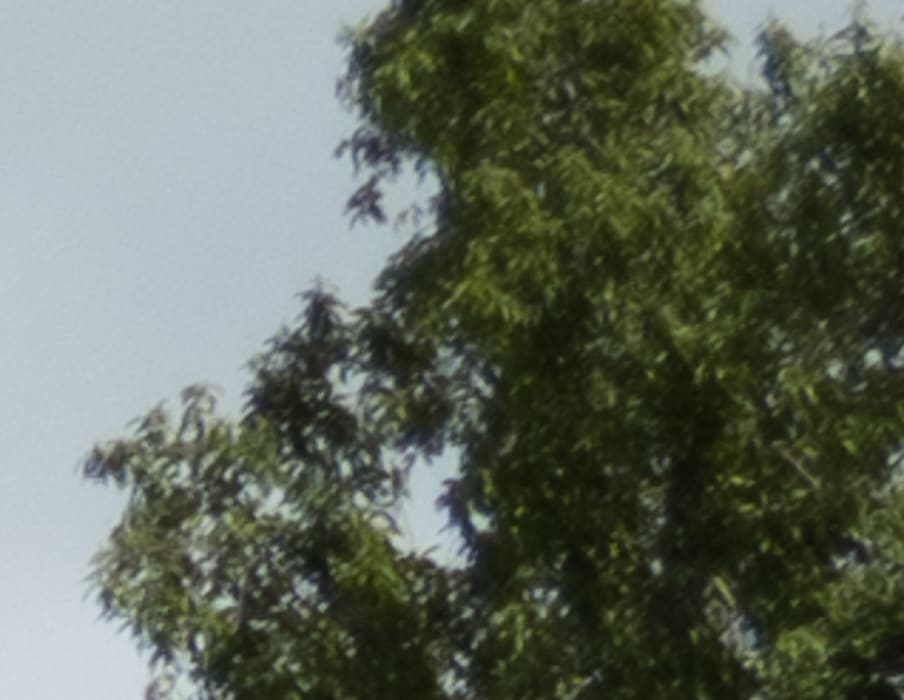
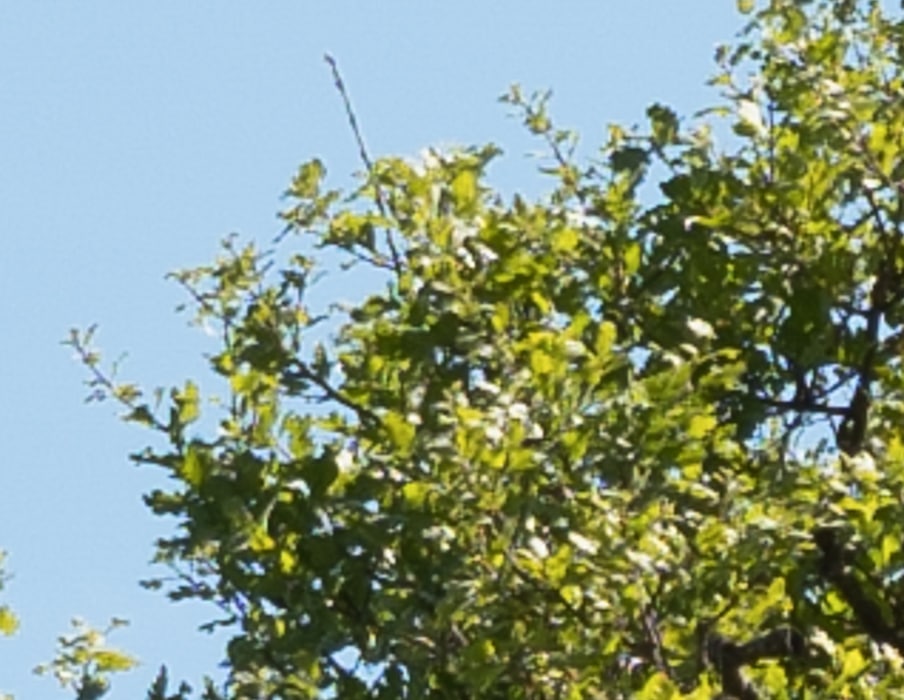
Looking at coverage:
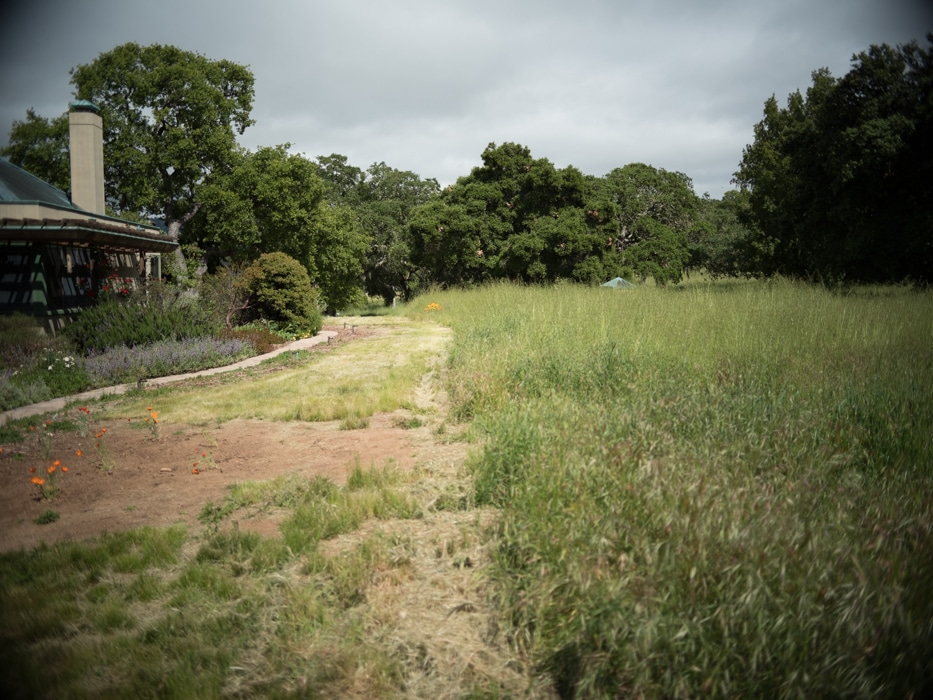
A fair amount of corner falloff.
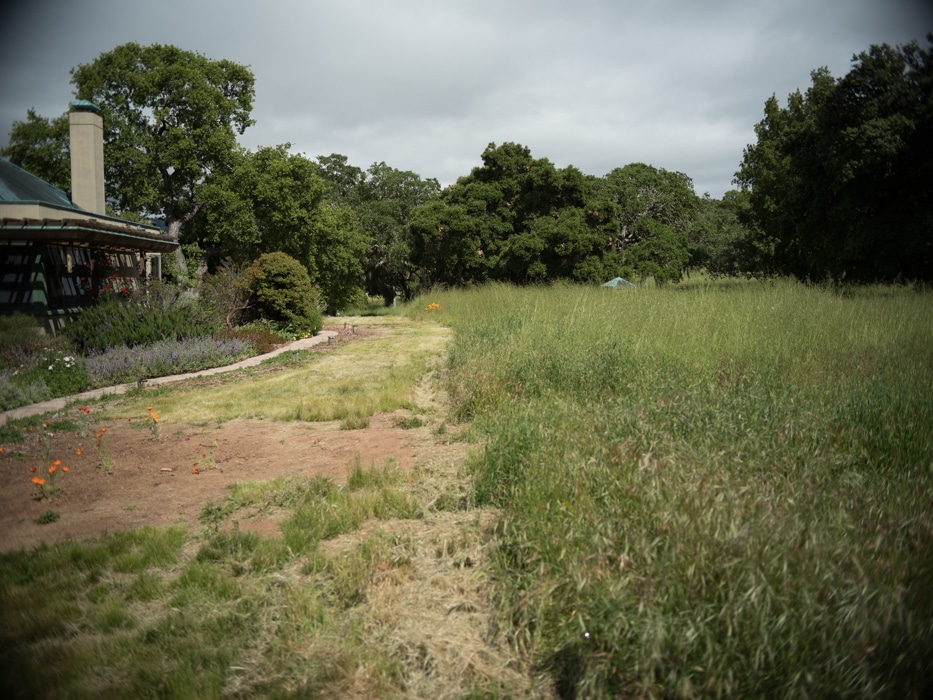
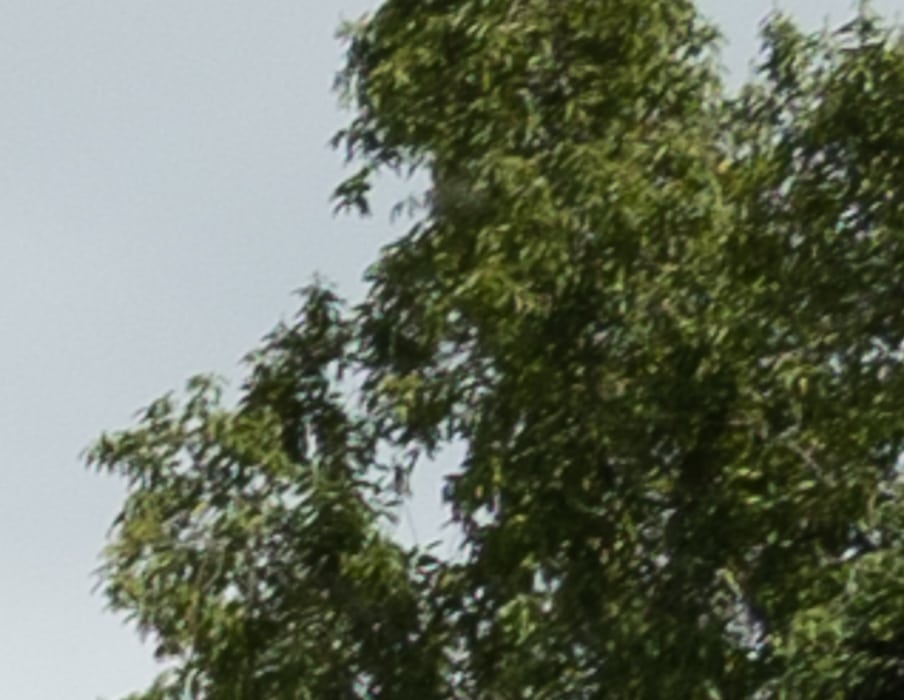
A little better.
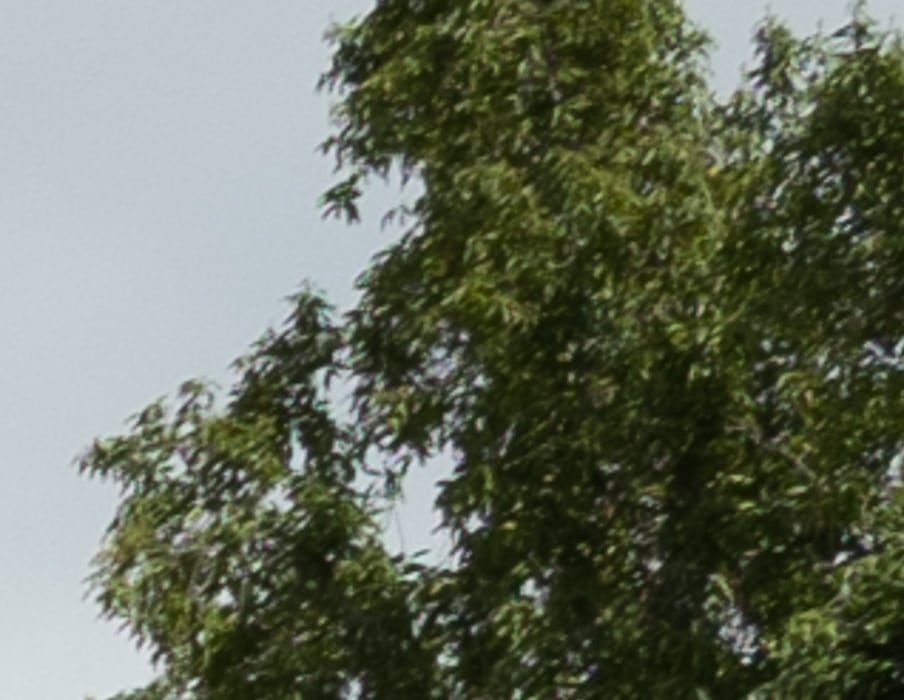
1:1 is certainly usable, and 4:5 probably is.
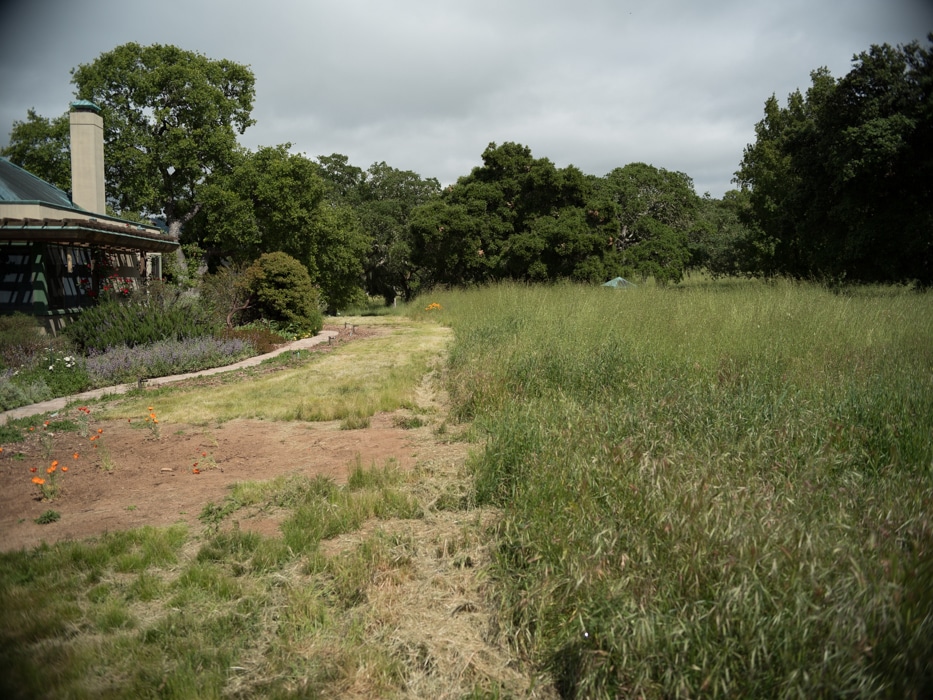
Still improving.
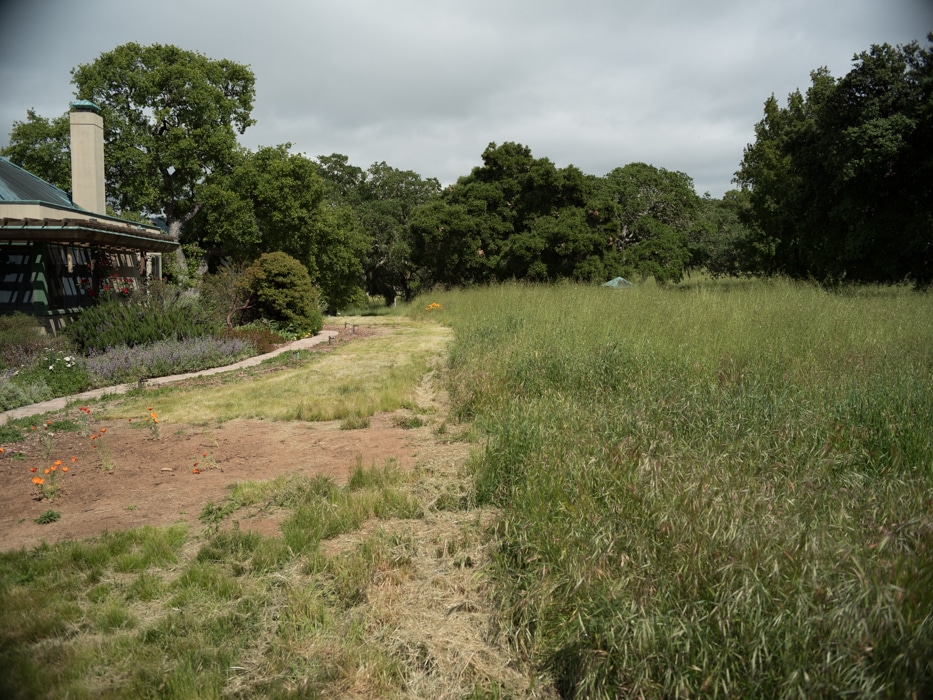
Almost there.
Now I’m going to show you some very tight crops; here’s how to use them. The dimensions of the GFX sensor are 8256×6192 pixels. If we make a full-frame print from the GFX on a printer with 360 pixels per inch native driver-level resolution, like the Epson inkjet printers, we’ll end up with a 23×17 inch (58×44 cm) print. The 318×246 pixel crop you’re looking at will end up 0.8333×0.6833 inches (2.12×1.74 cm). Let’s imagine that you or your viewers are critical, and will look at the 22×17 inch print from about 18 inches (conventional wisdom is that the distance would be a little greater than that, or 28 inches (the diagonal), but you did buy a high-resolution camera for a reason, didn’t you?).
The next step is dependent on your monitor pitch, which you may or may not know. Turns out, you don’t have to know it. Just take the 253% crops and view then at 1:1. How high are they? Get out your ruler and measure, or just guess. Let’s say they are 6 inches high. 6 inches is about 7 times 0.8333, so in order to view the crops the way they’d look from 18 inches on the print is to view them from 7 times as far away, or 10.5 feet.
Everything here scales proportionately. If the image on your screen is bigger than 6 inches, increase your viewing distance by the ratio of your image height to 6 inches. If you think your viewers are going to almost get their nose to that print and look at it from six inches, divide that 10.5 feet by 3, and look at the image on the monitor from three and a half feet away.
On a 30 inch 4K display, a 1:1 presentation of these crops will be about 4 inches, so to simulate the effect of viewing the print from 18 inches, you’ll want to back up to about seven feet. A couple of feet for a 6 inch print viewing distance. On a 17 inch laptop 4K display, a 1:1 presentation of these crops will be about 2 inches, so to simulate the effect of viewing the print from 18 inches, you’ll want to back up to about three and a half feet. A foot for a 6 inch print viewing distance.
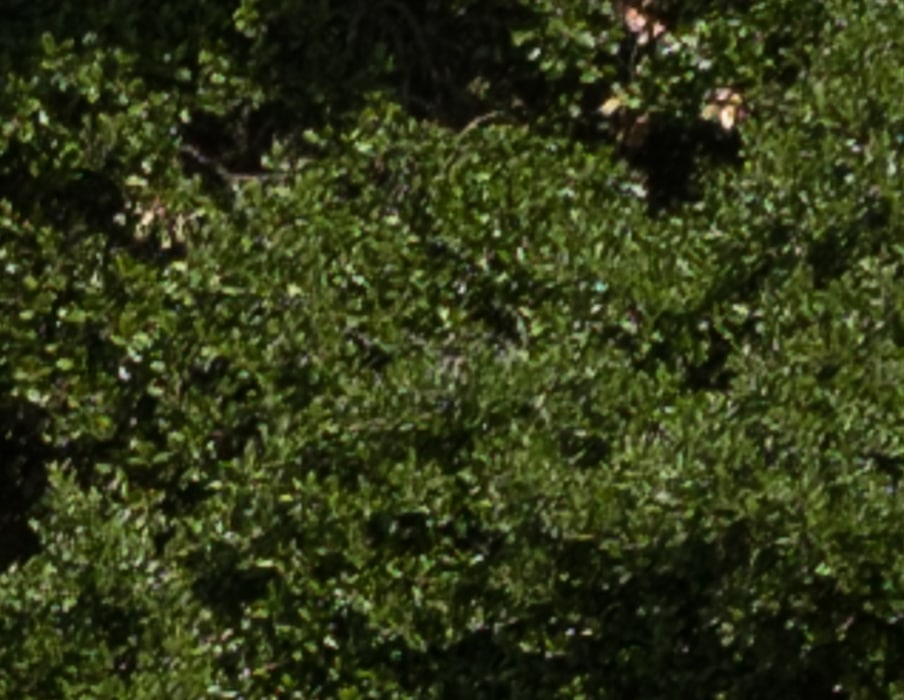
In the upper center, at the focus point.
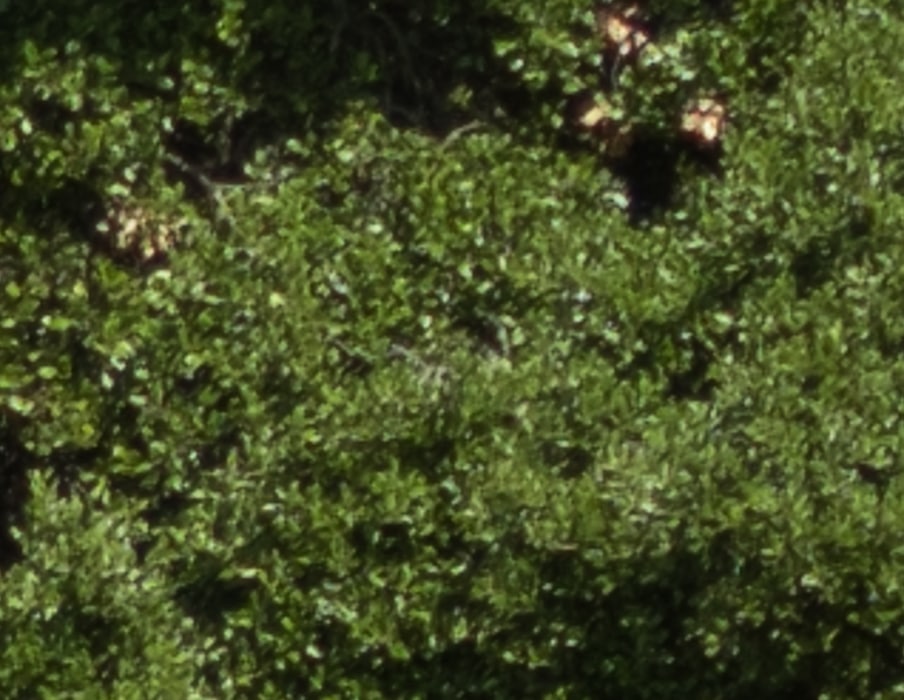
Pretty respectable for wide open.
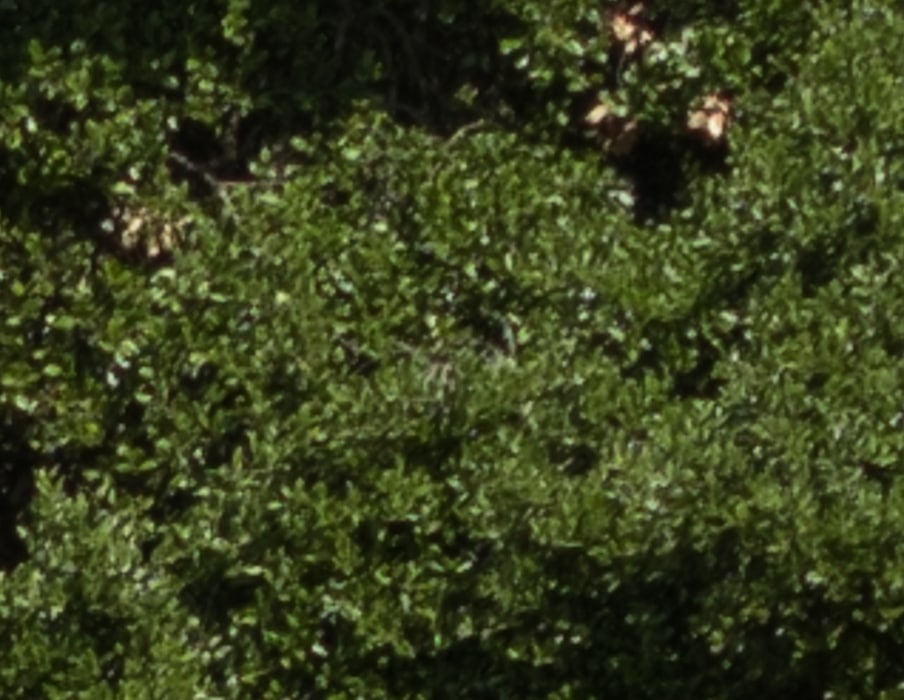
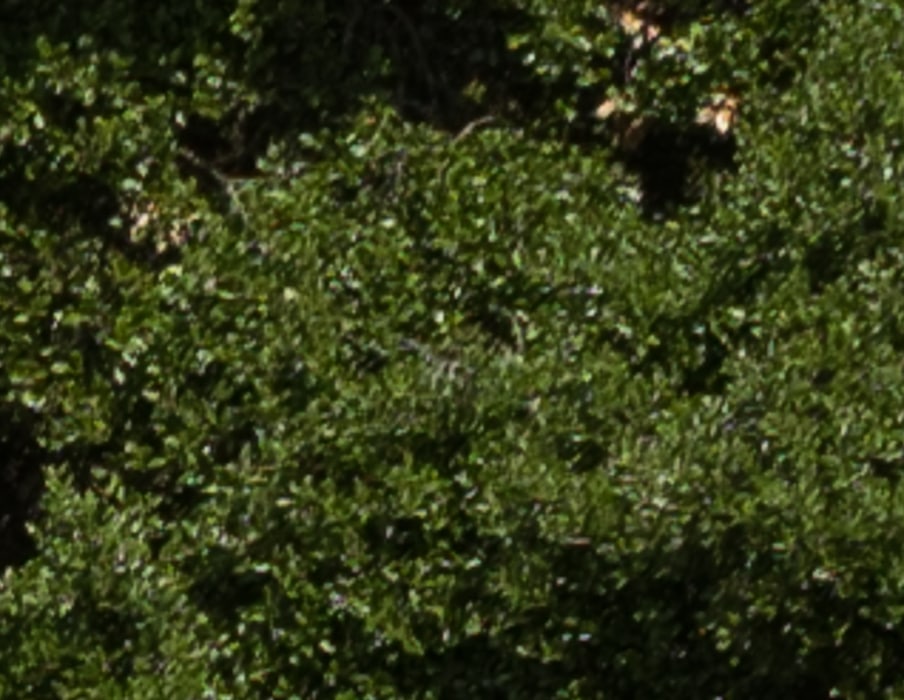
Very good.
Looks like we aren’t going to se a lot of difference in the center.
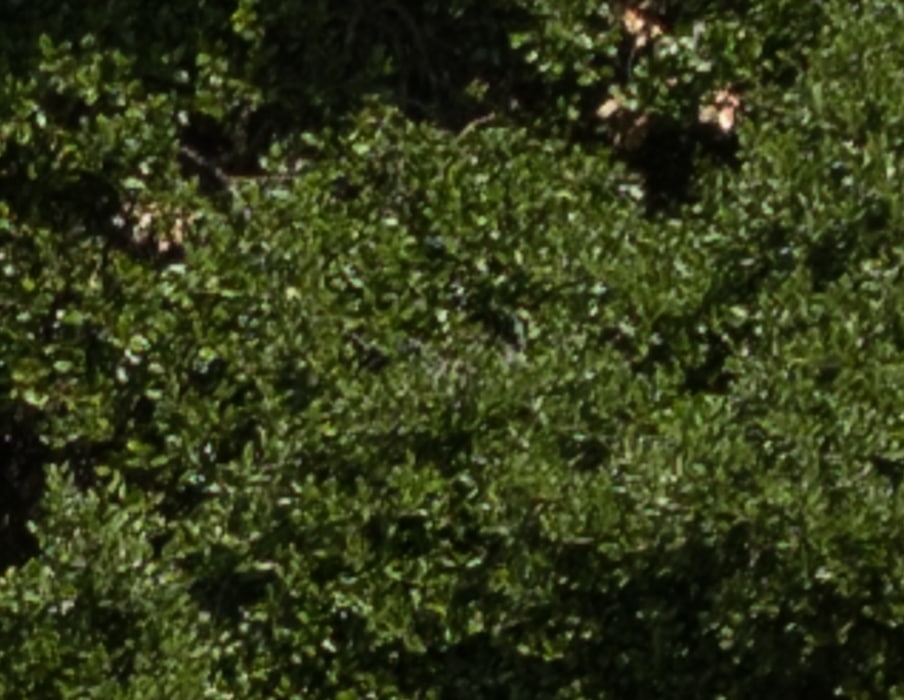
Diffraction enters the picture.
The HC 35 in the center at f/5.6, for comparison:
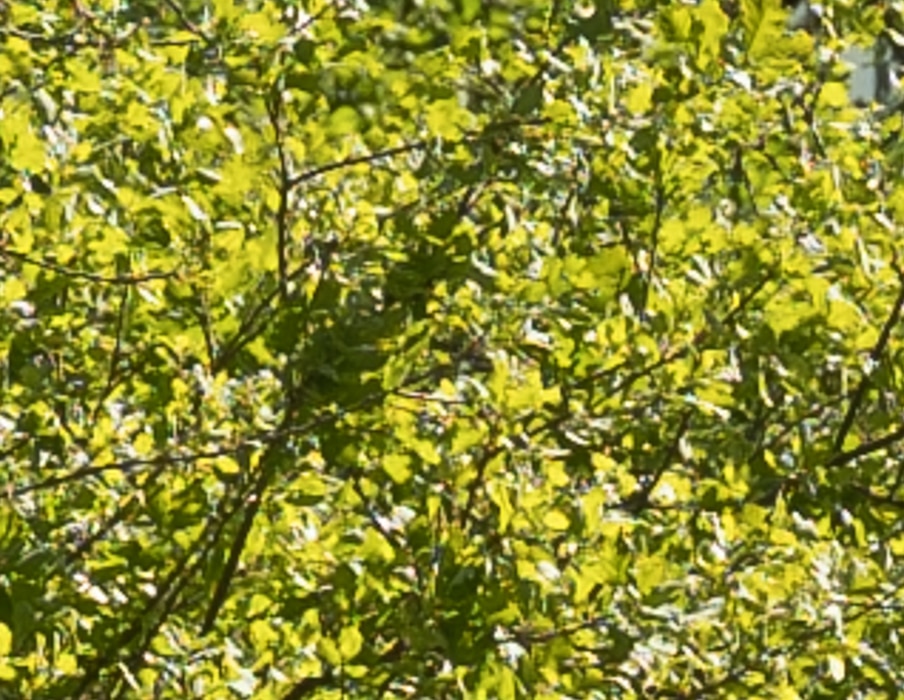
On the upper right, about the distance off-axis as the corner at 1:1:
Not bad for wide open.
A bit better.

Crisping up nicely now.
About the same.
Good.
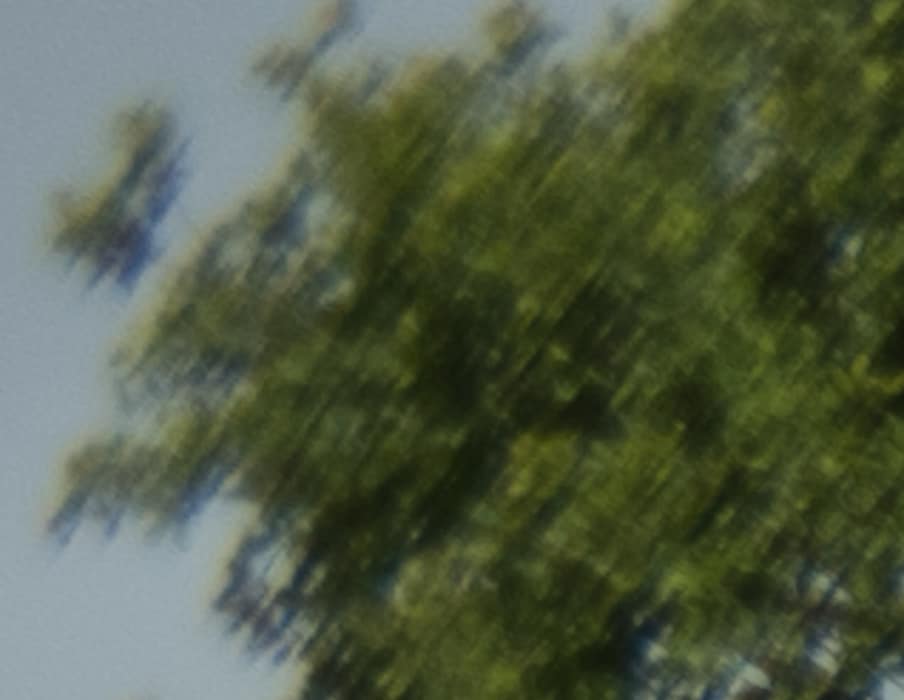
Now for the tough one: the upper left corner:
Pretty bad.
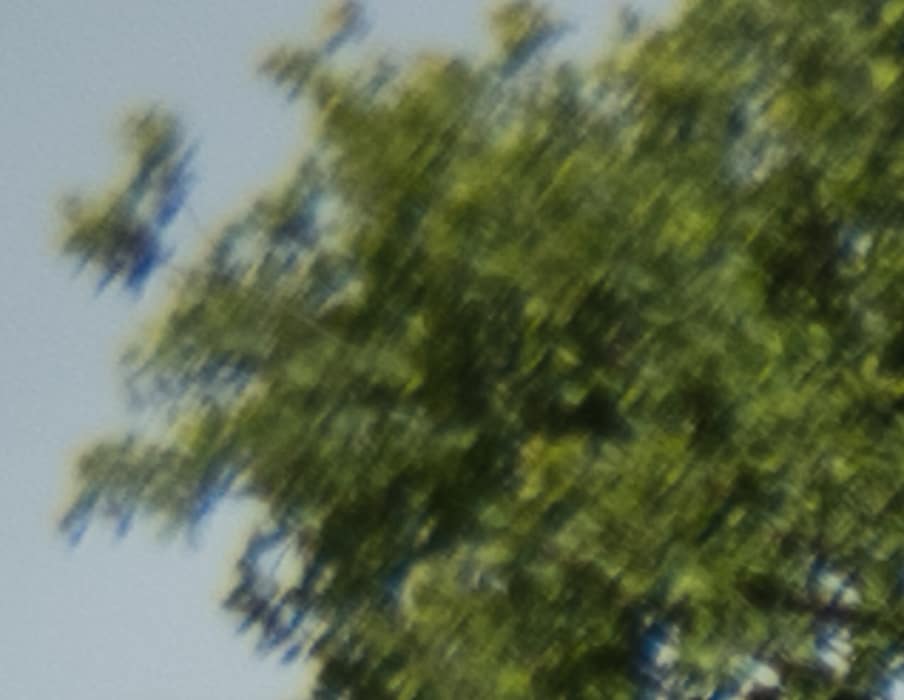
Not much better.
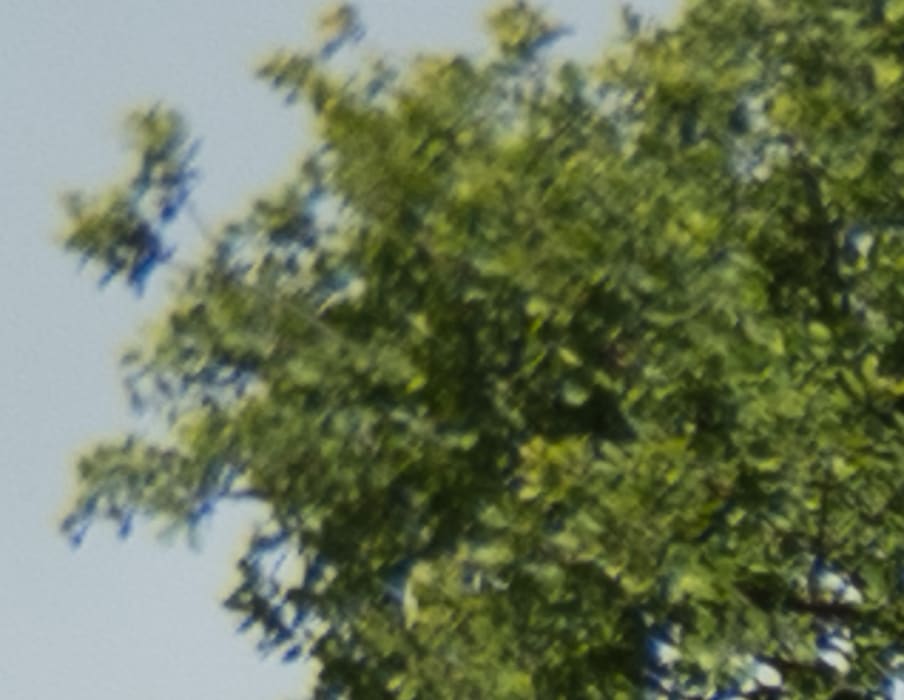
Not great.
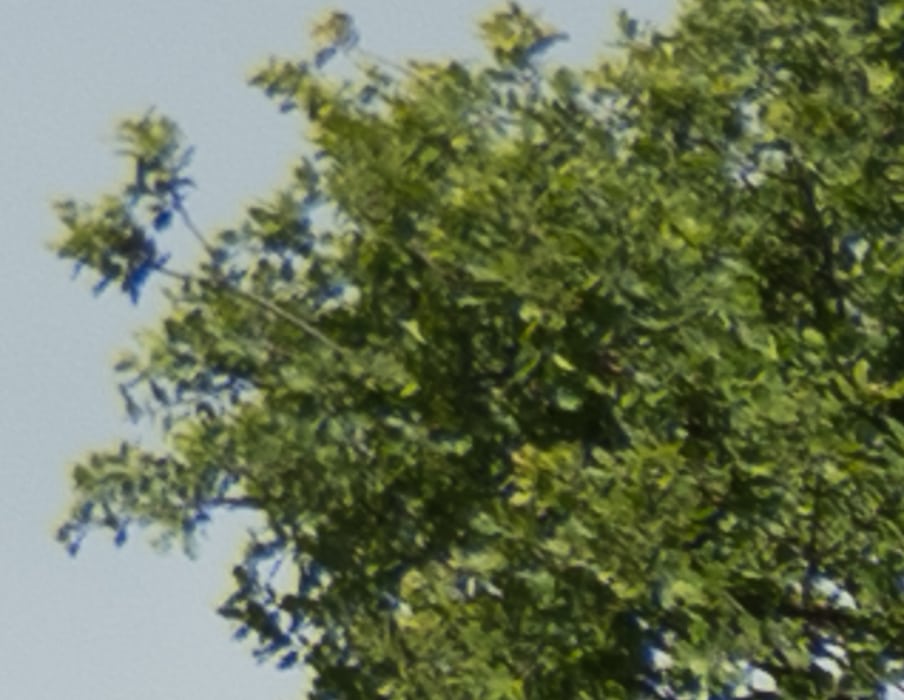
OK.
Pretty good.
Another lens that needs f/5.6 or f/8 for 4:5 aspect ratio crops.
For comparison, here’s the HC 35 at f/8 in the corner:
With that as the standard for comparison, the Zeiss 35 doesn’t look so promising. Well, it was a thought.
Daniel Kennedy says
Hi Jim,
Is there any reason to think that the milvus 35/2 would perform any differently?
JimK says
I think it would probably be about the same, but I wouldn’t know for sure without testing. I have not tested any of the Milvus lenses.