• site home
  • blog home
  • galleries
  • contact
  • underwater
  • the bleeding edge

the last word

Photography meets digital computer technology. Photography wins -- most of the time.

You are here: Home / a7RIII / a7RIV, a7RIII shadow noise w/ sharpening and noise reduction

a7RIV, a7RIII shadow noise w/ sharpening and noise reduction

November 8, 2019 JimK 5 Comments

This is one in a series of posts on the Sony alpha 7 R Mark IV (aka a7RIV). You should be able to find all the posts about that camera in the Category List on the right sidebar, below the Articles widget. There’s a drop-down menu there that you can use to get to all the posts in this series; just look for “A7RIV”.

In a previous post, I showed image of my bookcase made with the Sony a7RIII and a7RIV cameras an the Zeiss Batis 135 mm f/2.8 lens. These images used the Adobe Color Profile for both cameras and no sharpening or noise reduction. The images were made at the same exposure settings, all about 5 stops underexposed, made with uncompressed raw in single shot drive mode.

  • ISO 100, f/5.6, 1/25 second
  • ISO 200, f/5.6, 1/50 second
  • ISO 400, f/5.6, 1/100 second
  • ISO 800, f/5.6, 1/200 second
  • ISO 1600, f/5.6, 1/400 second
  • ISO 3200, f/5.6, 1/800 second

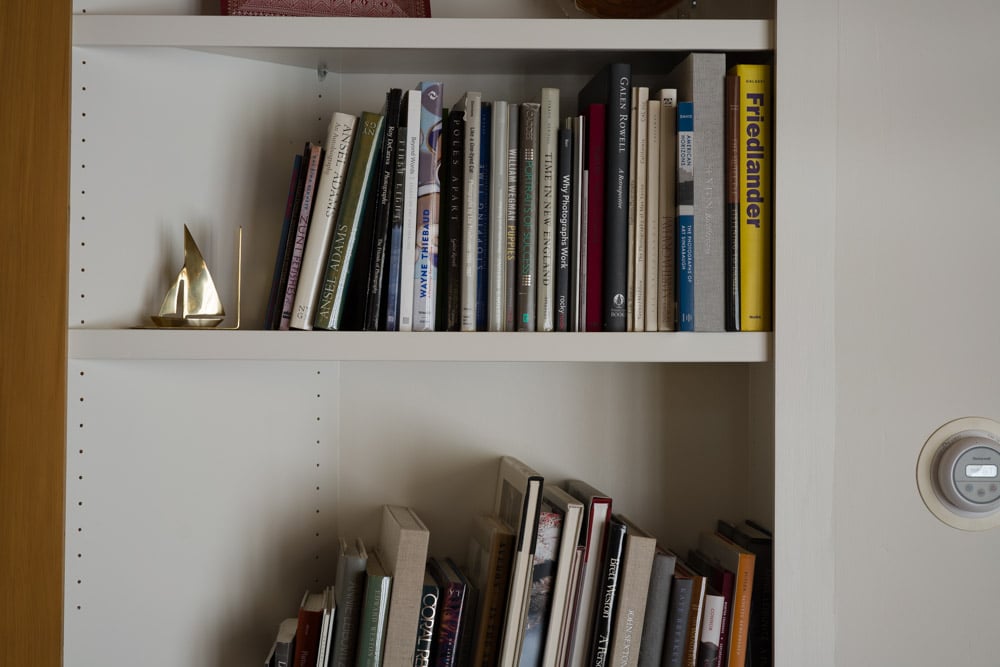
Here’s the overall scene:

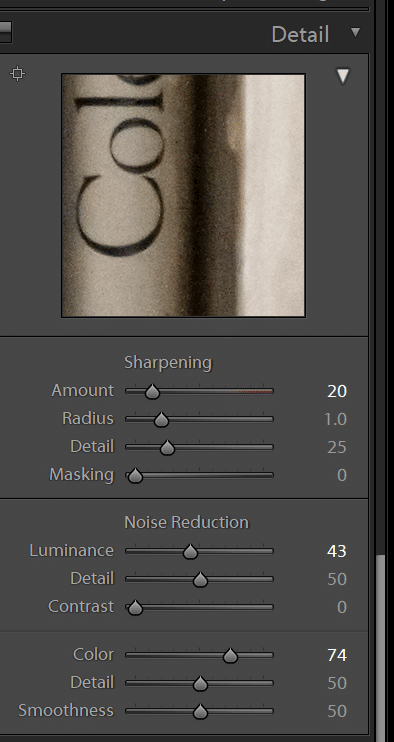
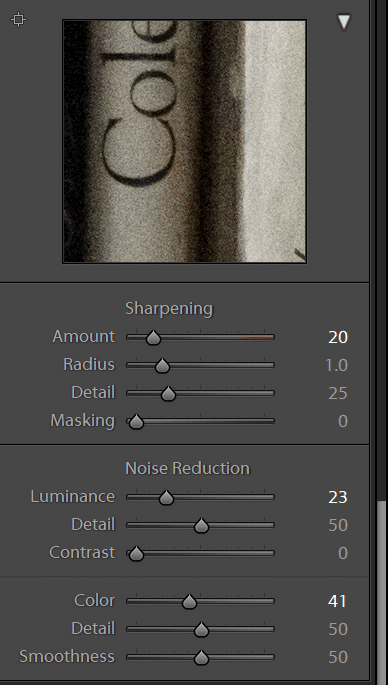
Before I showed you the images with no sharpening or noise reduction. Now I’ll show you images processed with what I consider reasonable amounts of both. For same-sized prints, you can use more sharpening and more noise reduction on images from finer-pitch cameras. I took advantage of the tolerance of the a7RIV to more noise reduction before fuzziness sets on, but did not boost the sharpening.

Here are the settings for both cameras:

a7riv sharpening and nr


a7riii sharpening and nr

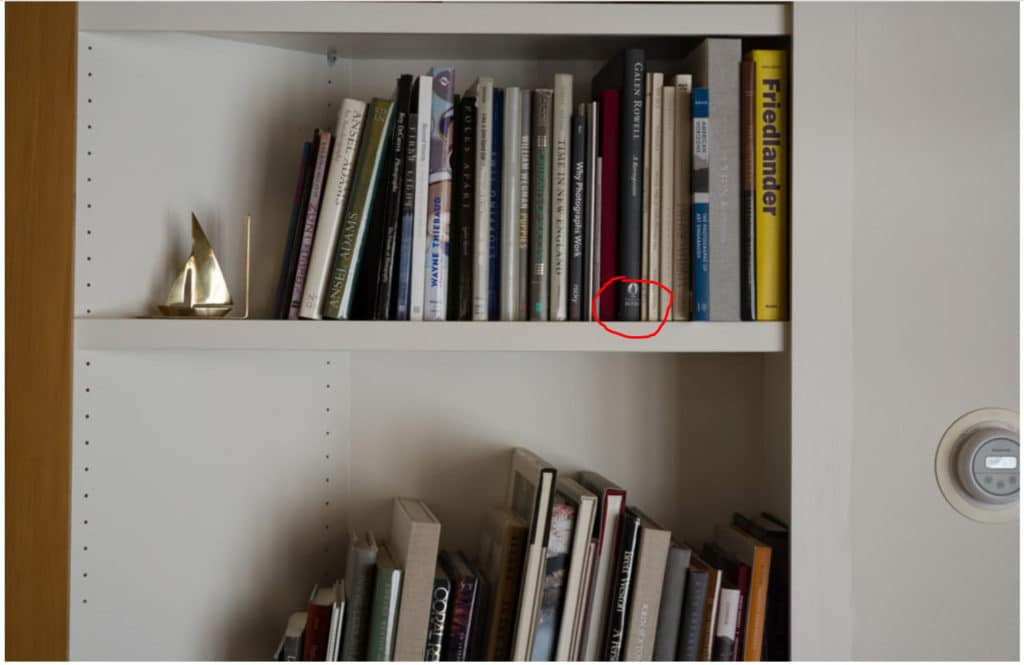
Here’s the region of the crops:

Here are the comparison images at each ISO setting:

a7RIV, ISO 100


a7RIII, ISO 100

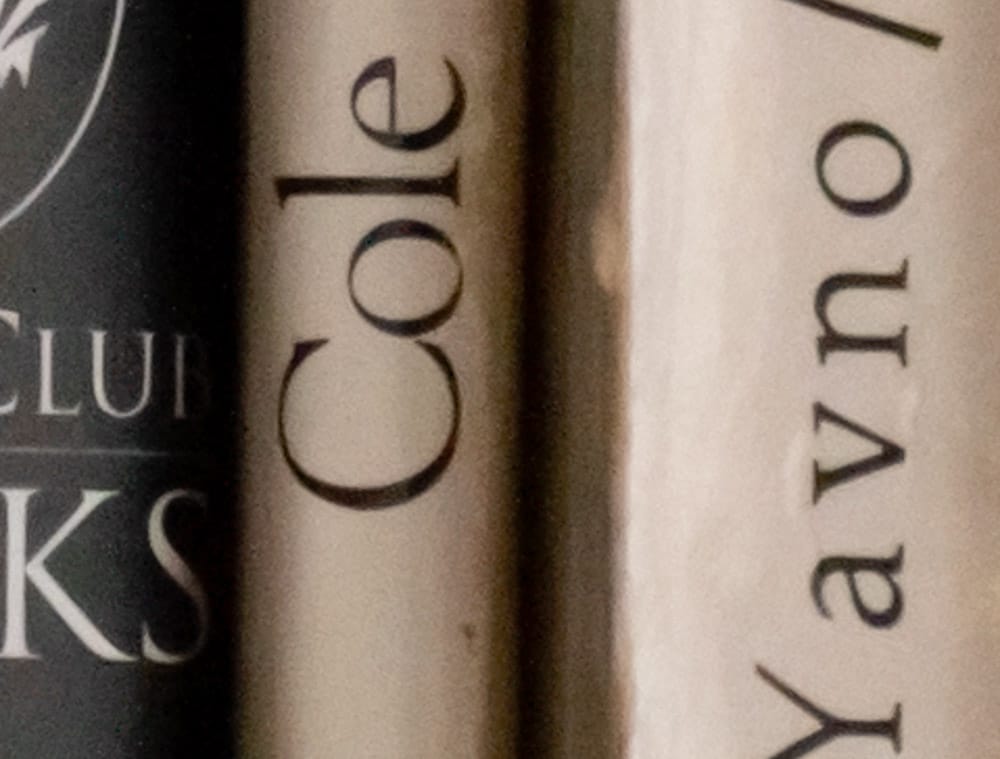
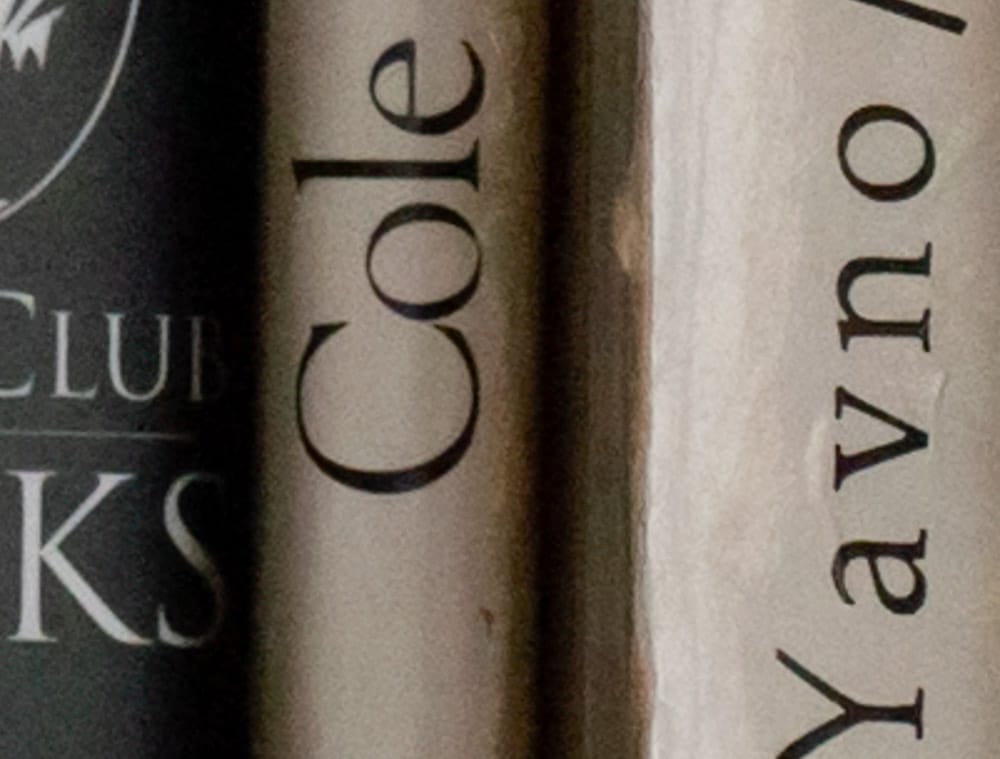
As before, I note that the a7RIV image doesn’t appear to be focused as well.

a7RIV, ISO 200


a7RIII, ISO 200


a7RIV, ISO 400


a7RIII, ISO 400


a7RIV, ISO 800


a7RIII, ISO 800


a7RIV, ISO 1600


a7RIII, ISO 1600


a7RIV, ISO 3200


a7RIII, ISO 3200

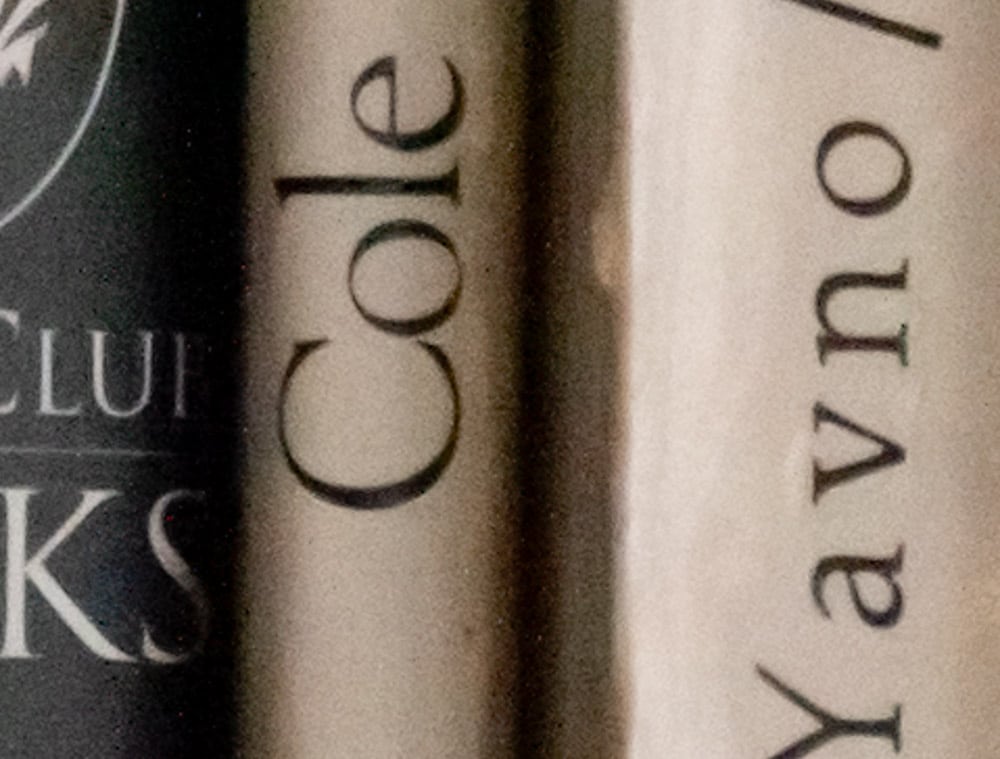
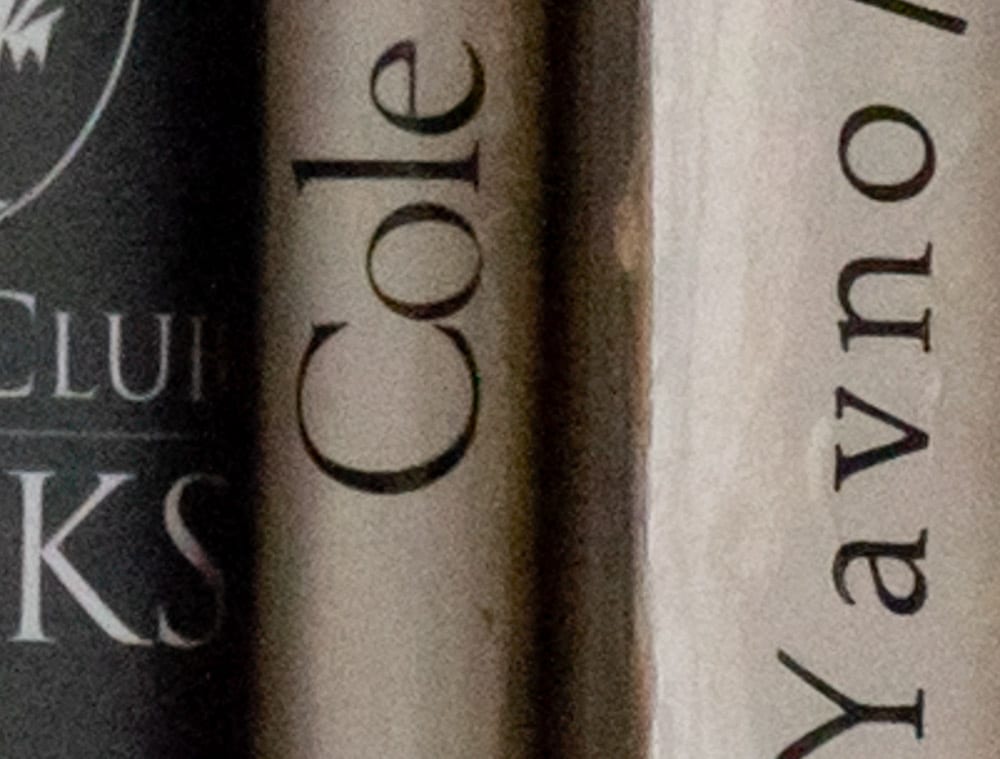
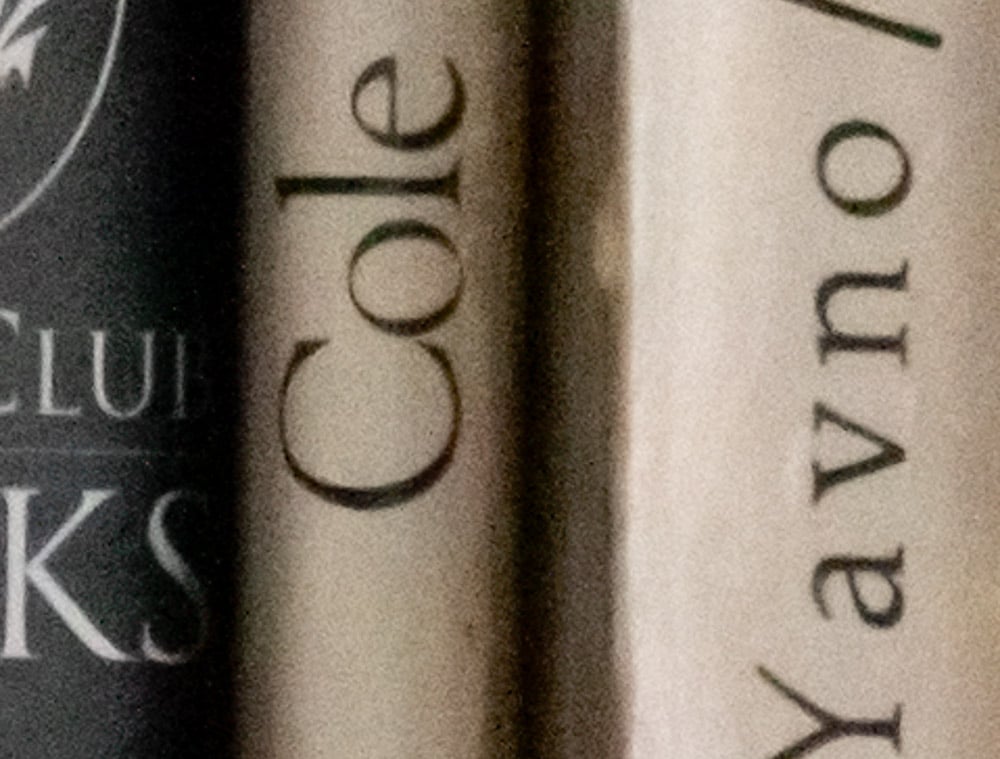
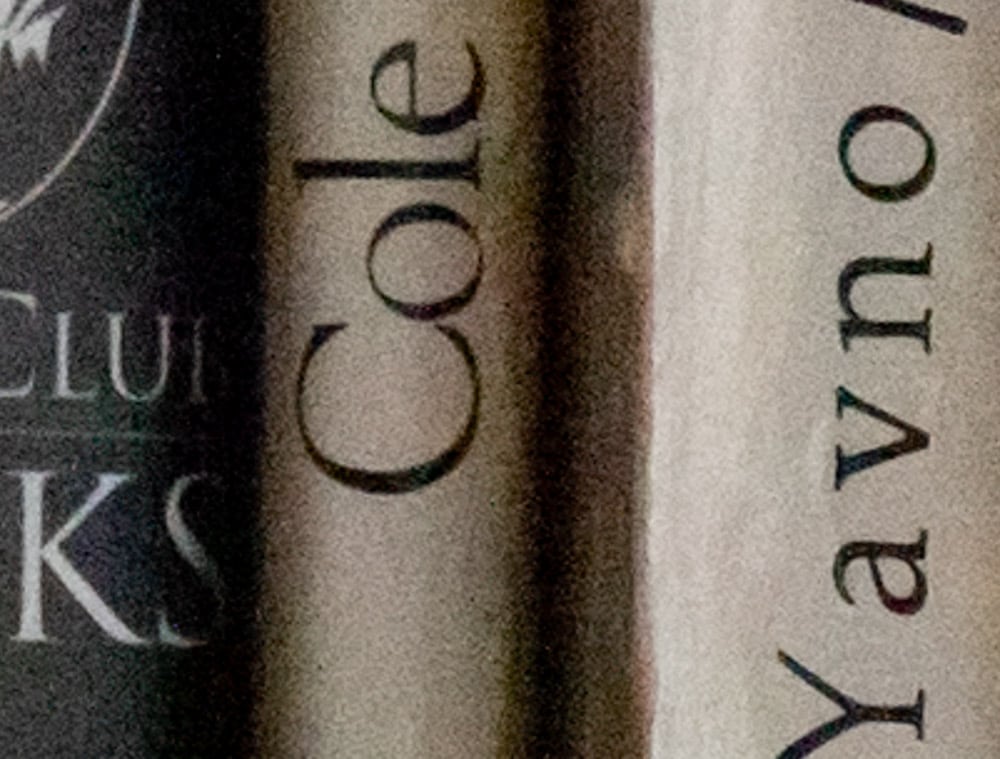
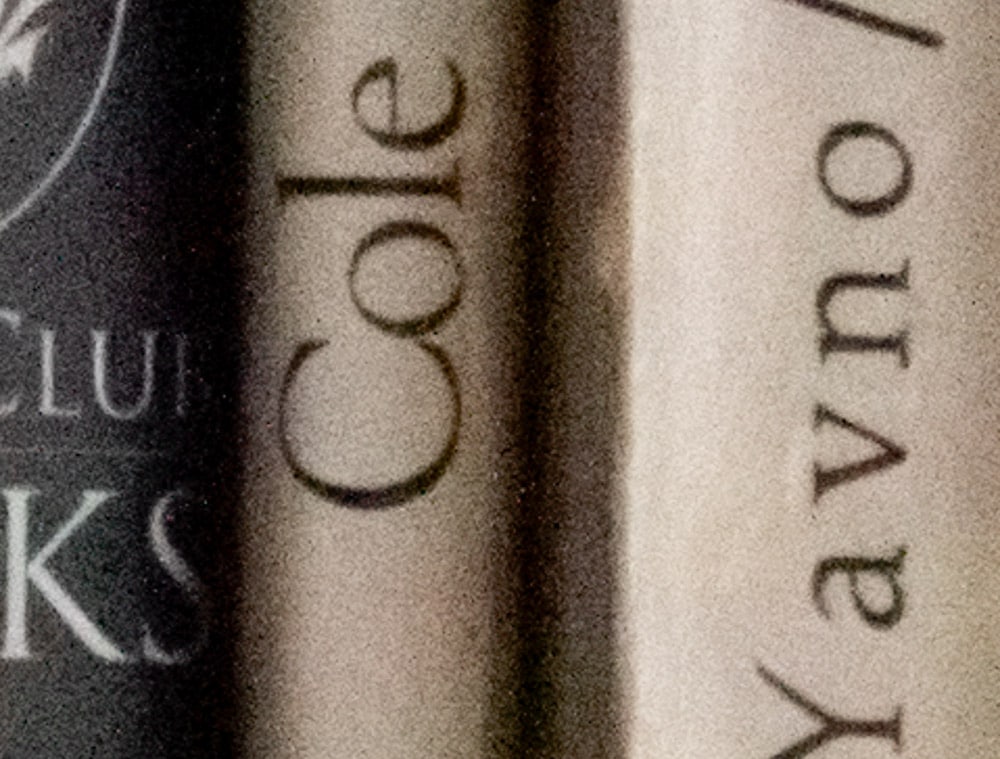
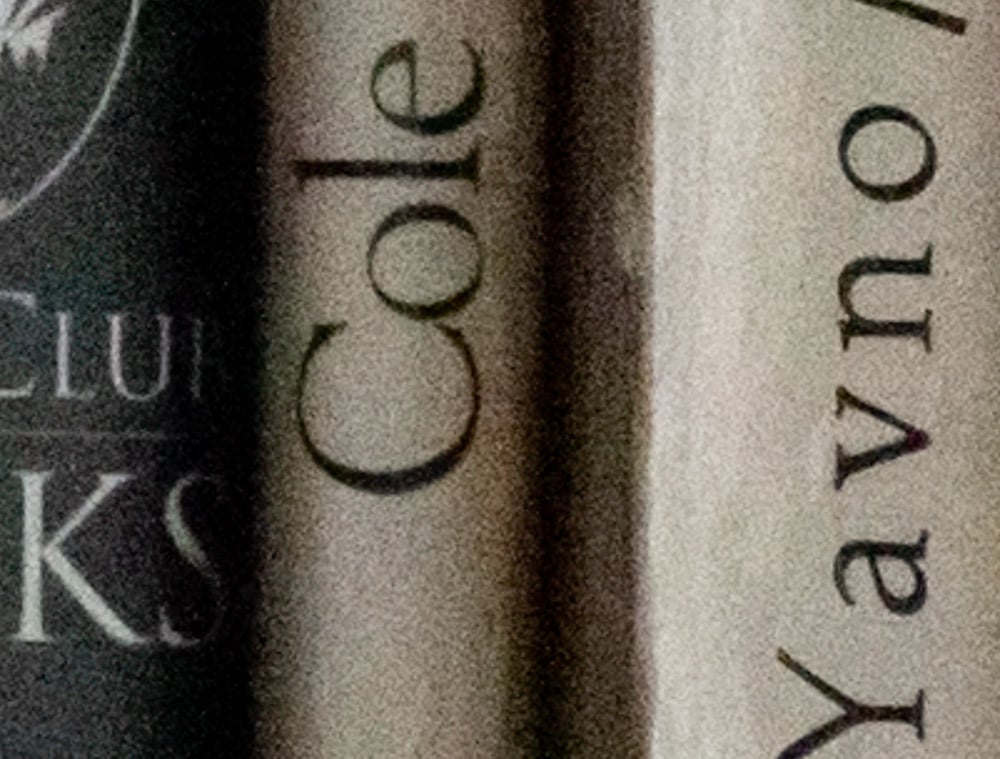
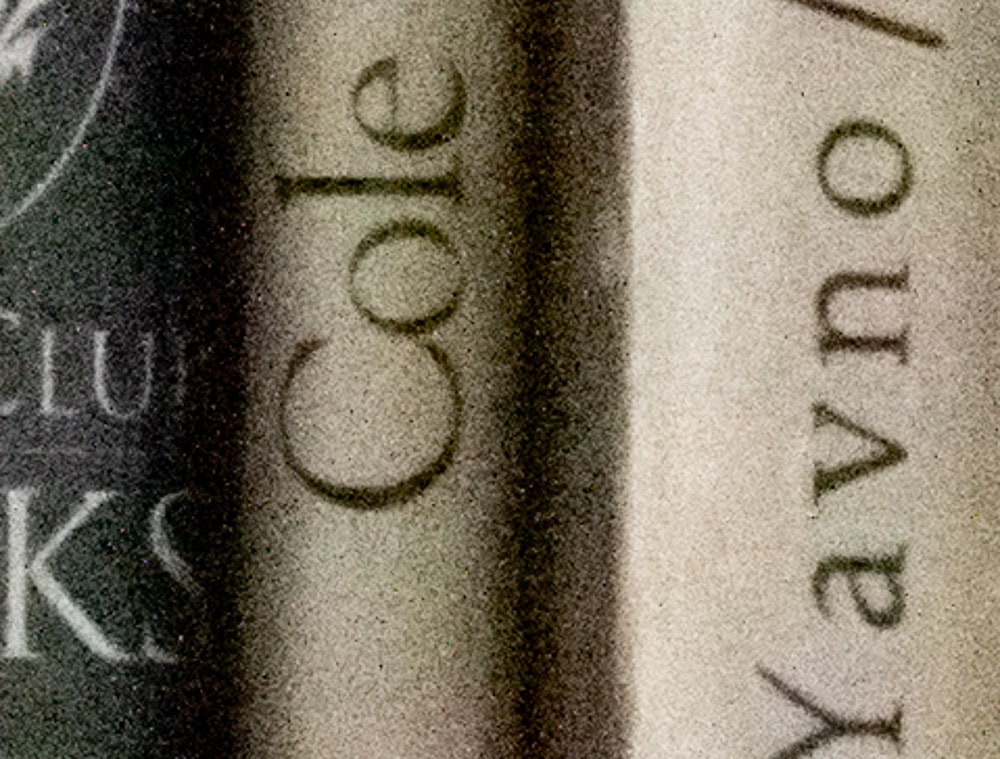
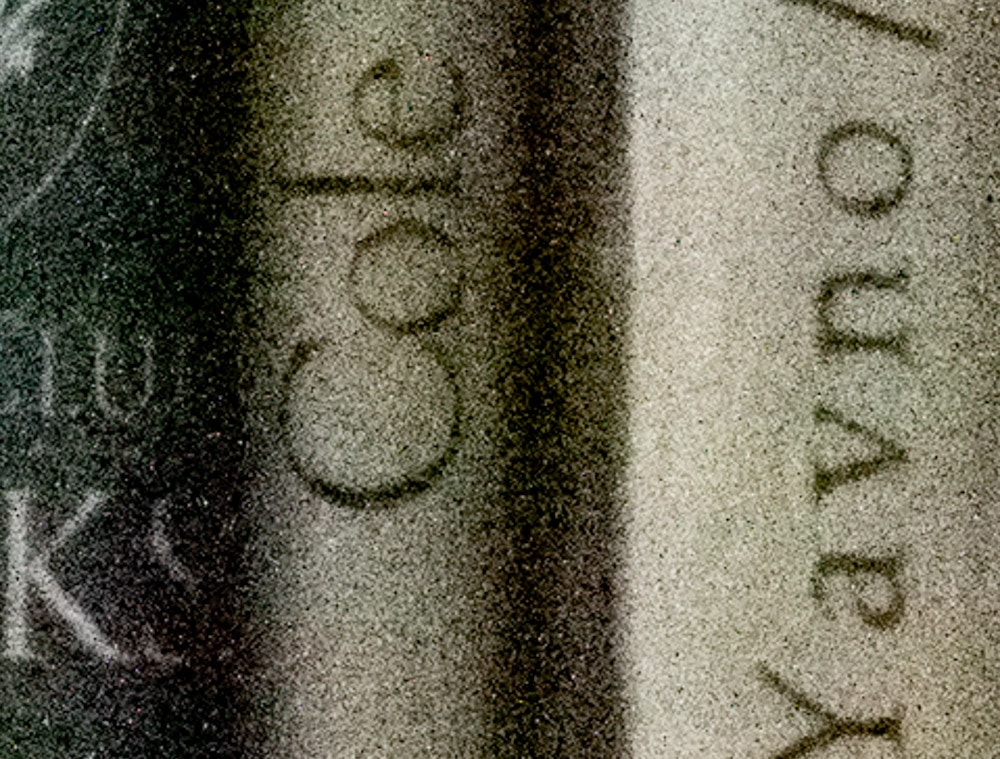
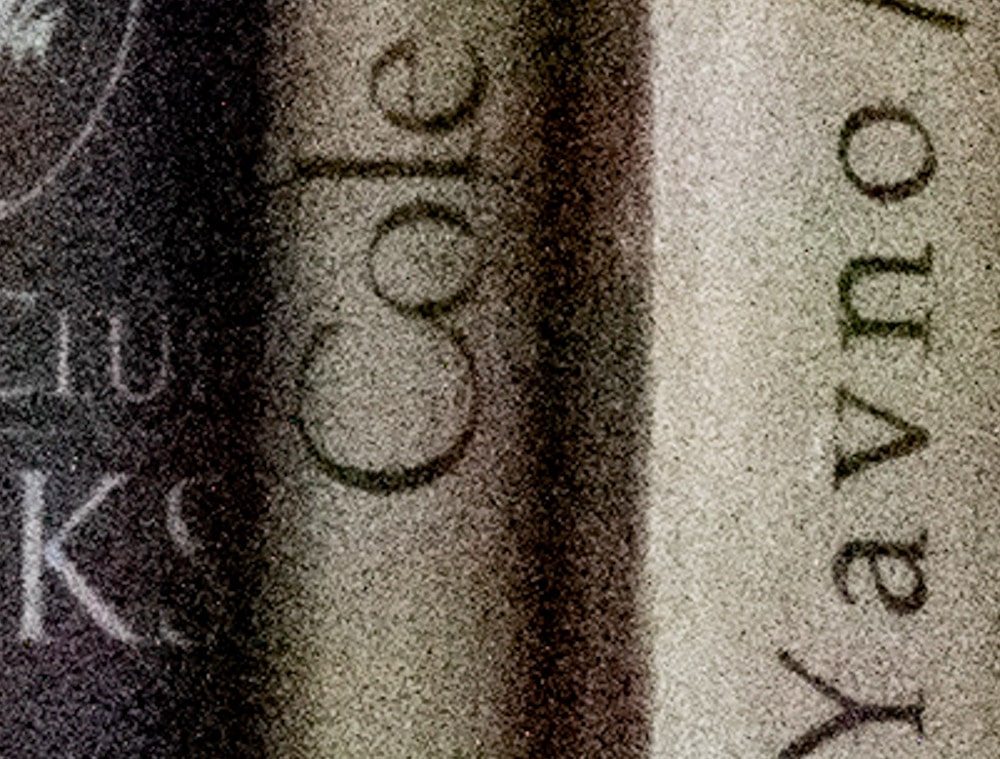
As before, there is a green shadow shift with the a7RIV at high ISOs.


a7RIII, a7RIV

← Sony a9II ISO behavior Fundamental camera noise parameters →

Comments

  1. Den says

    November 10, 2019 at 2:23 am

    I’ve tested Adobe NR a lot on my A7RIV images at high iso . It creates strange colour shifts when you push to the aggressive numbers you’re using (making the green tint worse I imagine).

    For ISO 3200 and 6400 I have found the following will bring you to a close match with the A7R3 at default. (use with sharpening DETAIL slider up a notch to taste)

    Luminance 15
    Detail 65
    Contrast 0
    Colour 25
    Detail 55
    Smoothness 50

    At ISO 1600 <3200 and more detail to play with you can go with:
    Luminance 25
    Detail 75
    Colour 20

    No need to use any NR below 1600 in my opinion .

    Either way, the A7RIV feels a stop worse than the A7R3 to me – I'll probably end up getting an A9II for high iso work – did you confirm if it also has an AA filter?

    Reply
  2. tratrtr says

    January 5, 2020 at 5:49 am

    Green shift is result of lack information of red and green channel than the NR algorithm create false colors.

    Reply
    • JimK says

      January 5, 2020 at 6:35 am

      I don’t understand what you mean by “information”. In the Shannon sense? I think the color shift is caused by a black point error.

      Reply
  3. James says

    February 9, 2021 at 4:26 am

    Thanks for this Jim- I’m currently evaluating whether to upgrade to the RIV from an R2, so this is helpful!
    Is there a known fix in PP for the green shadow issue yet? Having recently shot a wedding, I rented an A9 and was frequently up at ISO 6400 (and requiring some positive EV in post to get a nice result) and while Topaz cleaned up the files really well, I wasn’t blown away by the lack of resolution compared to my usual camera.
    The noise levels in your examples here are acceptable to me I think, but the green shadow areas less so…

    Reply
    • JimK says

      February 9, 2021 at 9:07 am

      Your best bet for dealing with the green shadows is probably the calibration panel at the bottom of the tools in Lightroom’s Develop module.

      Reply

Leave a Reply Cancel reply

Your email address will not be published. Required fields are marked *

May 2025
S M T W T F S
 123
45678910
11121314151617
18192021222324
25262728293031
« Apr    

Articles

  • About
    • Patents and papers about color
    • Who am I?
  • How to…
    • Backing up photographic images
    • How to change email providers
    • How to shoot slanted edge images for me
  • Lens screening testing
    • Equipment and Software
    • Examples
      • Bad and OK 200-600 at 600
      • Excellent 180-400 zoom
      • Fair 14-30mm zoom
      • Good 100-200 mm MF zoom
      • Good 100-400 zoom
      • Good 100mm lens on P1 P45+
      • Good 120mm MF lens
      • Good 18mm FF lens
      • Good 24-105 mm FF lens
      • Good 24-70 FF zoom
      • Good 35 mm FF lens
      • Good 35-70 MF lens
      • Good 60 mm lens on IQ3-100
      • Good 63 mm MF lens
      • Good 65 mm FF lens
      • Good 85 mm FF lens
      • Good and bad 25mm FF lenses
      • Good zoom at 24 mm
      • Marginal 18mm lens
      • Marginal 35mm FF lens
      • Mildly problematic 55 mm FF lens
      • OK 16-35mm zoom
      • OK 60mm lens on P1 P45+
      • OK Sony 600mm f/4
      • Pretty good 16-35 FF zoom
      • Pretty good 90mm FF lens
      • Problematic 400 mm FF lens
      • Tilted 20 mm f/1.8 FF lens
      • Tilted 30 mm MF lens
      • Tilted 50 mm FF lens
      • Two 15mm FF lenses
    • Found a problem – now what?
    • Goals for this test
    • Minimum target distances
      • MFT
      • APS-C
      • Full frame
      • Small medium format
    • Printable Siemens Star targets
    • Target size on sensor
      • MFT
      • APS-C
      • Full frame
      • Small medium format
    • Test instructions — postproduction
    • Test instructions — reading the images
    • Test instructions – capture
    • Theory of the test
    • What’s wrong with conventional lens screening?
  • Previsualization heresy
  • Privacy Policy
  • Recommended photographic web sites
  • Using in-camera histograms for ETTR
    • Acknowledgments
    • Why ETTR?
    • Normal in-camera histograms
    • Image processing for in-camera histograms
    • Making the in-camera histogram closely represent the raw histogram
    • Shortcuts to UniWB
    • Preparing for monitor-based UniWB
    • A one-step UniWB procedure
    • The math behind the one-step method
    • Iteration using Newton’s Method

Category List

Recent Comments

  • JimK on Goldilocks and the three flashes
  • DC Wedding Photographer on Goldilocks and the three flashes
  • Wedding Photographer in DC on The 16-Bit Fallacy: Why More Isn’t Always Better in Medium Format Cameras
  • JimK on Fujifilm GFX 100S II precision
  • Renjie Zhu on Fujifilm GFX 100S II precision
  • JimK on Fuji 20-35/4 landscape field curvature at 23mm vs 23/4 GF
  • Ivo de Man on Fuji 20-35/4 landscape field curvature at 23mm vs 23/4 GF
  • JimK on Fuji 20-35/4 landscape field curvature at 23mm vs 23/4 GF
  • JimK on Fuji 20-35/4 landscape field curvature at 23mm vs 23/4 GF
  • Ivo de Man on Fuji 20-35/4 landscape field curvature at 23mm vs 23/4 GF

Archives

Copyright © 2025 · Daily Dish Pro On Genesis Framework · WordPress · Log in

Unless otherwise noted, all images copyright Jim Kasson.