This is one in a series of posts on the Fujifilm GFX 50S and 50R. You should be able to find all the posts about that camera in the Category List on the right sidebar, below the Articles widget. There’s a drop-down menu there that you can use to get to all the posts in this series; just look for “GFX 50S”.
First impressions of the Fujifilm 100-200.
- Lens is light for its size. Still surprises me every time I pick it up.
- No 3/8-inch mounting hole on the lens foot. Yeah, I know that it’s not that heavy, and that Fuji hasn’t got anything but 1/4-inch threaded holes on any of their gear, but I still think MF gear should have 3/8-inch capability.
- Focusing ring is small; I don’t think Fuji expects many people to be focusing it manually.
- Contrast is low compared to the other Fuji lenses I’ve used.
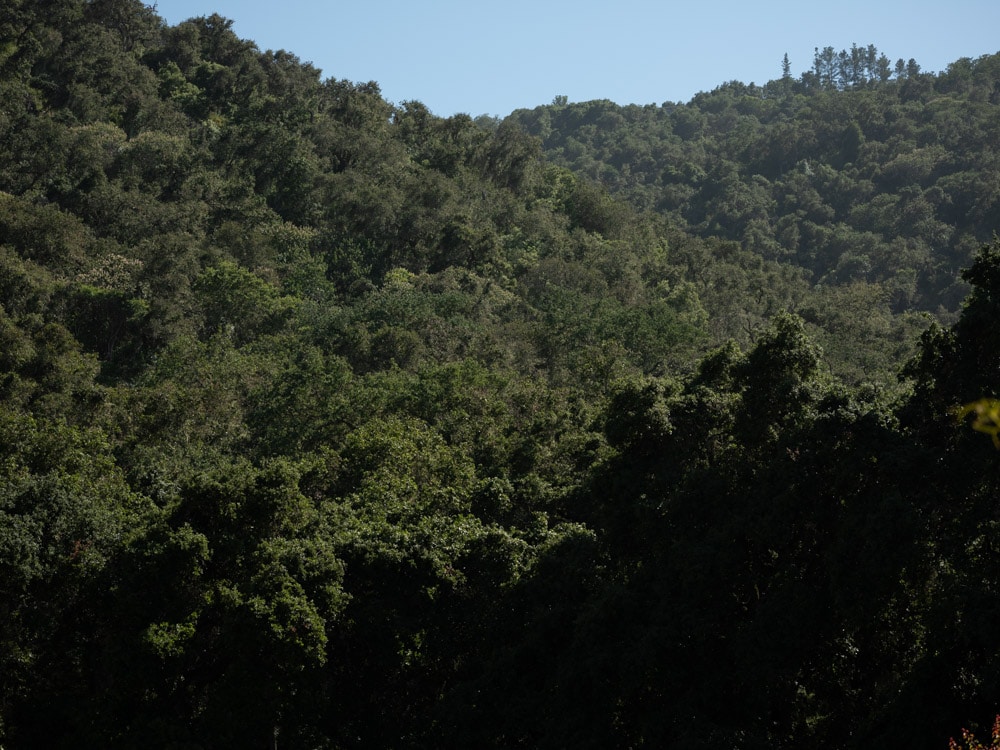
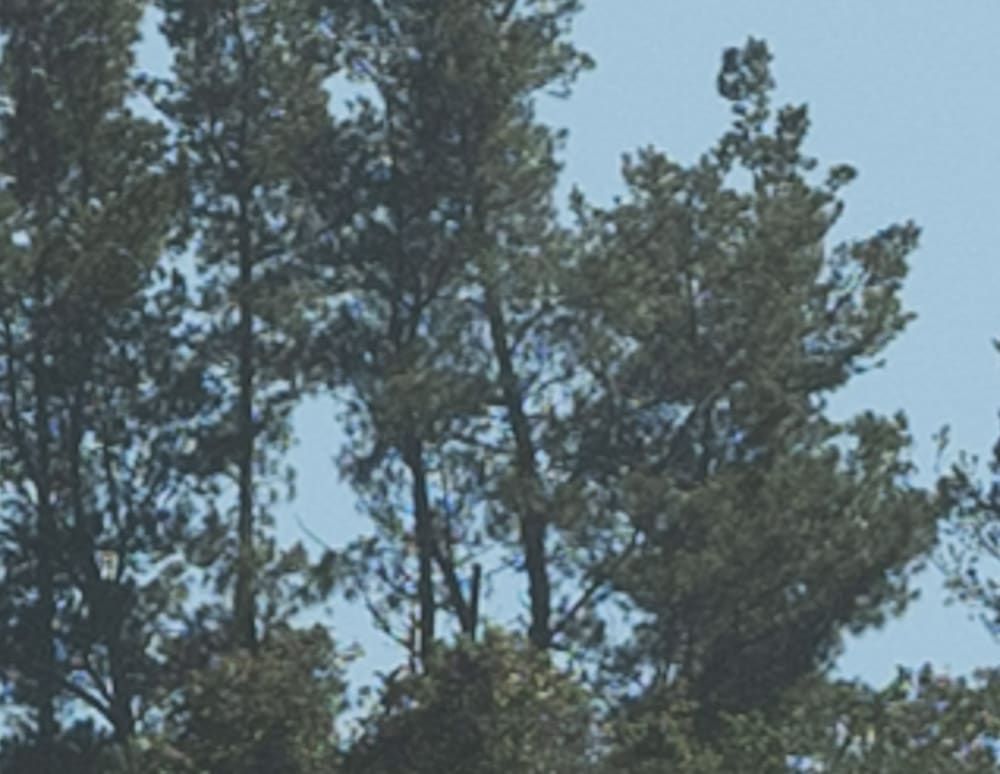
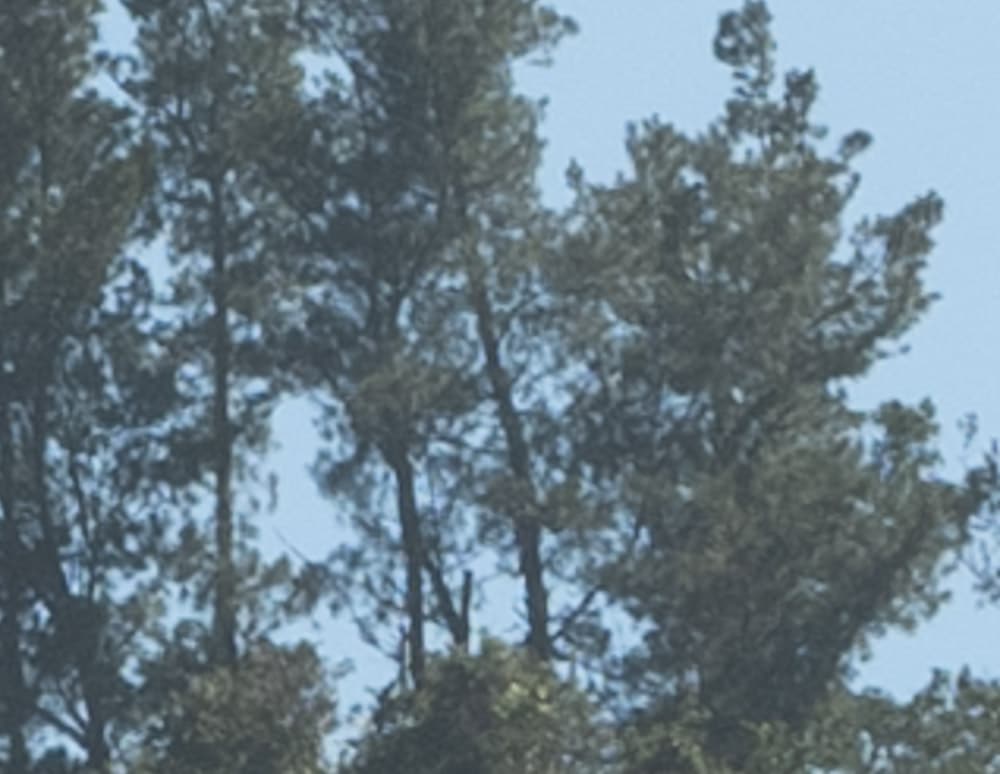
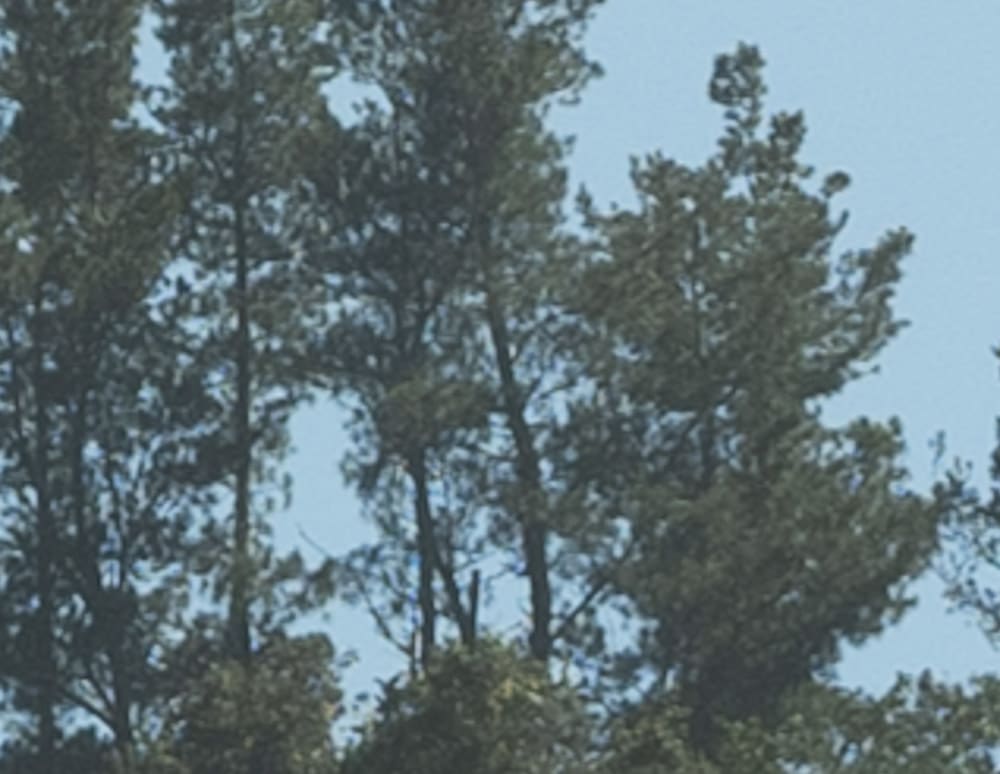
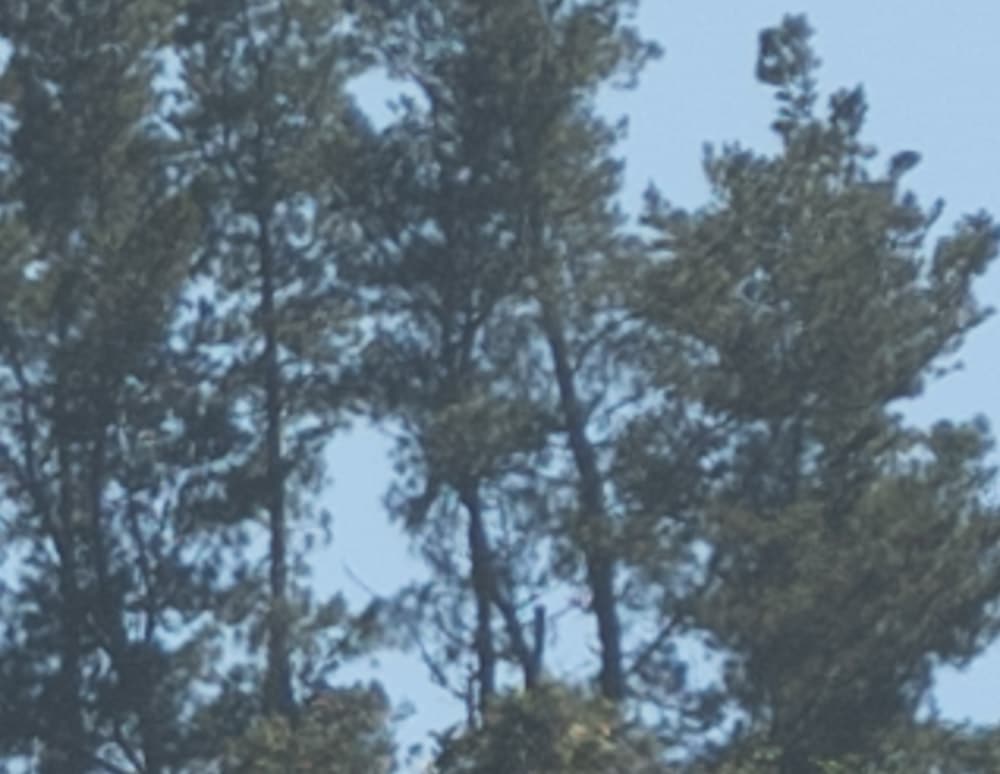
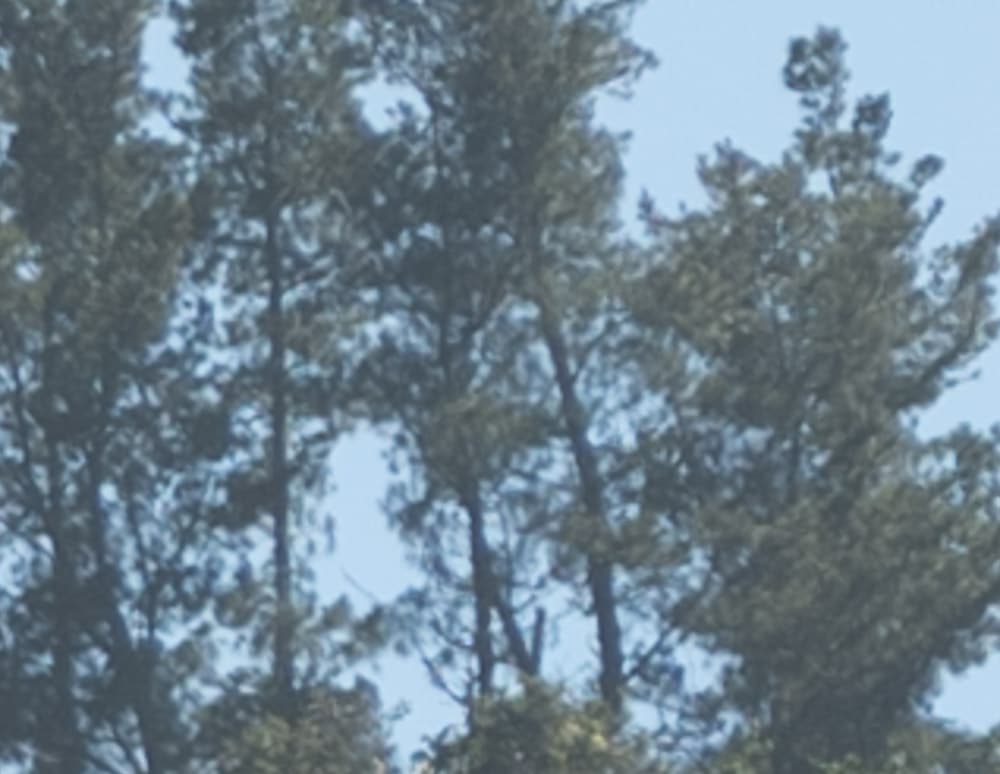
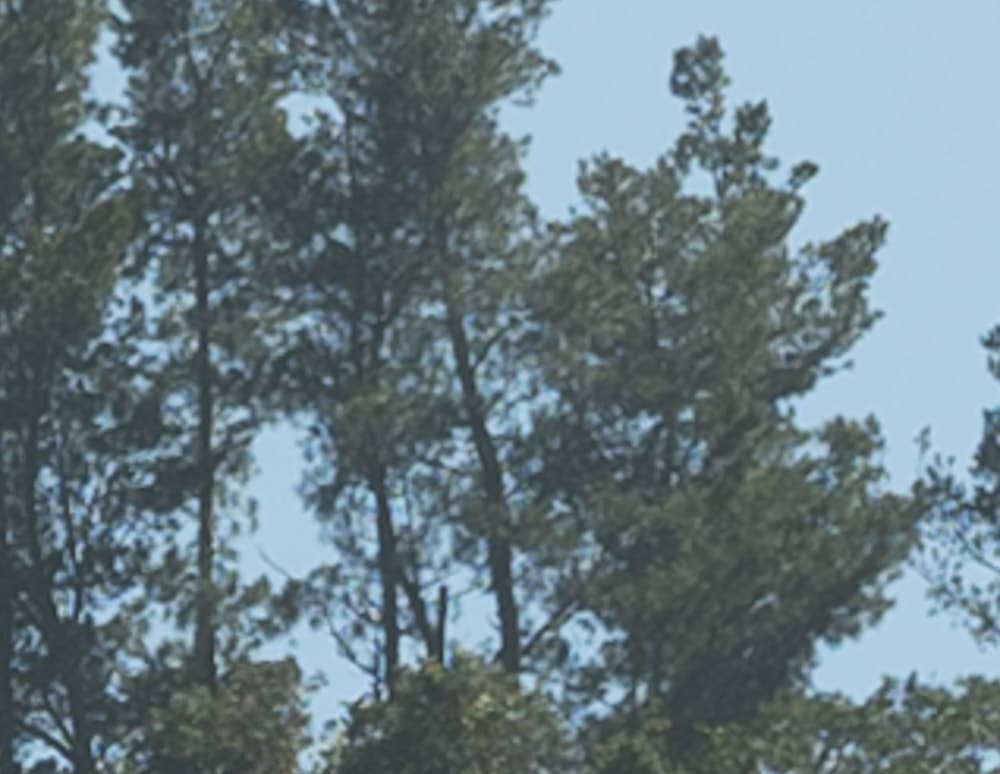
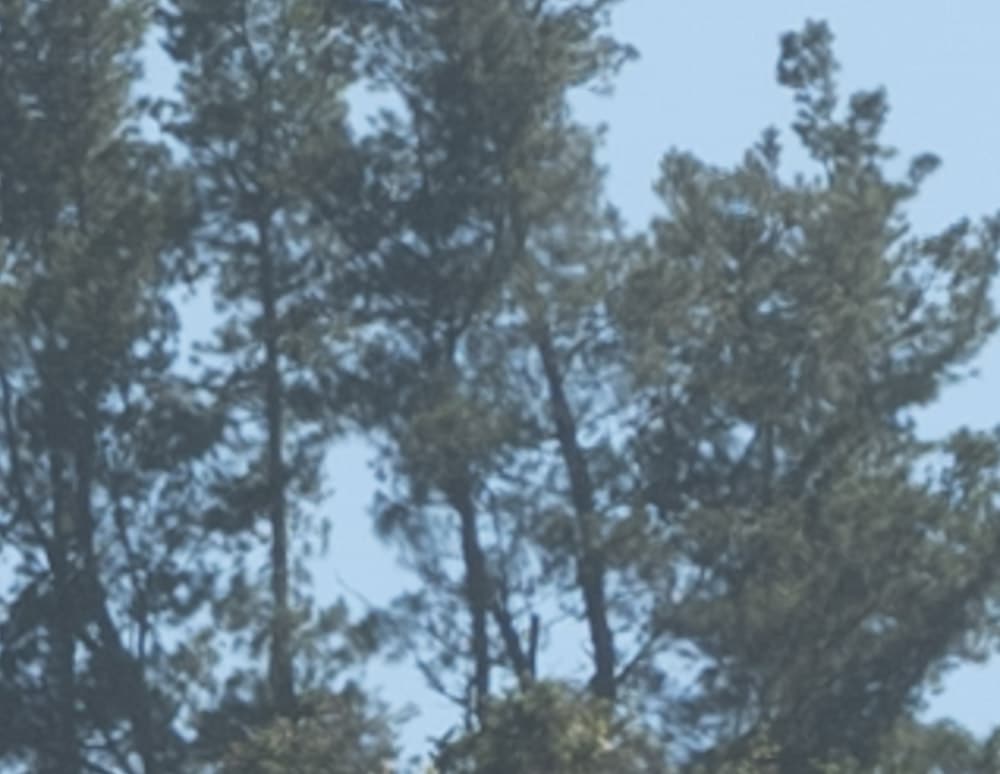
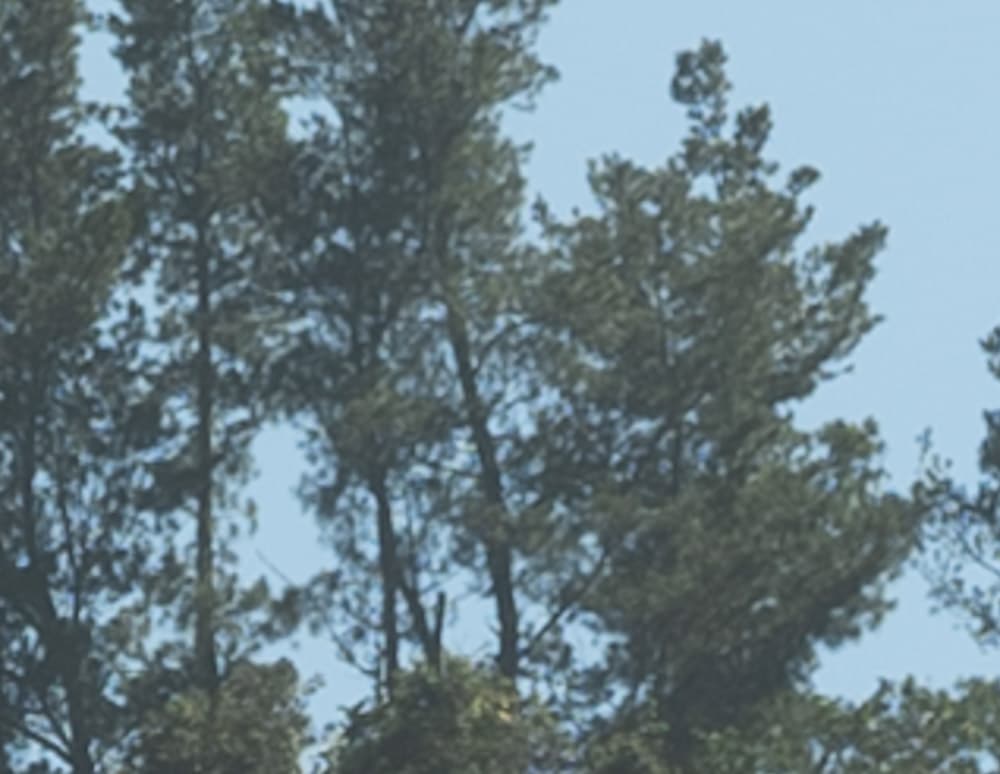
I ran an informal test against the Fuji 110/2, which is an excellent lens for distant targets (and close ones, too). Here’s the scene with the target area in the upper right corner. The trees are about 500 meters away.
Making three shots for each variation and picking the sharpest, I exposed at base ISO of 100. I used AF-S and a small spot, focusing on the target grove of trees. Images developed in Lightroom, with default settings except:
- WB set to Daylight
- Adobe Color Profile
- Sharpening 20, radius 1
I did not try to defeat Lightroom’s silent distortion correction.
We’ll look at some very tight crops.
If you’ve seen these here before, just jump to the images. If not, I need to spend some time telling you how to interpret them. They’re at roughly 250% magnification, enlarged to 700 pixels high on export from Lightroom. If you just want a rough idea of the differences, just look at the images as displayed in-line in the posts. However, if you wish to compare these images in detail, you should view these images by clicking on them to see the source files, then set your browser for 100% zooming. Even better, download them and make Photoshop stacks.
No matter what you do, these crops are all going to look horrible. I’m blowing them up so much so that they will represent the original file after JPEG’s discrete cosine transform has had its way with them. If you want to get a good idea of what the images would look like printed, get far away from your monitor. No, farther than that. Put a bunch of the images up on the screen and back up until the best one starts to look good. Then look at the others. There’s another reason why these images won’t look like the best thing the camera/lens combination can deliver. They’re demosaiced with Lightroom. Lightroom is not awful, but for a particular image, there are usually better raw processors. I use Lr because it’s a de facto standard, because I know it well, and because it’s got good tools for dealing with groups of images.
Here’s how to use these highly-magnified crops. The dimensions of the GFX sensor is 8256×6192 pixels. If we make a full-frame print from the GFX on a printer with 360 pixels per inch native driver-level resolution, like the Epson inkjet printers, we’ll end up with a 23×17.2 inch print. The 317×246 pixel crop you’re looking at will end up 0.8×0.68 inches (2.12×1.74 cm). Let’s imagine that you or your viewers are critical, and will look at the 23×17.2 inch print from about 18 inches (conventional wisdom is that the distance would be a little greater than that, or 29 inches (the diagonal), but you did buy a high-resolution camera for a reason, didn’t you?).
The next step is dependent on your monitor pitch, which you may or may not know. Turns out, you don’t have to know it. Just take the 250% crops and view then at 1:1. How high are they? Get out your ruler and measure, or just guess. Let’s say they are 6 inches high. 6 inches is about 7 times 0.8, so in order to view the crops the way they’d look from 18 inches on the print is to view them from 7 times as far away, or 10.5 feet.
Everything here scales proportionately. If the image on your screen is bigger than 6 inches, increase your viewing distance by the ratio of your image height to 6 inches. If you think your viewers are going to almost get their nose to that print and look at it from six inches, divide that 10.5 feet by 3, and look at the image on the monitor from three and a half feet away.
In the center:
The zoom is softer, as you’d expect. It is also lower in contrast. There is hardly any purple fringing, which this target often evokes.
The zoom is still softer and lower in contrast.
110, f/11
Diffraction has almost equalized things.
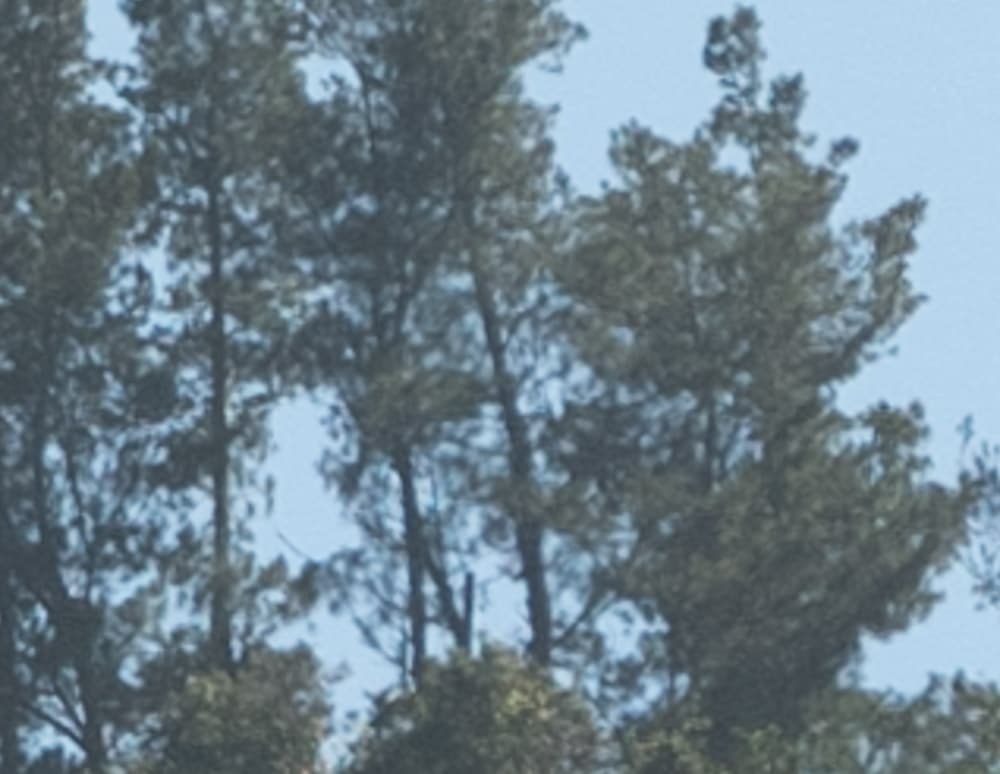
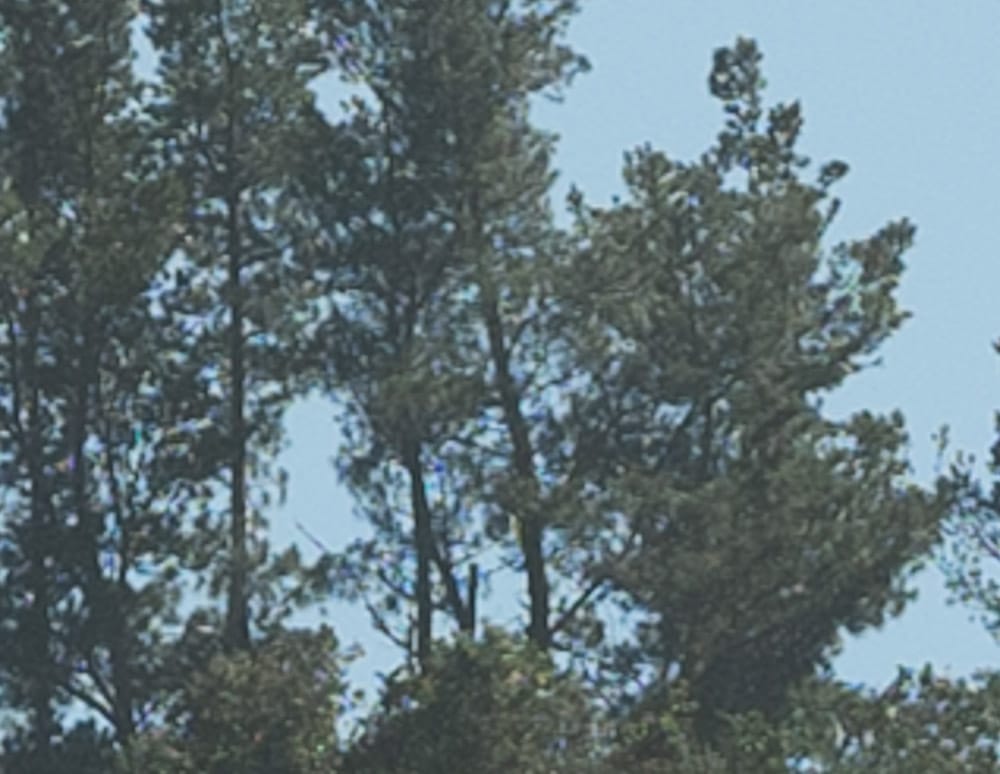
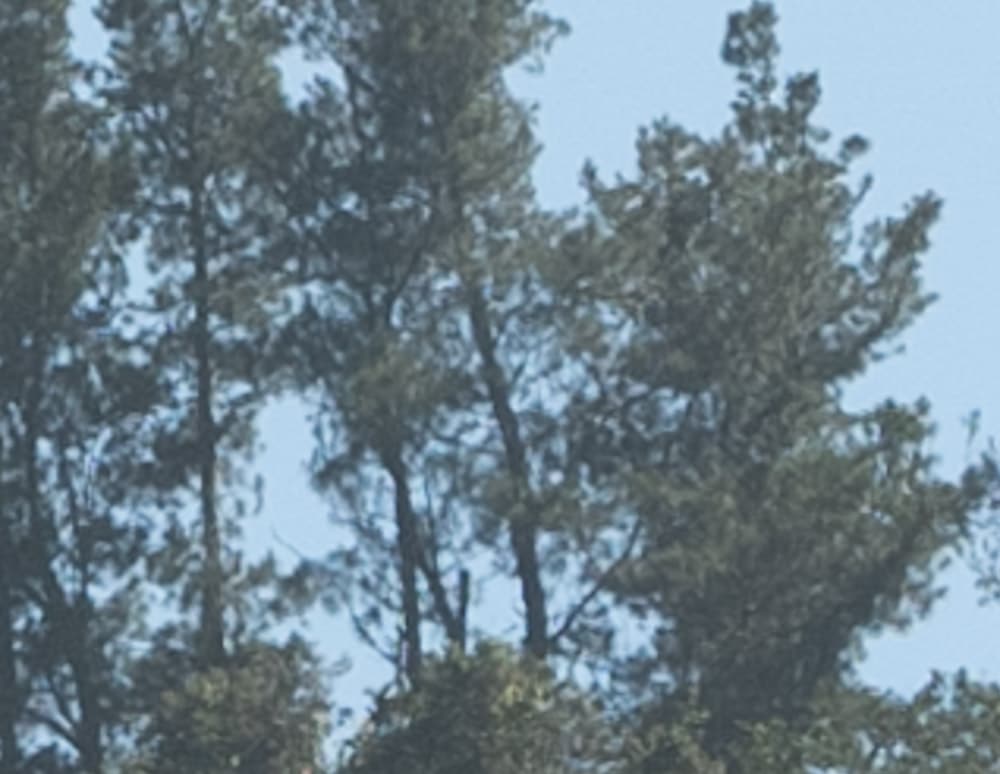
In the upper right corner:

110, f/5.6, corner
It is good news that the corner performance of the zoom is not that much degraded from the center. For many purposes, this is entirely adequate.
The biggest difference is the contrast.
All in all, this is a credible performance from the zoom, especially if, as I did, you bought it during one of Fuji’s $500-off sales.
Thank you for running these tests. I had been hoping to see a comparison like this ever since the 100-200 was announced. The zoom is truly very good, but it also serves as a testament to just how good the primes are. I had honestly hoped for a little bit better performance from the zoom when stopped down, but I know I am being greedy. As Roger Cicala says, zooms aren’t primes.
Assume a situation where “zooming with the feet” isn’t practical.
With the prime, one would have to “crop zoom”.
It would be interesting to know at what (virtual) focal length the two lenses would be roughly equal in image quality, or at least where there would be a tradeoff of resolving ability versus the potential contrast advantage of the prime.