This is the 65th in a series of posts on the Fujifilm GFX-50S. The series starts here.
We saw in the previous post that the Fuji 110 mm f/2 lens on the GFX 50S is very sharp on axis — much sharper than the Otus 85 mm f/1.4 on the a7RII — and has very low longitudinal chromatic aberration (LoCA). How does that play out in the real world? Stay tuned.
You can buy the a7RII/Otus combination for $7300, The GFX and the 110/2 will set you back $2000 more.
I went outdoors on a morning when the wind was light, and aimed the cameras thusly:
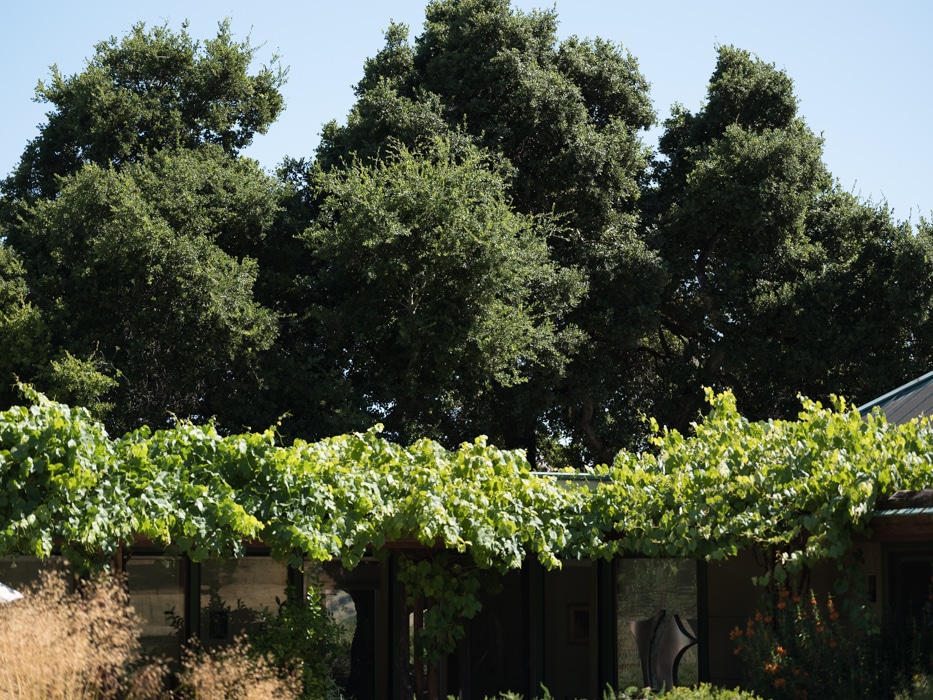
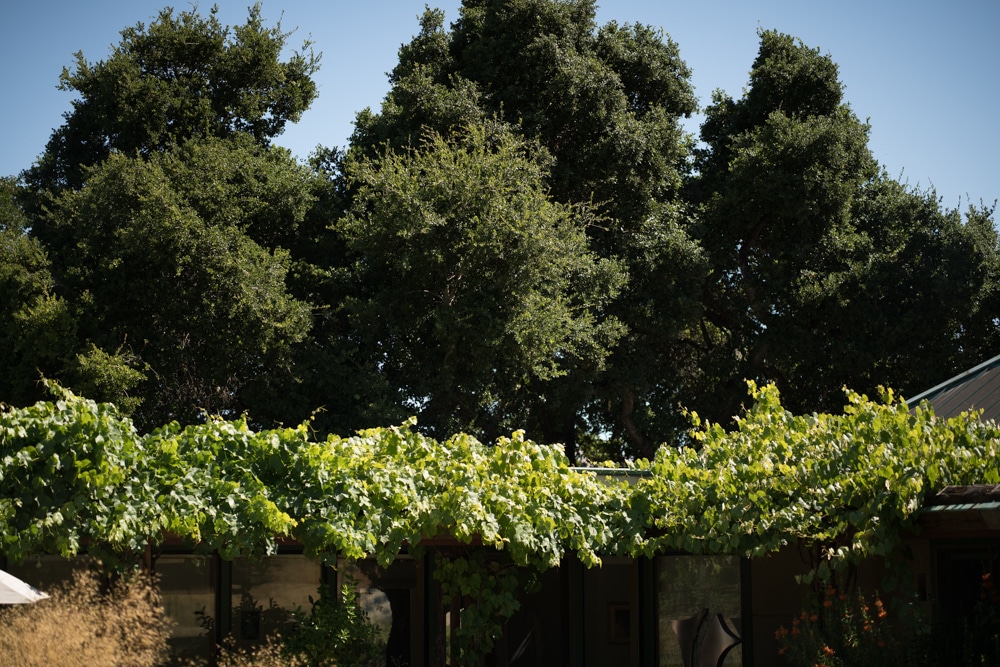
I focused on the branches in the top-center part of the images. I’m not going to show you center crops, since I can tell that we’ll be looking mostly at sensor differences. We’ll do an top-center crop and a top-left crop. If you go by image height, a 110 mm f/2 lens on a 33×44 mm sensor is the equivalent of an 80 mm f/1.45 lens, so these lenses are pretty close to equivalent.
I focused both cameras manually at their taking f-stops on the lighter foliage in the upper-right-central part of the image. I focused and exposed four times for each aperture, and picked the best shot from each camera for each f-stop. Shutter set to EFCS for both cameras, which meant it really was EFCS at the narrower apertures for the GFX. 2-second self-timer for both. Arca-Swiss C1 cube on RRS sticks.Small exposure corrections in Lr. Daylight white balance selected in Lightroom.
I exported tight crops from the developed images as 700-pixel-wide JPEGs. That means that the images are all heavily upsampled. The GFX images are 253% of their original size in both dimensions. The a7RII images are at 295%. The different ratios are necessary to compensate for the variations in the height of the sensors when measured in pixels.
If you just want a rough idea of the differences, just look at the images as displayed in-line in the posts. However, if you wish to compare these images in detail, you should view these images by clicking on them to see the source files, then setting your browser for 100% zooming. Even better, download them and make Photoshop stacks.
No matter what you do, these crops are all going to look horrible. I’m blowing them up so much so that they will represent the original file after JPEG’s discrete cosine transform has had its way with them. If you want to get a good idea of what the images would look like printed, get far away from your monitor. No, farther than that. Put a bunch of the images up on the screen and back up until the best one starts to look good. Then look at the others. There’s another reason why these images won’t look like the best thing the camera/lens combination can deliver. They’re demosaiced with Lightroom. Lightroom is not awful, but for a particular image, there are usually better raw processors. I use Lr because it’s a de facto standard, because I know it well, and because it’s got good tools for dealing with groups of images.
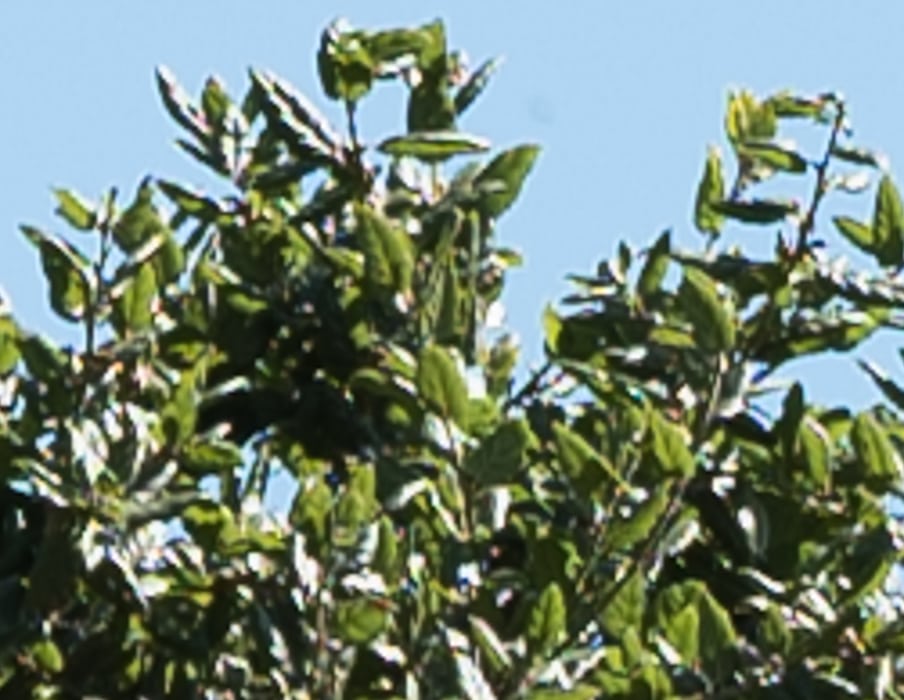
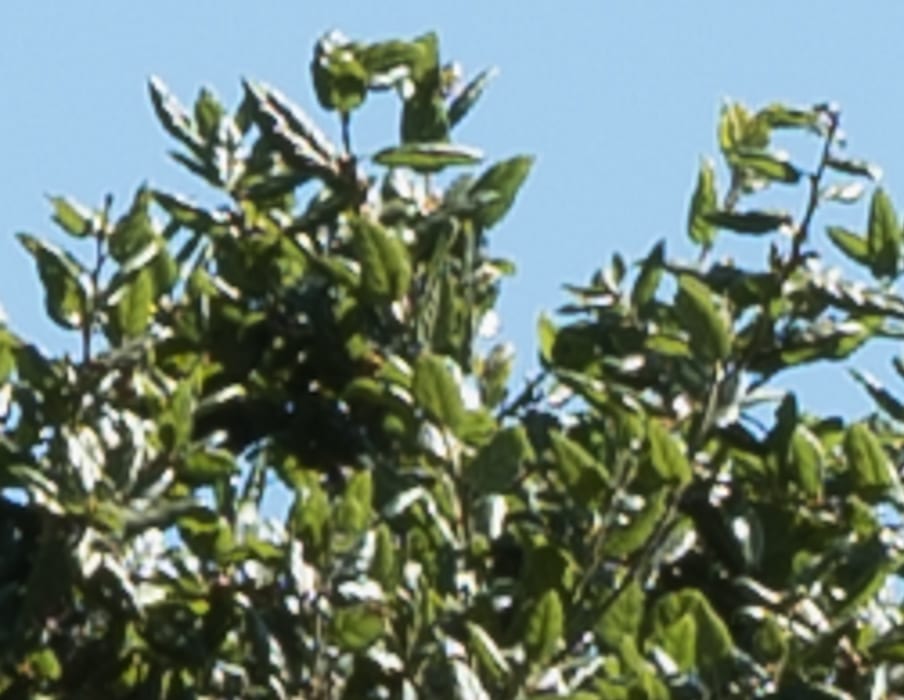
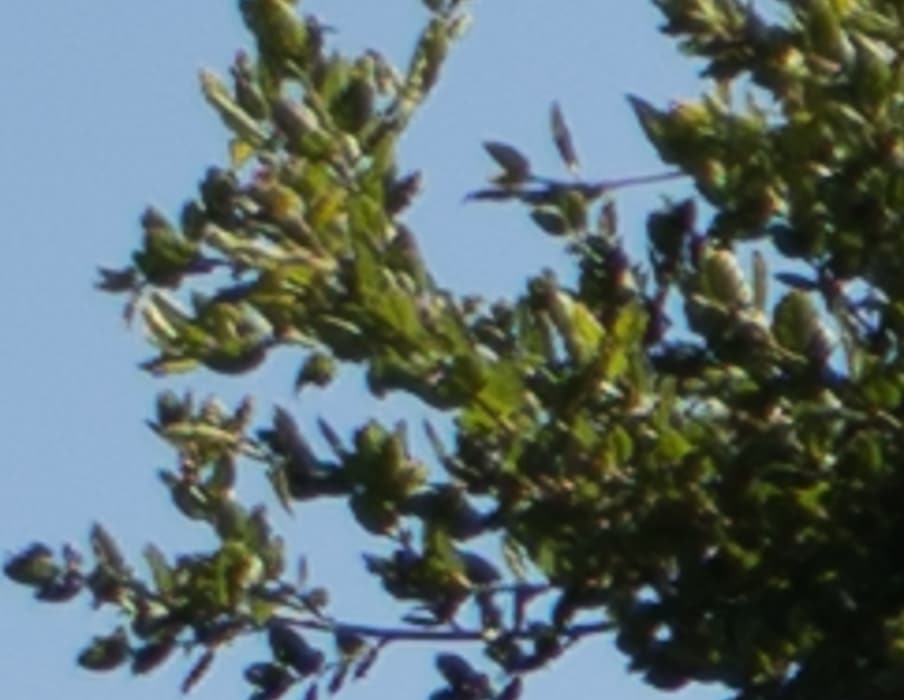
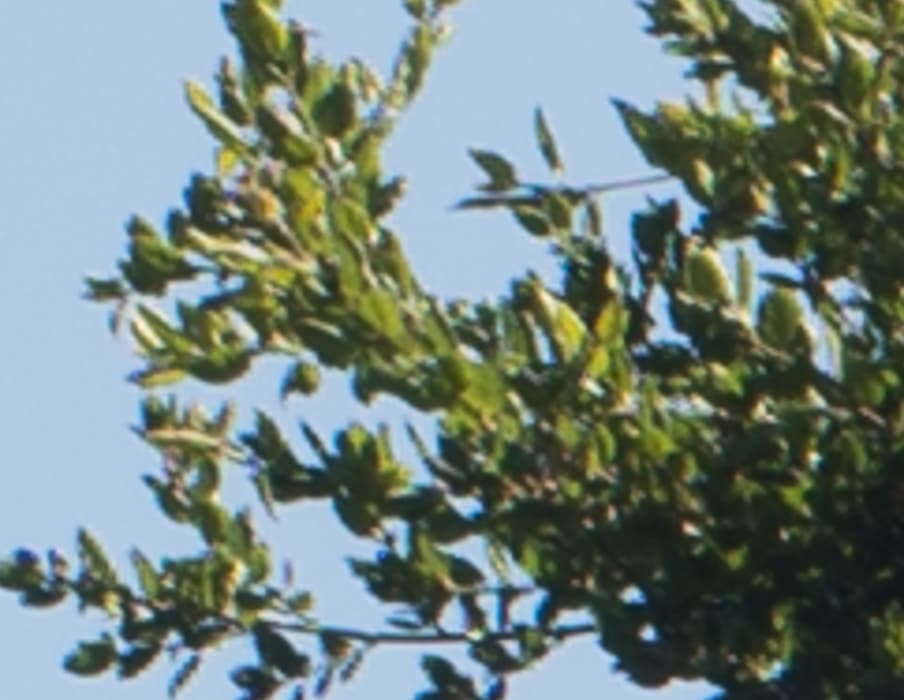
In the top-right-center, at equivalent apertures:

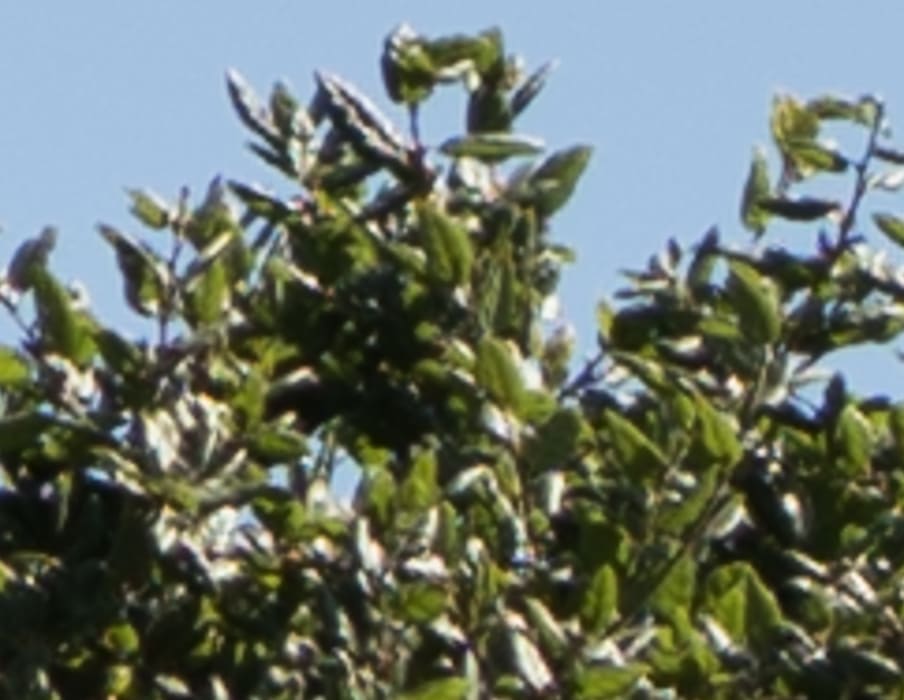
The only real difference I see between these two images is that the Fuji is higher contrast. Not a big deal. You could also say the Fuji image is sharper, but it’s not a difference that you’re likely to see in a print.
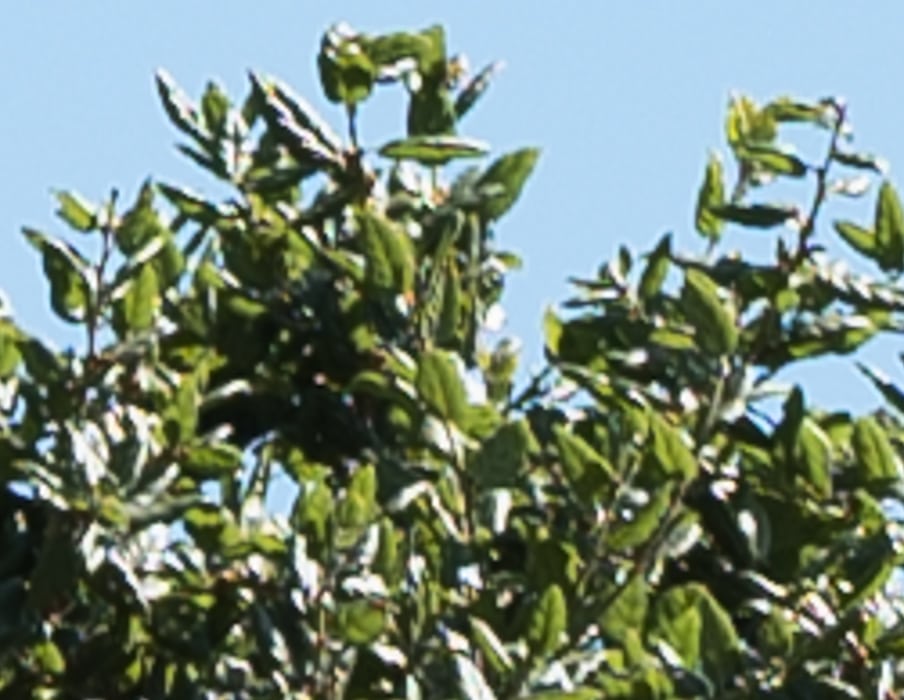

On-axis, the above are the lenses two best f-stops, although for the Otus f/2 is pretty much a dead heat with f/2.8. The Fuji is the clear winner here, but the differences are not striking.
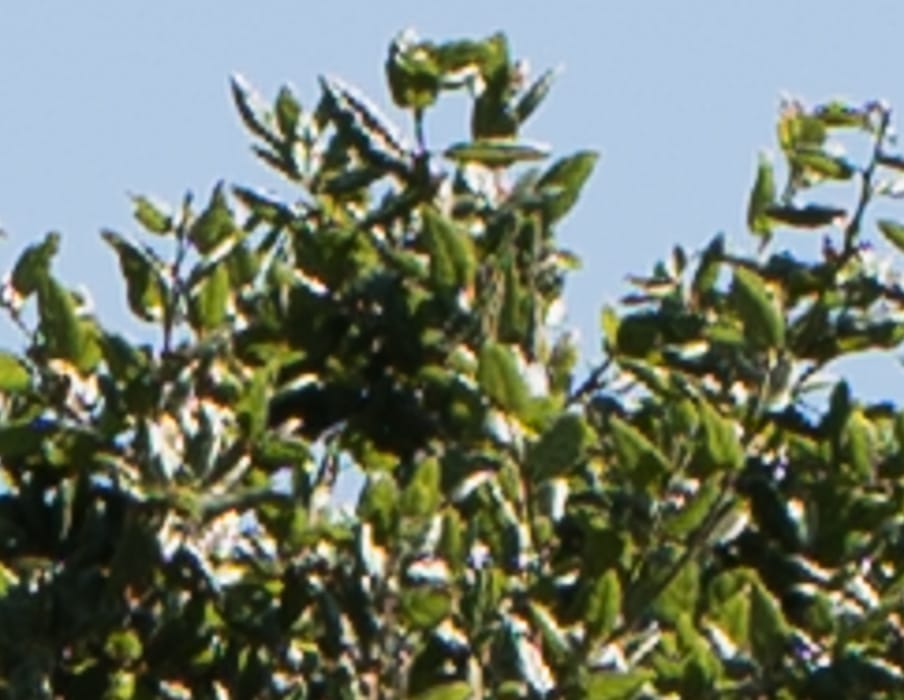
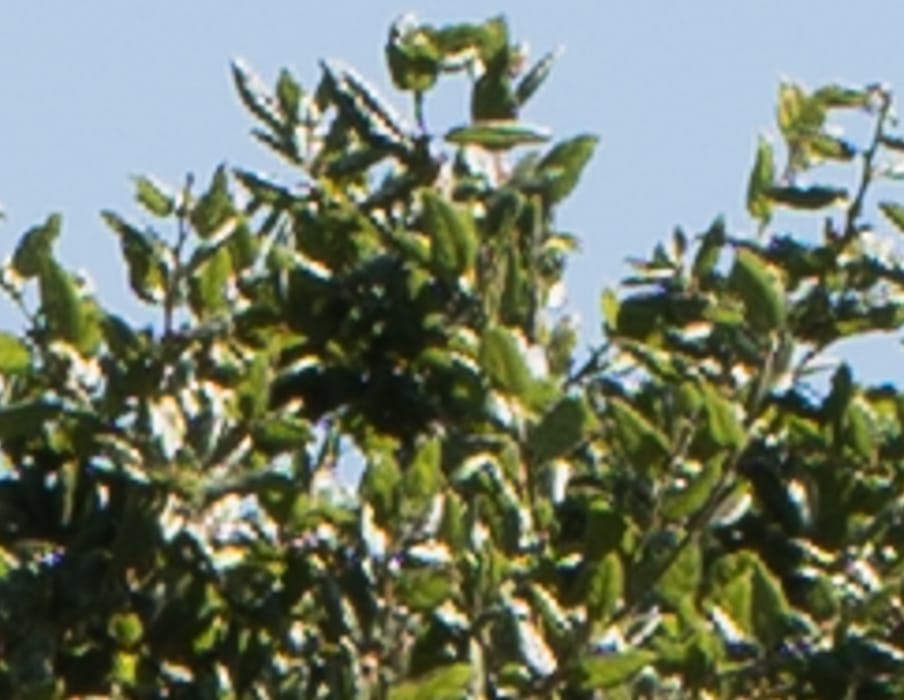
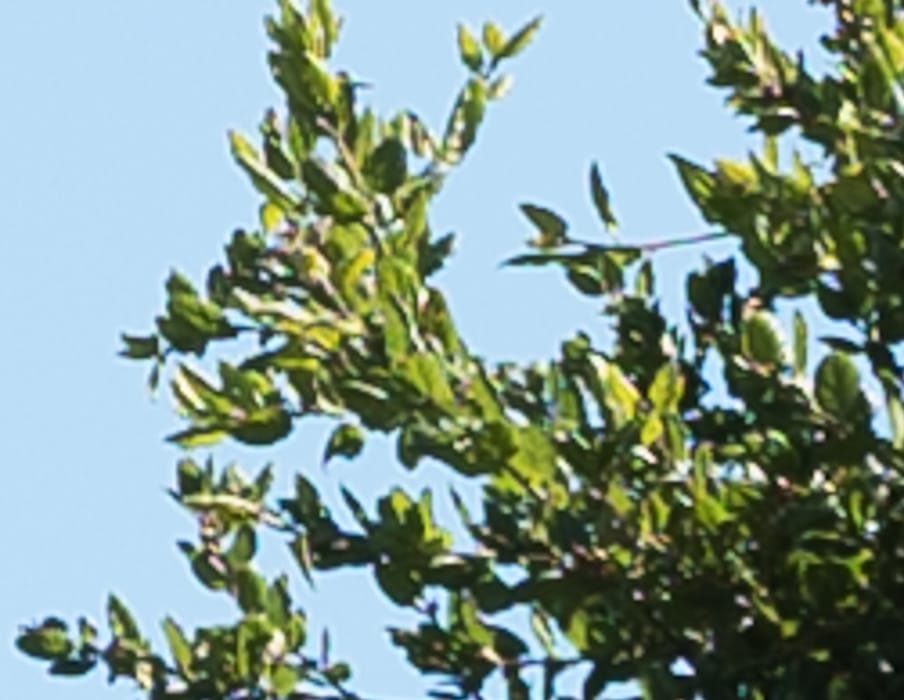
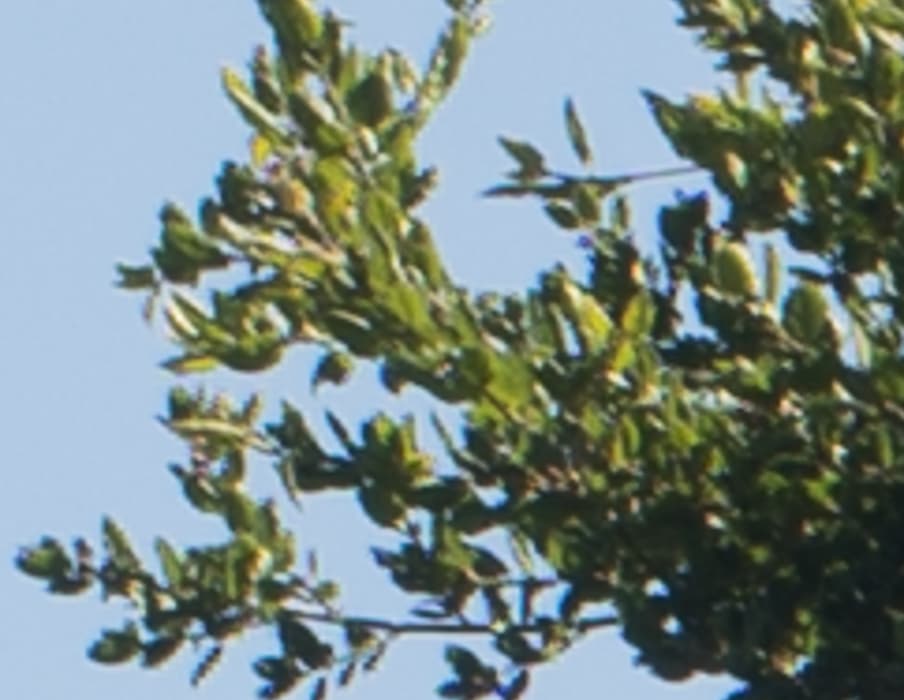
Not much difference except for contrast and, of course, color rendering.

And so it goes. THe Fuji is winning, but not by much. You can’t beat big sensors, apparently.

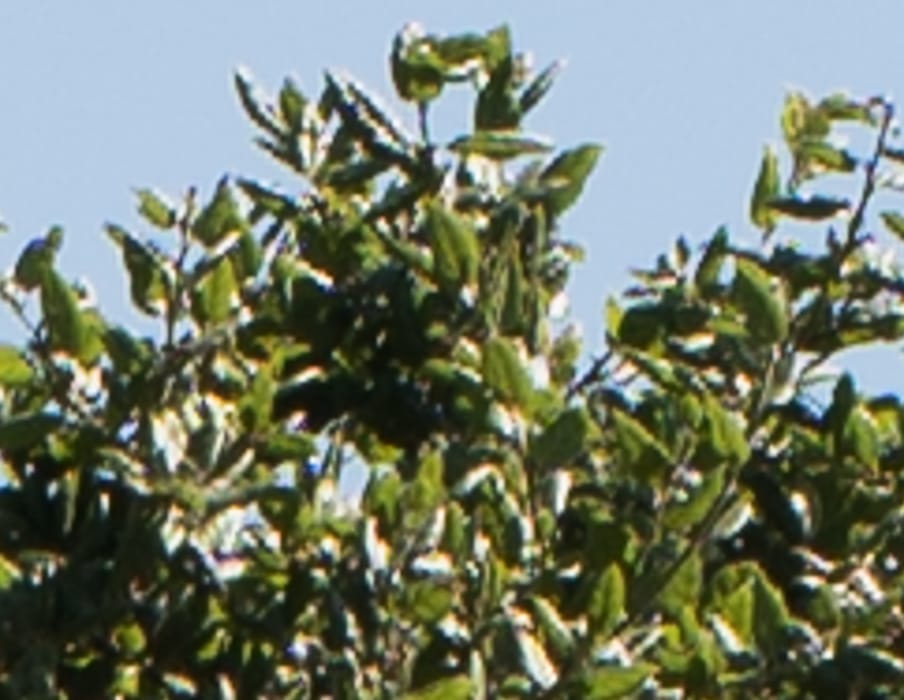
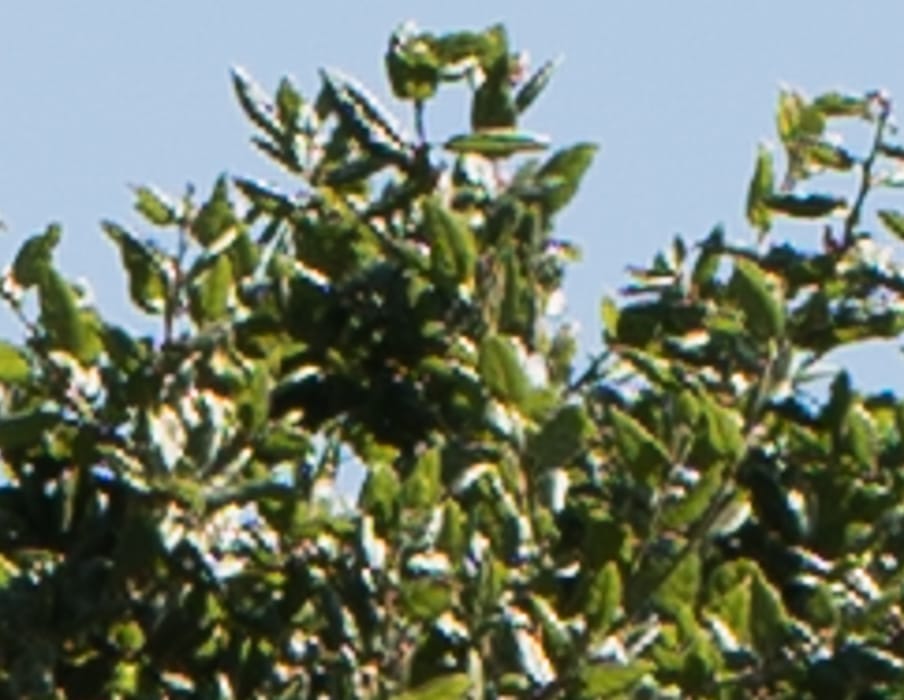
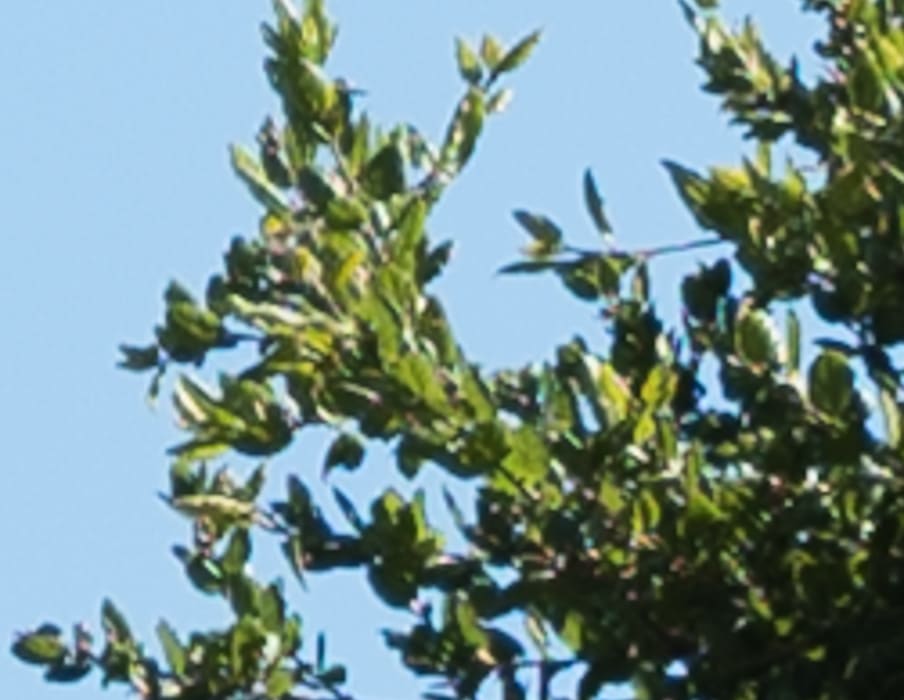
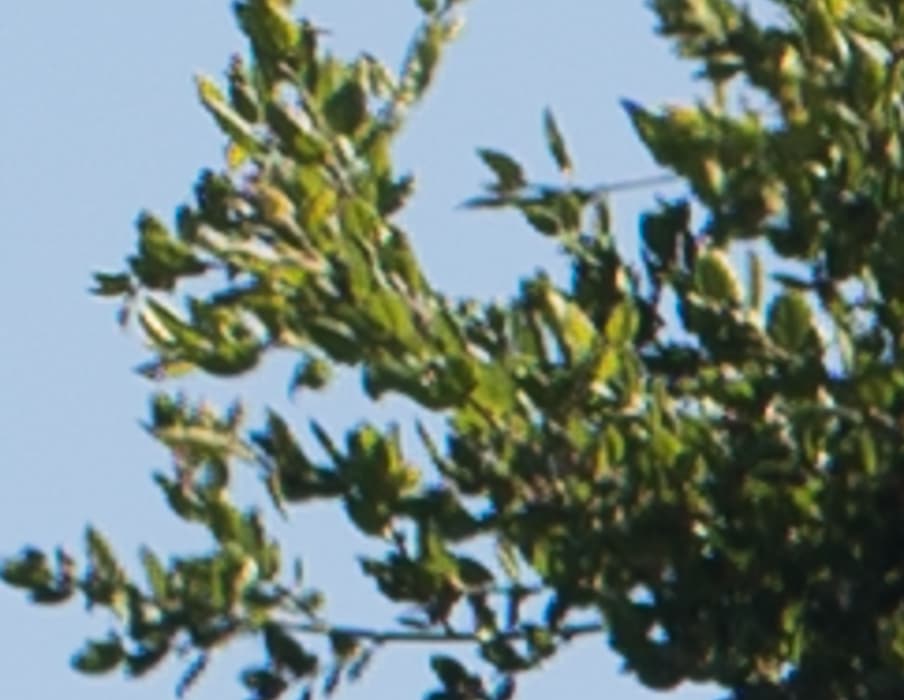
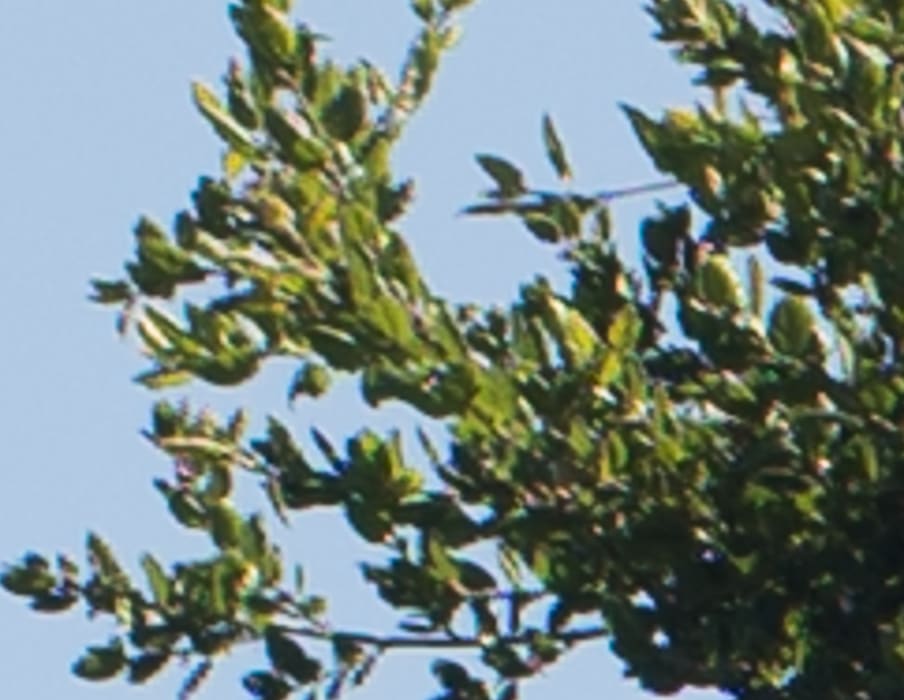
The pattern continues even as diffraction sets in.
And, here’s a bonus, the Otus at f/11:

What about the corner in the 33×44 mm sensor images, compared with the same distance off-axis for the Otus, which is not to the corner of the a7RII image?

More falloff with the Otus, and it’s softer.
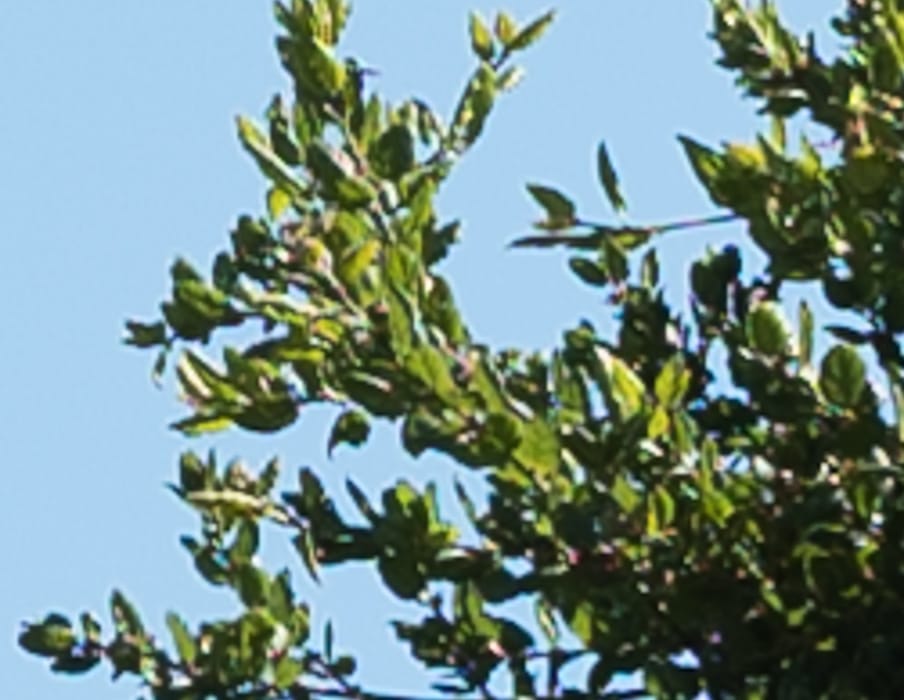
Big improvements with both lenses. The Fuji is still out in front.

Same rough differences between the two camera/lens combinations.

I’d be bored if these weren’t both do darned good.

Getting pretty close to a wash.

And the bonus Otus image:
OK, what have we learned here? Both lenses could certainly use higher-resolution sensors. The Fuji lens on the GFX wins, but the differences aren’t striking. They are both great lenses. They are both great cameras. It would be hard to imagine either being the most important thing in the failure of a photograph to achieve success. Another thing that we can say is that what look like big differences in the lab sometimes turn out to be smaller in the field.
The Fuji lens has the advantage of less falloff, and of having autofocus. How good is the AF? We’ll find out soon.
The real difference is horrible the axial CA all over the Otis shots. I see this often on large prints and people often mistake it for a printing error. It can end up colouring the whole image akin to being too close to a large display and seeing the sub pixels. So if you’re going to blow this up large Fuji is unsurprisingly the way to go.
Hi
Will you do a test comparing the 110 and the 120? I would find this interesting.