A reader and landscape photographer, impressed by how well the 20 mm f/1.8 performs on the Nikon Z7, asked if he’d really be much better off with the Fuji 23 mm f/4 on a GFX 50x.
Let’s take a look, with the Fuji lens on a GFX 50R.
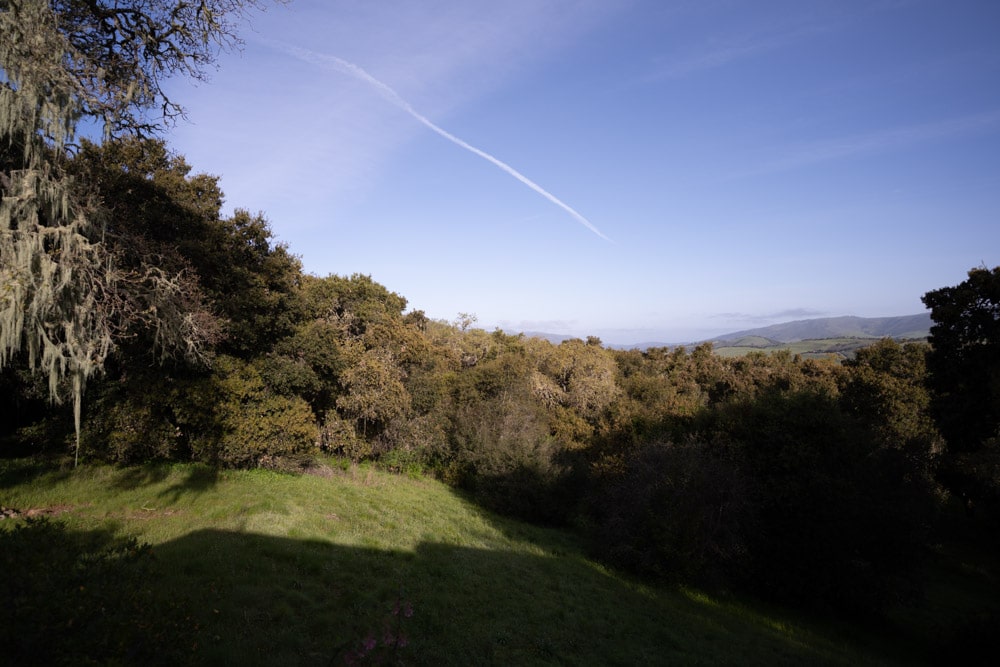
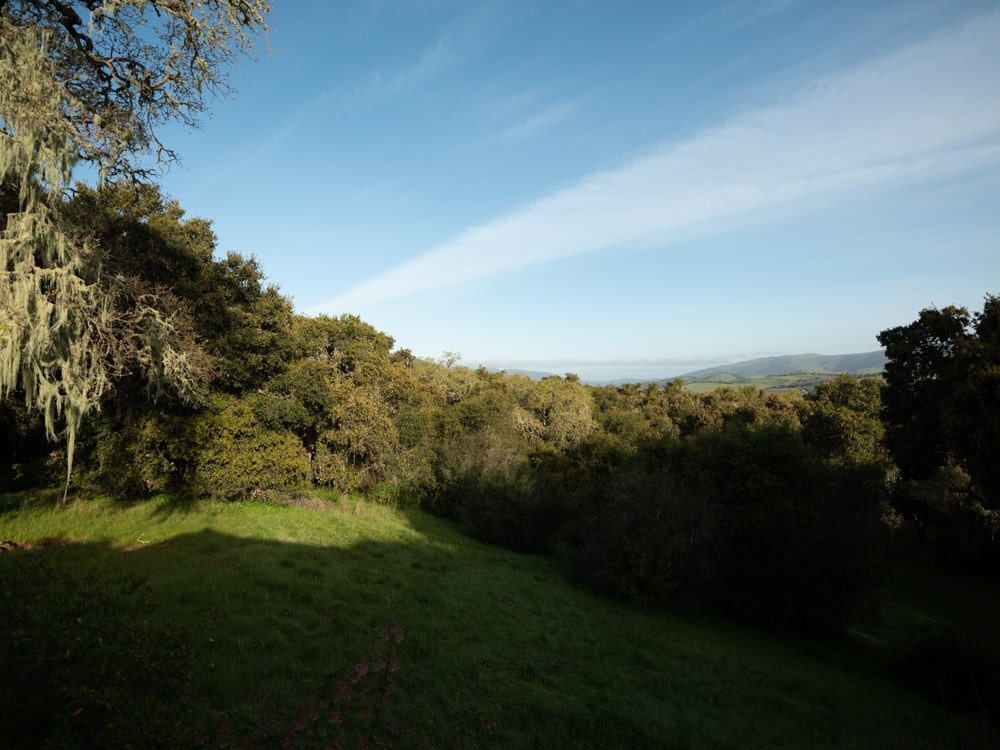
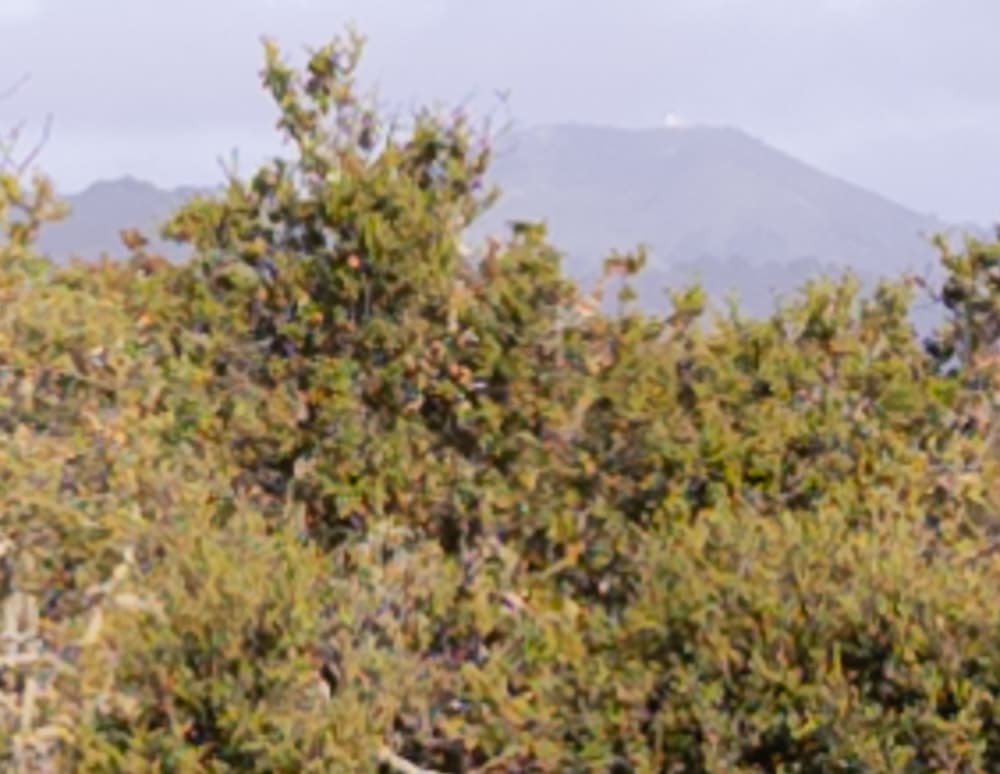
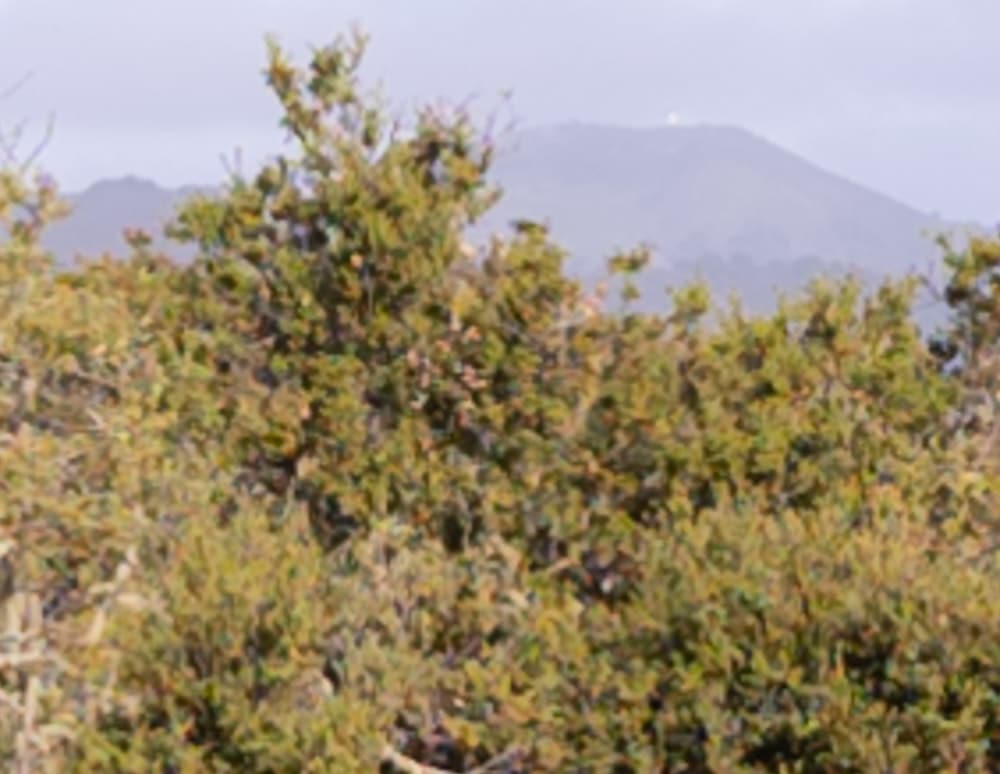
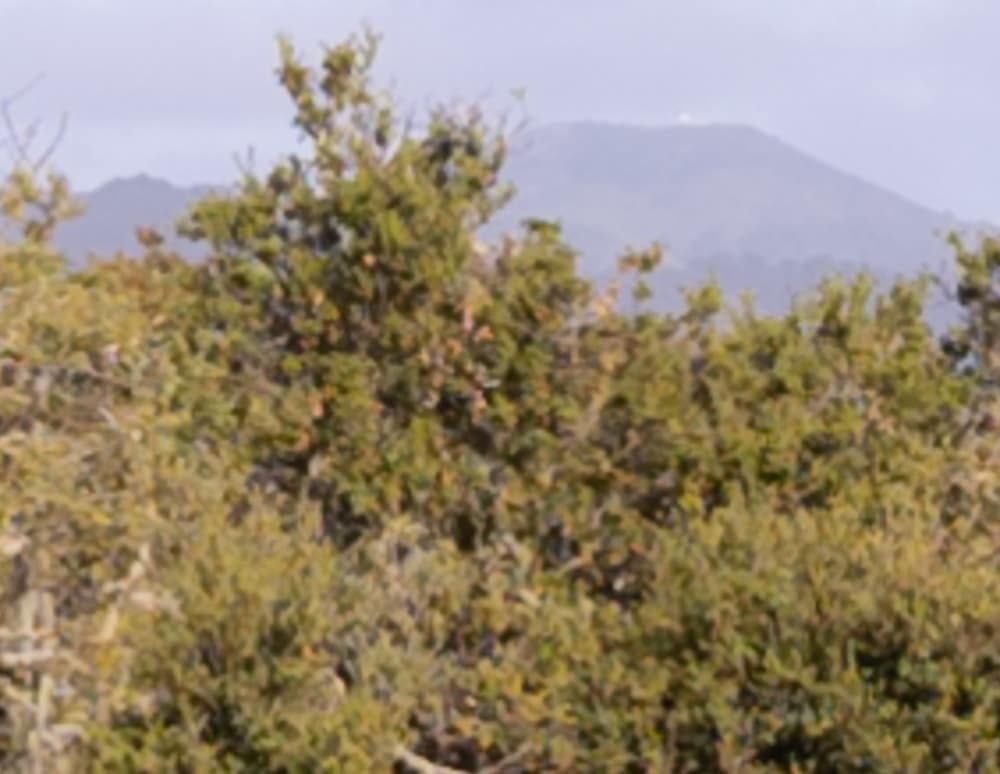
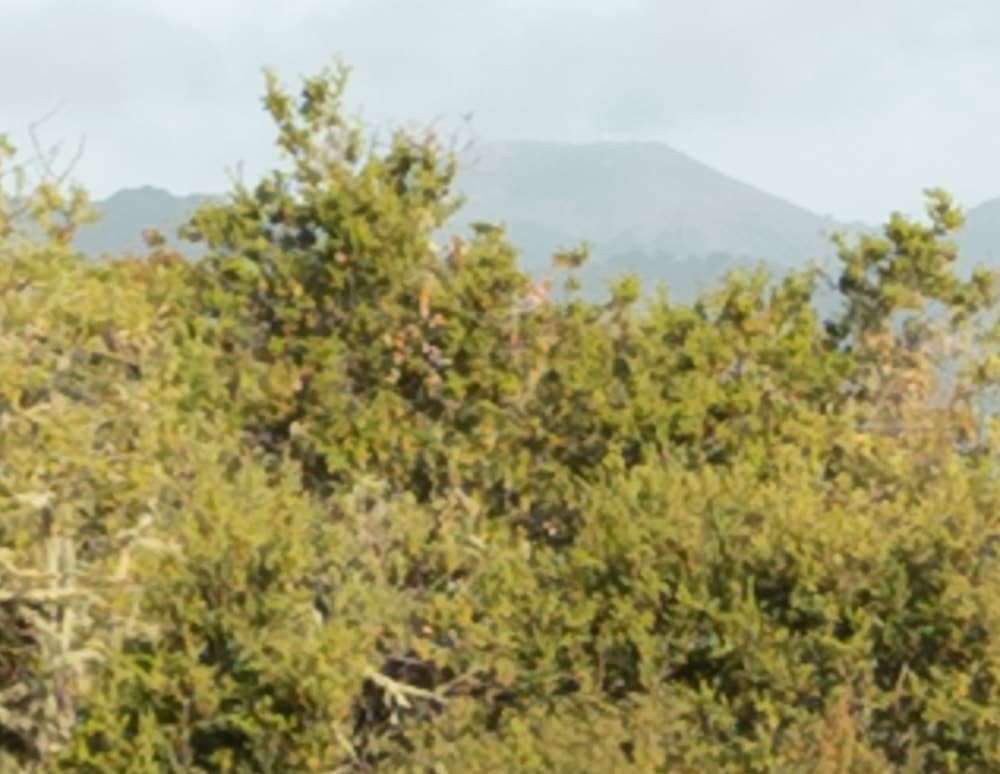
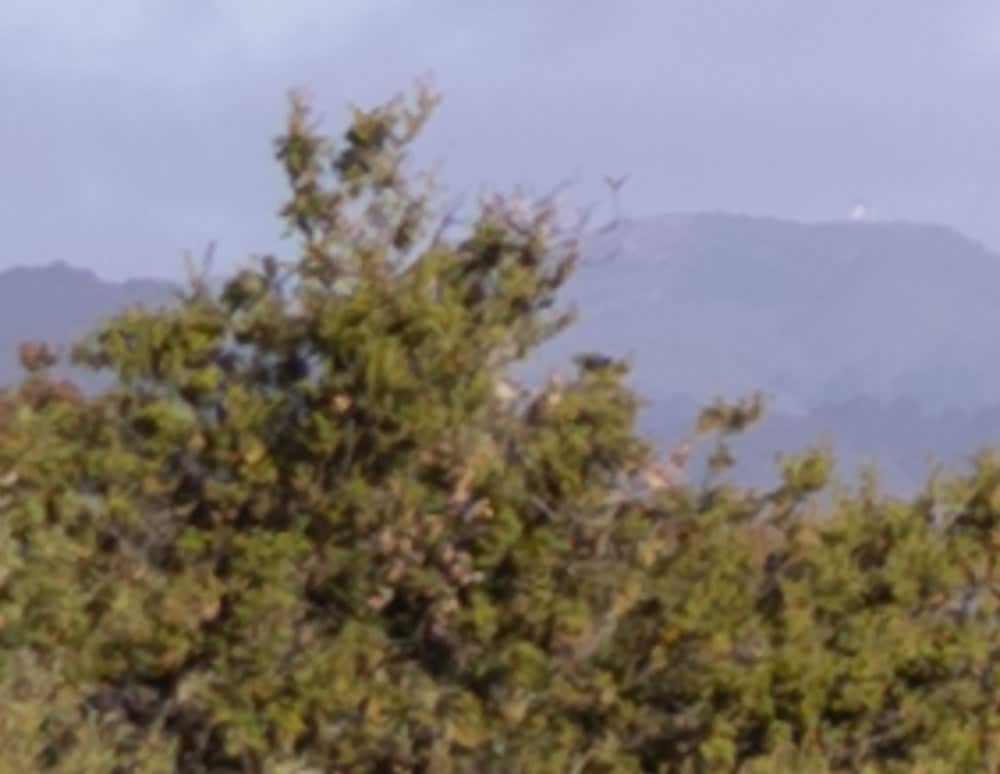
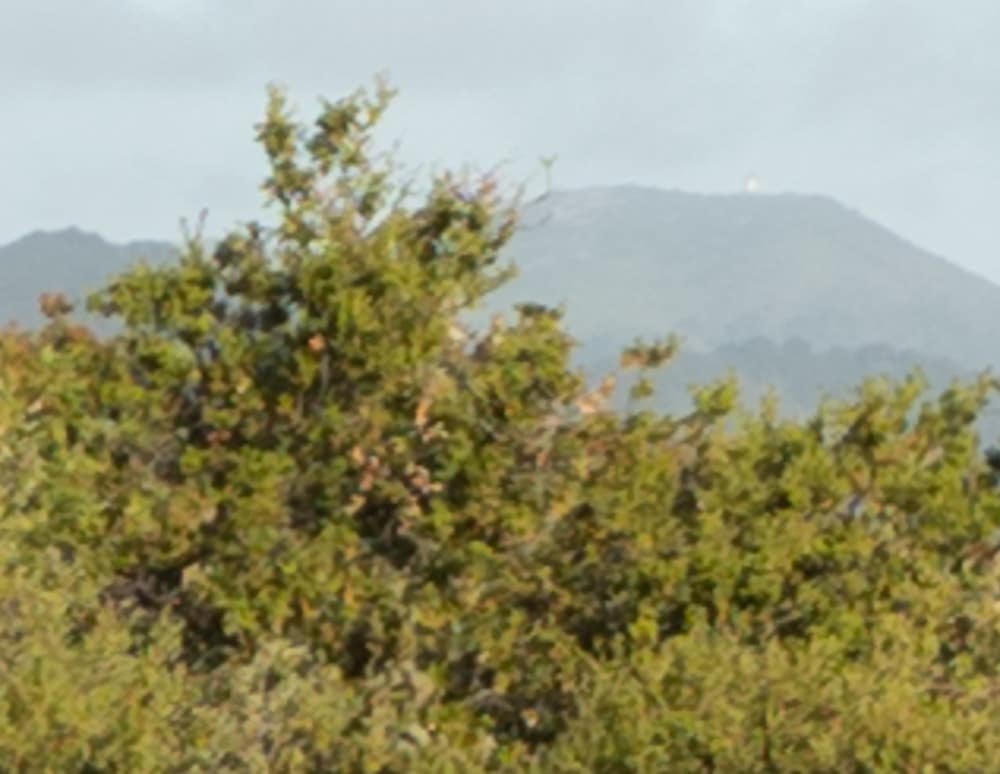
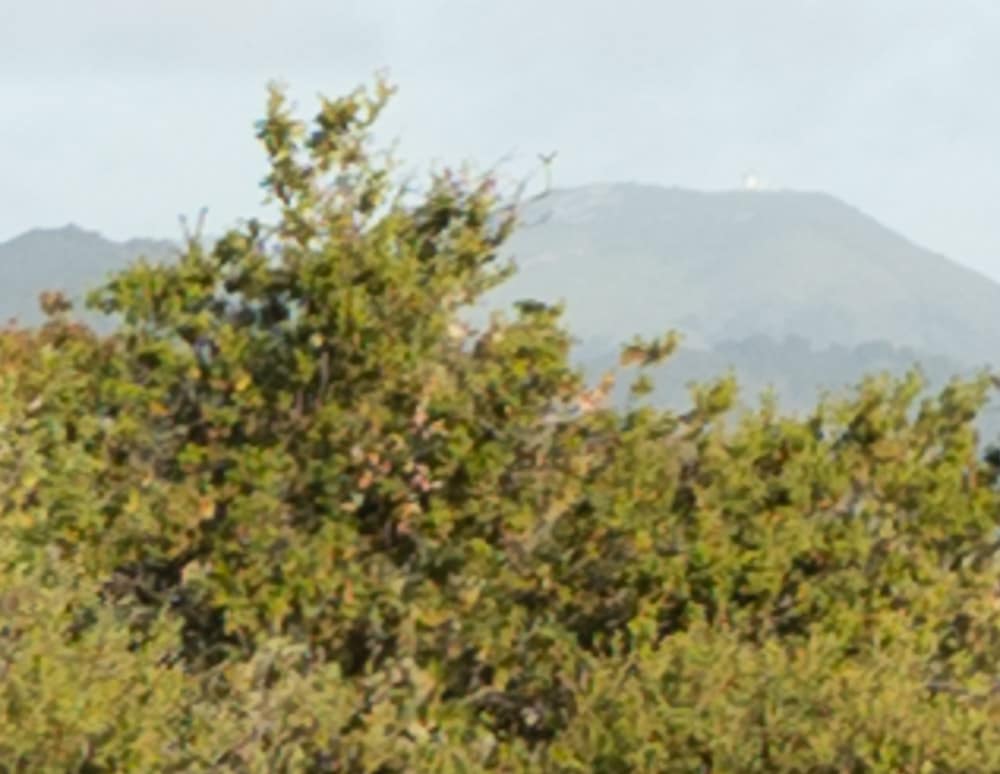
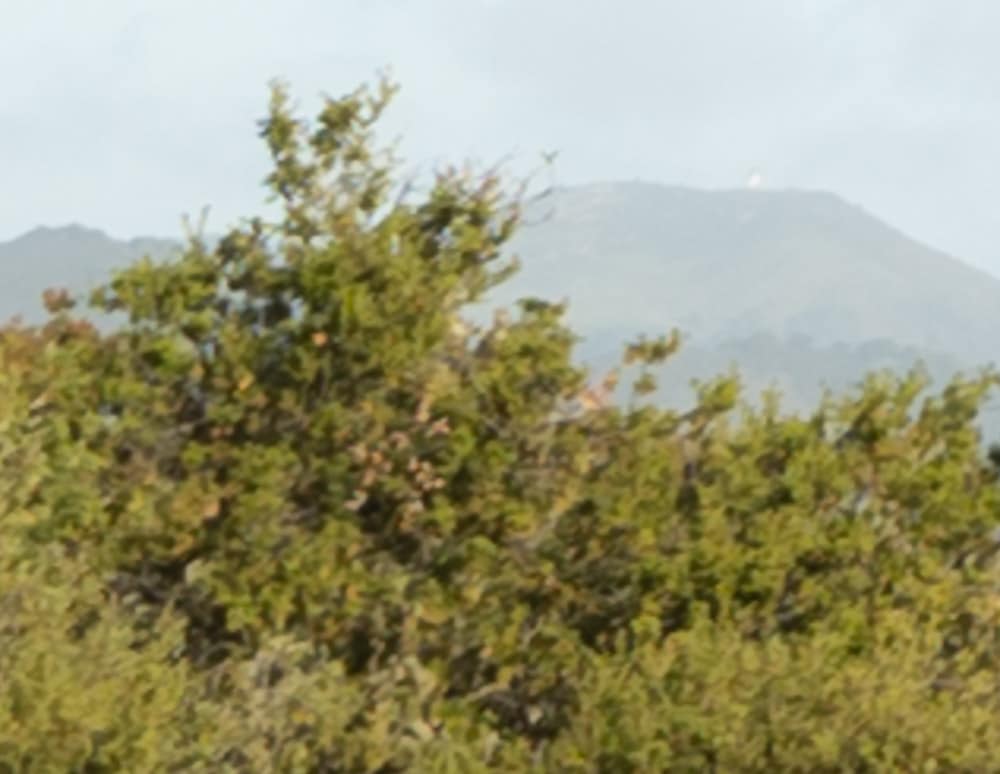
Here’s the scene, with both cameras at equivalent apertures:
Corner falloff is less with the Fuji.
Here’s the test protocol:
- Distance: 97 meters
- ISO 64 for the Z7, and 100 for the GFX 50R
- Manual exposure, ETTR in live histogram.
- Subject in the center and the lower left corner.
- Manual focusing.
- Three shots at each setting, focusing anew for each shot, picking the best. This method calibrates out focus curvature.
- Developed in Lightroom
- Sharpening set to amount 20, radius 1, detail 0, which is quite a bit less than Lr’s default sharpening.
- Daylight white balance
- Adobe Color Profile
- Minor exposure adjustments, with same adjustment applied to all images from both lenses, so corner darkening is unaffected.
- Lens corrections undefeated.
- Everything else at default settings
We’ll look at some tight crops.
If you’ve seen these here before, just jump to the images. If not, I need to spend some time telling you how to interpret them. They’re at roughly 250% magnification, enlarged to 700 pixels high on export from Lightroom. If you just want a rough idea of the differences, just look at the images as displayed in-line in the posts. However, if you wish to compare these images in detail, you should view these images by clicking on them to see the source files, then set your browser for 100% zooming. Even better, download them and make Photoshop stacks.
No matter what you do, these crops are all going to look horrible. I’m blowing them up so much so that they will represent the original file after JPEG’s discrete cosine transform has had its way with them. If you want to get a good idea of what the images would look like printed, get far away from your monitor. No, farther than that. Put a bunch of the images up on the screen and back up until the best one starts to look good. Then look at the others. There’s another reason why these images won’t look like the best thing the camera/lens combination can deliver. They’re demosaiced with Lightroom. Lightroom is not awful, but for a particular image, there are usually better raw processors. I use Lr because it’s a de facto standard, because I know it well, and because it’s got good tools for dealing with groups of images.
Here’s how to use these highly-magnified crops. The dimensions of the Z7 sensor is 8256×5504 pixels. If we make a full-frame print from the Z7 on a printer with 360 pixels per inch native driver-level resolution, like the Epson inkjet printers, we’ll end up with a 26.4×17.6 inch print. The 282×218 pixel crop you’re looking at will end up 0.8×0.68 inches. Let’s imagine that you or your viewers are critical, and will look at the 27×18 inch print from about 18 inches (conventional wisdom is that the distance would be a little greater than that, or 28 inches (the diagonal), but you did buy a high-resolution camera for a reason, didn’t you?). The Fuji images are slightly larger (317×246 pixels), since the Fuji sensor has a greater image height measured in pixels. I picked the crop sizes to hold crop image height as a percent of sensor image height constant across the two cameras.
The next step is dependent on your monitor pitch, which you may or may not know. Turns out, you don’t have to know it. Just take the 250% crops and view then at 1:1. How high are they? Get out your ruler and measure, or just guess. Let’s say they are 6 inches high. 6 inches is about 7 times 0.8, so in order to view the crops the way they’d look from 18 inches on the print is to view them from 7 times as far away, or 10.5 feet.
Everything here scales proportionately. If the image on your screen is bigger than 6 inches, increase your viewing distance by the ratio of your image height to 6 inches. If you think your viewers are going to almost get their nose to that print and look at it from six inches, divide that 10.5 feet by 3, and look at the image on the monitor from three and a half feet away.
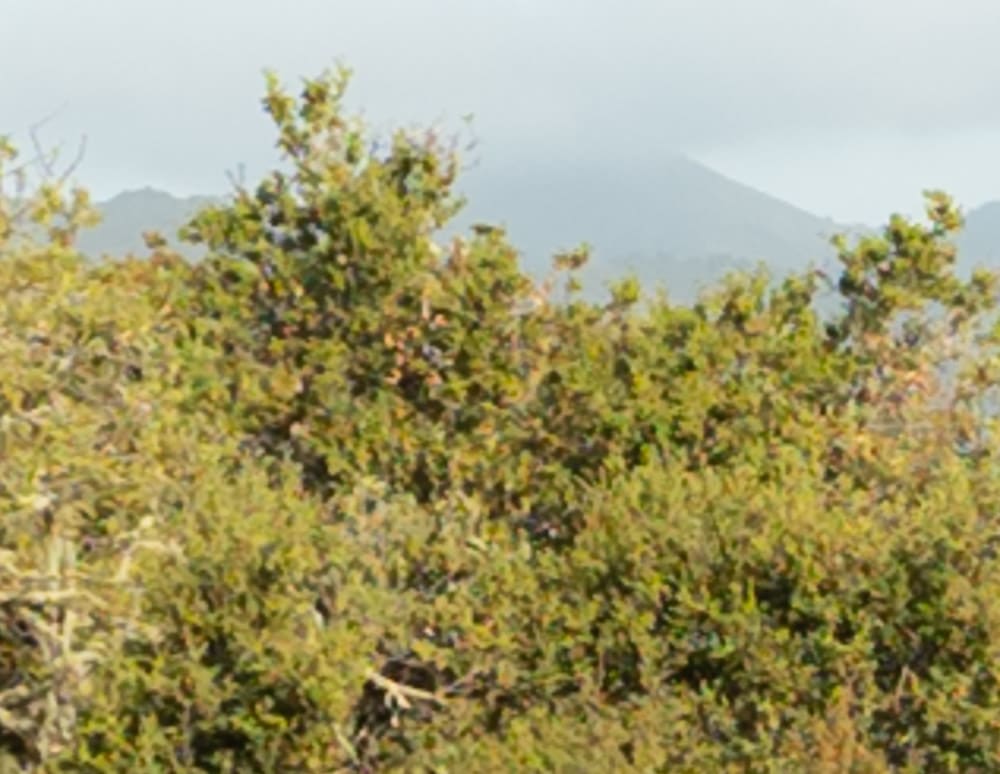
In the center at equivalent apertures:
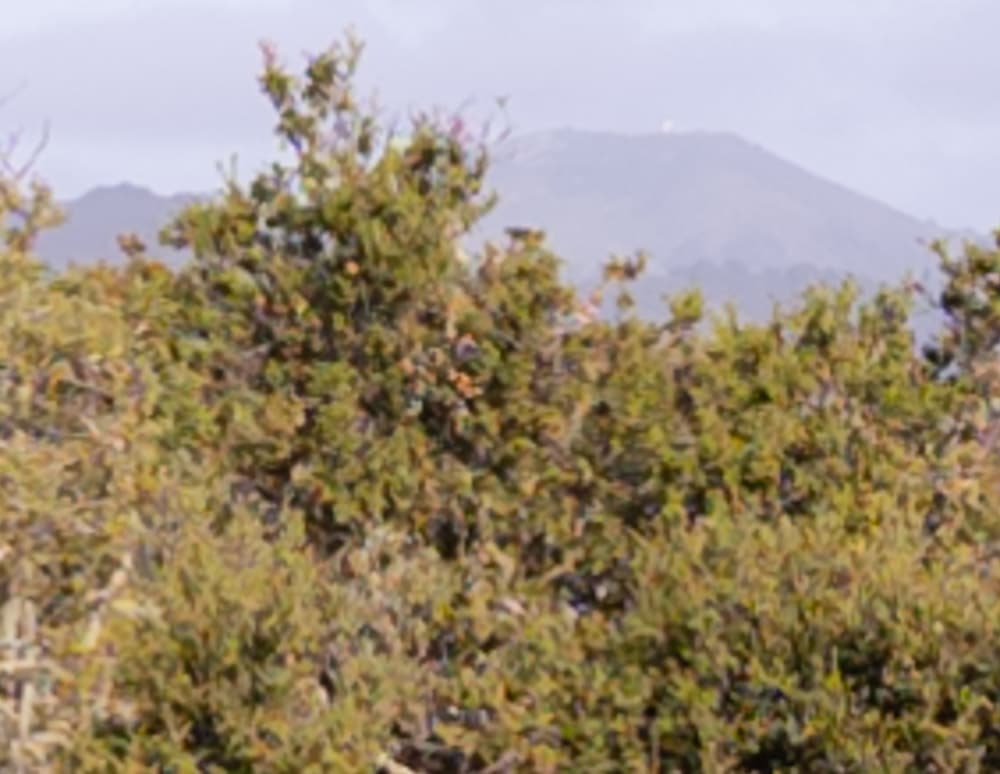
The Fuji is more detailed.
Same.
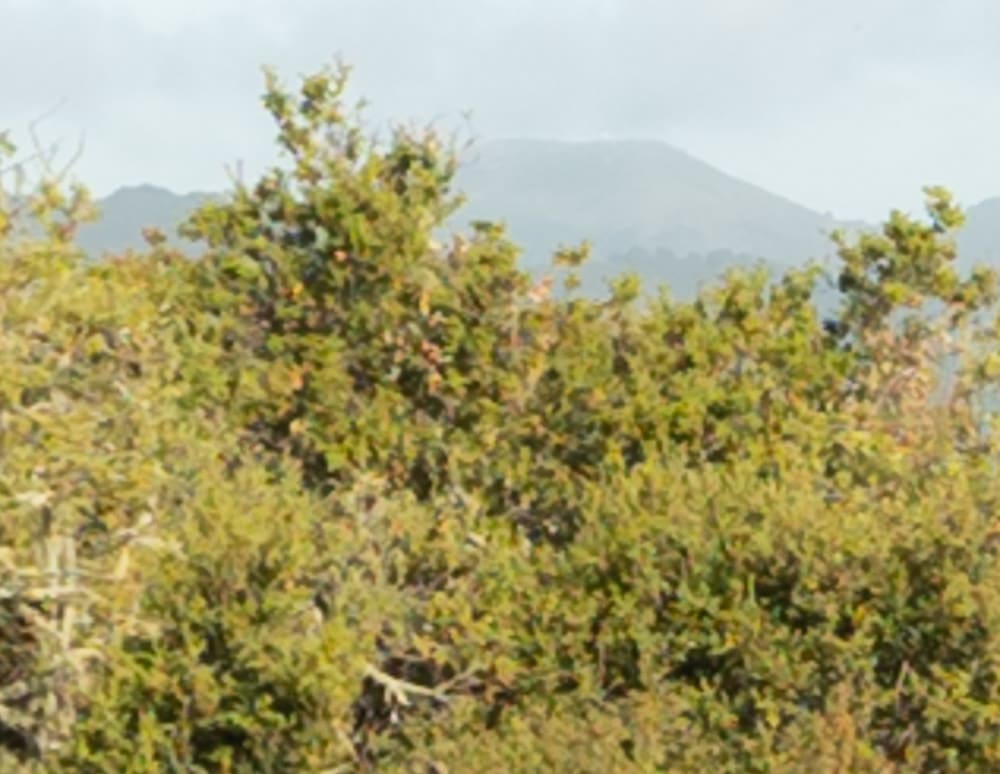
Same.
Same.
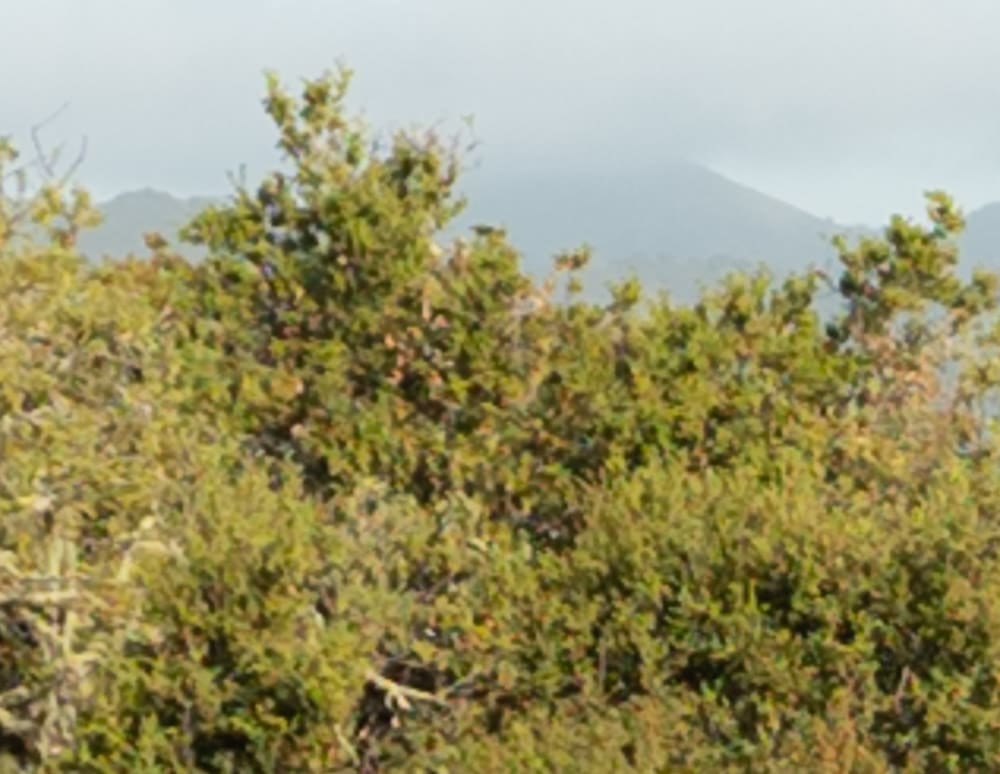
In the lower left corner:
The differences are more striking in the corner.

That’s a pretty substantial difference.
The trend continues.
In this case, you get what you pay for. On the other hand, you can make quite nice landscape photos with the 20 mm Nikkor and a Z7.
Not to mention
You can use the 20mm nikkor at f1.8 ;
2.3 stops more light and it costs less than halve.
You’re comparing MF with FF, you can’t compare aperture values like this.
Jim,
As an interesting comparison to these, might I suggest mounting a good 28mm on the Z7, turning the camera to portrait orientation, and doing an equivalent composite panorama?
If you do that, you’re effectively creating a 36×48 mm or 36×54 mm sensor with a finer pixel pitch than the GFX 50R. And, with the right amount of overlap and cropping, you won’t have to use the corners of the 28 m lens. So it’s going to look better than the Fuji shot.
Yes, I would think so, but that greater pixel density advantage was not the sole reason I brought it up. Rather, I based the suggestion as much on the practicality of a 28mm. Personally, I like the 28mm focal length (on full frame). It’s a good focal length for a walk-around lens, and I find it to be the widest that I like (for general use) before too much perspective exaggeration sets in.
Obviously, if the predominant use is architecture, interiors, situations where exagerated perspective is desired, or where because of subject motion, stitching is problematic, then of course the 20mm may well be preferable to a 28mm. But otherwise, I think the better thing to do is to have a 28mm on camera, which would be more useful for more shots, and then do a multi-shot panorama for those smaller number of cases where a wider perspective is desired. YMMV, and I’m just making the suggestion because this particular test of yours is a landscape situation, where stitching is often practical when a 20mm perspective is desired.
The only fly in the ointment (for me, with FF Sony) is the lack of a great 28mm for walk-around. The 28mm f/2 Sony, while small and decent value, is reportedly mediocre, particularly with regard to distortion and chromatic abberation, and the Sigma and Otus 28mm, while reportedly excellent, are massive and quite costly. I wish Sony or some other company would make a top-quality 28/30mm of moderate maximum aperture intended for landscape. That, for me, would be more useful than their recent 20mm.
The right answer is: you are suggesting a comparison of two different kinds of images, one resulting from an orthogonal projection an the other captured while panning. The image fields don’t match, as the stitched photo shows horizontal straight lines as curves, except at the horizontal center of the frame. To achieve exactly the same coverage with stitching, you should mount a MF 28mm and use a shifting adapter, but that would cost much more than the excellent 20mm from Nikon and Sony, would mean more work and would have more limitations.
The answer is simple: if you are tempted to explore a wider angle than your favorite 28mm, then give yourself the chance to enjoy some of the best 20mm ever built for digital photography, which Nikon and Sony have just released.
Needless to say, I am replying to FredD.
@Zé De Boni
Yes, you’ve made an important point, though I was previously aware of projection differences (my background includes some GIS and remote sensing, so, beyond everyday photography, I have two additional sources for awareness). In fact, all projections of three-dimensional space onto a flat plane will introduce one or more distortions — shape, angle, distance… . Also, there is the distortion that occurs when the effective viewing angle of the print doesn’t match the taking angle — and it usually doesn’t.
The rectilinear projection from a wide-angle lens is not devoid of distortion, and depending on subject matter, can itself be objectionable. That’s why we usually try to avoid locating people in the corners of such a photograph.
There is no right or wrong answer here, and I’m not suggesting that the new Sony and Nikkor 20mm lenses aren’t useful. One day I might even acquire the Sony 20mm myself. Regarding what I said previously, I was just approaching the issue from my personal perspective — someone who appreciates the extra quality potentially obtainable from a prime lens (vs. a zoom), but who also tries to minimize carried weight because of an aging back, and who wants to minimize lens changes for reasons both of convenience and because I live in the desert. It so happens that the stitching technique that can mitigate the disadvantage of carrying fewer primes also has the side benefit of increasing resolution and detail. And also carries the side effect (possibly beneficial, possibly detrimental, depending on situation and preferences) of possibly altering projection (depending on how the software assembles/maps the panorama) .
We are actually in a golden age for equipment choice. Budget and other limitations permitting, we might as well take advantage of that, before civilization (such as it is) collapses completely!
Could you the same comparison for the Sony 20mm F1.8 on the A7R IV vs the GFX 23mm F4 on the 50R ?
Your tests show the Sony lens is a little sharper than the Nikon lens and the A7R IV is slightly higher res. I would be really interested to see the comparison.
Thanks in advance
(PS: I think testing the Sony on the Nikon is not entirely fair due to their different sensor stack thickness and each lens being designed for their native stack)
Then look at this test.
https://blog.kasson.com/nikon-z6-7/nikon-sony-20-1-8-foliage-test/
I’ve found whatever differences in the stack thickness may exist to be unimportant. (Do you know the optical thicknesses of the two cameras’ stacks?)
I did notice that my 20/1.8 Nikon perform better (sharpness) on Gfx 50R – with adapter and in 35mm mode – than on the D850. I dont know if that’s obvious. What’s the math behind this?
Thanks in advance.
I’ll bet it’s the small microlenses on the GFX 50R. They are built for sharpness, but not for low aliasing.