I have long recommended not using the GFX 50x ISO settings above ISO 1600 unless necessary to get adequate finder and preview image brightness. Yesterday, I reported on pushing files exposed at ISO 1600 by three stops in Lightroom Classic (LrC) and compared the results to files exposed at ISO 12800. There were white balance differences, and the tone curve appeared to be somewhat different, but I saw no reason to change my recommendation.
But then I had a thought. We know that the GFX 50x stops increasing the gain applied to the raw data after ISO 1600, and lets the raw developer perform that operation. But what if the raw developer is smart enough to ignore or modify the instructions to apply gain and have highlights that would be clipped if the gain were applied be salvageable?
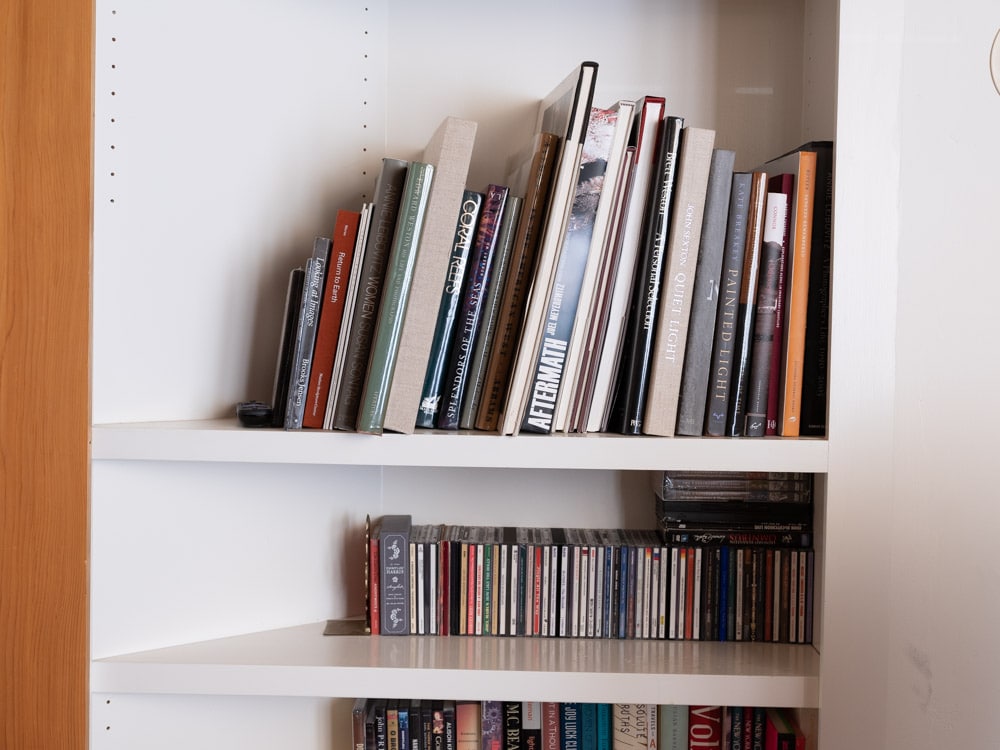
I made two exposures with a GFX 50S and the 63 mm GF lens. The first was an ETTR exposure at ISO 1600. The second was the same exposure, but with the ISO set to 12800.
The two images, developed in LrC with default settings:

I then applied a three-stop LrC Exposure pull to the ISO 12800 image:
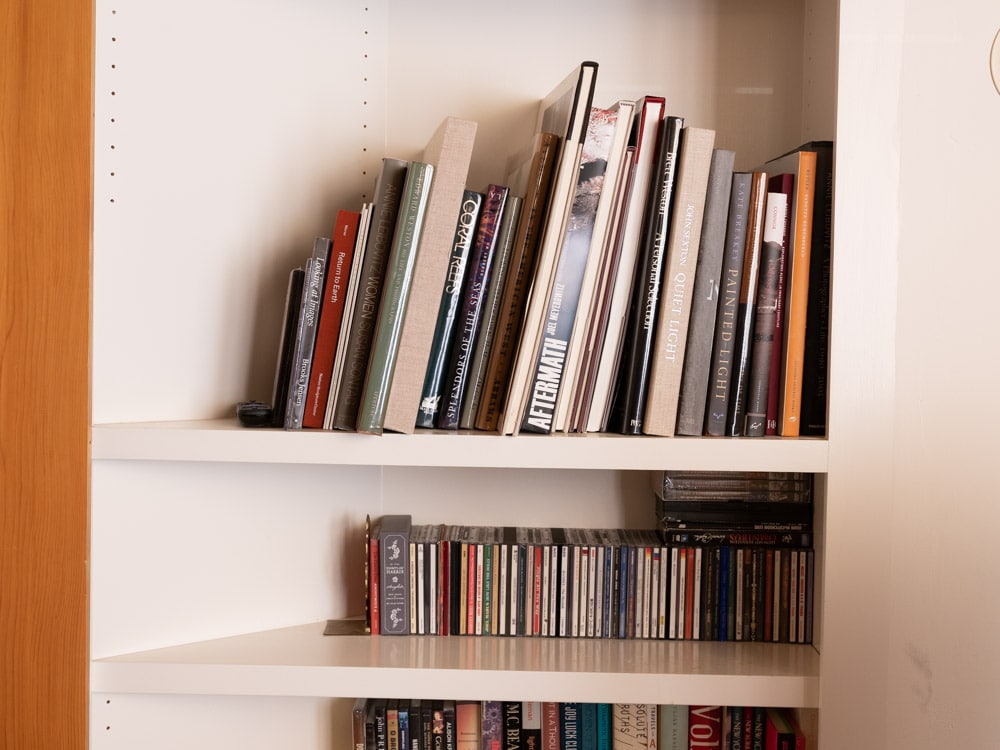
I’ll repeat the ISO 1600 Image so you can compare the two more easily:
There are white balance differences. But the highlights don’t look blown in thee ISO 12800 image. Let’s take a closer look at an area with some specularity:
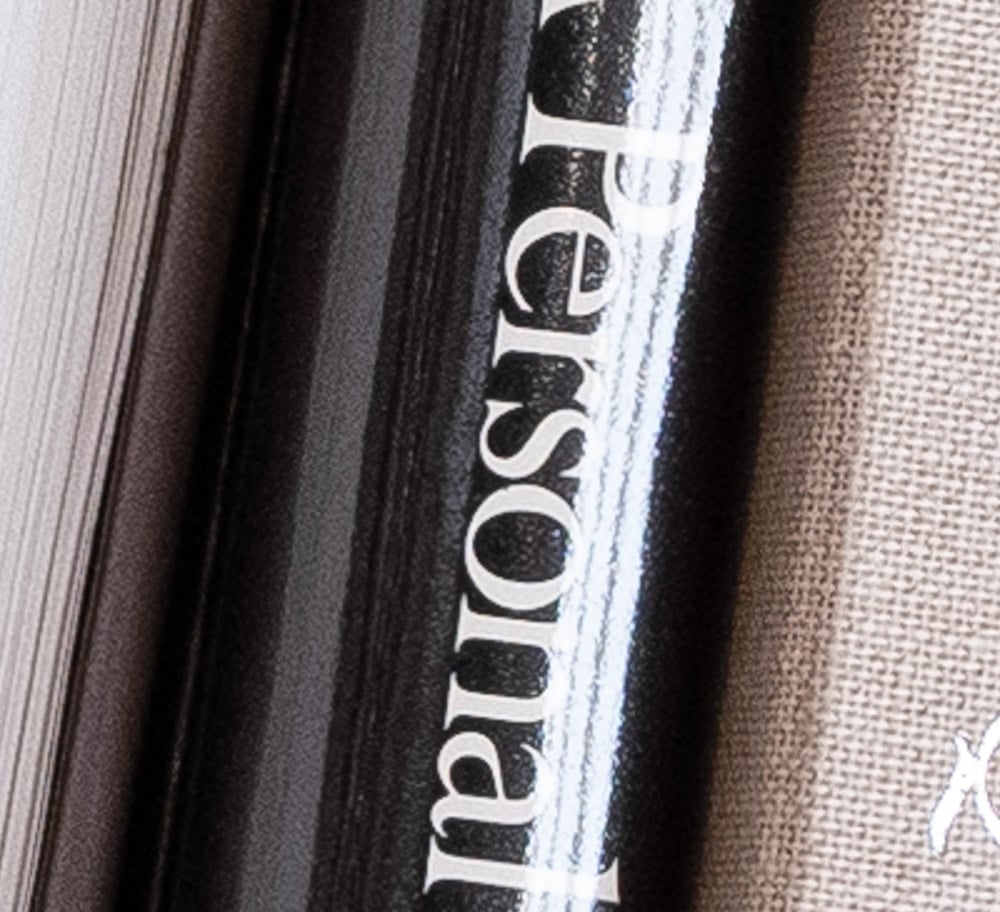
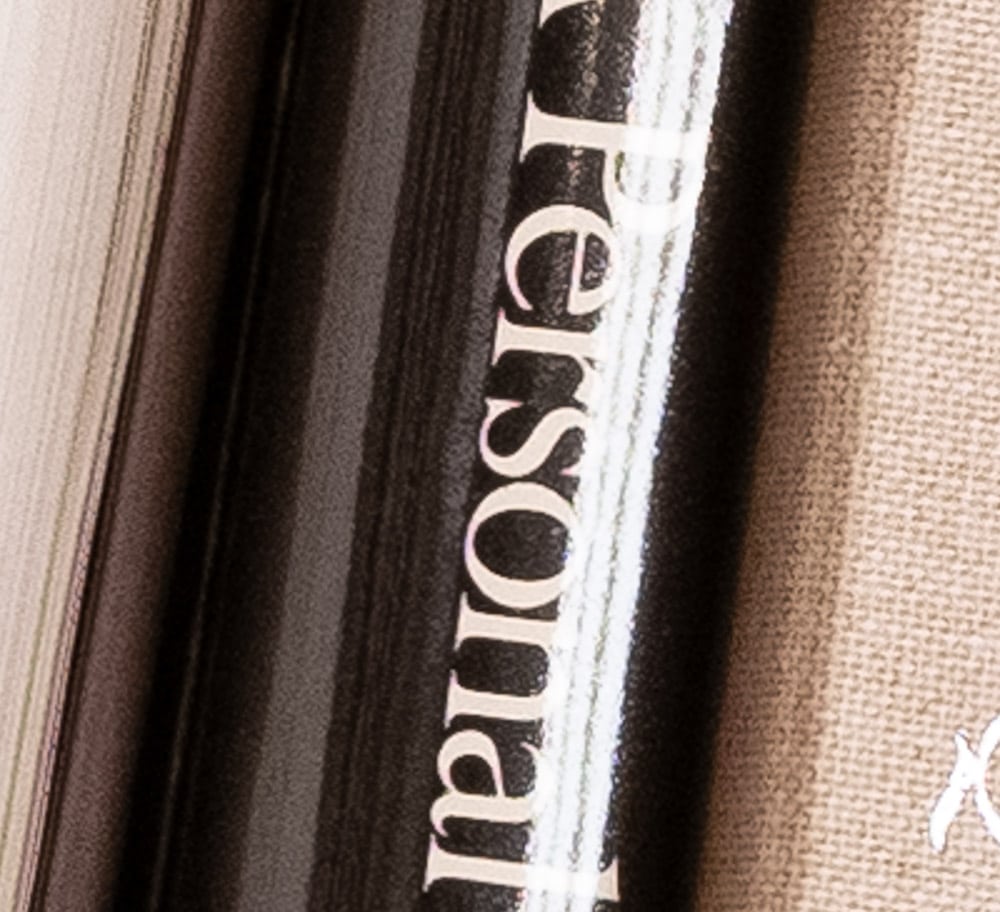
The ISO 12800 shot looks a heck of a lot better than it would if the raw data were overexposed by three stops.
Let’s look at a shadow area:

I am forced to retract my advice about ISOs above 1600: go ahead and use them, and if you find that highlights are blown in the preview images, don’t worry; you can probably save the files. I’m sure this will work with Adobe Camera Raw, but I don’t know about other raw developers.
ISO invariant
That’s not what’s going on here, since the GFX 50x doesn’t apply gain to the raw data above ISO 1600.
This works with all converters that I know of. After all, the actual RAW data is still there. This is also exactly how the DR function works. If there was a RAW converter that would irreversibly clip highlights when applying an import push, this converter would also be quite useless with RAWs that were recorded with DR400% or DR200%.
Indeed, I often use DR400% to get a brighter (more usable) live view image and also a better AWB (this applies to all X and GFX models). It’s a simple process and quite useful with high-contrast scenes that are ETTR exposed to critical highlights, such as a bright sky behind a much darker main subject. It works like this:
1. Set manual mode M and set DR100%
2. Manually the correct ETTR exposure (usually base-ISO, or the camera’s higher dual conversion gain ISO level). I recommend using the live histogram and the blinkies to determine this exposure.
3. Increase ISO by 2 stops, and at the same time increase DR from DR100% to DR400%. (Don’t change aperture or shutter speed.)
The live view will now look 2 stops brighter, but the RAW data remains unchanged. It remains as set in step 2. The only change is in the RAW metadata for ISO, DR, WB, and of course an instruction to the RAW converter to apply a 2-stop import push.
I call the settings of step 3 “ISO-equivalent settings”. To understand what happens in step 3, you need to know that DR400% decreases the ISO of the RAW data by 2 stops. In the end, 2 stops (manual 2 stop ISO increase) minus 2 stops (DR400% application, which is a 2 stop ISO decrease on RAW data level) equals 0 stops. So the exposure of the RAW data remains unchanged, but the JPEG and live view look 2 stops brighter. In high-contrast scenes, this also helps the AWB, because it uses the live view brightness distribution to determine the best settings.
Do you know why Fuji dropped the ISO-in-post scheme in the GFX 100 and GFX 100S? I think it’s a great feature of the GFX 50x cameras.
IIRC, burning the digital push into the RAW data started with the X-Pro2. Since then, all X cameras do this, so the GFX 50 series appears to be the exception here.
Personally, I assume it was because not all RAW converters understood and executed the metadata push instructions correctly and uniformly. Doing the push calculations in-camera also excludes potential Lightroom color shift issues in pushed shadow tones and similar Lightroom issues with RAWs from the electronic shutter.
That reminds me that I should test my raw editor’s behavior with GFX 50mp high iso files.
I intentionally don’t want to respect the metadata push but I’m curious if the black level issues crop up for me too.
Isn’t there a limitation to the shutter speed one can use with the dr at 400%?