This is one in a series of posts on the Nikon Z7. You should be able to find all the posts about that camera in the Category List on the right sidebar, below the Articles widget. There’s a drop-down menu there that you can use to get to all the posts in this series; just look for “Nikon Z6/7”.
Before I get started on this test, since there have been some questions, let me quote a message I sent to Fred Miranda about these tests:
Fred, I’ve tried all kinds of things for these quick and dirty lens tests. I still continue to perform them, even though they’re flawed, for two reasons:
A lot of people — I mean a lot! — don’t like the quantitative lab tests I run. Some of them get downright hostile about them, and many have a hard time interpreting the numbers and the graphs.
The lab tests take a lot longer to run than the Q&D ones. I don’t have enough time to test all the things I want to test as it is. This is starting to cut into, you know, actually making photographs.
I used to do the tilted camera/distant horizon tests. I ran into problems with atmospheric thermal effects providing blur (and even worse, ever changing blur) and atmospheric particulates causing wavelength-dependent scattering. You may have a better spot for that than I do.
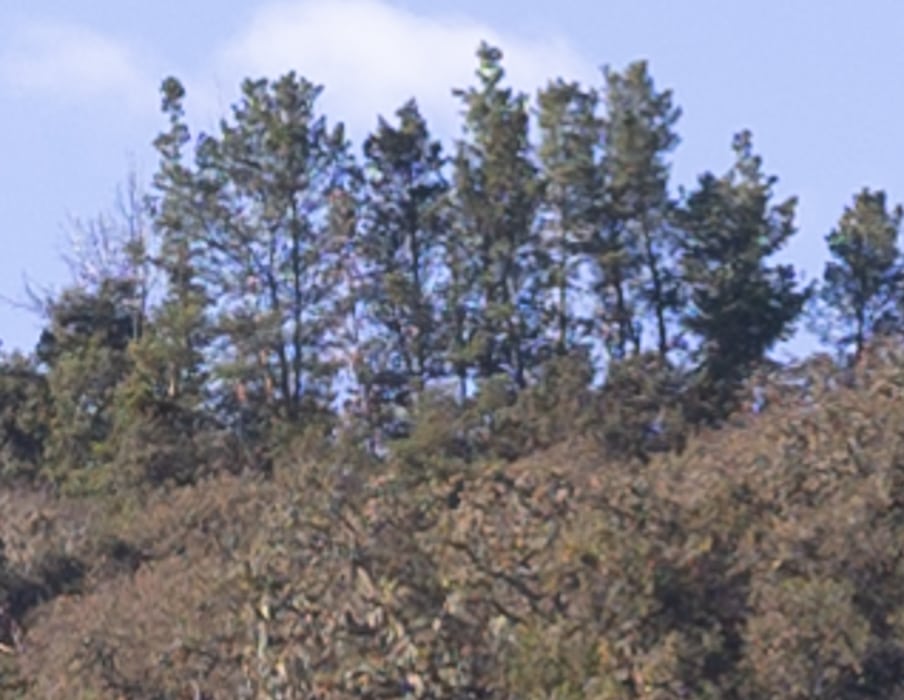
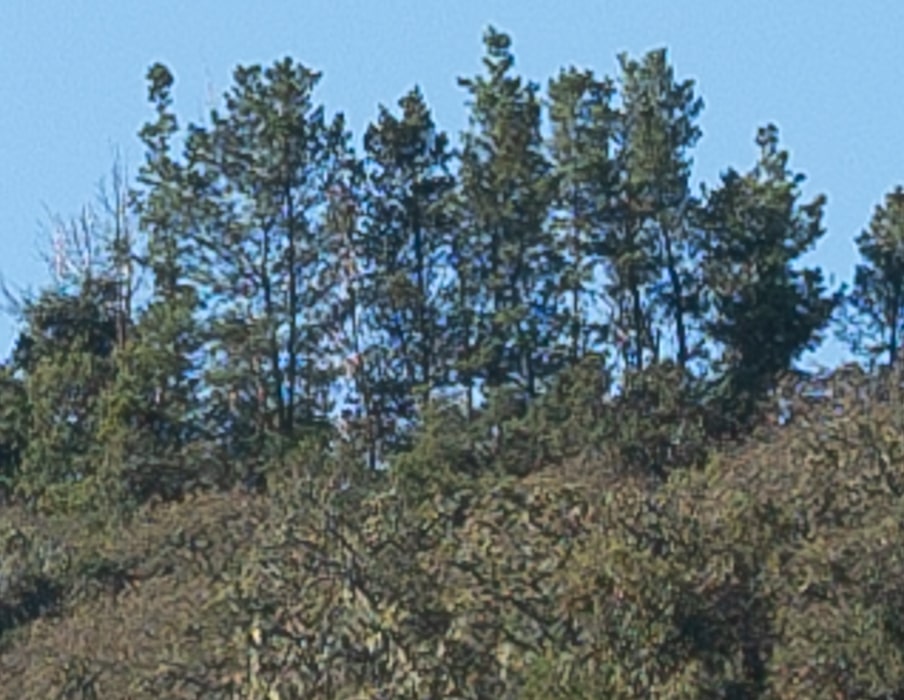
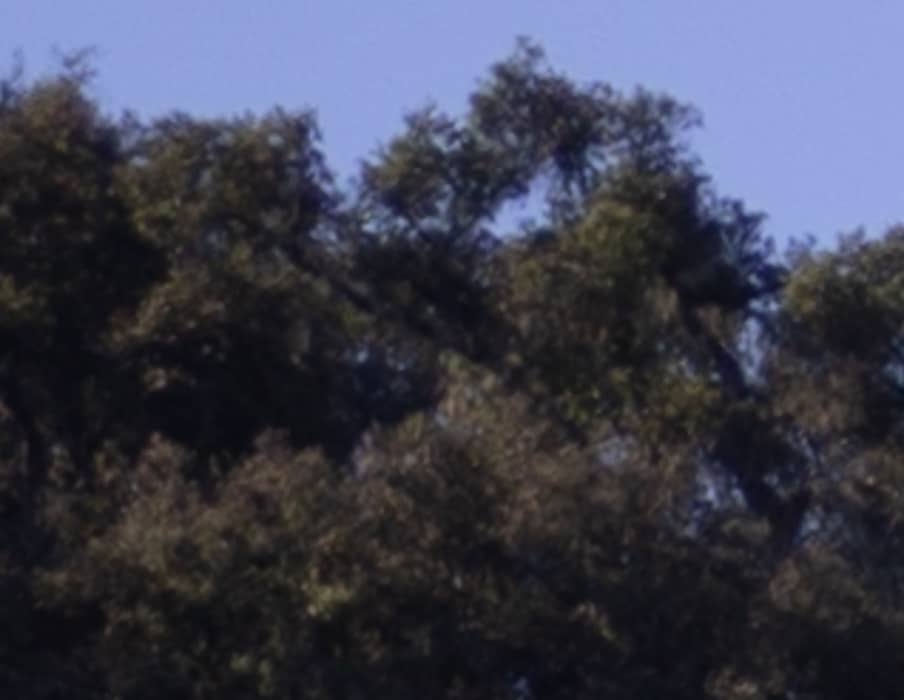
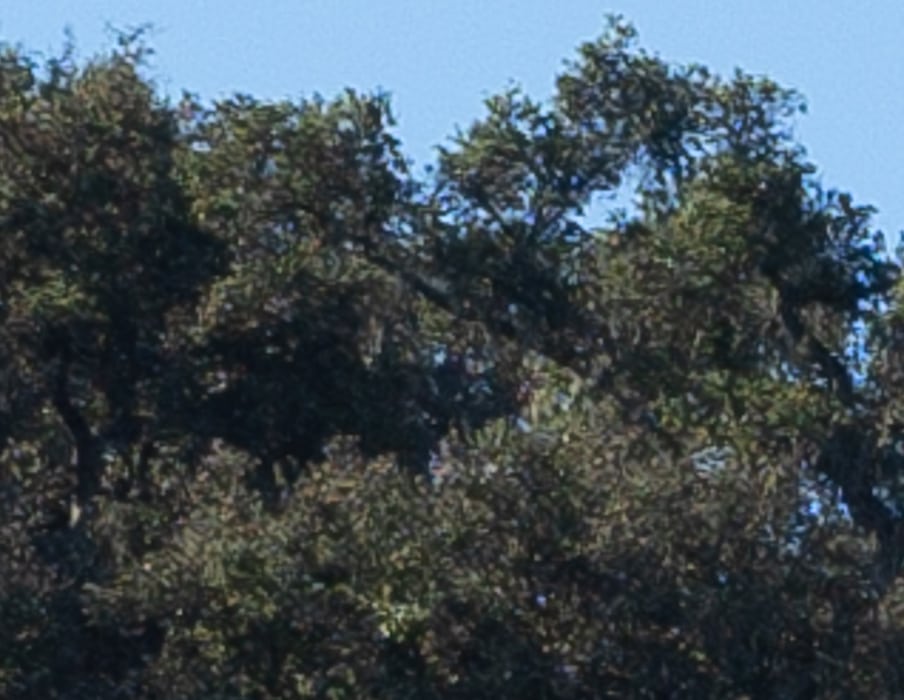
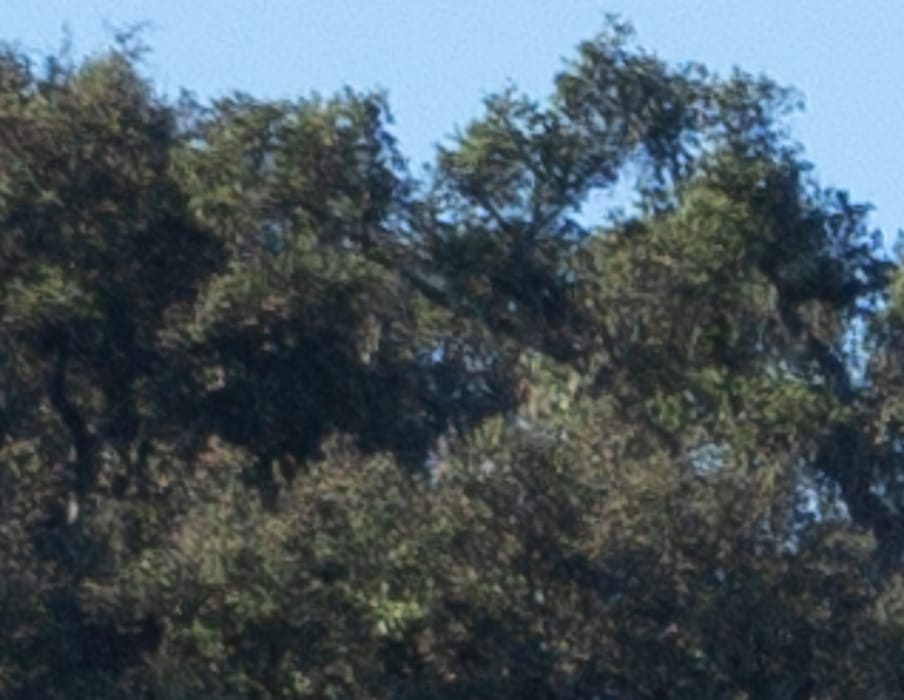
Foliage has some advantages for this. It is not regular. People know what it should look like. It moves from shot to shot, so people won’t look at things that depend on the subject’s alignment with the sampling grid. If there’s sky, it’s great for observing CA. A big advantage for me is that it’s handy. If I had to drive to do these tests, I’d do a lot fewer of them. Last, and maybe least, it has a long history in photographic lens testing; AA recommended it; although he liked bare tree branches against the sky, too. Not to easy to find a lot of those where I am.
Yes, foliage has disadvantages. It moves, and I have to plan my shutter speeds accordingly. It’s green, so the wavelengths for a camera with a good IR filter are in its sweet spot.
So, this isn’t exactly a defense of my Q&D lens tests, but more of an explanation.
This test is the result of a reader request. I initially resisted it on the grounds that it was unfair, but the reader pointed out that the new Fuji deals on the GFX 50R bundled with the 45/2.8 bring it to within about $1300 of the Z7 with the 35/1.8, so I decided to give it a go.
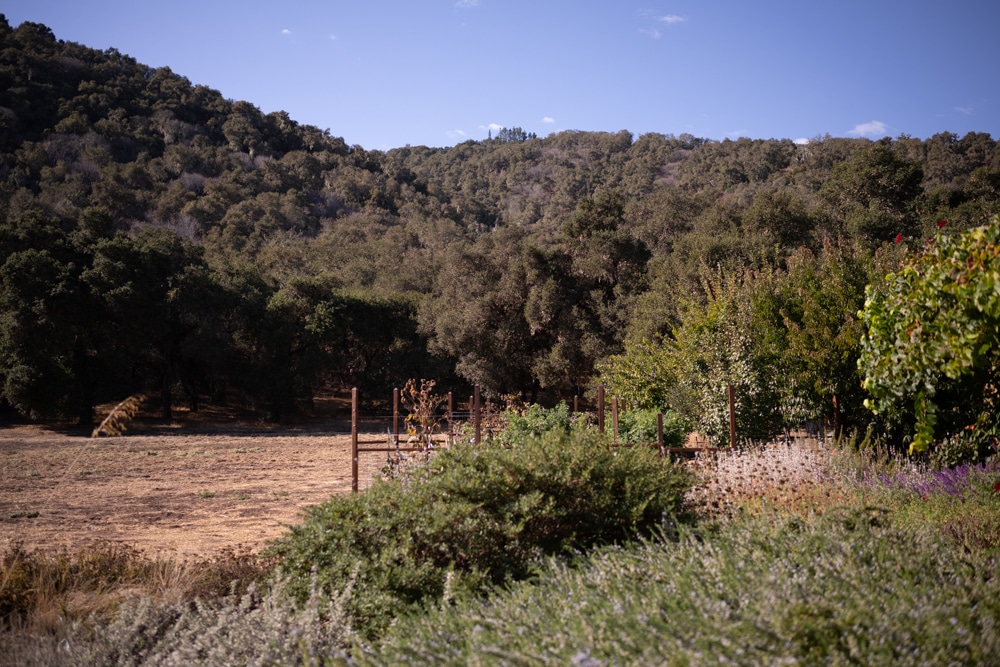
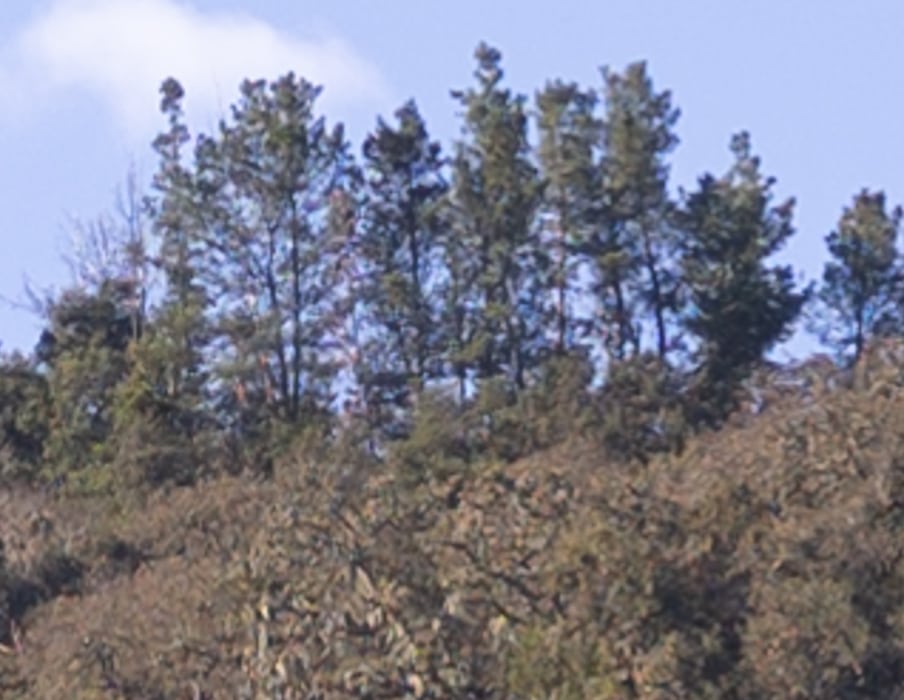
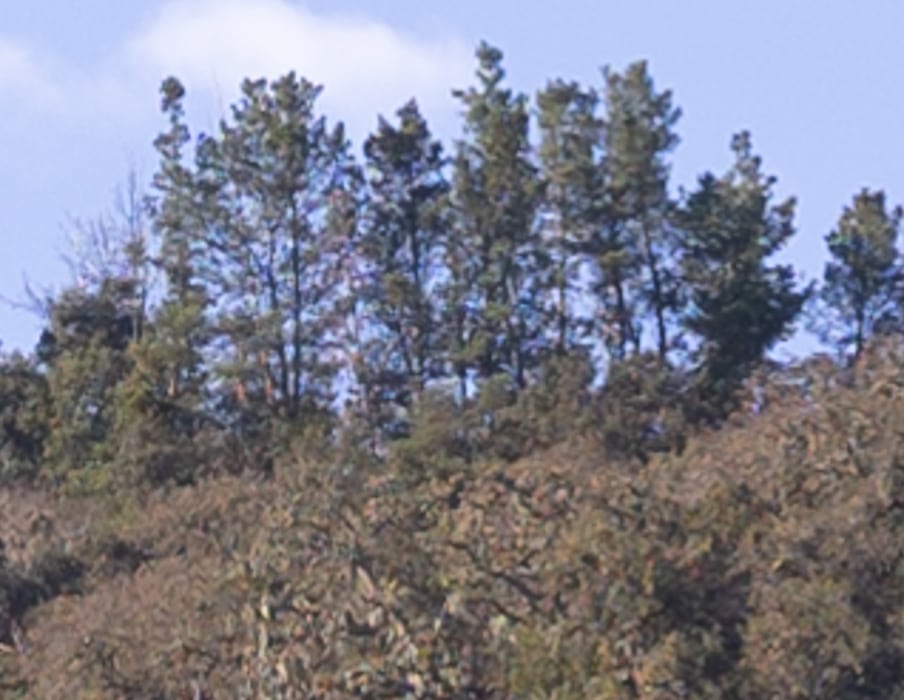
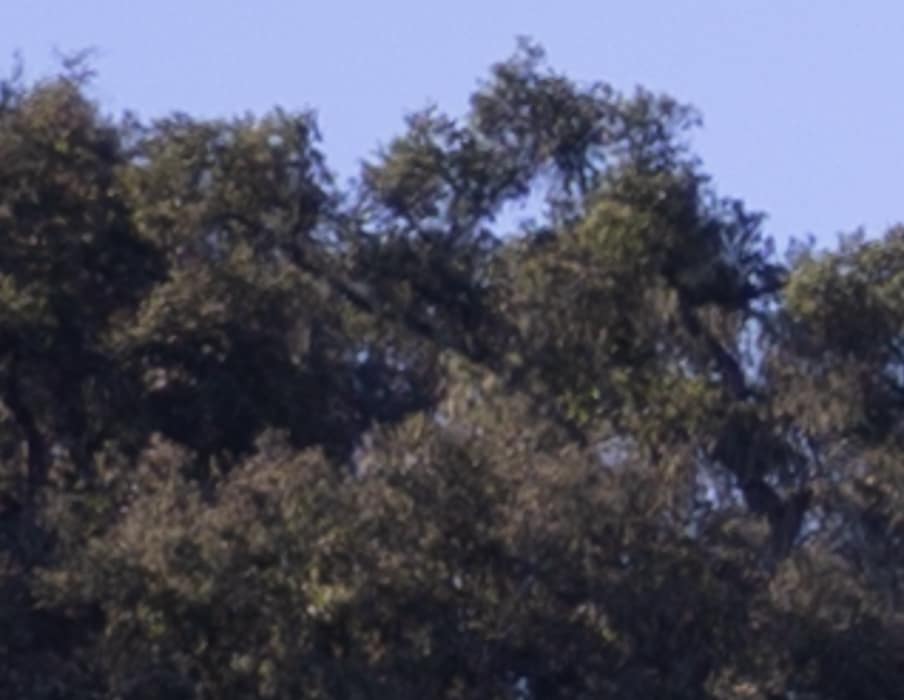
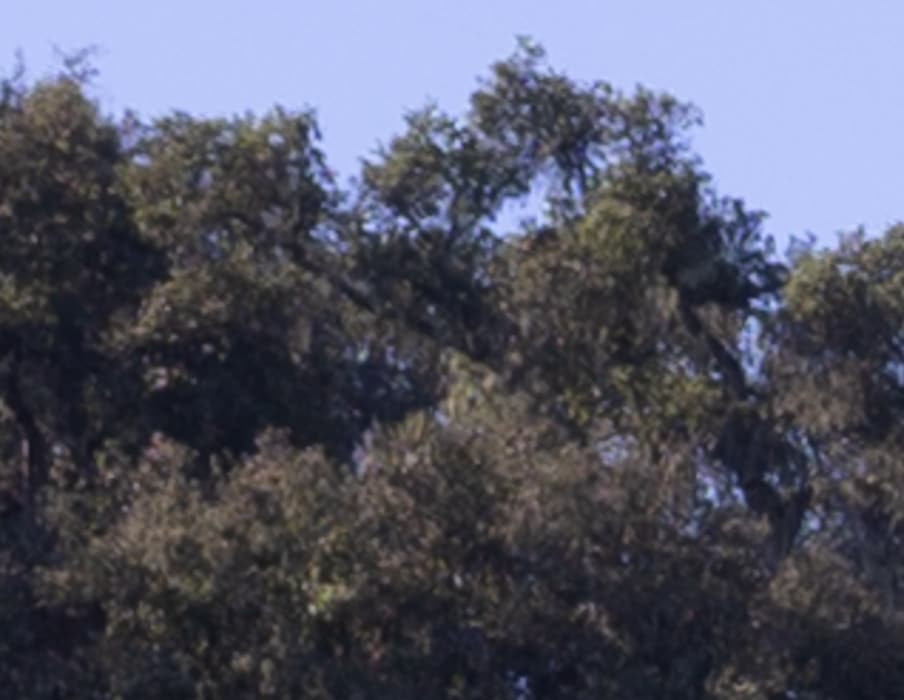
The scene, with both cameras. The Nikkor was set to f/2, and the Fuji to f/2.8, which are close to equivalent if normalized to picture height.
First the Nikon:
And then the Fuji:
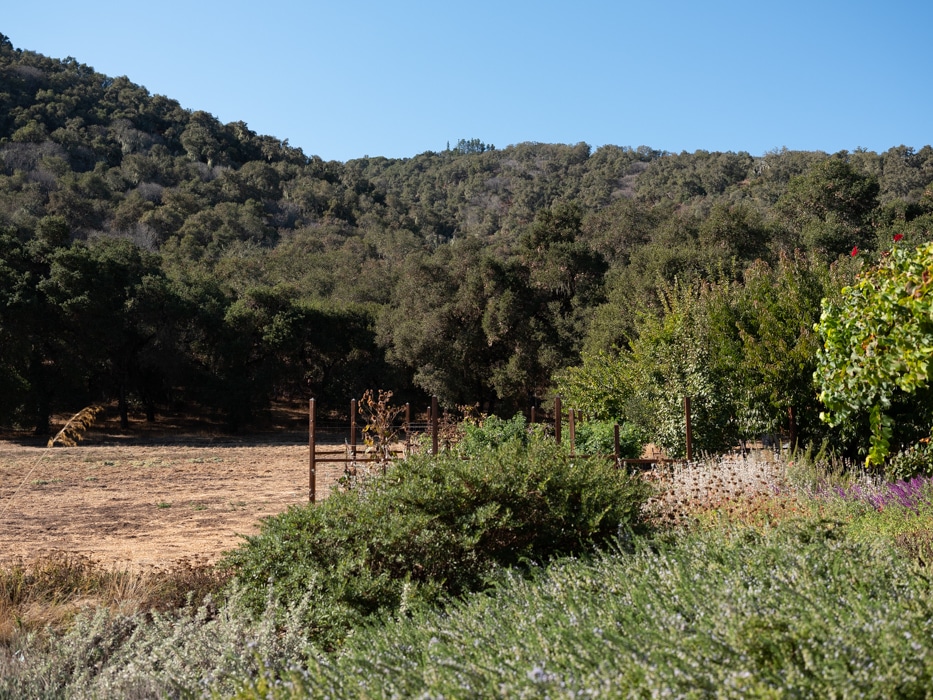
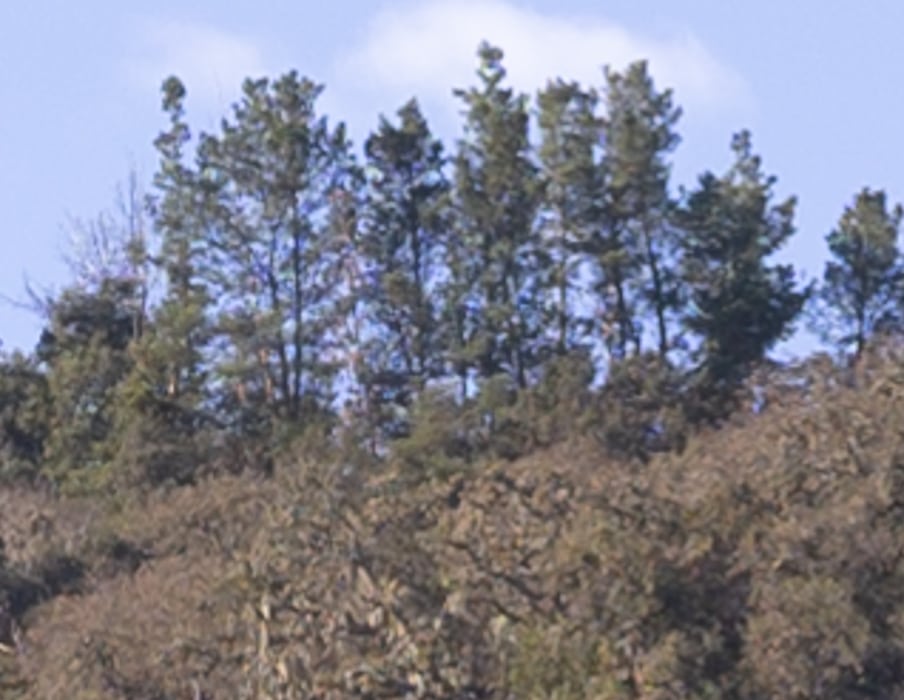
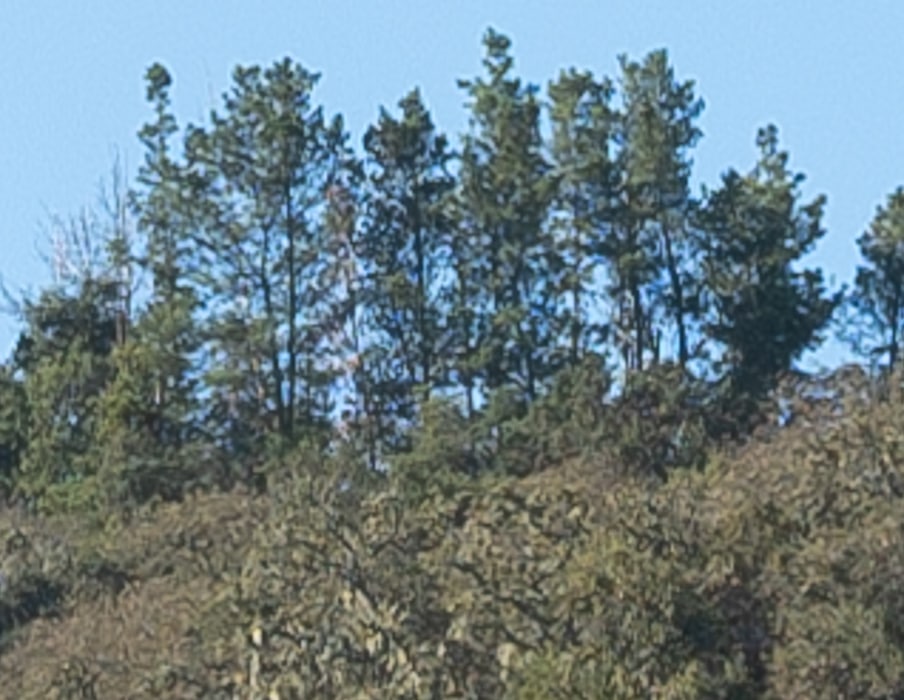
I exposed at base ISO: 64 for the Nikon and 100 for the Fuji. I developed the images in Lightroom, using the Adobe Color profile and Daylight white balance for both. Even so, the colors are strikingly different. The default sharpening and noise reduction settings are different for the two cameras. I made them the same. There are some hidden differences that I couldn’t make the same, like distortion correction. The Nikkor has greater vignetting; this is confirmed by a look at the raw files.
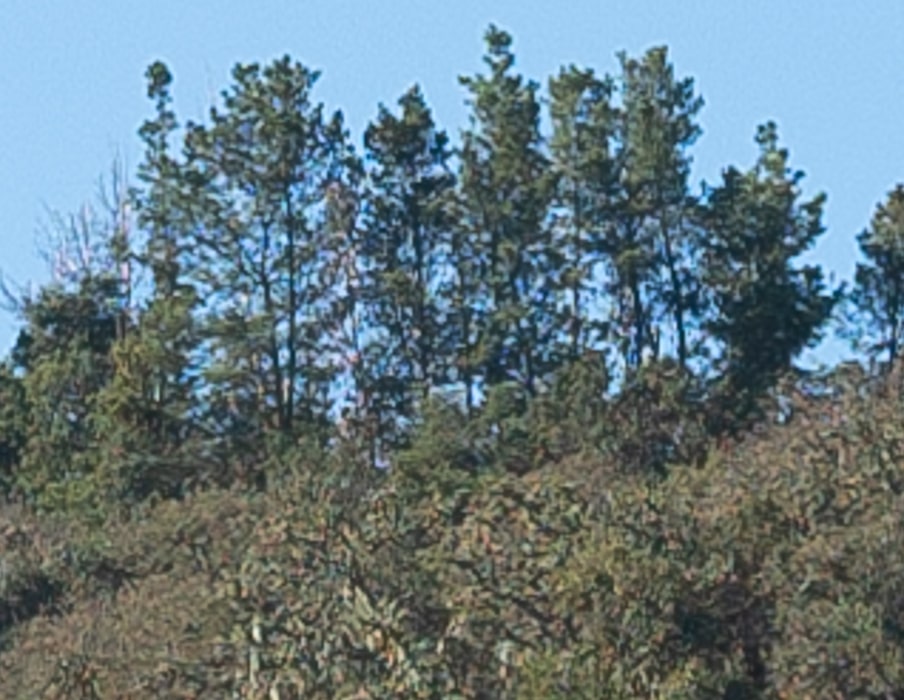
Now we’ll look at some very tight crops. Usually, I chow center crops, but both lenses are delivering enough high-frequency energy to the sensor that we’d just be looking at the differences between the sensors. So I’ll show you a highish center crop, and one at the corner of the Fuji field of view. The Nikon FOV is wider, so we’re not going as close to the corner with the Nikon.
If you’ve seen these here before, just jump to the images. If not, I need to spend some time telling you how to interpret them. They’re at roughly 250% magnification, enlarged to 700 pixels high on export from Lightroom. If you just want a rough idea of the differences, just look at the images as displayed in-line in the posts. However, if you wish to compare these images in detail, you should view these images by clicking on them to see the source files, then set your browser for 100% zooming. Even better, download them and make Photoshop stacks.
No matter what you do, these crops are all going to look horrible. I’m blowing them up so much so that they will represent the original file after JPEG’s discrete cosine transform has had its way with them. If you want to get a good idea of what the images would look like printed, get far away from your monitor. No, farther than that. Put a bunch of the images up on the screen and back up until the best one starts to look good. Then look at the others. There’s another reason why these images won’t look like the best thing the camera/lens combination can deliver. They’re demosaiced with Lightroom. Lightroom is not awful, but for a particular image, there are usually better raw processors. I use Lr because it’s a de facto standard, because I know it well, and because it’s got good tools for dealing with groups of images.
Here’s how to use these highly-magnified crops. The dimensions of the Z7 sensor is 8256×5504 pixels. If we make a full-frame print from the GFX on a printer with 360 pixels per inch native driver-level resolution, like the Epson inkjet printers, we’ll end up with a 23×15 inch (58×39 cm) print. The 318×246 pixel crop you’re looking at will end up 0.8333×0.6833 inches (2.12×1.74 cm). The Fuji crops are the same pixel dimensions, which means that we’re being tougher on the Fuji in terms of print viewing since its vertical dimension is 6192 pixels. Lightroom used to scale crops by picture height but seems to have stopped doing that. Let’s imagine that you or your viewers are critical, and will look at the 22×15 inch print from about 18 inches (conventional wisdom is that the distance would be a little greater than that, or 28 inches (the diagonal), but you did buy a high-resolution camera for a reason, didn’t you?).
The next step is dependent on your monitor pitch, which you may or may not know. Turns out, you don’t have to know it. Just take the 253% crops and view then at 1:1. How high are they? Get out your ruler and measure, or just guess. Let’s say they are 6 inches high. 6 inches is about 7 times 0.8333, so in order to view the crops the way they’d look from 18 inches on the print is to view them from 7 times as far away, or 10.5 feet.
Everything here scales proportionately. If the image on your screen is bigger than 6 inches, increase your viewing distance by the ratio of your image height to 6 inches. If you think your viewers are going to almost get their nose to that print and look at it from six inches, divide that 10.5 feet by 3, and look at the image on the monitor from three and a half feet away.
OK, here we go. In the upper middle, at equivilent apertures:
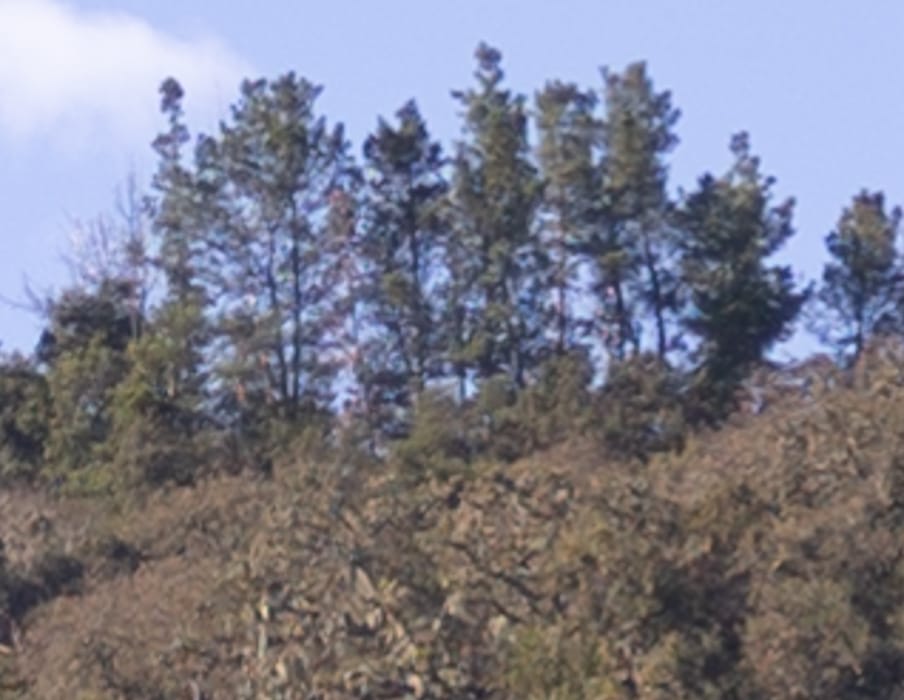
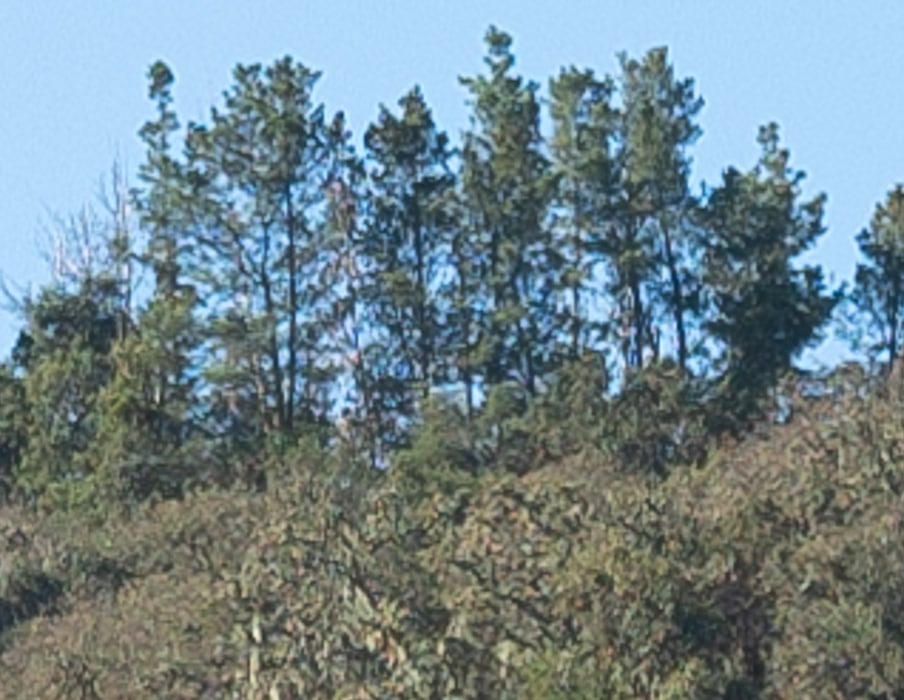
The Fuji is clearly sharper, but the two aren’t as far apart as I thought they might be.
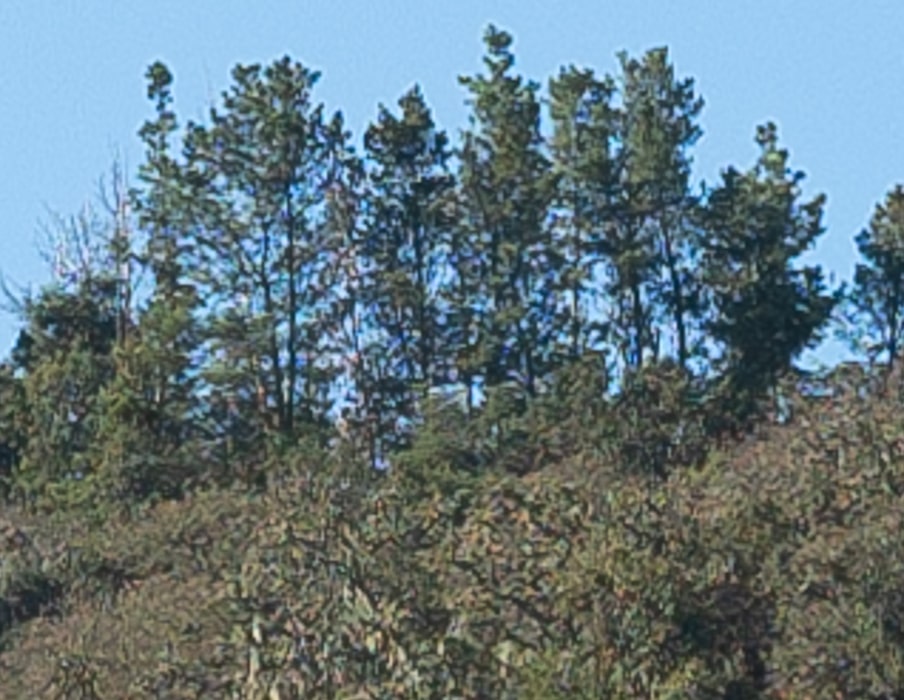
The Fuji is suffering from diffraction, and the differences in sharpness are diminishing.
The Fuji is clearly sharper at all apertures.
In the corner of the GFX images, and a bit further from that with the Nikon ones.

Now we’re looking at quite a bit of sharpness difference, with the Fuji being the big winner. The Nikon is not bad at all, though.


By now, it’s getting a lot closer.

Again, it’s the Fuji all the way, but the Nikon’s performance is nothing to be ashamed of here.
I got a request to see what happened if I tried to sharpen one of the Nikon corner shots. Here’s one that’s just starting to show halos:

Conpare that to the Fuji:
With those sharpening settings, the Nikon image is beginning to look a littl crunchy in the center.
Even though you’ve tried to adjust for sharpening, it seems like there are some halo-artifacts around some of the GFX images?
If you boost the sharpening on the Z7, how close does it get?
Very interesting! Great test btw. although to me it looks like the Fuji files have a bit more sharpeninghalos, which is especially visible in the sky where it gets kind of grainy. Nonetheless the resolution from the Z 7 and the 35 are still very impressive and in mediumformat territory not to long ago …
I took your suggestion and posted an image at the bottom of the post.
Yeah, too bad, LR is clearly not treating them equally in terms of sharpening.
hi Jim,
Many thanks for your informative & interesting article! I’m on the fence to buy either a second Nikon D850 with Nikkor AF-S 35mm f/1.4 or a Fuji GFX 50R with GFX 45mm f/2.8
Already having several Nikkor lenses I think the increased flexibility of having a second D850, combined with faster autofocus / speed & the 2 stops larger apertures of my f/1.4 Nikon lenses overcomes the slight disadvantage in image quality
What d’you think? Many thanks & best rgds
Hendrik
I think images like your Tuscany series could benefit from the GFX and the 45 if you print big. Because of equivalence, you should think of your 35/1.4 as one stop faster for 4:3 aspect ratio prints.
Hi Jim,
the Nikon colors look awful! Did you do a comparison of the 45mm vs. the 32-64mm as well?
Dieter
https://blog.kasson.com/nikon-z6-7/z7-a7riii-and-gfx-color-shifts-with-adobe-profiles/
https://blog.kasson.com/nikon-z6-7/z7-a7riii-and-gfx-color-accuracy-with-adobe-profiles/
No. This was part of a Z7 test.