• site home
  • blog home
  • galleries
  • contact
  • underwater
  • the bleeding edge

the last word

Photography meets digital computer technology. Photography wins -- most of the time.

You are here: Home / Technical / Landscape Light

Landscape Light

August 7, 2011 JimK Leave a Comment

No, that’s not “Landscape Lite”, as in lo-cal, dumbed-down, mindless eye candy. It’s light, as in easy-on-the-back, footloose-and-fancy-free, spontaneous, fluid, and instinctual. The key is leaving the tripod at home, and restricting your total equipment weight to five pounds or so.

On a recent trip to Jackson Hole, I gave it a try. I took an M9, the 18mm f/3.4, the 24mm f/3.8, two finders, and a spare battery, all packed in an Adorama Slinger (by far my favorite rangefinder bag, and I’ve tried a bunch, including some that cost four times as much). Before I got the bug to go light, I was planning on IR pictures, so I processed the images for fake IR, using Alien Skin Exposure 3.

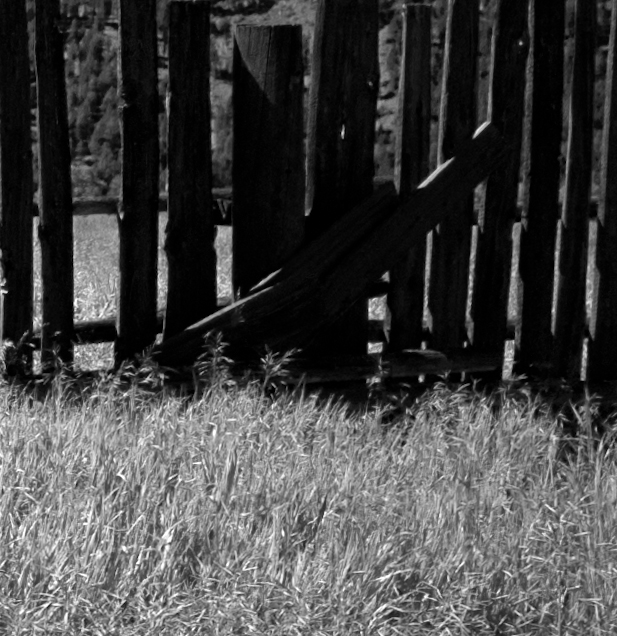
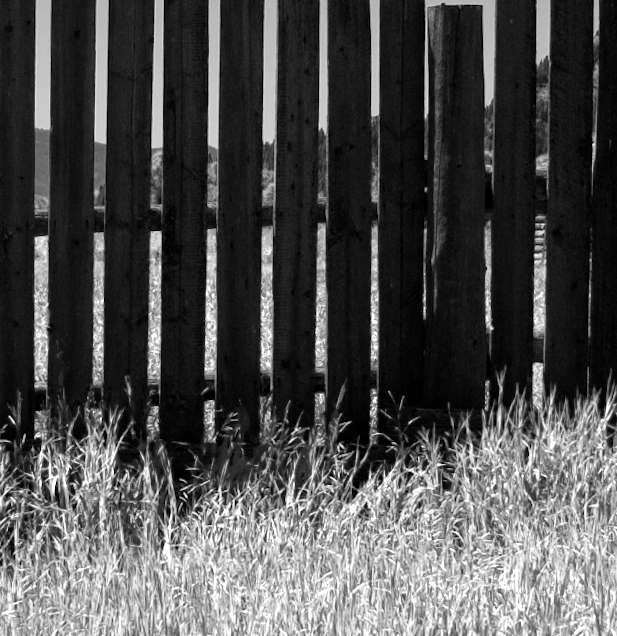
Here’s a sample exposed through the 24mm at f/9.5 (not the lens’s sharpest aperture) to get the depth of field necessary to render the foreground grass sharp:

Creamy sky (the previous day had clouds, but I didn’t have much time then), crisp, not much falloff, no visible moiré in spite of the lack of an a-squared filter, what’s not to like?

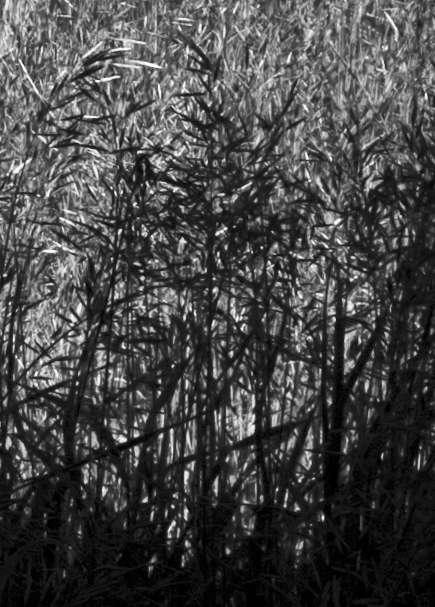
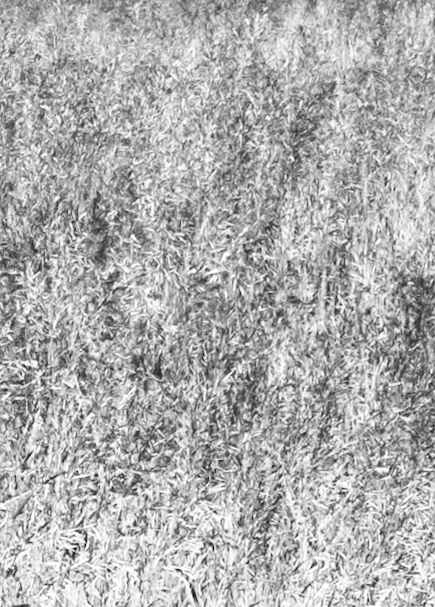
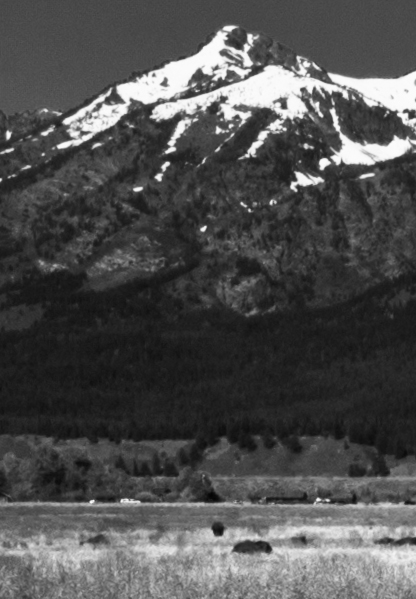
Here are a few details, left, right, and center, at one-pixel-to-one-pixel resolution, and no sharpening.


These get nicely crisp with a little sharpening.

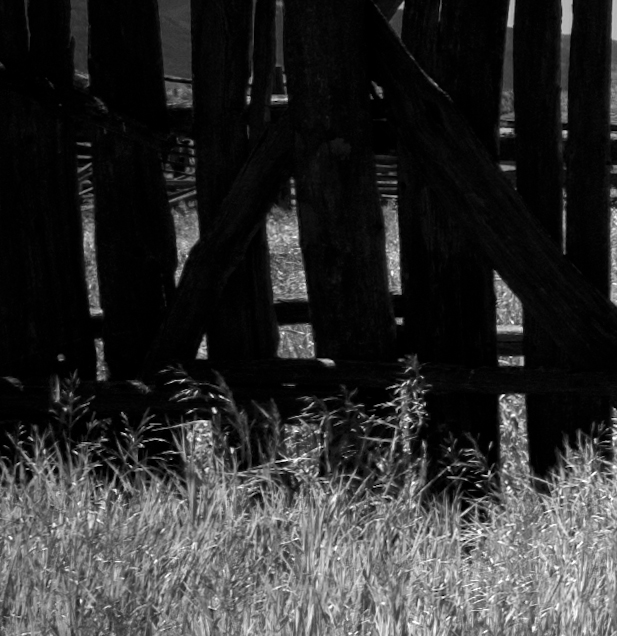
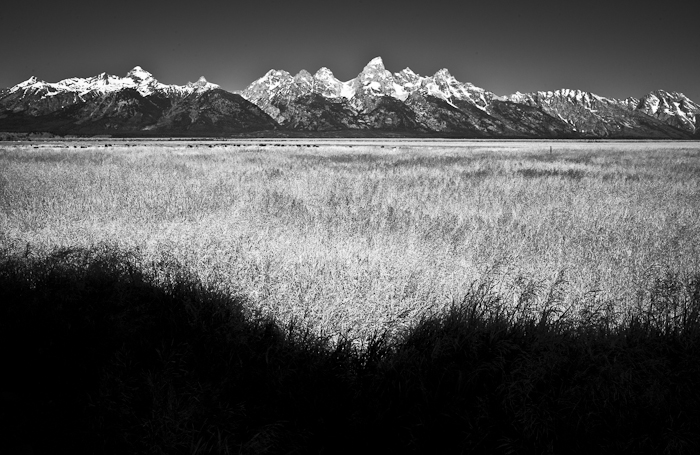
The 18mm is also good lens for landscapes golightly. Take a look at this one, with the aperture set to f/4:

This image also looks nice up close, at one-pixel-to-one-pixel resolution, and no sharpening, with the edges a little softer than the center:


I also did some handheld panos, like this 13000-pixel-wide one with the 24mm:

As I’ve said here before, landscapes aren’t really my photographic thing, but they’re fun to play with, and it’s refreshing to be able to do them without feeling like I need a Sherpa.
 

Technical, The Last Word

← When iPad apps go bad What’s artistic development — part 1 →

Leave a Reply Cancel reply

Your email address will not be published. Required fields are marked *

May 2025
S M T W T F S
 123
45678910
11121314151617
18192021222324
25262728293031
« Apr    

Articles

  • About
    • Patents and papers about color
    • Who am I?
  • How to…
    • Backing up photographic images
    • How to change email providers
    • How to shoot slanted edge images for me
  • Lens screening testing
    • Equipment and Software
    • Examples
      • Bad and OK 200-600 at 600
      • Excellent 180-400 zoom
      • Fair 14-30mm zoom
      • Good 100-200 mm MF zoom
      • Good 100-400 zoom
      • Good 100mm lens on P1 P45+
      • Good 120mm MF lens
      • Good 18mm FF lens
      • Good 24-105 mm FF lens
      • Good 24-70 FF zoom
      • Good 35 mm FF lens
      • Good 35-70 MF lens
      • Good 60 mm lens on IQ3-100
      • Good 63 mm MF lens
      • Good 65 mm FF lens
      • Good 85 mm FF lens
      • Good and bad 25mm FF lenses
      • Good zoom at 24 mm
      • Marginal 18mm lens
      • Marginal 35mm FF lens
      • Mildly problematic 55 mm FF lens
      • OK 16-35mm zoom
      • OK 60mm lens on P1 P45+
      • OK Sony 600mm f/4
      • Pretty good 16-35 FF zoom
      • Pretty good 90mm FF lens
      • Problematic 400 mm FF lens
      • Tilted 20 mm f/1.8 FF lens
      • Tilted 30 mm MF lens
      • Tilted 50 mm FF lens
      • Two 15mm FF lenses
    • Found a problem – now what?
    • Goals for this test
    • Minimum target distances
      • MFT
      • APS-C
      • Full frame
      • Small medium format
    • Printable Siemens Star targets
    • Target size on sensor
      • MFT
      • APS-C
      • Full frame
      • Small medium format
    • Test instructions — postproduction
    • Test instructions — reading the images
    • Test instructions – capture
    • Theory of the test
    • What’s wrong with conventional lens screening?
  • Previsualization heresy
  • Privacy Policy
  • Recommended photographic web sites
  • Using in-camera histograms for ETTR
    • Acknowledgments
    • Why ETTR?
    • Normal in-camera histograms
    • Image processing for in-camera histograms
    • Making the in-camera histogram closely represent the raw histogram
    • Shortcuts to UniWB
    • Preparing for monitor-based UniWB
    • A one-step UniWB procedure
    • The math behind the one-step method
    • Iteration using Newton’s Method

Category List

Recent Comments

  • JimK on Calculating reach for wildlife photography
  • Geofrey on Calculating reach for wildlife photography
  • Javier Sanchez on The 16-Bit Fallacy: Why More Isn’t Always Better in Medium Format Cameras
  • Mike MacDonald on Your photograph looks like a painting?
  • Mike MacDonald on Your photograph looks like a painting?
  • bob lozano on The 16-Bit Fallacy: Why More Isn’t Always Better in Medium Format Cameras
  • JimK on Goldilocks and the three flashes
  • DC Wedding Photographer on Goldilocks and the three flashes
  • Wedding Photographer in DC on The 16-Bit Fallacy: Why More Isn’t Always Better in Medium Format Cameras
  • JimK on Fujifilm GFX 100S II precision

Archives

Copyright © 2025 · Daily Dish Pro On Genesis Framework · WordPress · Log in

Unless otherwise noted, all images copyright Jim Kasson.