This is the 40th in a series of posts on the Fujifilm GFX-50S. The series starts here.
We have seen that the GFX sensor produces much sharper images than the a7RII sensor, with both the Fuji native lenses and some selected Zeiss full frame lenses. It is even sharper sometimes on a cycles/pixel basis, not just cycles/picture height. This is probably because of Fuji’s smaller-than-normal microlenses.
But there’s a potential downside to all that sharpness: aliasing. If the aliasing occurs with a subject with strong spatial frequency components within a factor of 10 or 20 of the sampling frequency, the result is difference frequency artifacts in the captured image. Fabric is a sometimes-troublesome subject because of such high-frequency regular structures. So I decided to see how the GFX and the a7RII did with some fabric.
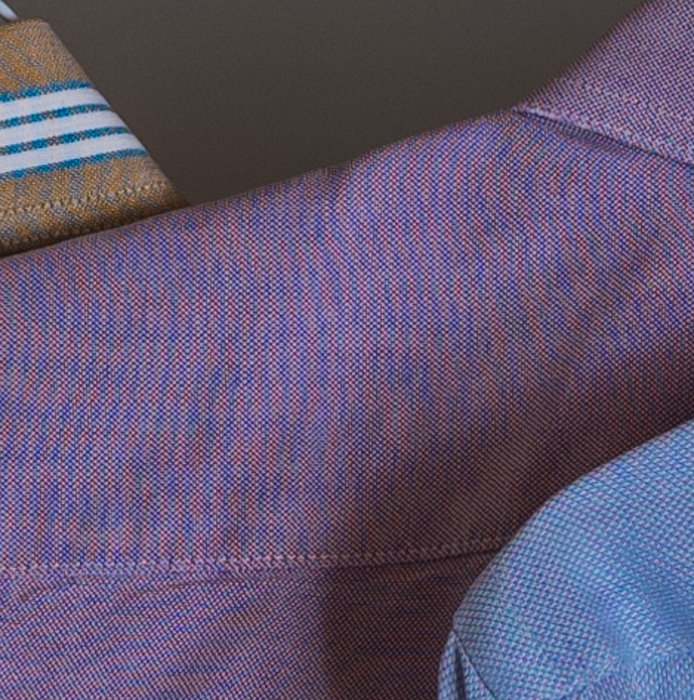
I set up this scene:
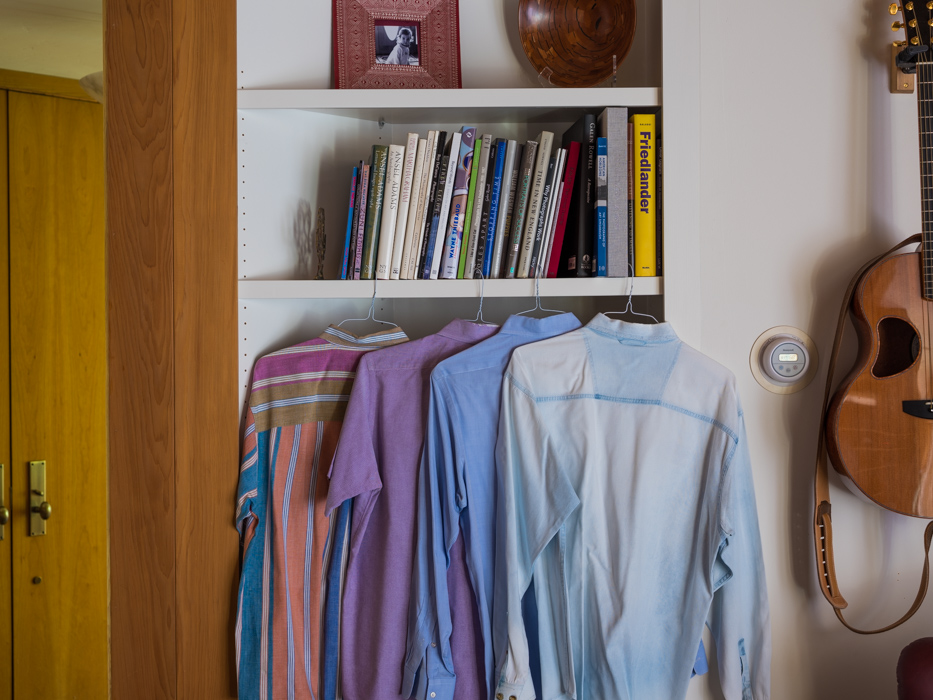
I put the Fuji 63 mm lens on the GFX and set it to f/5.6. The a7RII got an Otus 55 set at f/4, which is the equivalent aperture. Since the Otus is sharper than the Fuji normal lens (but, on-axis, not by much on the GFX sensor), this is giving the GFX a tiny advantage, but I wanted to get the field of view about equal. I did back up a bit for the a7RII shots to help with that. I made several images, focusing in a different place for each one.
Then I gave each image close-to-identical development in Lightroom, with modest contrast, clarity, and vibrance boosts. The white balance and exposure settings needed to be different for a more-or-less decent visual match.
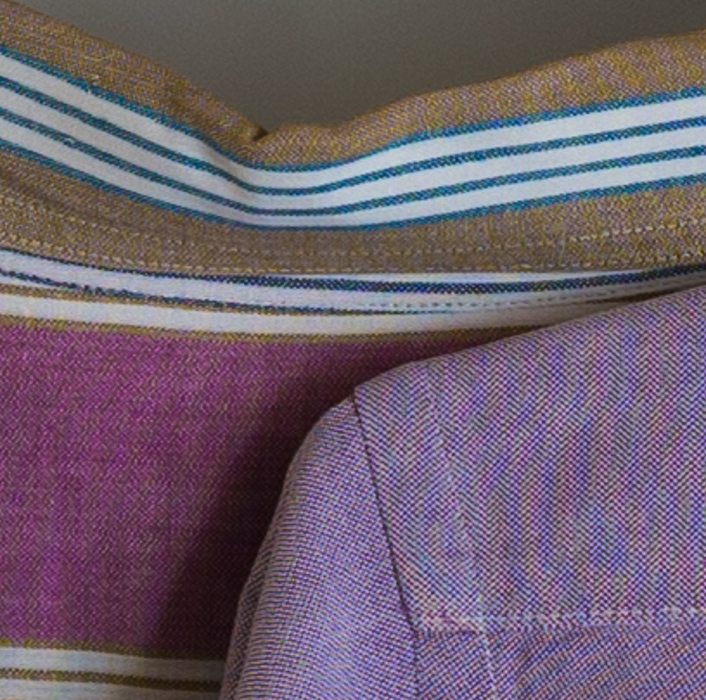
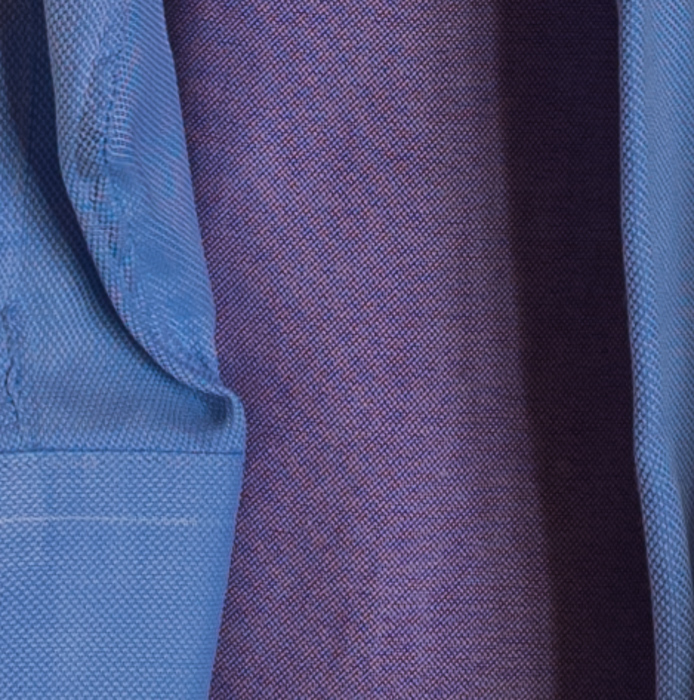
Then I went looking for moire. Here’s what I found, at an enlargement magnification that makes the images from both cameras the same height as measured in percent of the sensor pixel height. This has the effect of magnifying the a7RII images more than the GFX ones, and making the field of view of the crops smaller. I think it’s fairer to show them that way than on a equal per-pixel basis. You will be looking at the captures that showed the most moire for each camera.
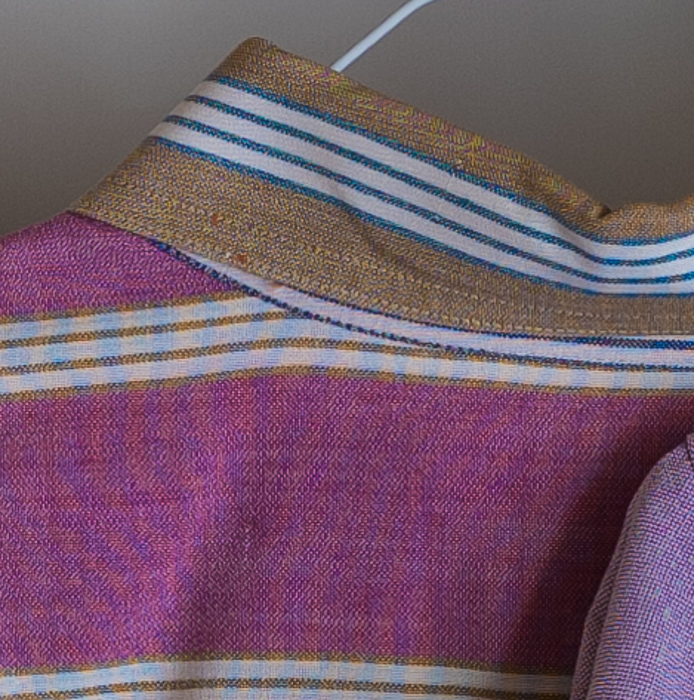
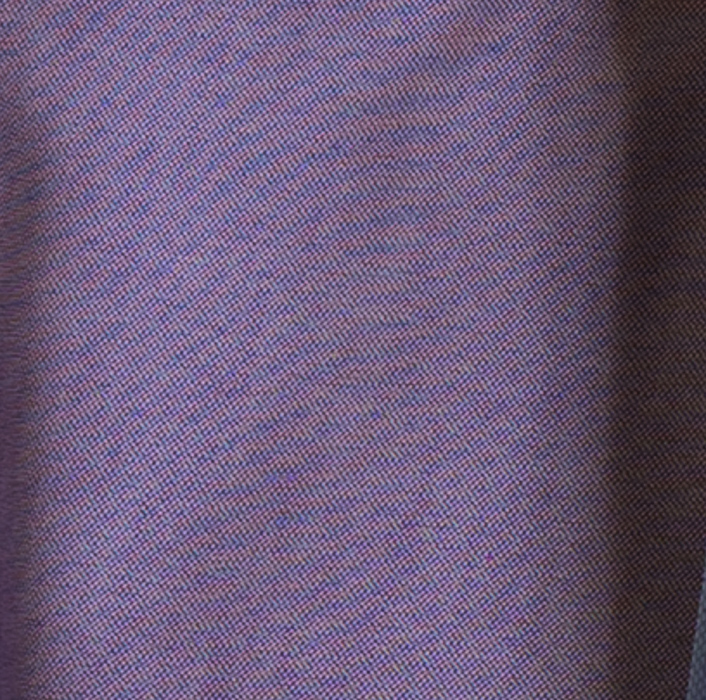
This is an image where the difference is striking. Possibly some focus distance differences were involved, but I could consistently get moire in this area of the striped shirt with the GFX, and hardly any with the a7RII.
Here is a case where the a7RII is a little worse.

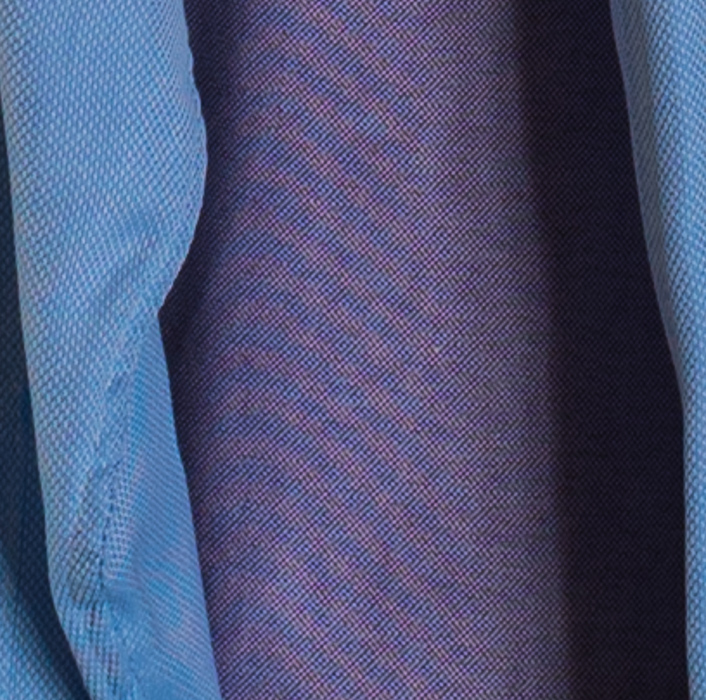
The GFX is substantially worse here.
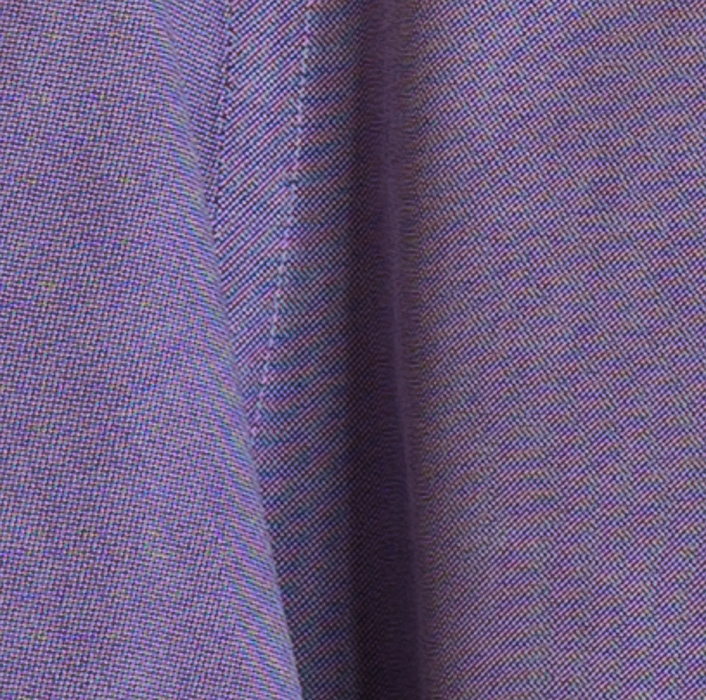
Again, the GFX is worse.
Netting it out, the GFX is more susceptible to moire, as the earlier testing predicted. But the difference is certainly not night and day.
By the way, here’s the first scene I set up:
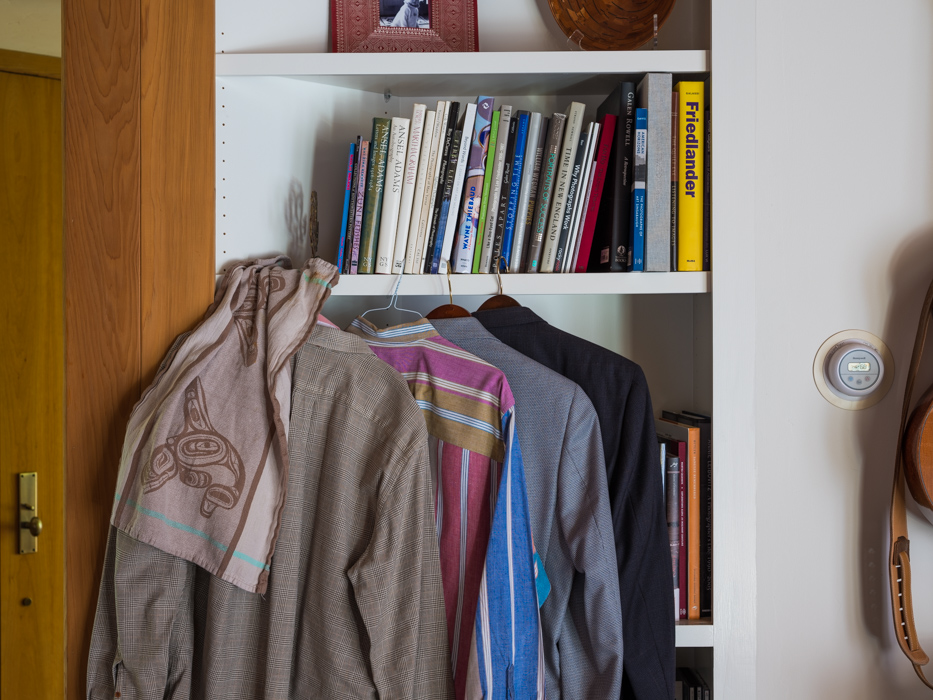
There turned out to be very little moire in that one, because the patterns in the fabric were for the most part too coarse to cause it. Of course, if could have backed up further that would have worked fine.
Nerdy addendum:
In a comment to this post, Jack Hogan wondered how the visual results would correlate with the amount of energy above Nyquist in a slanted edge test. Here are the results with the 63 on the GFX at f/5.6, and the Otus 55 on the a7RII at f/4, as demosaiced by dcraw with Imatest default settings:


From the slower rise distance for the Fuji lens on the GFX, it looks like the Otus is crisper. But MTF at Nyquist is about the same. It’s not obvious that the area under the curve above Nyquist is much different.
Why is this not more instructive?
I think that, because of the Bayer color filter array on each sensor, we have to look at lower frequencies as sources of the aliasing artifacts. But that doesn’t seem to help in this case, either. It seems like both sensors ought to alias about the same with this set of lenses at thes apertures.
I don’t have apples and apples, but I did look at the green channel of two files made with the Cognisys rail with the Otus 85 on both cameras, at the point in the series where the green channel MTF50 peaked.
First, the a7RII image:

Next, the GFX one:

You can see that the MTF at the Nyquist frequency is higher in cycles/pixel for the GFX. Not much, but higher. And, due to the different numbers of pixels in the two sensors, the GFX MTF50 measured in cycles/picture height is proportionately higher. If you want to calculate that from the graphs above, you’pll have to double the number of pixels in the height of each image from that reported by Imatest, since it is only looking at the Gr plane in this case.
Correlating this to MTF energy above Nyquist would be neat (with MTF Mapper, the same setups and H/V slanted edges in place of fabric).
Just have fun taking pictures and stop with this tests
No one is making you read them, right? Why deny me my simple pleasures?
Seriously, I’m doing this as much for me as for the folks reading my blog. I want to find out where this camera fits in my photography, and how a can get the most out of it.
These tests are fascinating! Please don’t get discouraged.
Keep up the rigorous testing Jim. It’s good to see someone actually trying to understand the causes of behavior/performance instead of just commenting on it.
Michael
I see the photos made with gfx always more clear