This is the 56th in a series of posts on the Fujifilm GFX-50S. The series starts here.
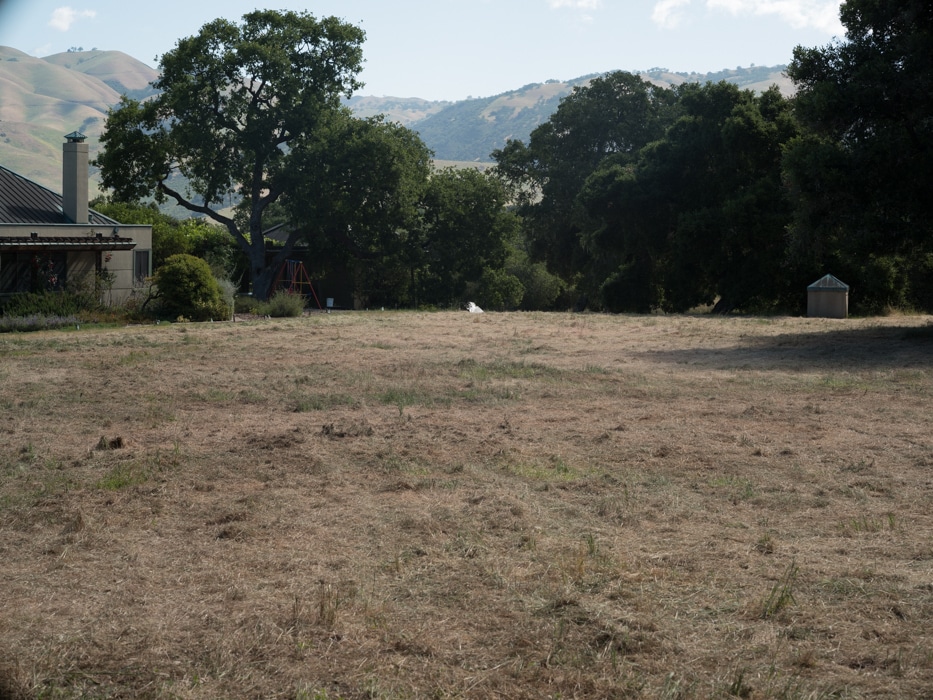
In the previous post, I found that the 135 mm f/3.4 Apo-Telyt-M did very well on the GFX if you crop to a 4:5 aspect ratio. Now I’m going to take a look at the 90 mm f/2 Summicron-M ASPH. The Leica short tele is not a lens that measures well compared to the similarly-priced Otus 85/1.4, but on the M240 and the Sony a7RII, the rendering is gorgeous. The landscape scene that I’m using today is not well-suited to the lens’ rendering strengths, but it should be adequate to tell if there are any compatibility problems.
All images developed in Lightroom with default settings except for white balance set to Daylight. All crops focused at the taking aperture. I made three sets of images, and picked the sharpest. At any given f-stop, the images were so close in sharpness that I might just as well have done the picking by throwing darts. I think I’ve got manual focusing dialed in on the GFX.
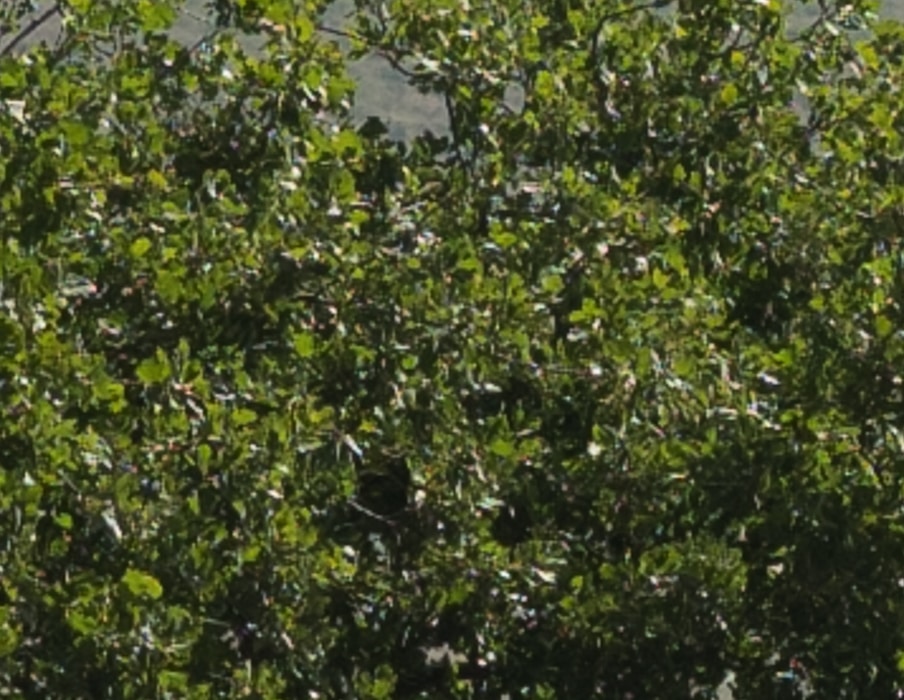
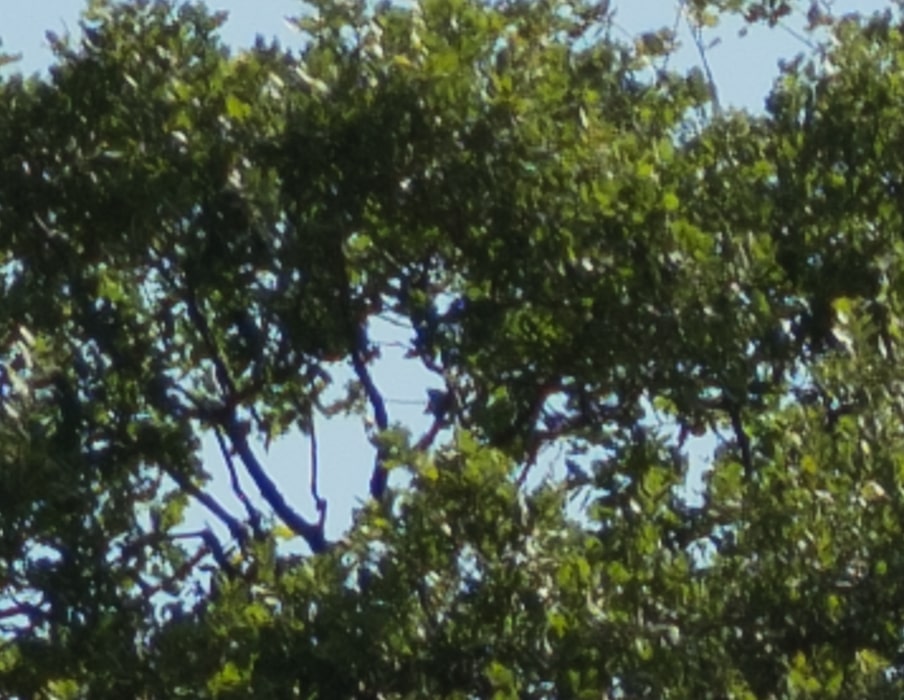
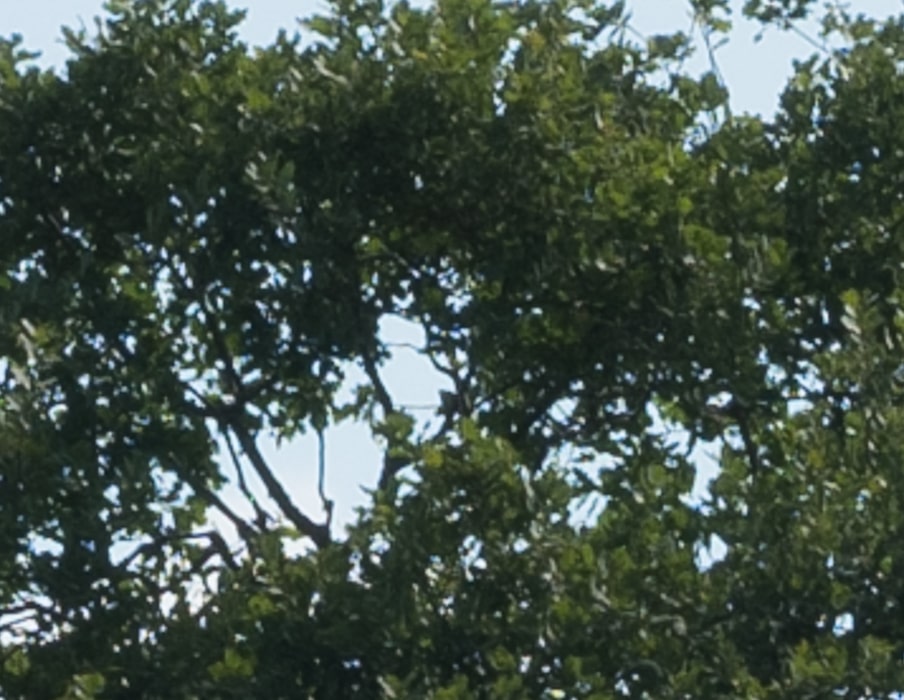
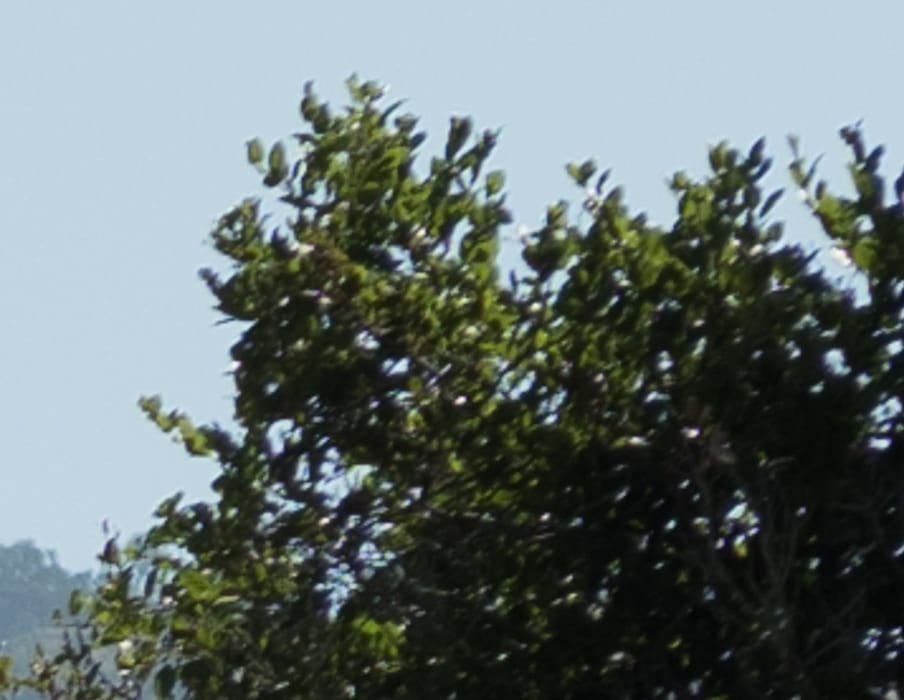
Looking at coverage:
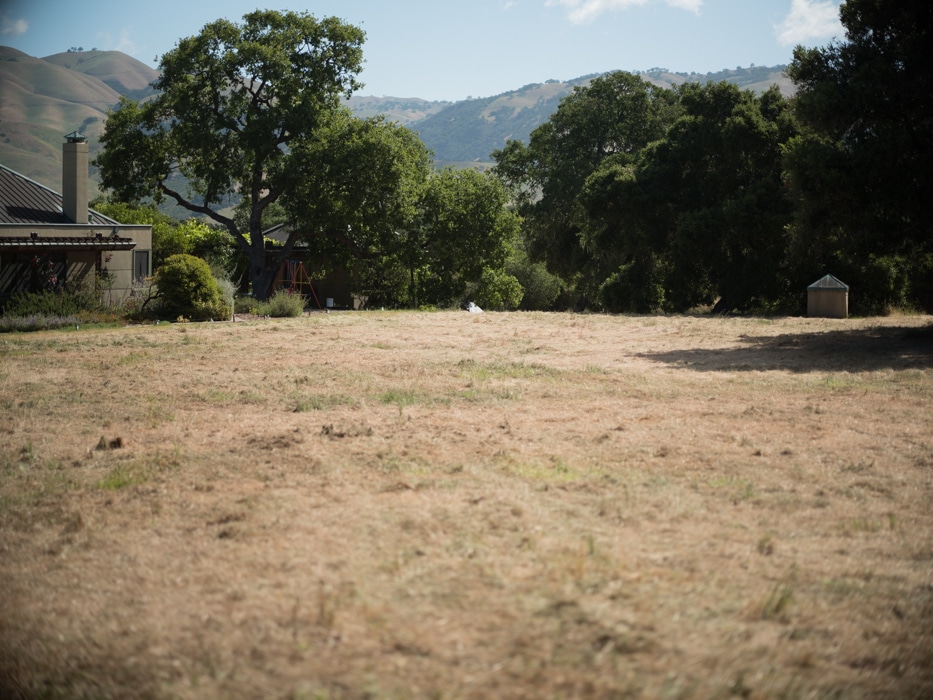
Coverage is better than the 135 Apo-Telyt, but the corners are dark.
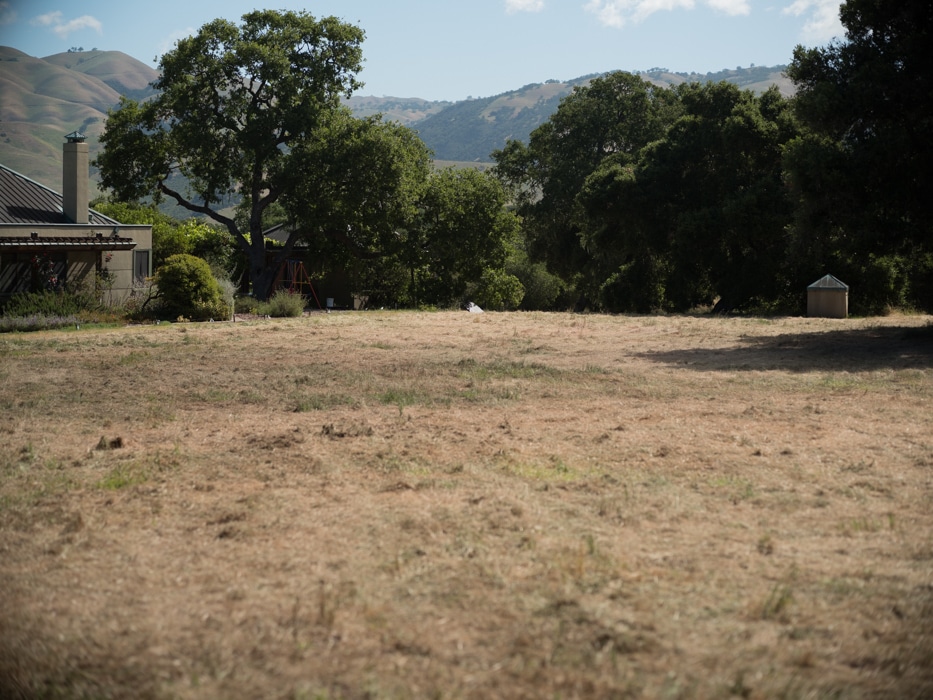
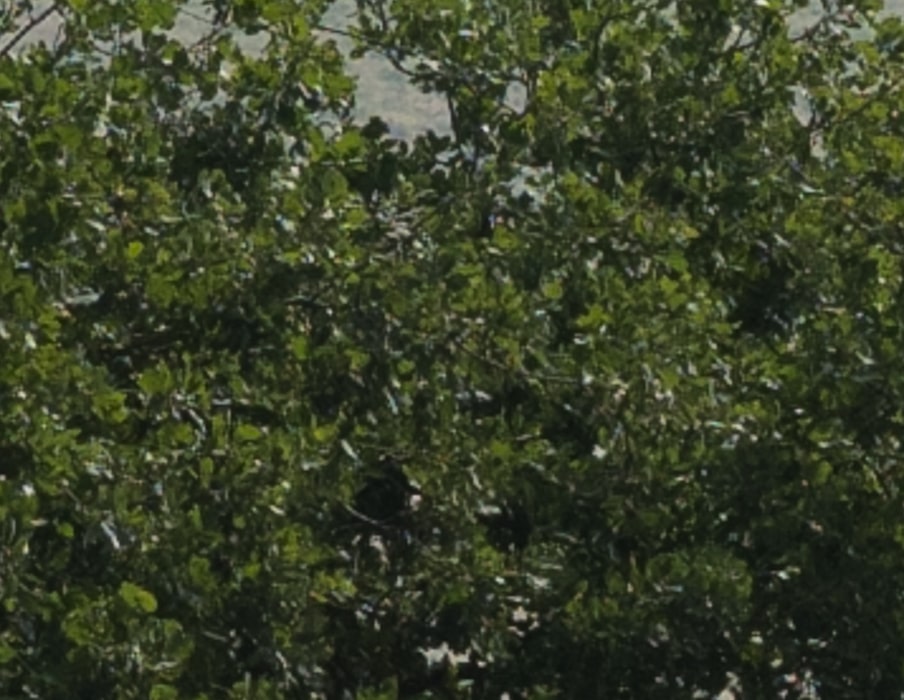
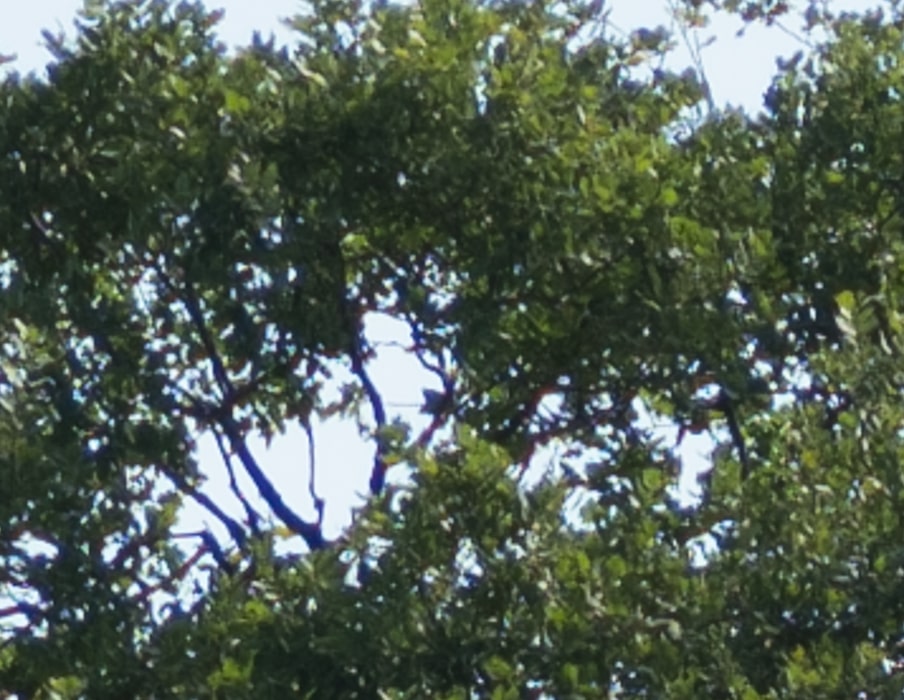
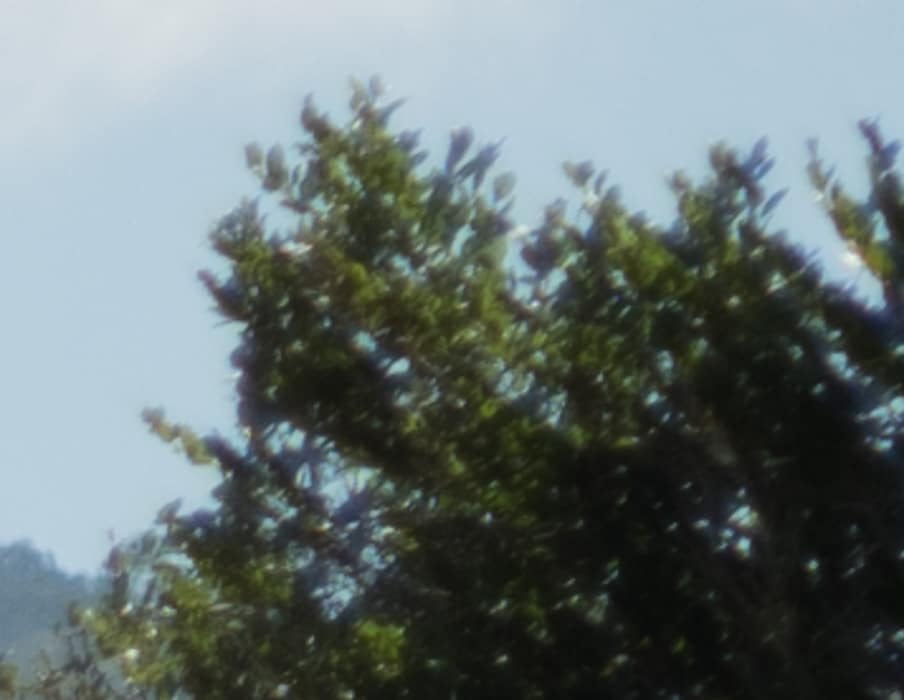
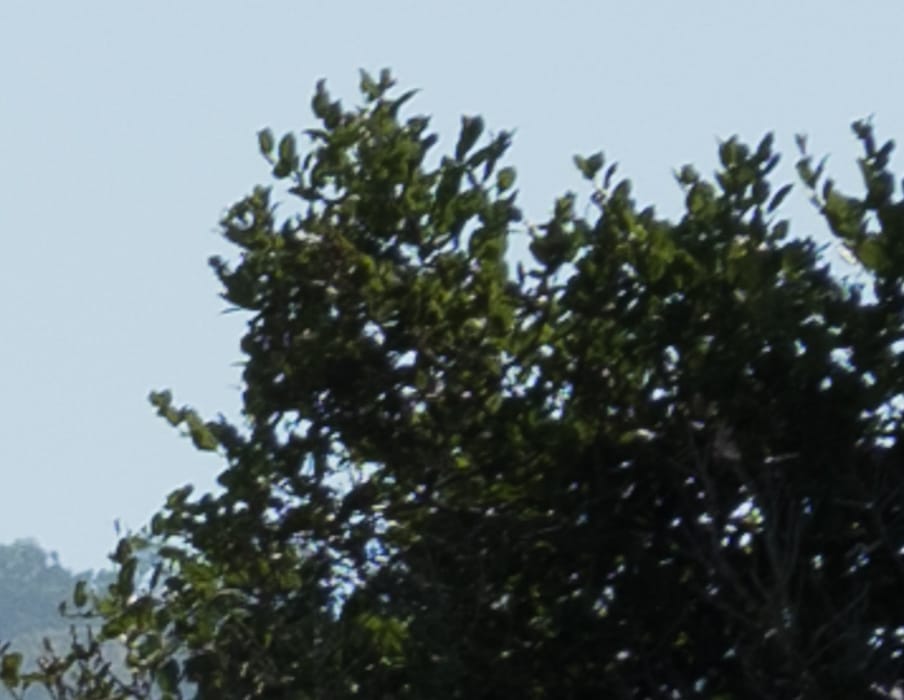
Stopping down improves things. There should be no problem at 4:5 aspect ratio.

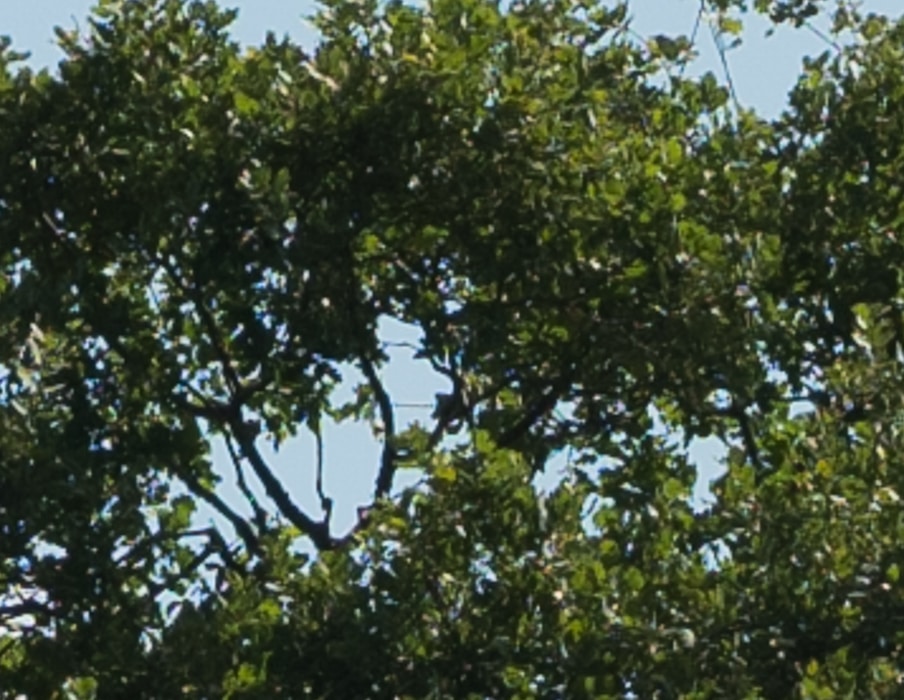
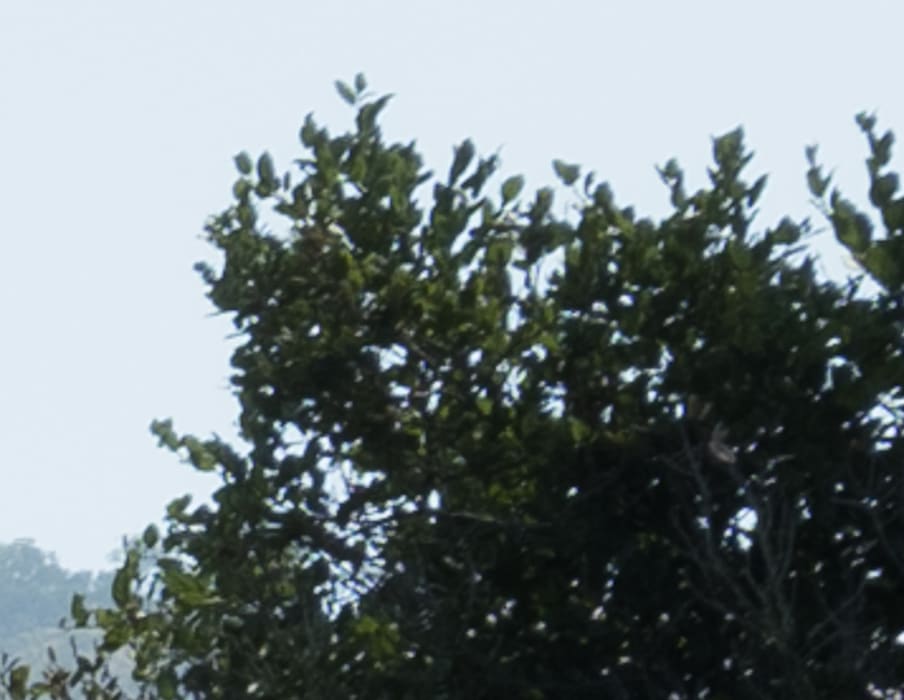
Thing ar continuing to get better, but slowly.
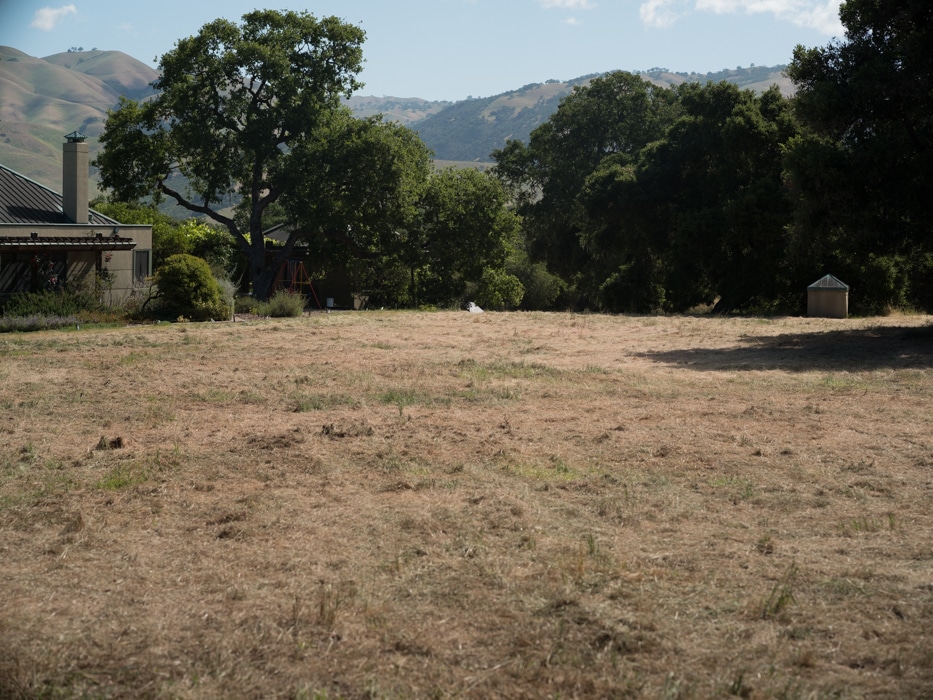
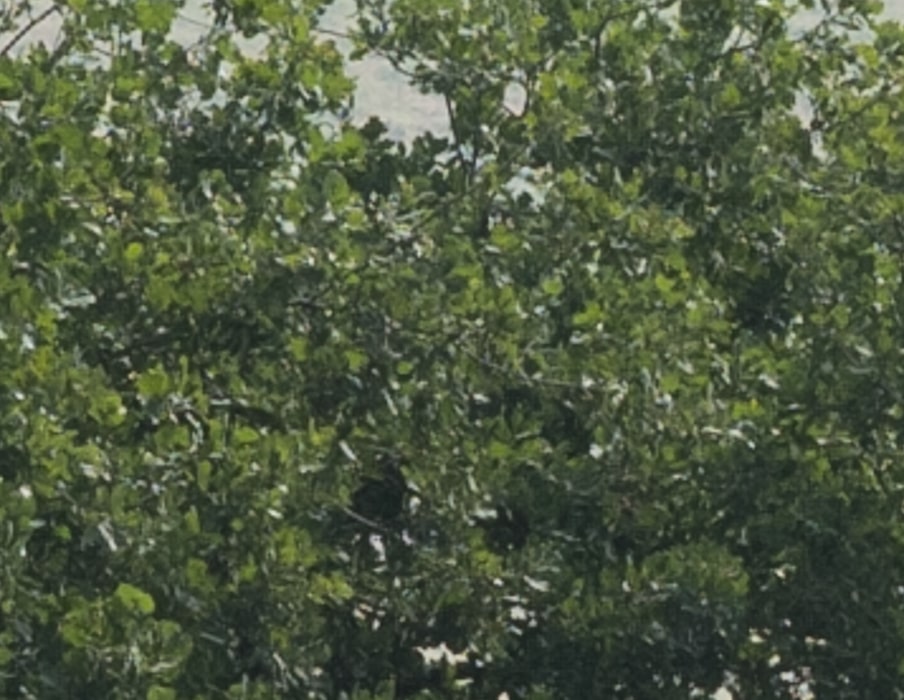
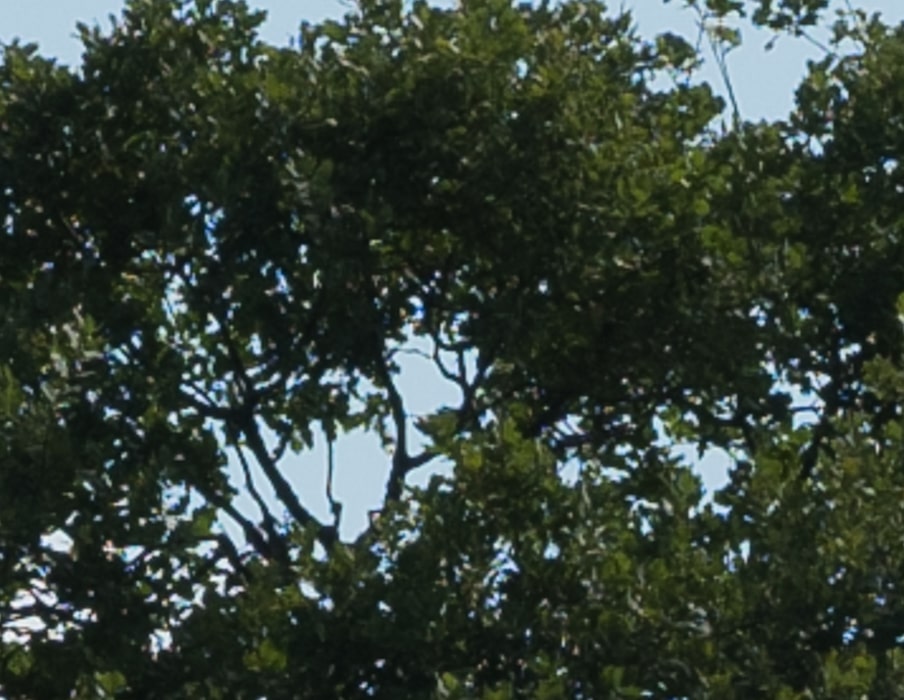
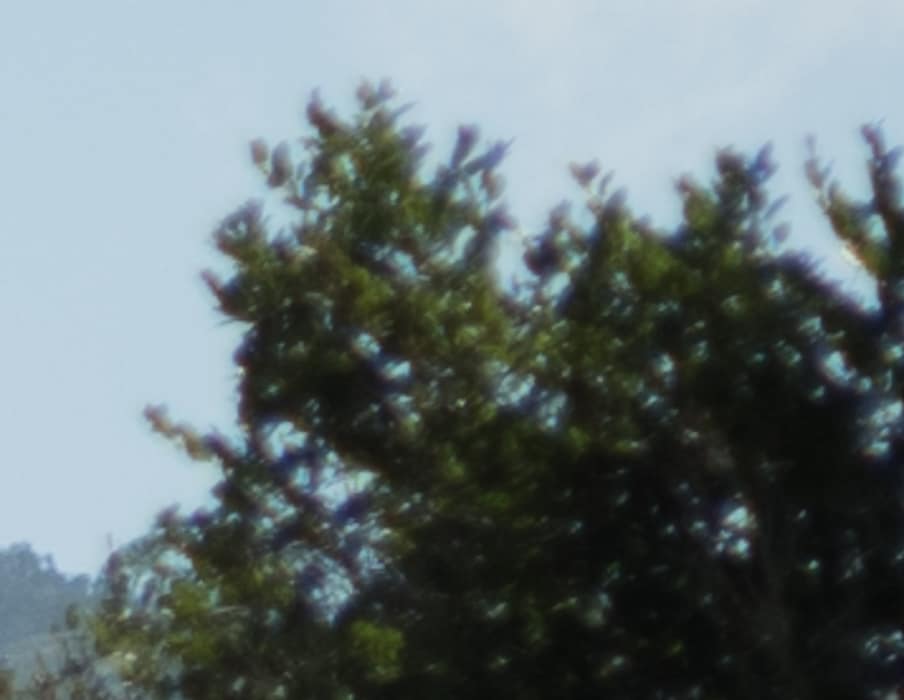
Almost, but not usable at the full 4:3 aspect ratio.
We picked up a little cloud cover. Still the corners continue to improve.
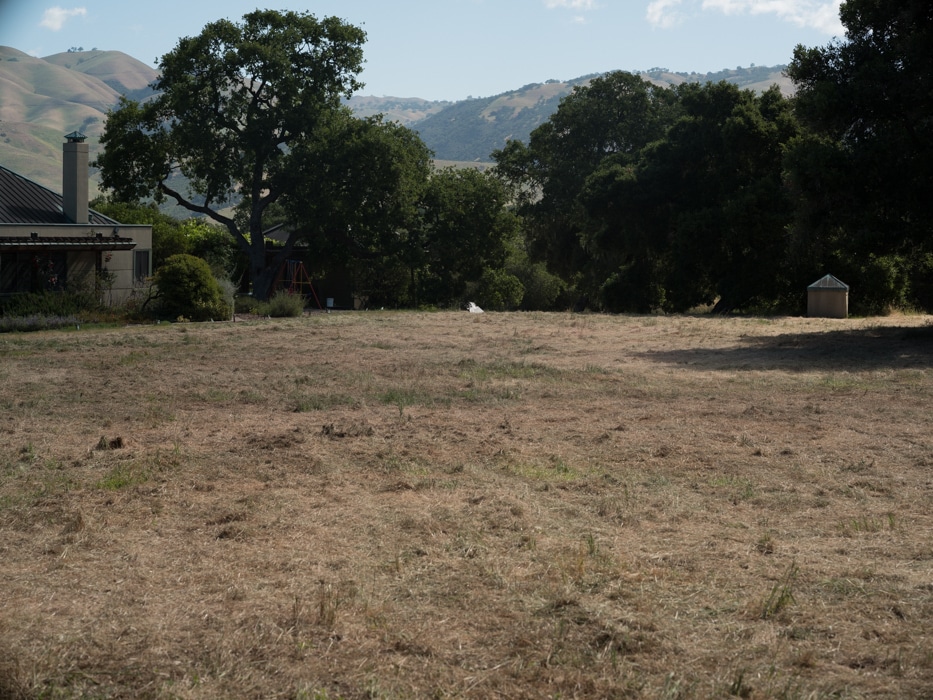
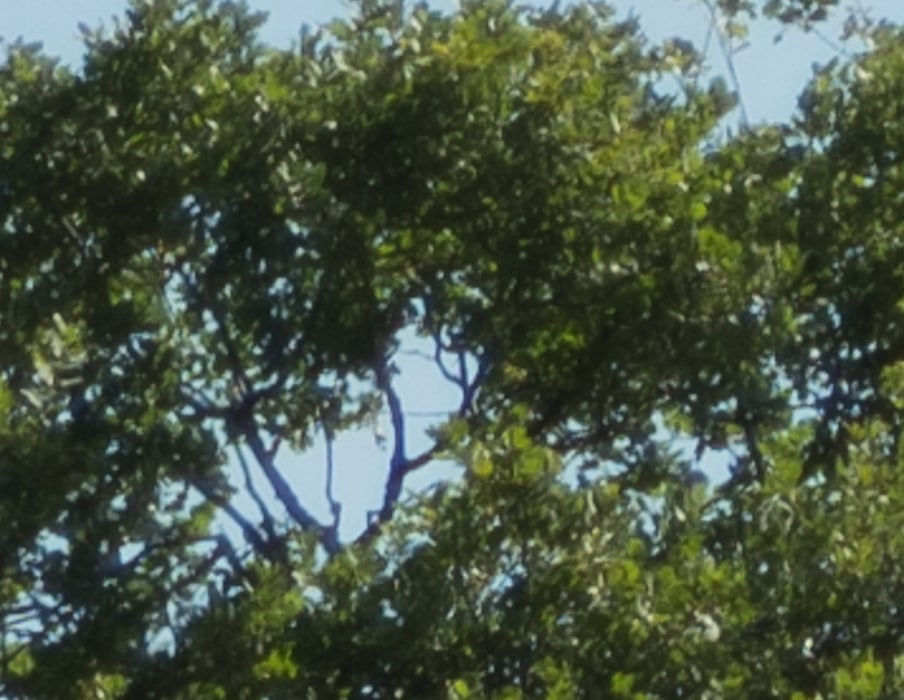
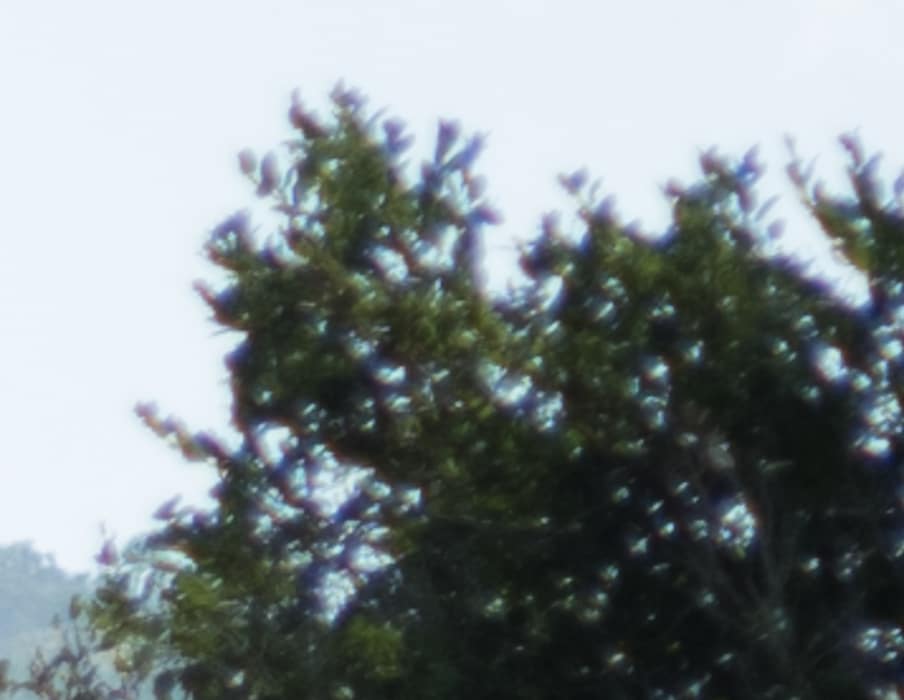
We can’t use the lens at 4:3, but anything much squarer than that should be fine.
I’m going to show you some very tight crops; here’s how to use them. The dimensions of the GFX sensor are 8256×6192 pixels. If we make a full-frame print from the GFX on a printer with 360 pixels per inch native driver-level resolution, like the Epson inkjet printers, we’ll end up with a 23×17 inch (58×44 cm) print. The 318×246 pixel crop you’re looking at will end up 0.8333×0.6833 inches (2.12×1.74 cm). Let’s imagine that you or your viewers are critical, and will look at the 22×17 inch print from about 18 inches (conventional wisdom is that the distance would be a little greater than that, or 28 inches (the diagonal), but you did buy a high-resolution camera for a reason, didn’t you?).
The next step is dependent on your monitor pitch, which you may or may not know. Turns out, you don’t have to know it. Just take the 253% crops and view then at 1:1. How high are they? Get out your ruler and measure, or just guess. Let’s say they are 6 inches high. 6 inches is about 7 times 0.8333, so in order to view the crops the way they’d look from 18 inches on the print is to view them from 7 times as far away, or 10.5 feet.
Everything here scales proportionately. If the image on your screen is bigger than 6 inches, increase your viewing distance by the ratio of your image height to 6 inches. If you think your viewers are going to almost get their nose to that print and look at it from six inches, divide that 10.5 feet by 3, and look at the image on the monitor from three and a half feet away.
On a 30 inch 4K display, a 1:1 presentation of these crops will be about 4 inches, so to simulate the effect of viewing the print from 18 inches, you’ll want to back up to about seven feet. A couple of feet for a 6 inch print viewing distance. On a 17 inch laptop 4K display, a 1:1 presentation of these crops will be about 2 inches, so to simulate the effect of viewing the print from 18 inches, you’ll want to back up to about three and a half feet. A foot for a 6 inch print viewing distance.
In the upper center:
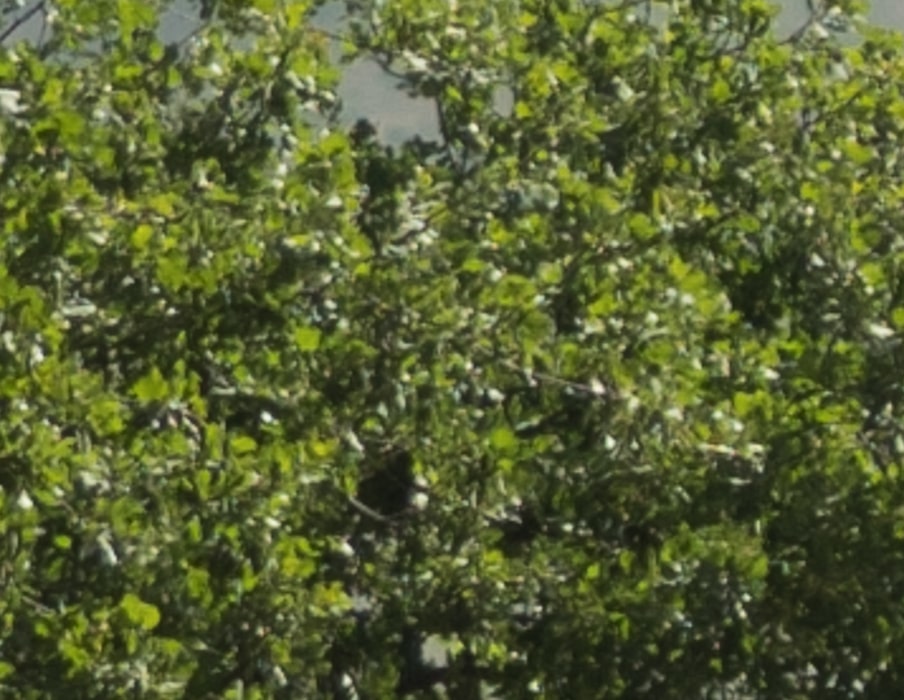
Pretty sharp, for wide open.
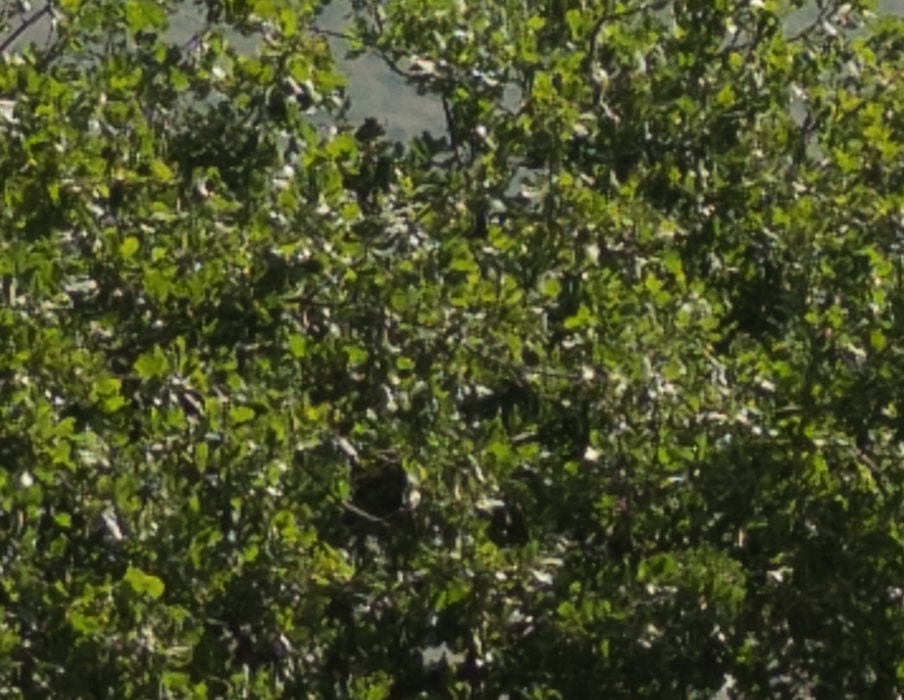
Better. I expected more improvement here.
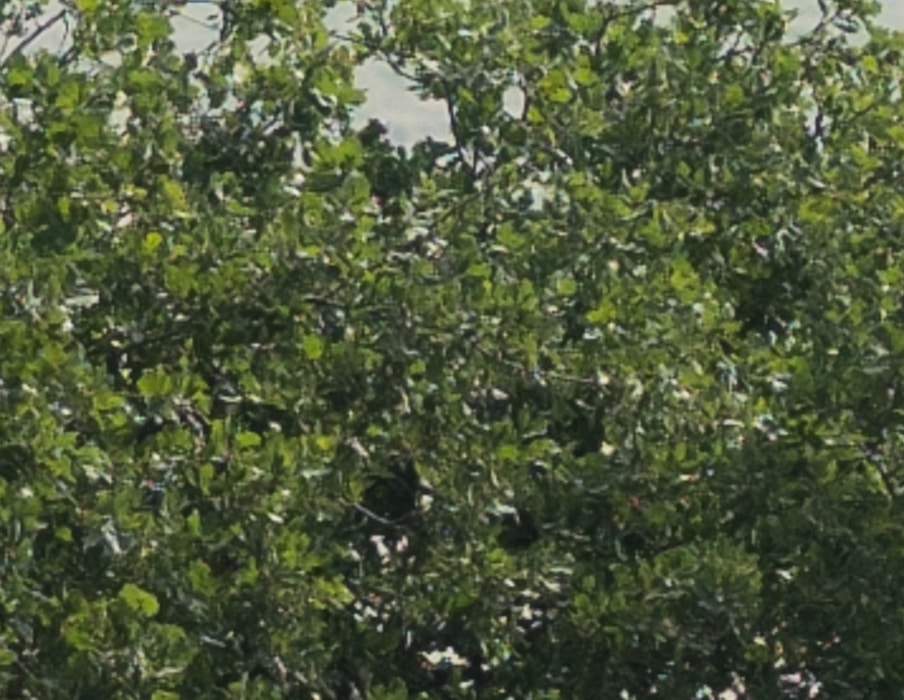
Looking pretty good.
Even better.
A little softer. Sorry about the clouds.
Softened a bit by diffraction, but definitely usable.
In the upper left corner of a 1:1 crop:
Pretty darned sharp, and this is not where this lens does best.
A bit better.
About the same.
As good as it gets, and that’s pretty darned good.
A little softer.
Softer yet, but still fine.
As far away from the lens axis as we’d be at the corner of a 4:5 crop:
The lens is struggling a bit here.
No better.
Improving, but slowly.
Finally! That looks god.
Also good.
Softening up.
If corner sharpness isn’t important, this lens can be used at 4:5 and squarer aspect ratios at all stops. If it is, you’ll want to stop down to f/5.6 or f/8.
Like the 135 mm Apo-Telyt, it is difficult to focus this lens precisely because of the short throw of the focusing ring.
Why do you say the lens doesn’t measure well? By my/olaf’s measurements, both the 90/2 apo and the 135/3.4 apo are first class, with nearly identical mtf to the 100/2 MP.
I’m comparing the ‘cron 90 to the similarly priced Otus 85:
http://blog.kasson.com/the-last-word/another-medium-tele-test-summicron-loca/
http://blog.kasson.com/the-last-word/another-medium-tele-test-otus-nikon-loca/
http://blog.kasson.com/the-last-word/another-medium-tele-test-batis-and-cron-focus-shift/
http://blog.kasson.com/the-last-word/another-medium-tele-test-otus-nikkor-focus-shift/
In addition, the overall contrast of the ‘cron is not up to the Otus, in my subjective tests.
But, boy, does it make some nice images, besting the Otus in my subjective reaction under many circumstances.
Jim
Ah. The Otus has a better design for the coating process (less extreme angles of incidence) which will help the overall contrast, which is not a part of MTF.
The front surface is also negative, which helps quite a bit with stray light. If you look around inside the barrel through the front element, it’s a well-flocked black hole aside from the intended light path…
Thanks for the insight. I will clarify the context of my comment on the ‘cron 90. The LoCA of the two lenses is quite different.