• site home
  • blog home
  • galleries
  • contact
  • underwater
  • the bleeding edge

the last word

Photography meets digital computer technology. Photography wins -- most of the time.

You are here: Home / The Last Word / Leica M9 progressive underexposure examples

Leica M9 progressive underexposure examples

August 5, 2013 JimK 2 Comments

There’s been an interesting thread on the L-Camera Forum that was started by someone who’d read this post about getting better results with the M9 by treating the camera as if the ISO dial didn’t go past 640. In the ensuing discussion, there was some healthy skepticism about my findings and about the applicability of signal-to-noise-ratio calculations of images of computer screens to real-world photography.

I’d done some real photography with the D800 and satisfied myself that the SNR testing correlated with practice, but I’d never done a similar series with the M9. I mean to fix that with today’s post.

I used my usual noise-testing subject matter:

L1001395

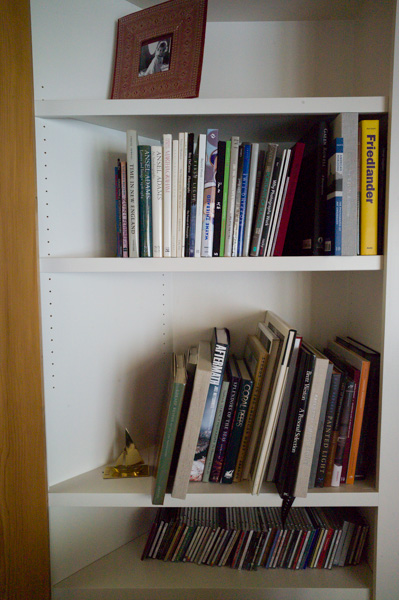
I used the M9 with the Leica 24mm f/3.8 Elmar-M ASPH set at f/9.5 with a shutter speed of 1/8 second, which produced an expose-to-the-right (ETTR) exposure at ISO 2500. As you can see, I did not compensate for lens fall-off. I converted the images from raw format in Lightroom 5, with default processing except for setting the white balance manually and turning off all noise reduction. I exposed a set of images with the ISO at 2500, 1250, 640, 320, and 160. I applied +0 stop Exposure for the ISO 2500 image,  +1 stop Exposure for the ISO 1250 image,  +2 stop Exposure for the ISO 640 image,  +3 stop Exposure for the ISO 320 image,  and +4 stop Exposure for the ISO 160 image.

I exported the images to Photoshop as layers, and labeled them by ISO. I then made 300×300 pixel crops of a highlight region and a shadow region. I enlarged them by a factor of two using nearest neighbor, and exported each layer as a JPEG. The JPEGS are below. However, I commend that you download the .psd files with all the layers before res-ing up and look at them in Photoshop at whatever magnification pleases you, turning layers on and off to compare them.

The highlight region Photoshop file is here.

The shadow region Photoshop file is here.


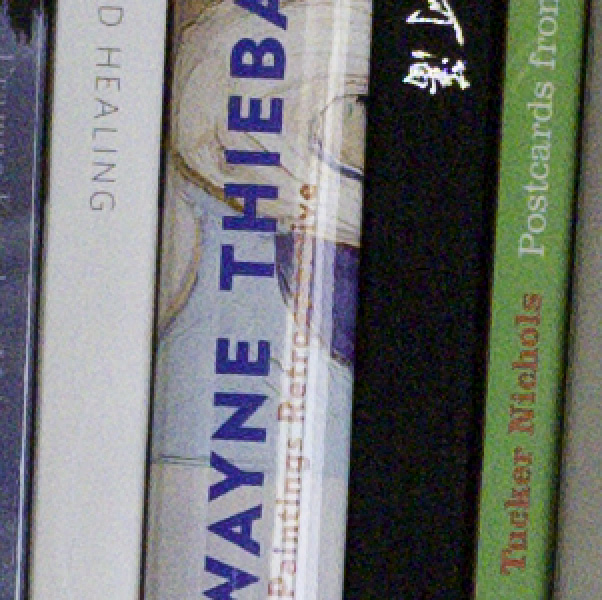
Highlights, ISO 2500:

Highlights 2500

Highlights, ISO 1250:

Highlights 1250

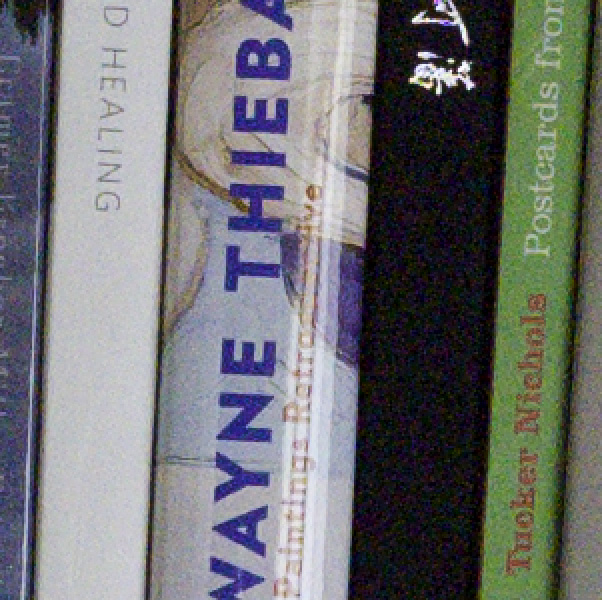
Highlights, ISO 640:

Highlights 640

Highlights, ISO 320:

Highlights 320

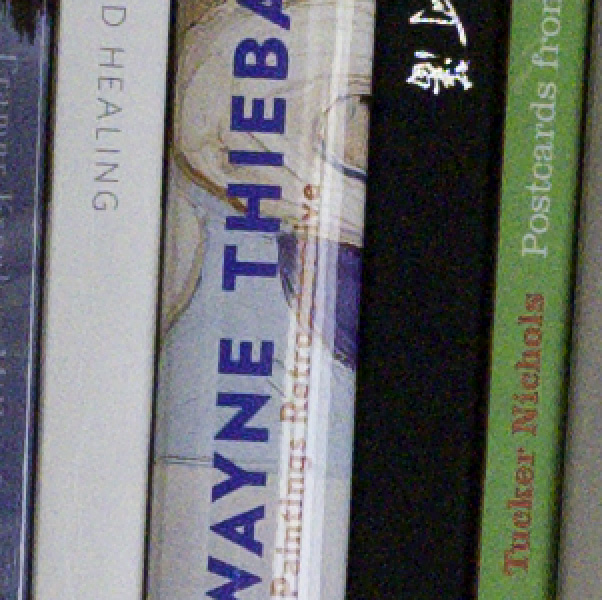
Highlights, ISO 160:

Highlights 160


Shadows, ISO 2500:

Shadows 2500

Shadows, ISO 1250:

Shadows 1250

Shadows, ISO 640:

Shadows 640

Shadows, ISO 320:

Shadows 320

Shadows, ISO 160:

Shadows 160

The differences are fairly subtle and hard to see in the JPEGs. But if you download the Photoshop shadow file and look alternately at the ISO 2500 and 160 layers, you’ll see an impressive difference in favor of the lower ISO. The SNR test said that you should stop turning up the ISO at 640, and that below that, for the same exposure, the best highlight results were obtained at ISO 640 and that in the shadows that ISOs 160, 320, and 640 were about a wash.

I want to emphasize that this testing and the above advice only apply to the situation where you can’t get enough light on the sensor to use ETTR at base ISO, but must find some way to make the best of a situation that drives you to a shorter shutter speed and/or a narrower f-stop than is ideal.

At the risk of being repetitive, I’ll summarize:

You’ll get the best results at ISO 160 with ETTR. If depth of field, subject or camera motion, or other things keep you from doing that, you’ll get slightly better results in the mids and higher tones by turning up the ISO to keep the histogram to the right than you will pushing equivalently in LR or ACR, and you’ll get essentially the same in the shadows. That’s only true up to ISO 640. After that, let the histogram go to the left and fix it in your raw developer program.


The Last Word

← Data scaling A new series →

Comments

  1. Andrew Chen says

    September 4, 2013 at 7:08 pm

    Jim, thanks for this. Have you looked at the impact on dynamic range with varying ISOs?

    Reply

Trackbacks

  1. M9 Colors at Night — Best Way to Shoot High ISO? - Seite 7 - Leica User Forum says:
    August 5, 2013 at 2:40 pm

    […] correction using the Exposure control for the lower-ISO images. I've posted the results here: Leica M9 progressive underexposure examples | The Last Word I recommend that you download the Photoshop files with a different ISO in each layer for […]

    Reply

Leave a Reply Cancel reply

Your email address will not be published. Required fields are marked *

May 2025
S M T W T F S
 123
45678910
11121314151617
18192021222324
25262728293031
« Apr    

Articles

  • About
    • Patents and papers about color
    • Who am I?
  • How to…
    • Backing up photographic images
    • How to change email providers
    • How to shoot slanted edge images for me
  • Lens screening testing
    • Equipment and Software
    • Examples
      • Bad and OK 200-600 at 600
      • Excellent 180-400 zoom
      • Fair 14-30mm zoom
      • Good 100-200 mm MF zoom
      • Good 100-400 zoom
      • Good 100mm lens on P1 P45+
      • Good 120mm MF lens
      • Good 18mm FF lens
      • Good 24-105 mm FF lens
      • Good 24-70 FF zoom
      • Good 35 mm FF lens
      • Good 35-70 MF lens
      • Good 60 mm lens on IQ3-100
      • Good 63 mm MF lens
      • Good 65 mm FF lens
      • Good 85 mm FF lens
      • Good and bad 25mm FF lenses
      • Good zoom at 24 mm
      • Marginal 18mm lens
      • Marginal 35mm FF lens
      • Mildly problematic 55 mm FF lens
      • OK 16-35mm zoom
      • OK 60mm lens on P1 P45+
      • OK Sony 600mm f/4
      • Pretty good 16-35 FF zoom
      • Pretty good 90mm FF lens
      • Problematic 400 mm FF lens
      • Tilted 20 mm f/1.8 FF lens
      • Tilted 30 mm MF lens
      • Tilted 50 mm FF lens
      • Two 15mm FF lenses
    • Found a problem – now what?
    • Goals for this test
    • Minimum target distances
      • MFT
      • APS-C
      • Full frame
      • Small medium format
    • Printable Siemens Star targets
    • Target size on sensor
      • MFT
      • APS-C
      • Full frame
      • Small medium format
    • Test instructions — postproduction
    • Test instructions — reading the images
    • Test instructions – capture
    • Theory of the test
    • What’s wrong with conventional lens screening?
  • Previsualization heresy
  • Privacy Policy
  • Recommended photographic web sites
  • Using in-camera histograms for ETTR
    • Acknowledgments
    • Why ETTR?
    • Normal in-camera histograms
    • Image processing for in-camera histograms
    • Making the in-camera histogram closely represent the raw histogram
    • Shortcuts to UniWB
    • Preparing for monitor-based UniWB
    • A one-step UniWB procedure
    • The math behind the one-step method
    • Iteration using Newton’s Method

Category List

Recent Comments

  • bob lozano on The 16-Bit Fallacy: Why More Isn’t Always Better in Medium Format Cameras
  • JimK on Goldilocks and the three flashes
  • DC Wedding Photographer on Goldilocks and the three flashes
  • Wedding Photographer in DC on The 16-Bit Fallacy: Why More Isn’t Always Better in Medium Format Cameras
  • JimK on Fujifilm GFX 100S II precision
  • Renjie Zhu on Fujifilm GFX 100S II precision
  • JimK on Fuji 20-35/4 landscape field curvature at 23mm vs 23/4 GF
  • Ivo de Man on Fuji 20-35/4 landscape field curvature at 23mm vs 23/4 GF
  • JimK on Fuji 20-35/4 landscape field curvature at 23mm vs 23/4 GF
  • JimK on Fuji 20-35/4 landscape field curvature at 23mm vs 23/4 GF

Archives

Copyright © 2025 · Daily Dish Pro On Genesis Framework · WordPress · Log in

Unless otherwise noted, all images copyright Jim Kasson.