• site home
  • blog home
  • galleries
  • contact
  • underwater
  • the bleeding edge

the last word

Photography meets digital computer technology. Photography wins -- most of the time.

You are here: Home / The Last Word / Push processing a7S images

Push processing a7S images

July 9, 2014 JimK 4 Comments

When I post flat-as-Kansas corrected SNR vs ISO curves like I did yesterday, I often get emails saying, “That can’t be right. Show me some pictures.”

I always oblige.

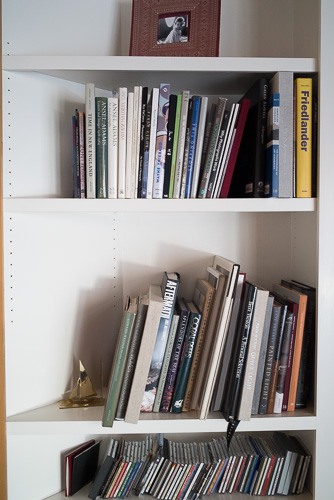
I put a Zeiss 35m mf/2 Biogon ZM on the Sony a7S, using a Novoflex adapter. I put the camera on a big RRS carbon fiber tripod. I pointed it at my bookcase – yes, the same old boring bookcase. I set the ISO to 3200, the aperture to f/8, focused with live view, and set the shutter speed for an ETTR exposure. I took a picture:

_DSC2757

Then I changed the ISO to 1600. I did not change the f-stop or the shutter speed. I took another picture. I continued that pattern all the way to ISO 100.

I developed the images in Lightroom 5.5 with default settings except for turning all noise reduction off. Then I set the Exposure control on the ISO 100 image to +5 the Exposure control on the ISO 200 image to +4, the Exposure control on the ISO 400 image to +3, the Exposure control on the ISO 800 image to +2, the Exposure control on the ISO 1600 image to +1, and didn’t adjust the Exposure of the ISO 3200 image.

Here are the results:
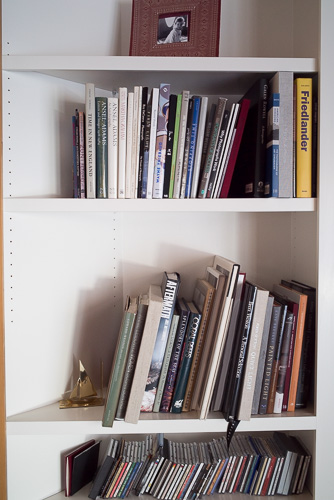
ISO 1600
ISO 1600
ISO 800
ISO 800
ISO 400
ISO 400
ISO 200
ISO 200

_DSC2762

ISO 100

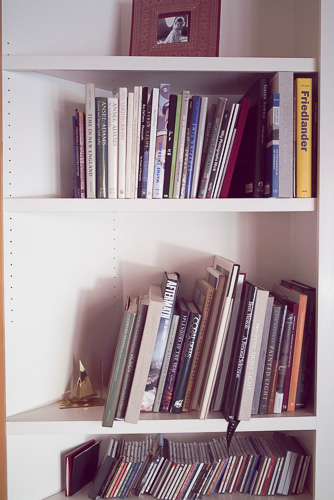
They look about the same, but there’s a white balance shift. I was using “as shot” for the WB. Picking a specific WB point and applying it to all the images gave this series:


ISO 3200
ISO 3200


ISO 1600
ISO 1600


ISO 800
ISO 800


ISO 400
ISO 400


ISO 200
ISO 200


ISO 100
ISO 100

Looks like the in-camera auto-WB was getting confused by the really dark pictures.

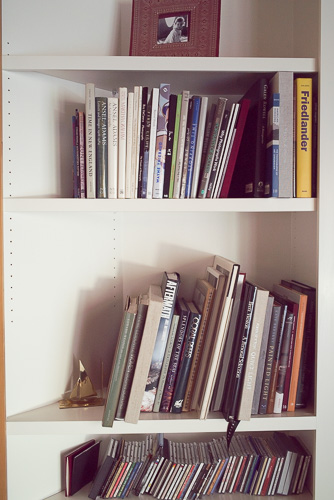
I blew up sections of all the images:


ISO 3200
ISO 3200
ISO 1600
ISO 1600


ISO 800
ISO 800


ISO 400
ISO 400


ISO 200
ISO 200


ISO 100
ISO 100

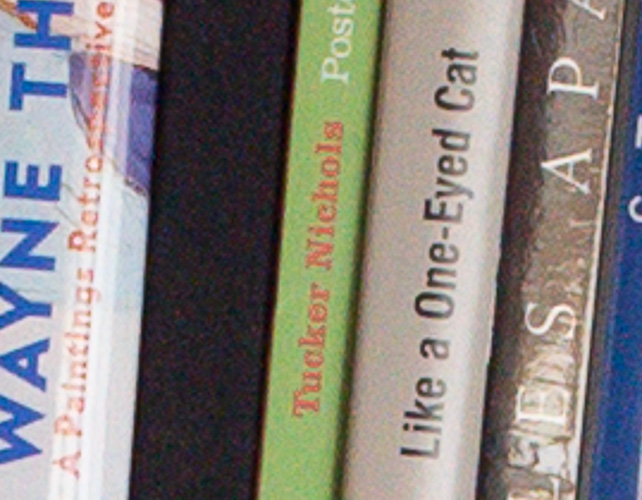
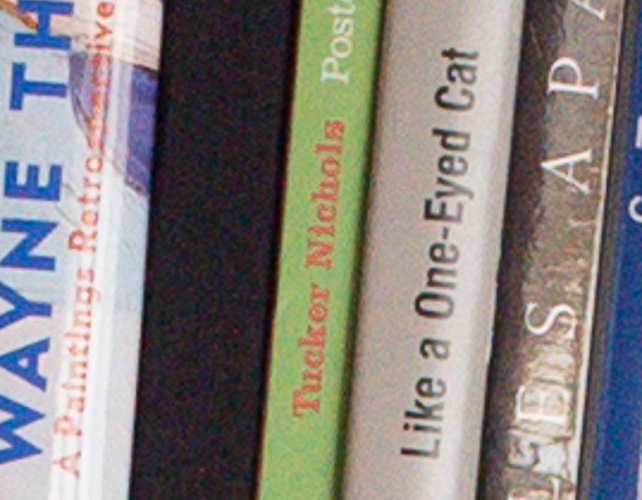
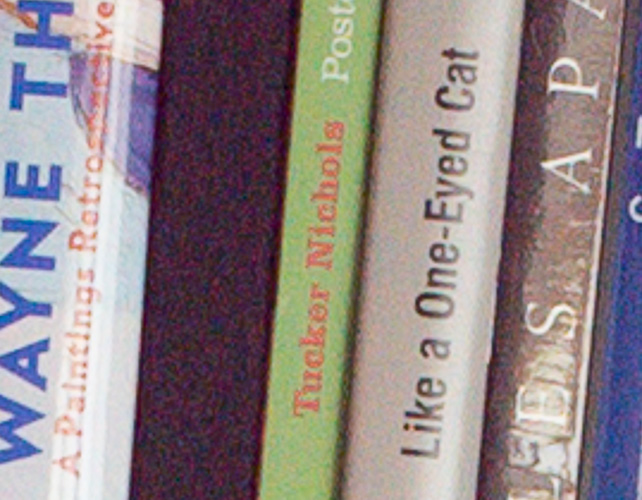
All pretty similar  except for the ISO 100 one, which has reddish noise in the black book binding. At higher ISOs the sensor-referred read noise reduction that happens when the ISO is changed from 1600 to 2000 will become more important. I’ll post some images that illustrate that next.


The Last Word

← Is the a7S ISOless? High-ISO push processing with the Sony a7S →

Comments

  1. Phillip Dobson says

    July 9, 2014 at 9:05 am

    Thank you for this post. I’m excited to try a similar test with my Fuji.

    If I’m understanding this correctly, there is a negligible noise advantage to changing ISO in the A7s up to 1600. One could leave the camera at ISO 200 and just push the exposure in Lightroom. Is this correct?

    I’m just checking to make sure I’m not crazy, as this is quite a bit different than how I learned on my Canon 20D. It remains to be seen how the Fuji behaves.

    Reply
    • Jim says

      July 9, 2014 at 9:11 am

      You got it. Canons don’t work that way. Most modern Nikons do.

      See the next post for a place where changing the ISO to 2000 or a little above helps.

      Jim

      Reply
  2. Crash says

    July 17, 2014 at 9:13 am

    Hi. If you look carefully, It seems that the smallest amount of noise is at higher ISO, and this also works for Canon, if you do it right. That means that when you´re limited by exposure (time), it´s best to shoot ETTR/BTTR up to DR capabilities of your camera sensor, even if you would need to raise ISO speed to get the histogram to the right, it still helps. In certain situations I get less noise at ISO 800 than I´d get with ISO100. This technique has best chance to work with low DR dynamic(moving things) scene. With high DR or very stationary scene, it´s not that usable, because you´re limited/unlimitedy by DR/time.

    Reply
    • Jim says

      July 17, 2014 at 9:23 am

      You are entitled to your own interpretation, but, with the exception of the black book spine, which is dark enough that read noise is important, that’s not how I interpret these images, and it’s not how the images from the previous post measure.

      However, there’s a big improvement in read noise after ISO 1600, as you can see in the curves and in the next post. So I see no reason to use ISO 1600, and probably 1250 and 1000; if you’re that high, why not go to 2000 and get the advantage of the change from low conversion gain to high conversion gain?

      It’s not shown here, but in silent shutter mode, the change in conversion gain occurs at a different point: on the transition from ISO 1250 to ISO 1600,

      Jim

      Reply

Leave a Reply Cancel reply

Your email address will not be published. Required fields are marked *

May 2025
S M T W T F S
 123
45678910
11121314151617
18192021222324
25262728293031
« Apr    

Articles

  • About
    • Patents and papers about color
    • Who am I?
  • How to…
    • Backing up photographic images
    • How to change email providers
    • How to shoot slanted edge images for me
  • Lens screening testing
    • Equipment and Software
    • Examples
      • Bad and OK 200-600 at 600
      • Excellent 180-400 zoom
      • Fair 14-30mm zoom
      • Good 100-200 mm MF zoom
      • Good 100-400 zoom
      • Good 100mm lens on P1 P45+
      • Good 120mm MF lens
      • Good 18mm FF lens
      • Good 24-105 mm FF lens
      • Good 24-70 FF zoom
      • Good 35 mm FF lens
      • Good 35-70 MF lens
      • Good 60 mm lens on IQ3-100
      • Good 63 mm MF lens
      • Good 65 mm FF lens
      • Good 85 mm FF lens
      • Good and bad 25mm FF lenses
      • Good zoom at 24 mm
      • Marginal 18mm lens
      • Marginal 35mm FF lens
      • Mildly problematic 55 mm FF lens
      • OK 16-35mm zoom
      • OK 60mm lens on P1 P45+
      • OK Sony 600mm f/4
      • Pretty good 16-35 FF zoom
      • Pretty good 90mm FF lens
      • Problematic 400 mm FF lens
      • Tilted 20 mm f/1.8 FF lens
      • Tilted 30 mm MF lens
      • Tilted 50 mm FF lens
      • Two 15mm FF lenses
    • Found a problem – now what?
    • Goals for this test
    • Minimum target distances
      • MFT
      • APS-C
      • Full frame
      • Small medium format
    • Printable Siemens Star targets
    • Target size on sensor
      • MFT
      • APS-C
      • Full frame
      • Small medium format
    • Test instructions — postproduction
    • Test instructions — reading the images
    • Test instructions – capture
    • Theory of the test
    • What’s wrong with conventional lens screening?
  • Previsualization heresy
  • Privacy Policy
  • Recommended photographic web sites
  • Using in-camera histograms for ETTR
    • Acknowledgments
    • Why ETTR?
    • Normal in-camera histograms
    • Image processing for in-camera histograms
    • Making the in-camera histogram closely represent the raw histogram
    • Shortcuts to UniWB
    • Preparing for monitor-based UniWB
    • A one-step UniWB procedure
    • The math behind the one-step method
    • Iteration using Newton’s Method

Category List

Recent Comments

  • JimK on Goldilocks and the three flashes
  • DC Wedding Photographer on Goldilocks and the three flashes
  • Wedding Photographer in DC on The 16-Bit Fallacy: Why More Isn’t Always Better in Medium Format Cameras
  • JimK on Fujifilm GFX 100S II precision
  • Renjie Zhu on Fujifilm GFX 100S II precision
  • JimK on Fuji 20-35/4 landscape field curvature at 23mm vs 23/4 GF
  • Ivo de Man on Fuji 20-35/4 landscape field curvature at 23mm vs 23/4 GF
  • JimK on Fuji 20-35/4 landscape field curvature at 23mm vs 23/4 GF
  • JimK on Fuji 20-35/4 landscape field curvature at 23mm vs 23/4 GF
  • Ivo de Man on Fuji 20-35/4 landscape field curvature at 23mm vs 23/4 GF

Archives

Copyright © 2025 · Daily Dish Pro On Genesis Framework · WordPress · Log in

Unless otherwise noted, all images copyright Jim Kasson.