I wanted to see what the Sony a7R shutter slap looked like with a longer lens, and what happened when the camera is in portrait orientation. I chose the Zeiss 100mm f/2 Makro Planar ZF and fitted it to the camera with the Novoflex Nikon-lens-to-E-mount adapter. I attached the Novoflex rotating tripod collar to the adapter, so I could make images in both landscape and portrait orientations. I put the camera on an Arca-Swiss Monoball head and the head on Gitzo GT3541XLS legs, with the first set extended all the way and the next one half way. This is a different arrangement than I used for the earlier ISO 12233 shutter slap pictures. I couldn’t use that setup because the Novoflex rotating tripod collar is incompatible with the RRS quick-release clamp that I am using on the Arca-Swiss C1 cube; when the clamp is closed the foot can still slide back and forth. Not having the Cube made it a lot harder to square up the target in the frame, and I was working fast to get it done before I lost the light, so the alignment is not as good as in the previous ISO 12233 tests. Using a step-up ring, I mounted a 77mm Heliopan variable neutral density filter to the lens.
I taped the target up in a location lit by direct sunlight. With the ISO set to 100, the aperture to f/5.6, and the ND filter to minimum absorption, the shutter speed was 1/500.
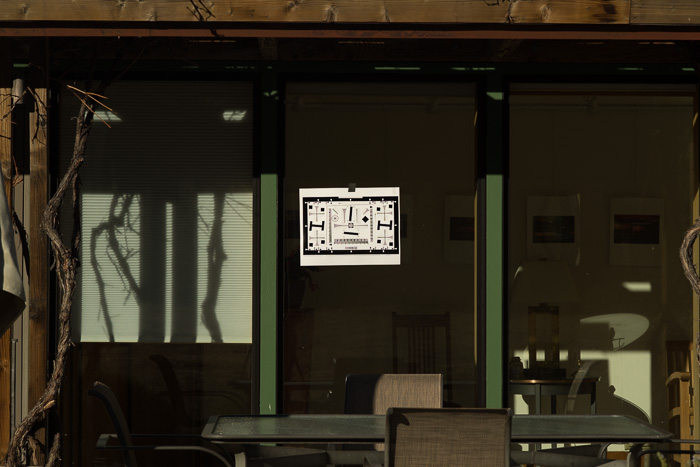
Here’s the way the camera saw the scene:
I made a series of exposures at 1/3 stop shutter speed increments all the way to ¼ second, using the ND filter to reduce the light, and letting the camera’s aperture exposure mode pick the shutter speed with the exposure compensation that I’d dialed in to get the target properly exposed. Then I rotated the camera 90 degrees in the Novoflex collar refocused, and made another series from 1/500 to ¼ second.
I brought all the raw files into Lightroom, set the white balance to Daylight, and exported each series as layers to Photoshop. I labeled the layers with the shutter speed so I wouldn’t get confused, cropped to the target, and zoomed in.
Here’s what I found, with all the tight crops re’d up 3x using nearest neighbor before JPEG compression.
At 1/500 with the camera in landscape orientation, the threshold resolution for vertical lines was about 900 lines/target height. Since the target height is about 500 pixels, this is OK performance. The threshold of resolution for horizontal lines was just a hair worse:

At 1/500 with the camera in portrait orientation, both axes were just slightly sharper than with landscape orientation. This is probably due to slightly different focusing:

The worst landscape performance was obtained at 1/100 second. The threshold resolution for horizontal lines was about 750 lines/target height, and 650 for vertical lines. This indicates that, even though the shutter was moving up and down, the sensor moved more from side to side:

The worst portrait performance was obtained at 1/80 second. The threshold of resolution for horizontal lines was about 500 lines/target height, and 375 for vertical lines. The alignment of the shutter movement with the more compliant direction of the tripod/head produced the expected poorer performance on the vertical lines. What’s surprising is the poorer sharpness on horizontal lines. Apparently, the tripod/head have vibration modes that can turn horizontal vibration into vertical shaking – and vice versa – quite efficiently:

As the shutter speed decreases from 1/100 with the camera in landscape orientation, we see steady improvement in sharpness. At ¼ second, the resolution for vertical lines actually exceeds that at 1/500 second. The resolution of horizontal lines is somewhat worse:

With the camera oriented in portrait mode, at ¼ second. Vertical lines are resolved somewhat worse than at 1/500 second, and horizontal lines at bit better.

At the worst shutter speeds, we are now seeing camera movement well in excess of 1 pixel, both horizontally and vertically. That means we should be able to see something with the oscilloscope trace photography. I’m going to take another look. When I did my earlier testing, I wasn’t looking for vibration of the high frequencies that we’re apparently seeing here.
As before, if anyone wants to see the Photoshop stacks with all the exposures, please contact me.
Leave a Reply