This is the first part of a report on the subject lens. To find links to all the others, scroll down to the bottom of this page — below the comments — and follow the pingbacks. They are titled, so you will be able to see which ones are of interest to you without going there.
I interrupt the GFXathon to bring you a look at a new Sony full frame E-mount lens that fell into my hands today — Mom, it followed me home; can I keep it? Sony calls it the FE 4/12-24G, and it’s a 12-24 mm f/4 rectilinear lens. It’s quite small and light for that range, compared to other Nikon 14-24 and Canon 11-24 lenses. It’s got a focus-lock button, which I like, and an MF/AF switch, which I also like. The petal hood is not removable, which filter lovers will bristle at, but it doesn’t bother me. There is no place to slip in behind-the-lens, or inside-the-lens filters. It’s got the best lens cap for a fixed-hood lens that I’ve ever seen. I’m not a fan of the soft leather hoods like those on the Nikon 14-24, or the ones that slide over the cover and don’t lock, or even the clip-on rubber ones like those on the WATE. This one slides over the hood, and if you press the buttons on the side, clicks into place and locks. Nice.
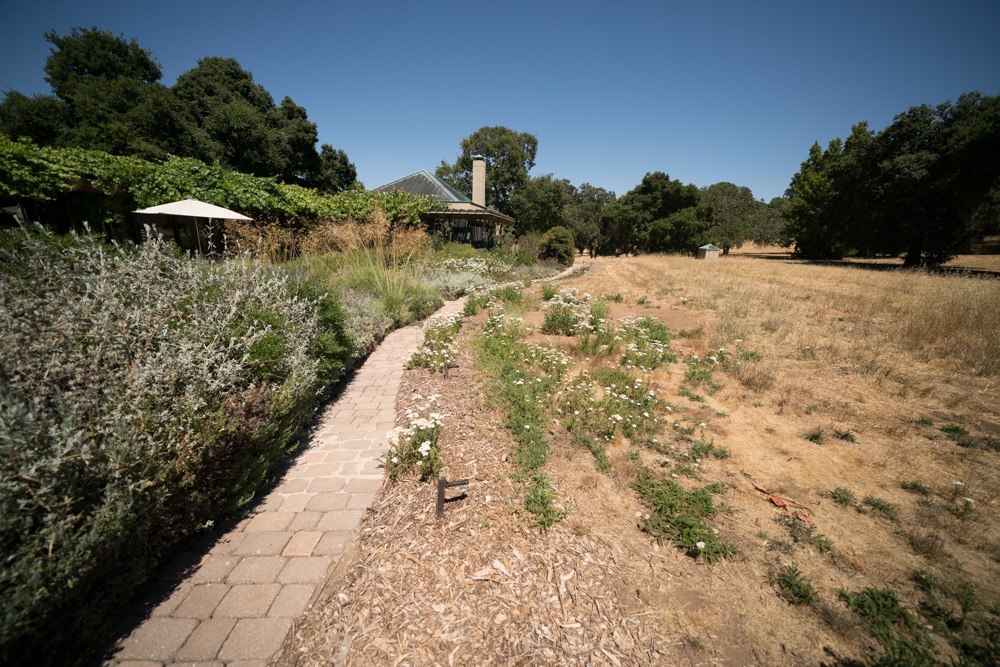
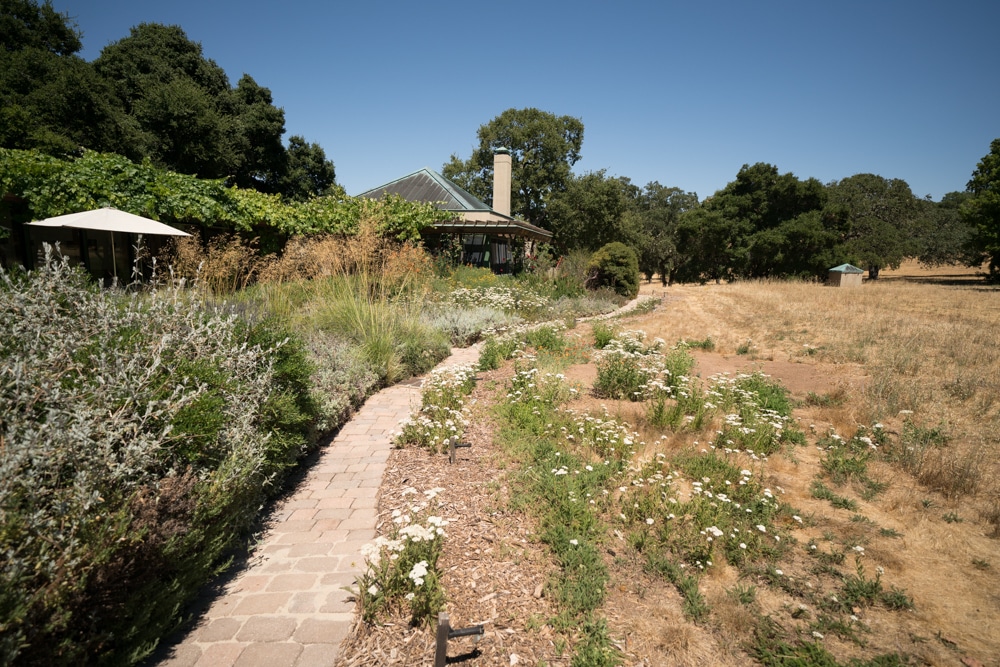
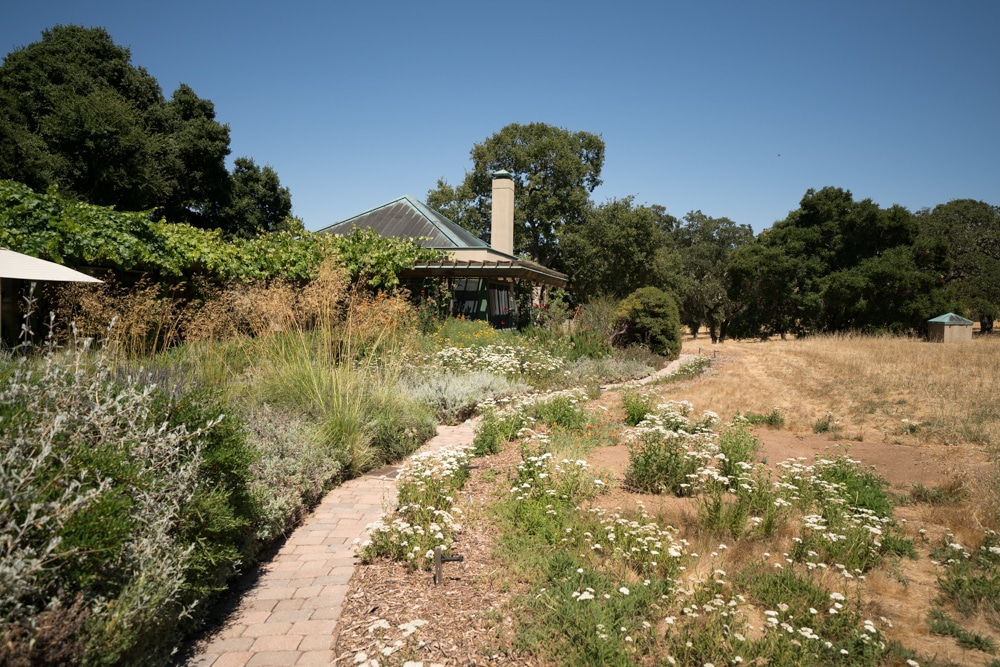
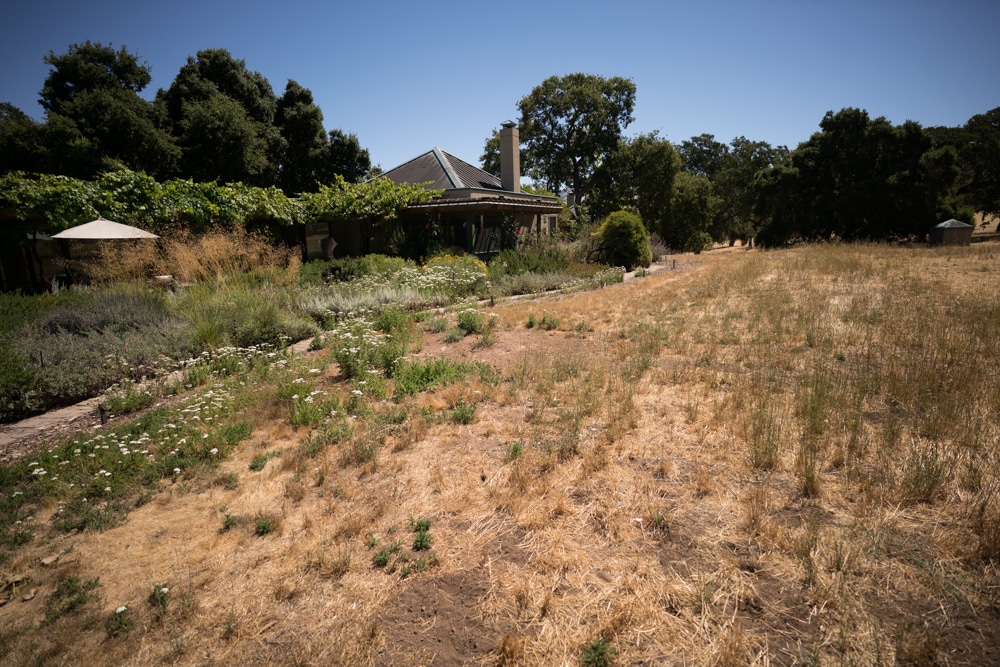
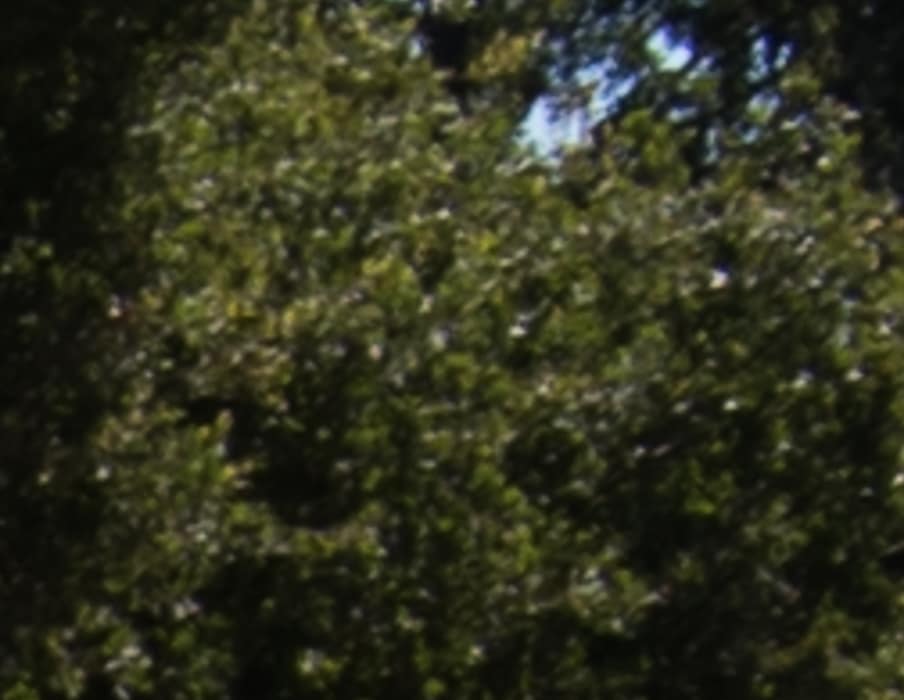
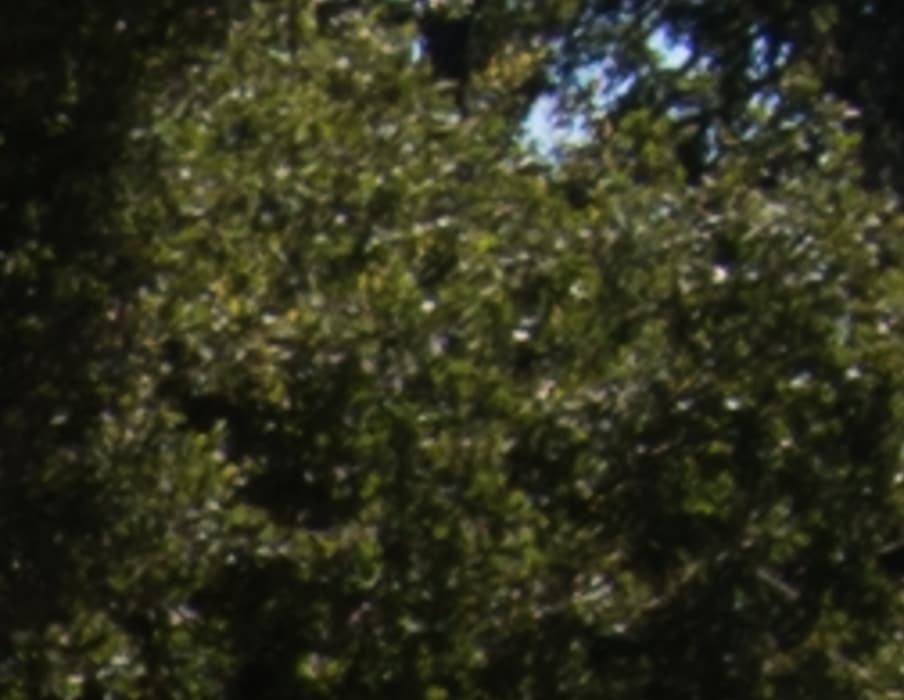
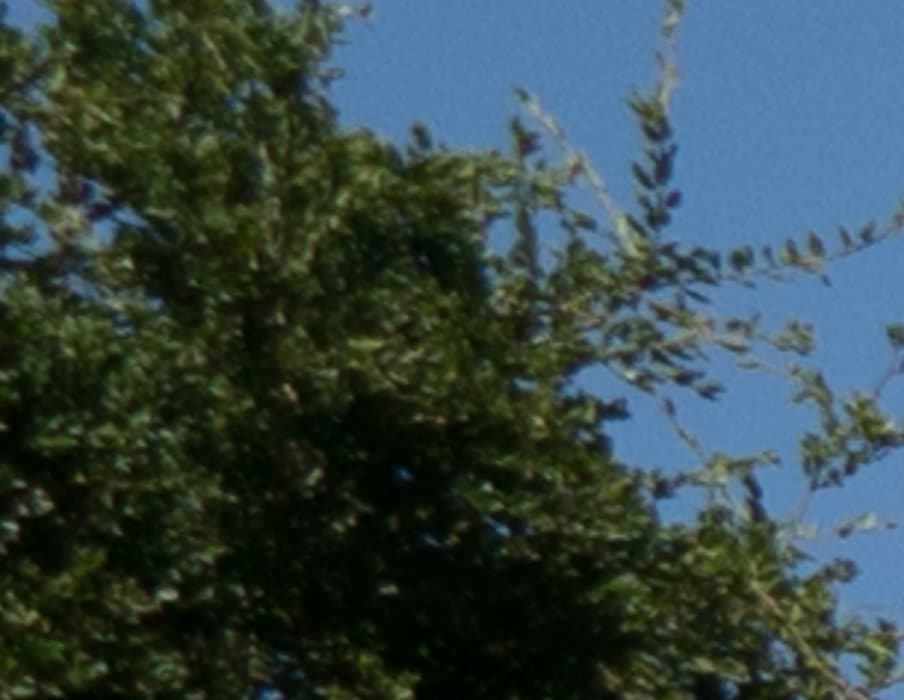
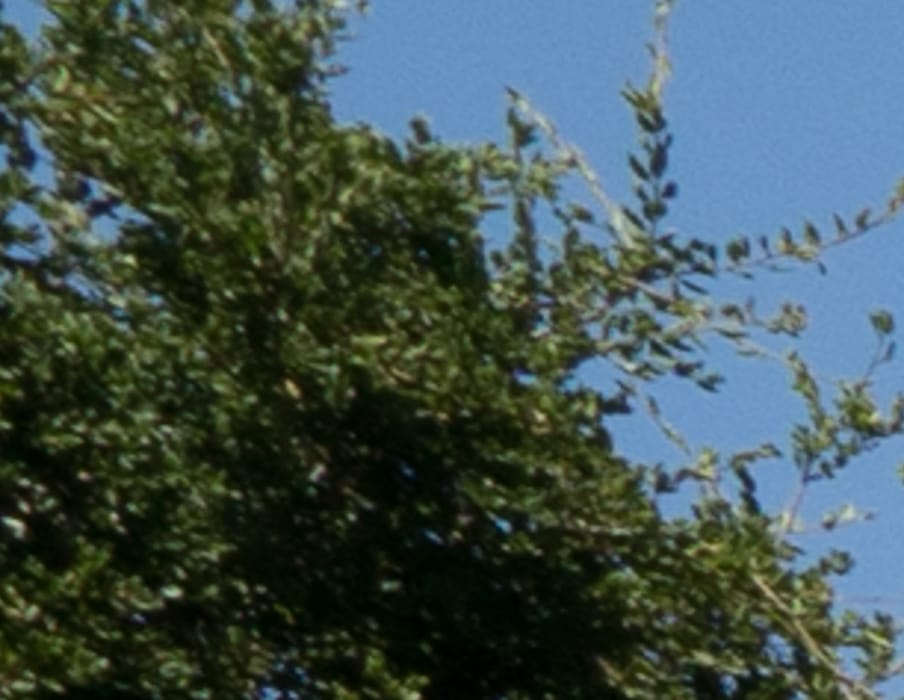
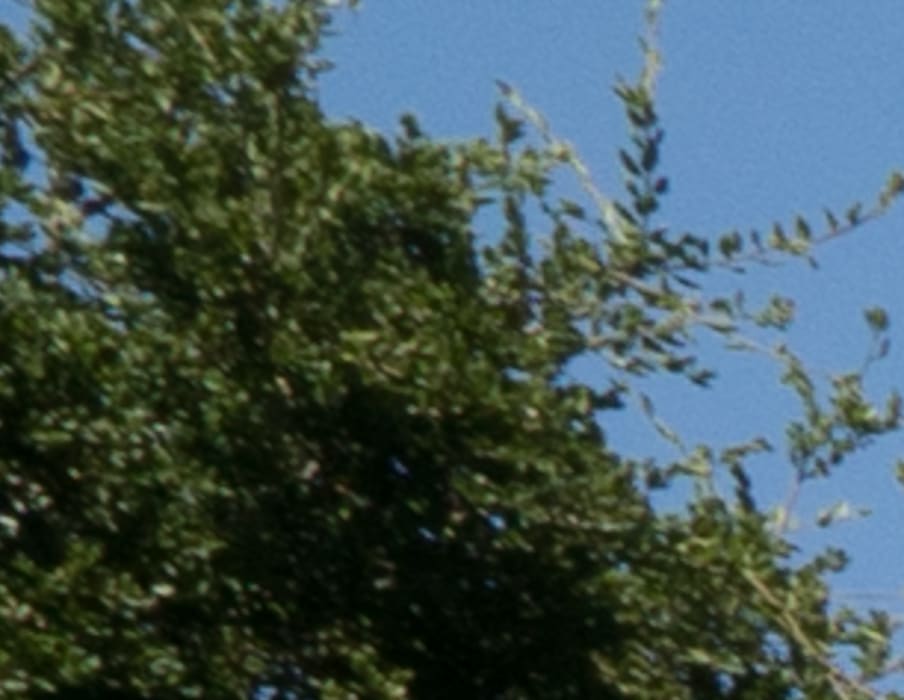
I took it outside. Here it is at 12, 18, and 24 mm wide open:
Falloff is definitely present, but, all things considered, not bad.
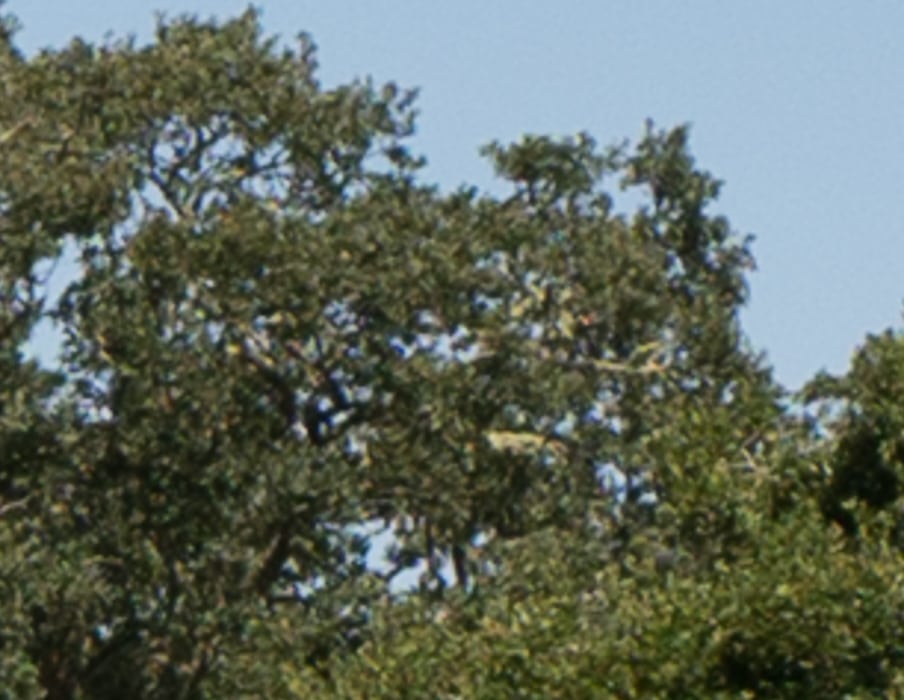
For comparison, here’s a Nikon 14-24 mm f/4 lens, the long-in-the-tooth ex king of the super wide zoom hill. I’d show you an image from the Canon 11-24, but I don’t have one on hand. Sorry. The Nikon images were shot several days ago using a D810, but I think the differences are sufficiently striking that that won’t matter much. The image is at 17 mm.
I focused both cameras manually at their taking f-stops on the lighter foliage in the upper-right-central part of the image. I focused and exposed four times for each aperture, and picked the best shot from each camera for each f-stop. Shutter set to EFCS for both cameras. 2-second self-timer for the Sony, and 3-second shutter delay for the Nikon. Arca-Swiss C1 cube on RRS sticks.Small exposure corrections in Lr. Daylight white balance selected in Lightroom.
I exported tight crops from the developed images as 700-pixel-wide JPEGs. That means that the images are all heavily upsampled. The a7RII images are 295% of their original size in both dimensions. The D810 images are at 320%. The different ratios are necessary to compensate for the variations in the height of the sensors when measured in pixels.
If you just want a rough idea of the differences, just look at the images as displayed in-line in the posts. However, if you wish to compare these images in detail, you should view these images by clicking on them to see the source files, then setting your browser for 100% zooming. Even better, download them and make Photoshop stacks.
No matter what you do, these crops are all going to look horrible. I’m blowing them up so much so that they will represent the original file after JPEG’s discrete cosine transform has had its way with them. If you want to get a good idea of what the images would look like printed, get far away from your monitor. No, farther than that. Put a bunch of the images up on the screen and back up until the best one starts to look good. Then look at the others. There’s another reason why these images won’t look like the best thing the camera/lens combination can deliver. They’re demosaiced with Lightroom. Lightroom is not awful, but for a particular image, there are usually better raw processors. I use Lr because it’s a de facto standard, because I know it well, and because it’s got good tools for dealing with groups of images.
I’ll show the crops at 18 mm for the two combinations. In the next few posts, we’ll look at the Sony at 12 and 24 mm as well.
In the mid-upper right:


The Sony is sharper, and doesn’t have the LoCA that you see with the Nikon. By the way, Lr doesn’t have lens corrections yet for the Sony 12-24, so you’re not seeing corrected images.


Now, in the upper left corner brightened by 2/3 of a stop:


Now you can see why I didn’t bother to go out and reshoot the Nikon images so they’d be apples to apples with the Sony ones. These lenses aren’t playing in the same league. I guess that what ten years of lens design advancement does for you.
The Sony images are quite lovely for a zoom lens. Actually, they are lovely for any lens. I will probably get around to doing a comaprison with the WATE, but I think I know who’s going to come out on top, and it doesn’t have a red dot on it.
[Added 10/11/17: Horshack shows here that much of the Nikon zoom’s poor edge performance is due to field curvature.]
Hey Jim, have you ever tried the Canon EF 16-35 f/2.8L III? On paper (from the-digital-picture) it appears to be super sharp wide open, even into the corners
http://www.the-digital-picture.com/Reviews/ISO-12233-Sample-Crops.aspx?Lens=1073&Sample=0&FLI=0&API=0&LensComp=0&CameraComp=0&SampleComp=0&FLIComp=0&APIComp=0
Sorry, no experience with that lens.
Hey Jim
Nice review of the new lens. Would love to see a comparison to the Wate!
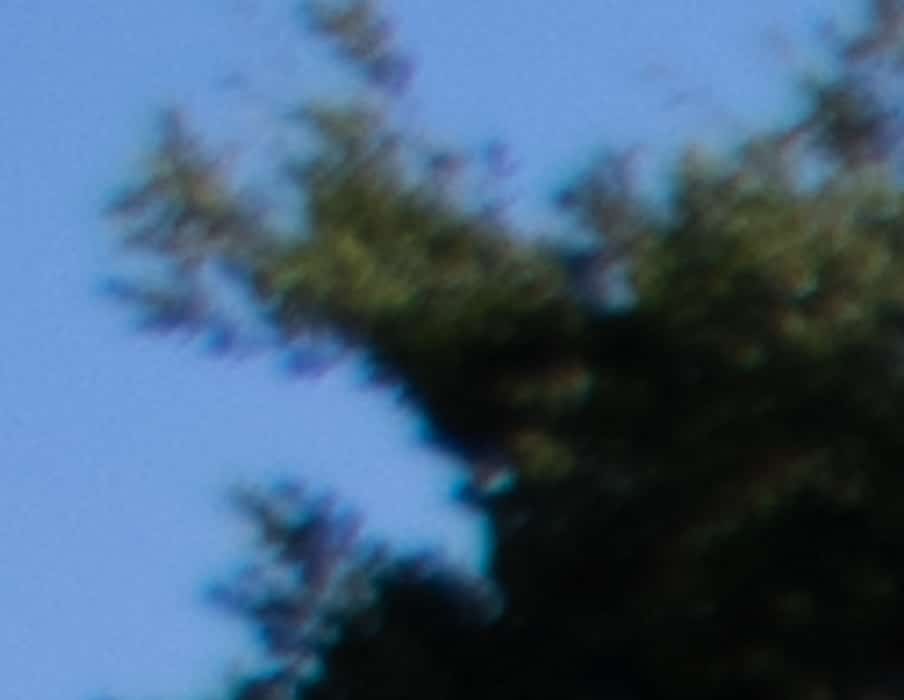
Maybe the wind was blowing… That’s why comparisons have to be near simultaneous and under controlled circumstances.
A lot of people — I mean a lot! – don’t like the quantitative lab tests I run. Some of them get downright hostile about them, and many have a hard time interpreting the numbers and the graphs. The lab tests take a lot longer to run than the Q&D ones. I don’t have enough time to test all the things I want to test as it is. This is starting to cut into, you know, actually making photographs. I used to do the tilted camera/distant horizon tests. I ran into problems with atmospheric thermal effects providing blur (and even worse, ever changing blur) and atmospheric particulates causing wavelength-dependent scattering. You may have a better spot for that than I do.
Foliage has some advantages for this. It is not regular. People know what it should look like. It moves from shot to shot, so people won’t look at things that depend on the subject’s alignment with the sampling grid. If there’s sky, it’s great for observing CA. A big advantage for me is that it’s handy. If I had to drive to do these tests, I’d do a lot fewer of them. Last, and maybe least, it has a long history in photographic lens testing; AA recommended it; although he liked bare tree branches against the sky, too. Not to easy to find a lot of those where I am.
Yes, foliage has disadvantages. It moves, and I have to plan my shutter speeds accordingly. It’s green, so the wavelengths for a camera with a good IR filter are in its sweet spot.
So, this isn’t exactly a defense of my Q&D lens tests, but more of an explanation.
These may not have the rigor of your lab tests, but I think it’s pretty obvious that these two lenses simply aren’t in the same league. Those Nikon corners don’t look like motion blur from wind, it looks like lens performance. Wind (if it was present) would be a factor, but the fact remains that the optical performance is such that you would never be able to identify it.