When you change shutter modes on the Sony alpha 7II, you may affect the bit depth. Because of the raw compression algorithm on this and all the other alpha 7 cameras, which is not defeatable, I need to go into a little detail about just what bit depth I’m talking about.
The raw compression scheme is to take the linear output of the analog to digital converters (ADC), which is either 12 or 13 bits, apply a nonlinear digital tone curve (kind of like gamma encoding) and resample the now-nonlinear signal at 11 bits. The camera then uses a delta modulation scheme to reduce the data necessary to encode the raw file to an average of 8 bits per pixel.
When the shutter is set to bulb*, or the shutter mode is set to continuous drive, speed-continuous drive, continuous bracketing, A7s’s silent shutter, and any possible combination of these, the linear, pre-tone-curve, bit depth of the camera is 12 bits. With all other settings, including single bracketing, the linear bit depth is 13 bits.
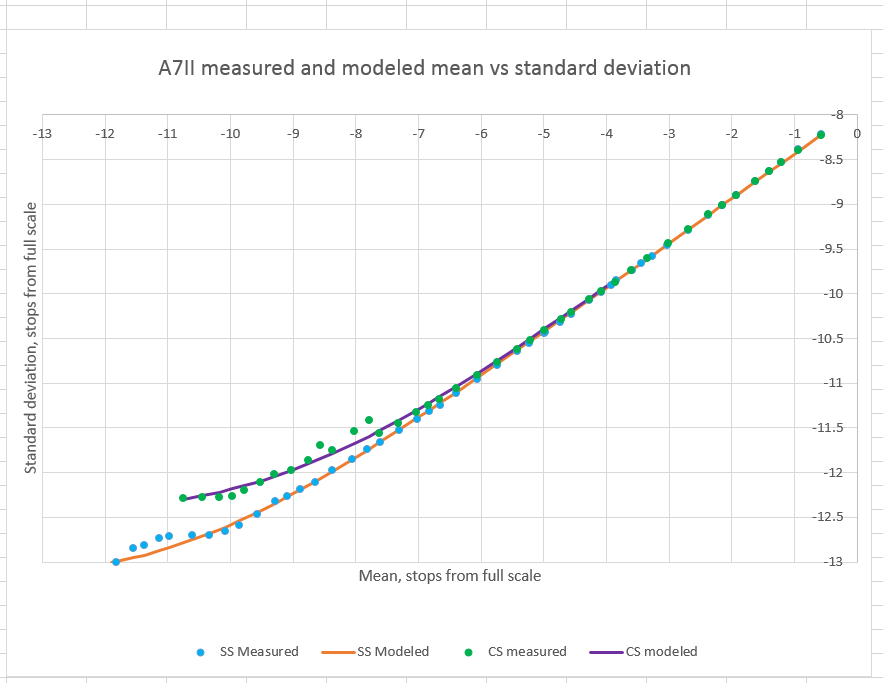
The loss of precision associated with the affected shutter modes is associate with an increase in the read noise by about one stop**, a decrease in the dynamic range by about a stop, and more shadow noise, as can be seen in this photon transfer curve of the a7II’s performance in the two modes:
The above curve is for ISO 100, where the effects are the greatest, since there is little analog read noise to dither the ADC.
Does this change in the photon transfer curve cause visible effects in images? I set out to learn about that.
I put a Leica 28mm f/2.8 Elmarit-R on the camera with a Novoflex adapter, mounted the camera to the RRS generic plate (the L-bracket isn’t yet available), the bracket to an Arca-Swiss C1 head, the head to a RRS tripod, aimed the camera at the bookcase I usually use for this test, set the f-stop to f/8, the shutter to 1/50 second, the ISO to 3200, the shutter to single shot, and made an exposure. Varying nothing but the ISO setting, I made five more exposures at ISO 1600, 800, 400, 200, and 100.
Then I put the shutter in continuous slow mode and did the same thing.
I developed the images in Lightroom 5.7.1 with default settings except for turning off sharpening and noise reduction. Then I set the Exposure control on the ISO 100 image to an extra +5, the Exposure control on the ISO 200 image to an extra +4, the Exposure control on the ISO 400 image to an extra +3, the Exposure control on the ISO 800 image to an extra +2, the Exposure control on the ISO 1600 image to an extra +1, and didn’t adjust the Exposure of the ISO 3200 image.
I cropped the images and magnified them by a factor of two.
The results:
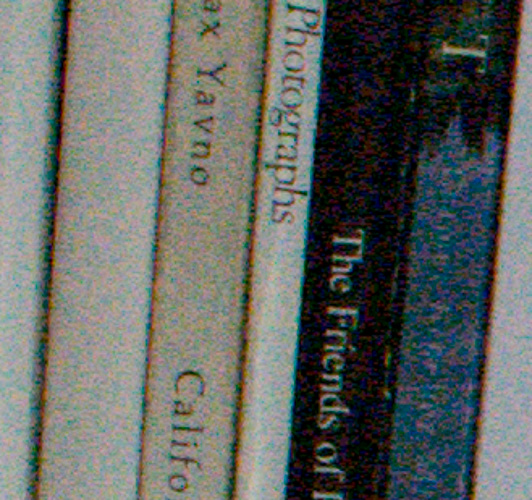

There is quite a bit more noise in the continuous case.

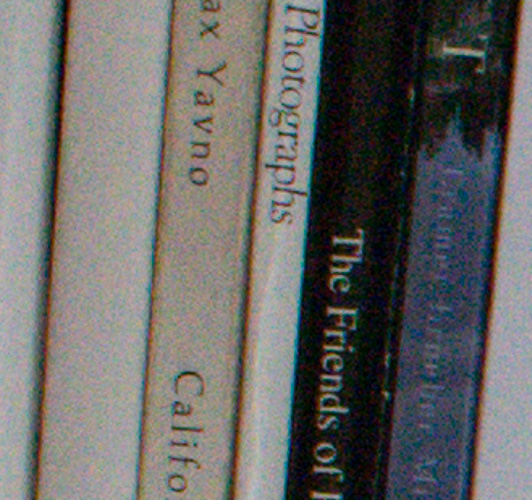
The single shot is better, but not by much. The extra noise is providing useful dither.
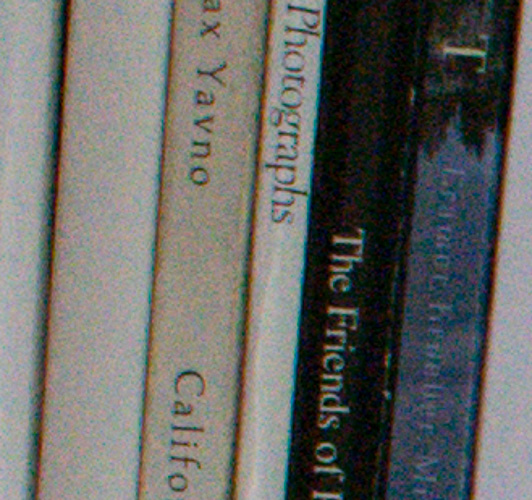
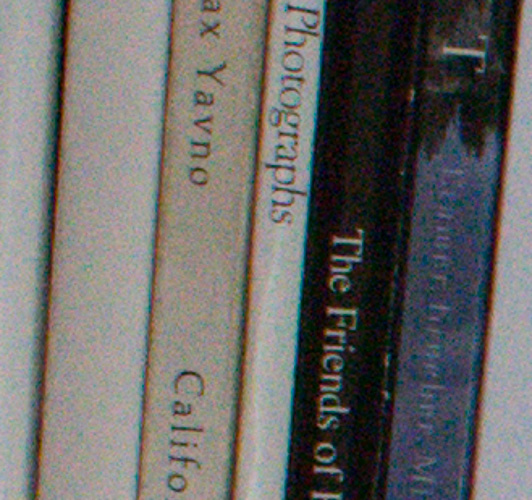
I don’t see much difference at all.
The ISO 800 and 1600 exposures continue the trend. Here are the ISO 3200 exposures:
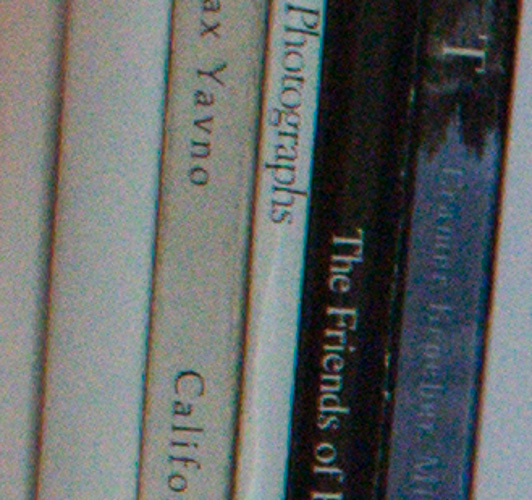
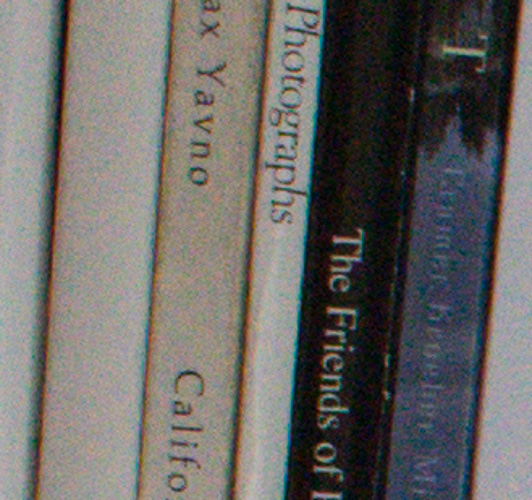
No difference. By the way, don’t read too much into the color balance differences in the above images. I left the WB in Lr set to “As shot”. My bad.
OK, what if we do the same series, but this time start at ISO 12800 and go to ISO 400, with the shutter set to 1/200. This time I’ll make the WB the same.
Here are the five stop pushed images:
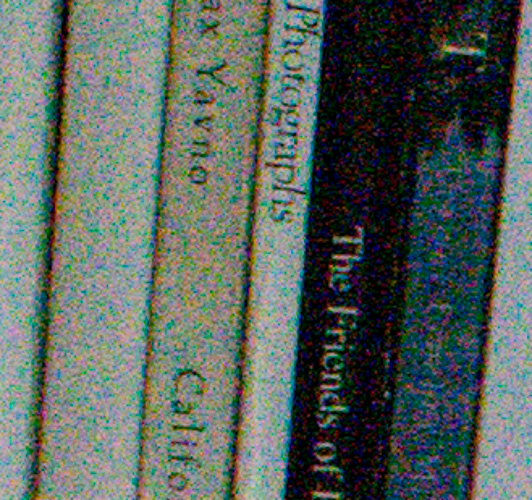
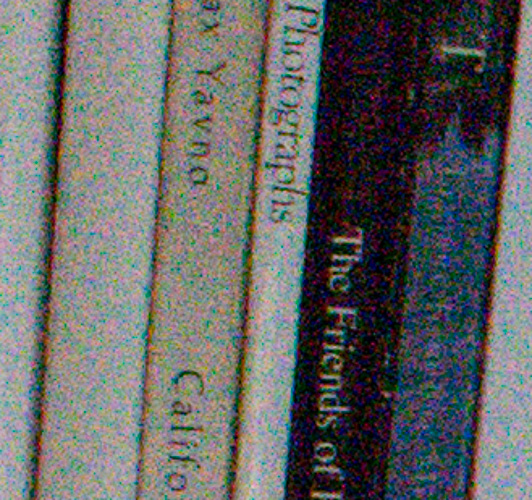
There’s not as much difference as in a five stop push at lower ISO, but the single shot image is still a bit better.
*By the way, you should know that, at least on the a7S and a7II, bulb mode invokes some spatial filtering. Oh, those tricky Sony engineers!
**The drop in precision to 12 bits is not the sole cause of the increase in read noise. You can see what simply lowering the precision to 12 bits does in the Nikon D810, which has a mode that effects the change from 14 to 12 bits through truncation.
Thanks so much for these tests! I have two questions about your testing procedure:
1. How did you choose that starting exposure (f/8, 1/50 second) when using ISO 3200? Is that approximately the metered exposure at 3200?
2. In continuous mode, did you use the first image of the burst? I ask because I have seen some evidence sometimes of a difference in the first of the burst vs. all of the others. The first of the burst is often better when using a nonnative lens.
>1. How did you choose that starting exposure (f/8, 1/50 second) when using ISO 3200? Is that approximately the metered exposure at 3200?
Yes. A little darker to make sure I didn’t blow any highlights.
>2. In continuous mode, did you use the first image of the burst? I ask because I have seen some evidence sometimes of a difference in the first of the burst vs. all of the others. The first of the burst is often better when using a nonnative lens.
Each image was the first — and only — in continuous mode. With the mode set to slow I could make sure I only got one image.
Jim
You posted five pairs of images comparing 12- and 13-bit linear captures. For clarity, I’ll name your pairs 100+5, 200+4, 400+3, 3200+0, and your last pair is 400+5. These pairs are ISO+push, where push is the number of stops pushed in Lr.
I’m going to quibble with some of your assessments. I think you were focusing primarily on the white books, for the black book gives us quite different results.
Arbitrarily setting the white-book quality loss to be 64 “demerits” for the case of 100+5, I assigned these approximate judgments (and my wife’s were pretty close):
100+5 gives 64 demerits
200+4 gives 8 demerits
400+3 gives 1 demerit
3200+0 gives about 0 demerits
400+5 gives 16 demerits
A curve that fits these assessments for white-book loss is 2^(3*push-10)*200/ISO.
But this model is only for the white books. For the black book, my wife and I both think the noise is better controlled with the continuous exposure for 200+4 and 400+5. More of the pixels fall to black, which looks about right. The black book in 400+5 looks to us much less noisy with the 12-bit shot.
Is my summary reasonable?
>Is my summary reasonable?
Could be. It’ll take some study on my part.
Jim
Sorry, I should have written:
A curve that fits these assessments for white-book loss is 2^(2*push-5)*200/ISO.
Thanks for the test. Doing this with a Nikon D810 using 12bit and 14bit should make even less of a difference. To me it shows that pushing 4 stops is showing little difference between the files, especially when not printing huge.
>Doing this with a Nikon D810 using 12bit and 14bit should make even less of a difference
Why is that?
> To me it shows that pushing 4 stops is showing little difference between the files, especially when not printing huge.
Another way to look at it is that it changes the photographic dynamic range to about that of an APS-C sensor. I haven’t done the testing yet, but that’s my guess of how it’ll turn out.
Jim
You have uncompressed 12bit data instead of 11bit data, generated out of 12 or 13bits, respectively. Should make a small difference. Humans see about 7-10 Million colours, so with 12bits we have a lot, lot more, enough for most situations for me (weddings, where you have 1500 pictures or more to store) and usually need to push 2-3ev at maximum. A D7100 is around .5ev worse than a D800e, not a big difference for this type of shooting, with the possibility for better high ISO and DOF control. For landscapes I have use of the 14bits, since I want to see the picture at much larger magnification or print larger. I absolutely love to have the option for utmost quality.
Well, that’s one way to look at it. Another way would be that the degradation in quality when you go from 14 to 12 bits would be greater than when you go from 13 to 12 bits. Depends on how much noise there is in the system, though.
Jim
Well, 2^(2*push-5)*200/ISO does not extrapolate well when push > 5. If push is 10 or 20, probably 12- and 13-bit modes become equally bad. Therefore, perhaps the demerits function should have a bell-curve shape in the push dimension, with a maximum near push = 5 or 6.
The loss (from 13-bit to 12-bit) can never be more than whatever is caused by losing a stop, and we have seen that in some cases (especially ISOs above 400) the loss for the noise in the pushed white areas is insignificant.
Still, it is notable how the loss of one bit on input can sometimes improve the look—even reducing the noise—of the pushed black areas.
Jim,
Maybe you’ve already done this but why not a head to head comparison of the A7r v D810. Color depth, ability to push and pull, gradients, etc.
Max
Max, take a look at this:
http://blog.kasson.com/?p=8310
and:
http://blog.kasson.com/?p=8328
Jim
Jim,
Very nice work as usual. Another area of interest for is the effect of 12-bit mode + compression on the highlight gradients. As we know the data gets sparser and sparser as we get closer to blown out areas and several people (for example Matti Koski who took the infamous star trail posterization/artefact shot that is seen for example in RAWDigger article about posterization) are telling they get noticeably better highlight gradients by avoiding 12-bit mode at all costs and/or exposing to left.
Are you saying that you “NEED BULB MODE ON” in order to get 13 bit? Would Aperture/Shutter priority give me 13 bit?
Bulb mode needs to be off for 13 bit precision.
So to get 13-bit, no bulb mode.
I’m not familiar with the A7II, but assuming it has fully silent shutter, and EFCS, does using either one of those also reduce to 12-bit precision, even in single shot mode?
I’m wondering what implications this has for the A7RII. It’s unfortunate if shutter options which will be used only by photographers looking for ultimate quality also reduce dynamic range by a stop.
The a7II does not offer silent shutter. As you figured out, using EFCS does not necessarily mean 12 bit precision. In fact, turning EFCS on and off and doing nothing else does not affect precision at all.
Jim
Sorry Jim, just read a bit more, and think I answered my own question (or rather, you answered it in a thread on dpreview.)
It’s only the fully-electronic (silent) shutter mode which is affected by this issue, and not EFCS. That’s a relief.
Thank you for all the great information you provide!
Great work, thanks for doing this.
Hi Jim, can you please answer me to this: is the Sony 12 bit raw a pure 12 bit like the one used by Nikon or it also has some sort of lossy compression (like the 14 —> 11+7).
No.
It has the same lossy compression, with the LSB set to zero.
Jim
I see. Thank you for answering me. I though only the 14 bit was using the lossy compression. Have a nice day.
Great information, thanks for making it available! I just bought a Sony a7r II and am wondering if the same settings as those on the a7 II would cause (or avoid) dropping down to 12 bit. I would think so, but who knows? Also, if continuous bracketing is selected on the a7r II with a 2 second timer for bracketing, will there be a 2 second delay between each image (and thus possibly not dropping to 12 bit) or just a 2 second delay before the first image is taken?
I’m curious then is there an app that with automate the single bracket mode so I don’t have to count out 9 different times I have to press the shutter inorder to fulfill the full bracket?
How about using an intervalometer for that?
Do you mean the intervalometer app or a separate unit that I will need to carry and plug in? With a separate intervalometer it seems like one would always be figuring out how much time in between intervals were needed with slow shutter speed brackets. How do you handle this or do you just accept the 12bit?
I meant us a remote release/intervalometer. My remotes are all intervalometers.
What do I do? If I’m going to do a bracket, I do a three-exposure, 4-stop, bracket and just hit the remote release three times. I’ve never needed more than a four-stop (two stops up, two stops down) bracket.
If you’re going to do a 9-exposure, 6 stop, bracket, and counting exposures is not appealing, you might accept 12 bit precision and use continuous shutter mode. With that wide a spread, unless you’re doing something really extreme, the shadows should have enough light that they’re shot noise limited, not quantizing and read noise limited.
Hey Jim I just want to say thanks for all your insights.
Much appreciated.
Thanks for this. Does the same hold true if you are saving uncompressed RAW?
Yes, except that uncompressed raw is capable of 14 bits of precision and compressed only 13.
Hello Jim,
Thank you for your work, I fond here a lot of important informations for me.
And what if we use the skyHDR or Smooth Reflection app in the camera? Does it swich to 12bit mode? if not, maybe this is the way to avoid bulp mode and drop in the IQ.
Good question. I don’t know the answer. If you create a dark frame image and send me a pointer to the raw file, I’ll take a look.
jim
Unfortunately, I don’t have the camera yet. Still, I am thinking which I should buy.
Hello Jim,
Thank you for the wonderful post!! Very informative! I have a question that you may be able to help me with: I use the A7S (mark 1) and I shoot dance concert which is typically lowlight and fast action. In general, I stay around 3200 or 6400 ISO, but with dark piece I crank it up to about 16000 or up to 20000 ISO. At the same time, I’m shooting in Continuous mode (not the Speed Priority, and RAW only no JPEG). My question is: what bit depth does the A7S use to shoot in that mode and does it compensate? If it shoots at a lower bit depth in Continuous mode and higher bit depth in single mode should I go with single mode since I need a lot of shadow detail.
Best,
Dat
The camera does switch to 12-bit precision in continuous mode, but with ISO settings like that, you don’t have anything to worry about. 12 bits is plenty when there’s that little dynamic range.
Sorry for the noob question but does the af mode change anything hère?
I mean saf caf caf tracking?
Regards.
Nope.
Thanks a lot for your reply and time for this article.