A while back in the a7R testing, I said I’d ordered a diffuser and would test the Adobe Flat Field interleaved workflow when it arrived. The expodisc came yesterday, so here goes.
To review the bidding, Adobe Flat Field (let’s call it AFF) is a beta plug-in for Lightroom. The purpose of the program is to correct for color casts and light falloff such as occurs when you use short M-mount lenses on the a7R. It has two modes of operation. You can point the plug-in at the images to be corrected, and give it a reference image of an evenly illuminated field made with the same lens, focusing distance, and aperture. It will produce copies of all the images that need correction with just the color casts removed, or with both the color casts and the light falloff corrected. In this mode, the plugin works a lot like Cornerfix. To use either program in this mode on a7R images made with third-party lenses requires field record-keeping to know which reference image to point the program at, which I find onerous. The metadata won’t help you, since the third-party lenses and the a7R can’t talk to each other.
There’s another mode of AFF operation that intrigues me. It’s called interleaved mode. To use it, you precede each set of images taken with a particular lens at a particular distance and aperture with a reference image. You can point AFF at as many sets of images to be corrected and reference images as you wish, and it will process them all as a batch, identifying applying the reference images and the images to be corrected by content, and using to former to fix the latter.
In order to make this process convenient in the field you need a quick way to make the reference images. That’s where expodisc comes in. It is a flat white diffuser, and you make the reference pictures by putting it in front of the lens and making an exposure. The one I have is in a 77mm filter mount, and you can use it on lenses with smaller filter rings by just holding it in front of the lens. The manufacturer intends that you do that, and supplies a lanyard that attaches to the disc. You can hang the lanyard around your neck like the old Weston Master II exposure meter, and it’s always handy.
I attached one of my troublesome lenses – the Zeiss Biogon ZM 35mm f/2 – to the a7R with a Metabones adapter and went out into the yard. I made handheld reference and real images at f/2.8, f/4, f/5.6, and f/8. I set the shutter slow by two stops for the reference images that I fed AFF, but not for the ones that I’ll show you in this post.
I brought all the images into Lightroom, and exported the images to be corrected and the reference images as DNG files. AFF won’t work on proprietary raw files, which I understand, and it won’t automatically convert the proprietary filed to SNG, which I don’t – to be fair, it is beta software. Then I invoked AFF from the bottom of the Library menu. It crunched numbers for a while and after a minute or so, it presented me with corrected versions of all the real images, identified as such. These were new DNG files; it didn’t touch the old ones.
I found the process in the field to be quick and easy. I looked at the reference images, and they looked at least as good, and probably better, than the similar images I had laboriously made earlier.
At f/2.8, here’s the picture through the ExpoDisc:

The uncorrected image:

The corrected image:
Works fine. However, this is one of those “be careful what you wish for” situations; the corners are now esthetically too light, although they’re probably photogrammetrically right. That’s easy to fix with the Lightroom vignetting tool.
At f/4, here’s the picture through the ExpoDisc:

The uncorrected image:
The corrected image:

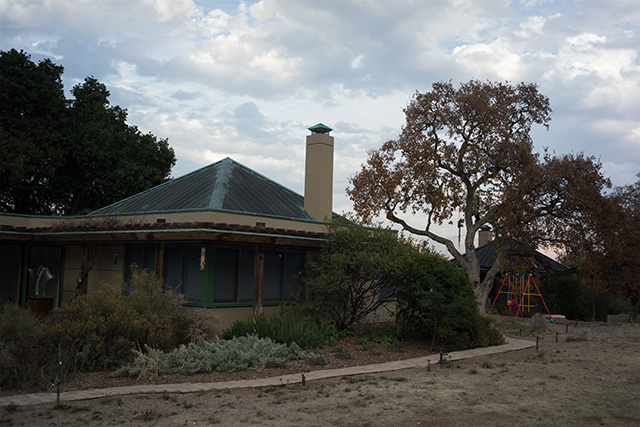
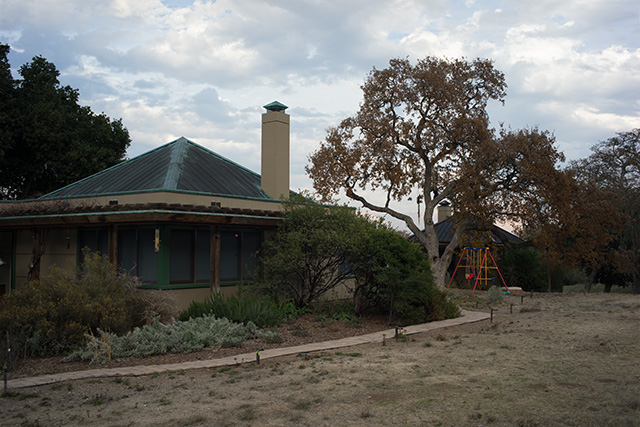
At f/5.6, here’s the picture through the ExpoDisc:

The uncorrected image:
The corrected image:

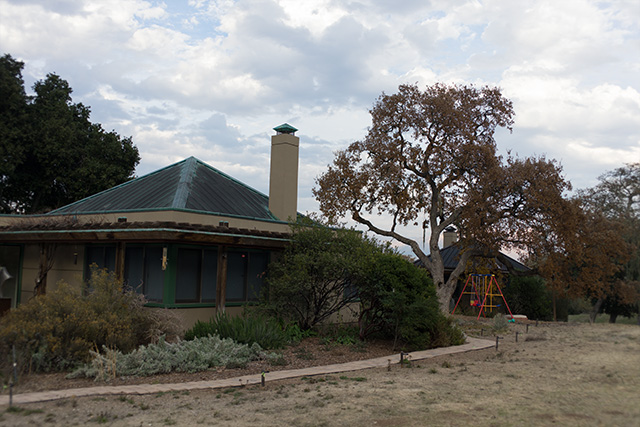
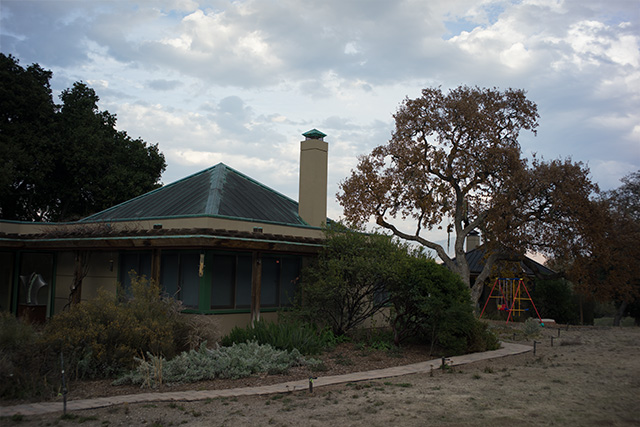
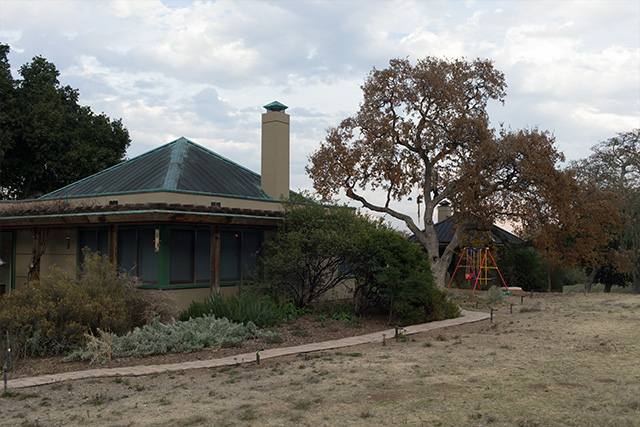
At f/8, here’s the picture through the ExpoDisc:

The uncorrected image:
The corrected image:
Leave a Reply