Many people look at graphs like those in the last post, nod their heads, but don’t really believe the results. If you’re one of those people, read on. You’ll have actual photographs to look at.
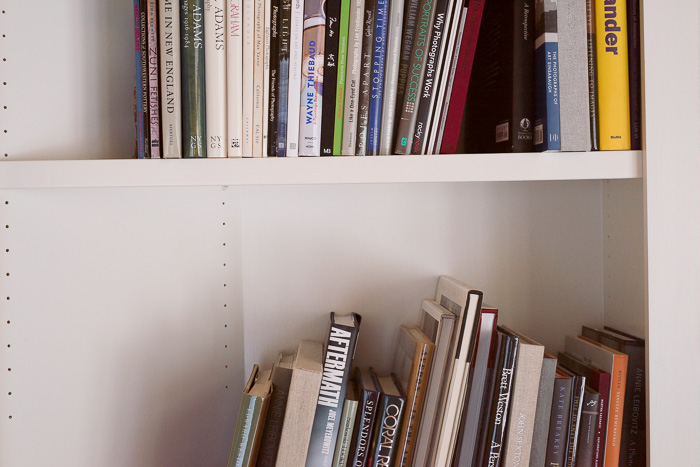
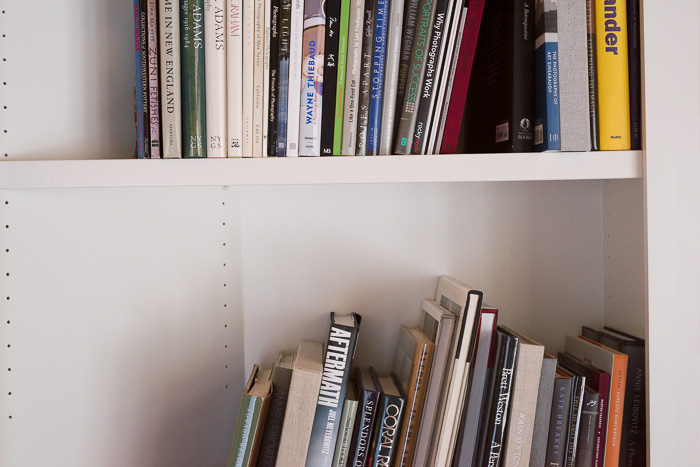
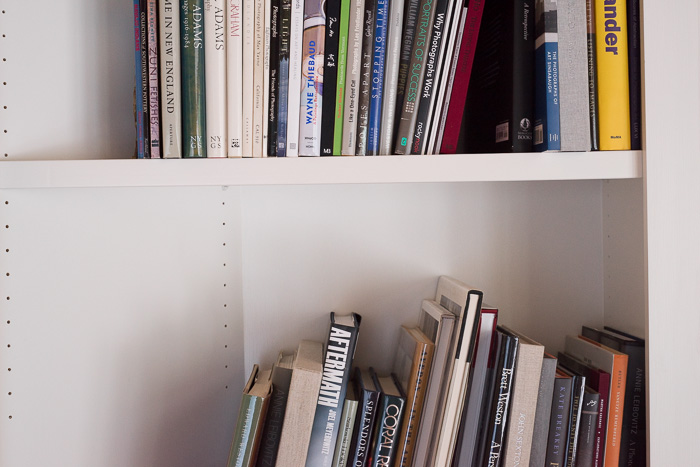
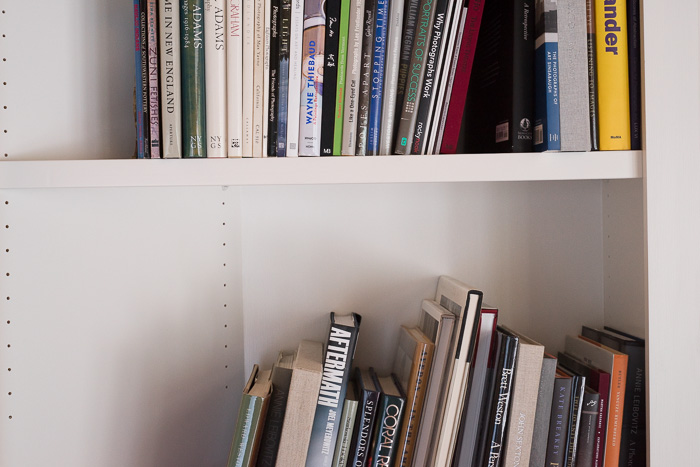
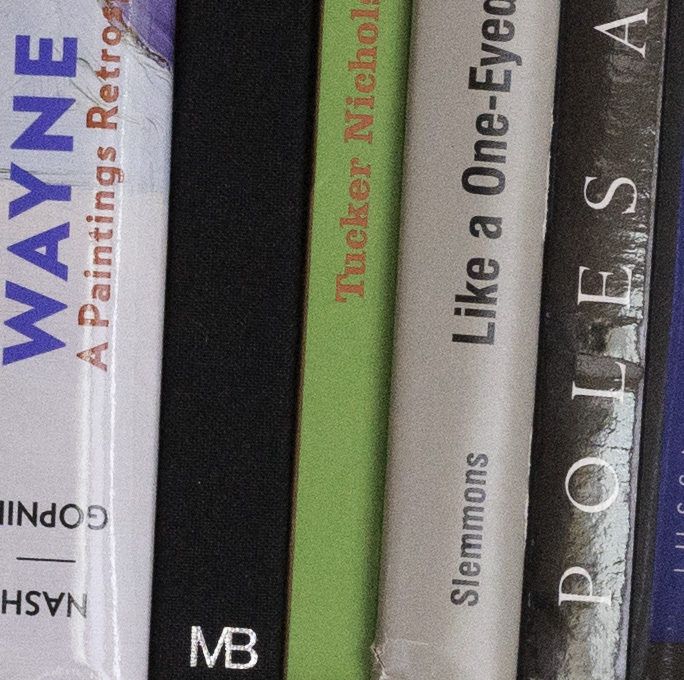
I went with my favorite subject for noise testing, my bookcase. Usually, I use a 35mm lens on a full frame camera for this test, but for several reasons, I chose a 60mm lens today. The first is the 35mm lens needs a vertical orientation for this subject, and I don’t have a convenient way to make verticals yet with this camera. The second reason is that I suspect that a 35mm lens could have issues with corner smearing and color shifts with the a7R, and I’m not ready to deal with that yet (although I promise to delve into it late). The last reason is that I really wanted to see how the Coastal Optical 60mm f/4 did on the Sony body.
On that last point, I was not disappointed. It may be that the Coastal Optical lens and the a7R is a marriage made in heaven. This was my first chance to look at a real picture made by the Sony, and it did not disappoint.
I put the camera on a tripod, aimed it at the bookcase, set the shutter to .4 second, the f-stop to f/8, the ISO to 3200, the self-timer to 10 seconds, and banged of an exposure which showed a nice ETTRish histogram. Varying nothing but the ISO setting, I made five more exposures at ISO 1500, 800, 400, 200, and 100.
I downloaded Lightroom 5,3 RC from the Adobe Labs web site, installed it, imported the images, white balanced to daylight, and set the Exposure control on the ISO 100 image to +5, the Exposure control on the ISO 200 image to +4, the Exposure control on the ISO 400 image to +3, the Exposure control on the ISO 800 image to +2, the Exposure control on the ISO 1600 image to +1, and didn’t adjust the Exposure of the ISO 3200 image. I left all the other settings at the default values.
Here are the results:
ISO 100:
ISO 200:
ISO 400:
ISO 800:
ISO 1600:
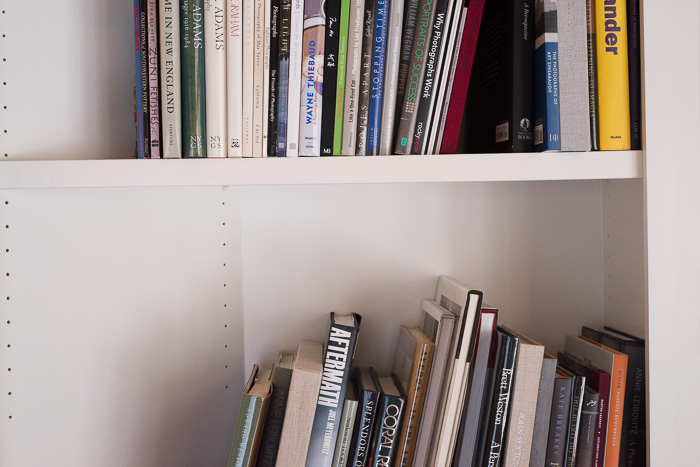
ISO 3200:
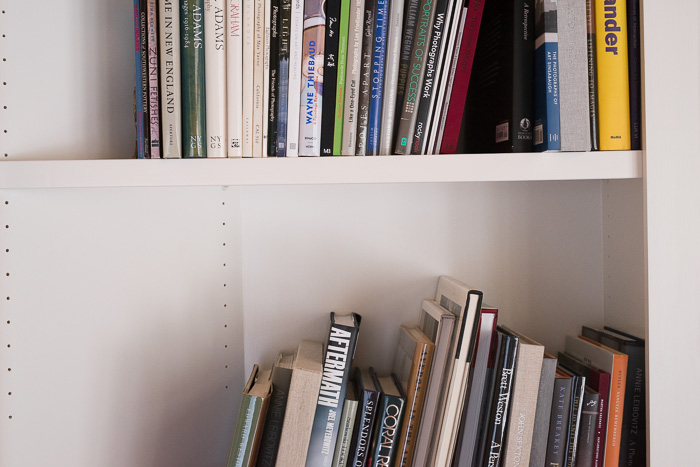
They all look pretty similar. Now, let’s zoom in to 1:1:
ISO 100:

ISO 200:
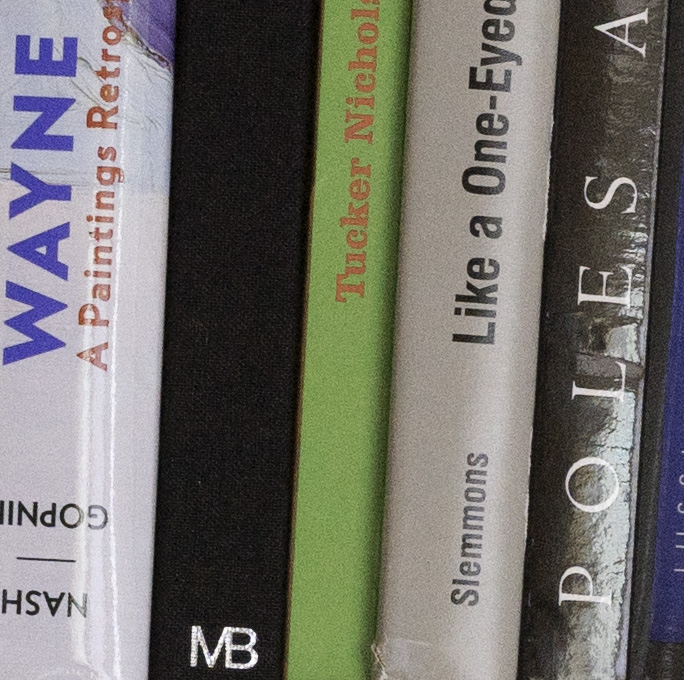
ISO 400:
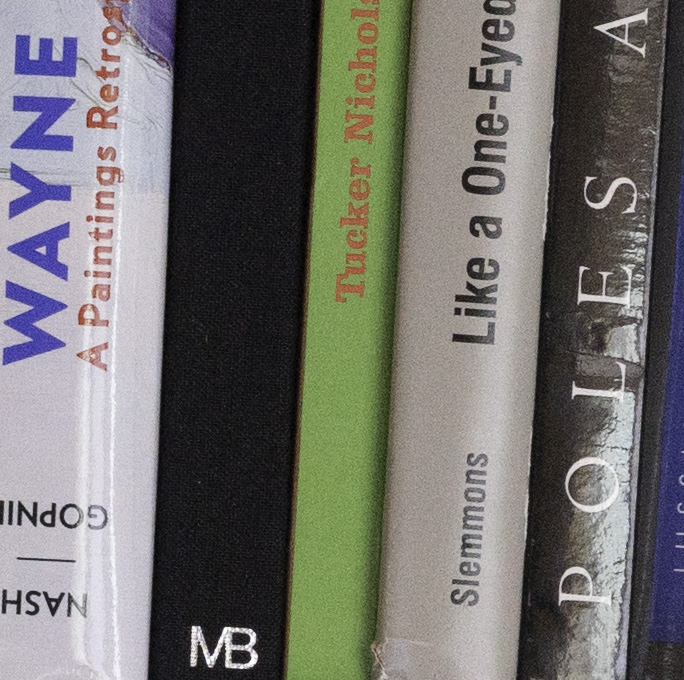
ISO 800:
ISO 1600:

ISO 3200:
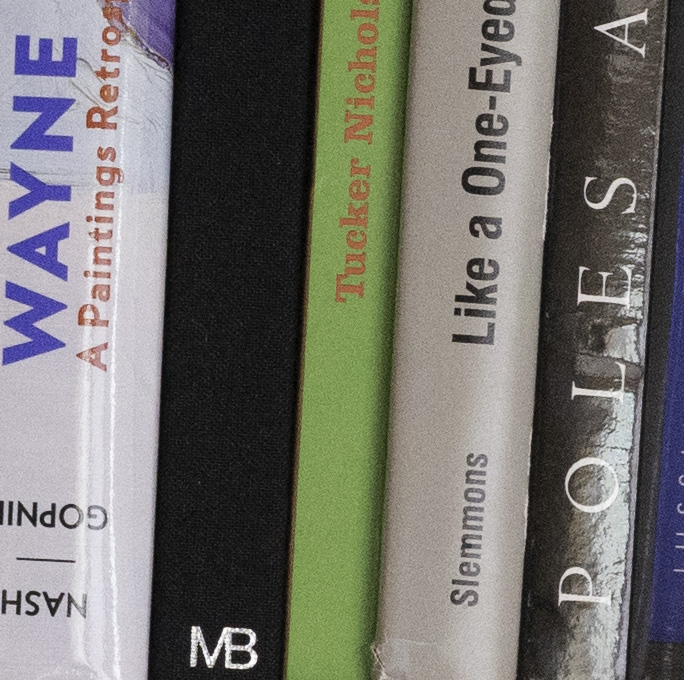
Still pretty similar, huh. We’ll look closer in the next post.
Leave a Reply