• site home
  • blog home
  • galleries
  • contact
  • underwater
  • the bleeding edge

the last word

Photography meets digital computer technology. Photography wins -- most of the time.

You are here: Home / Z50 / Nikon Z50 PDAF banding

Nikon Z50 PDAF banding

November 15, 2019 JimK 5 Comments

This is the seventh in a series of posts on the Nikon Z50. You should be able to find all the posts about that camera in the Category List on the right sidebar, below the Articles widget. There’s a drop-down menu there that you can use to get to all the posts in this series; just look for “Z50”.

There is an effect called PDAF striping that can occur with some MILCs that use on-sensor phase-detection autofocus. It doesn’t show up very often, and never unless there’s lens flare, but there were complaints about it in the Sony a7x and a9 cameras. When Nikon came out the the Z6 and Z7, they coded a fix for the PDAF striping problem that pretty much eliminated it. That’s teh good news.

The bad news was that the fix introduced another problem, PDAF banding, and that PDAF banding cropped up a lot more often than PDAF striping ever had. Not a smart move, Nikon.

Now that the Z50 is out, there has been some interest in whether or not it has PDAF banding, so I thought I’d check. But I didn’t do what Horshack suggested in a comment to this post, do I consider my negative results not consequential.

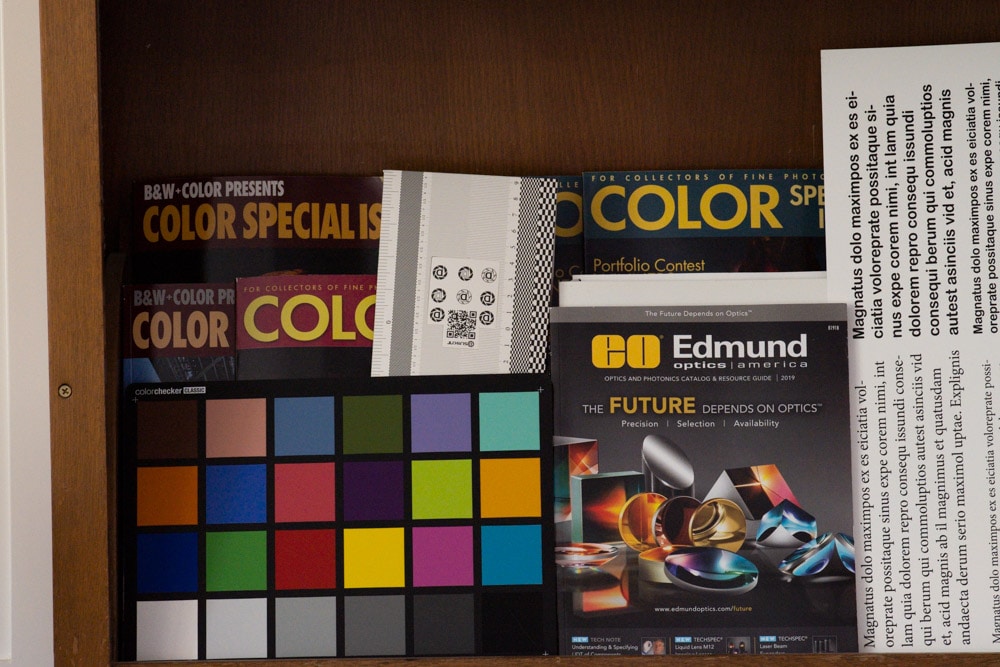
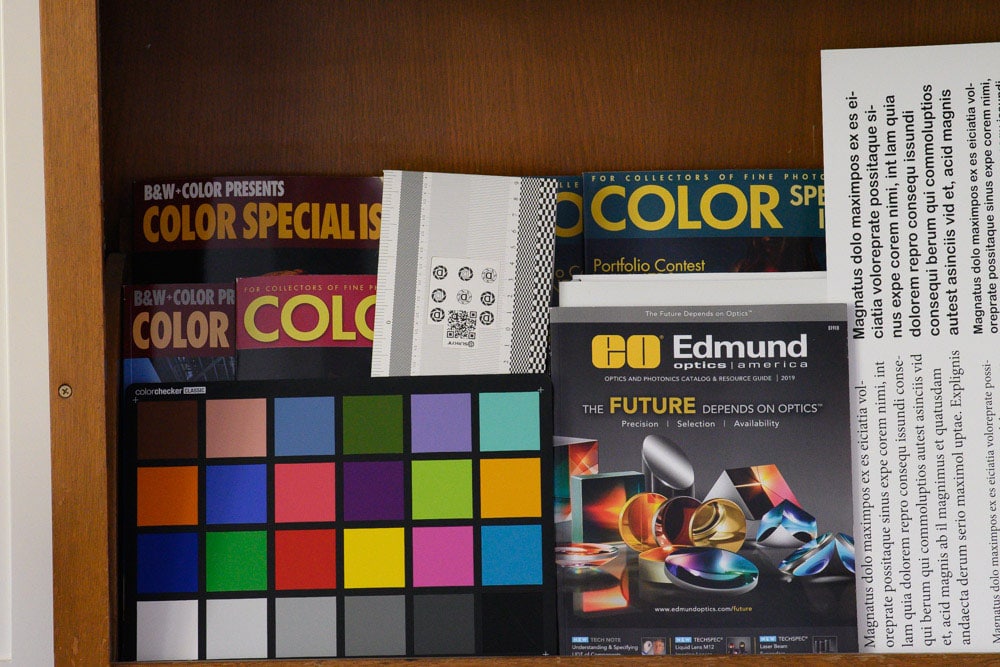
In this test to see how pushable the D50 files are, I mounted a CV 125 mm f/2.5 Macro-Apo-Lanthar to the Z50 with the Nikon FTZ adapter, and made 6 sets of exposures of — what else? — a bookcase (actually, it’s a magazine rack, but the tradition lives on), at ISO settings in whole stops of 100 through 3200, and all at the same exposure, which is the normal exposure for ISO 3200.

I developed the images in Lightroom, with Adobe Color Profile, sharpening set to amount 20, radius 1, and detail 0, which is quite a bit less sharpening that the default. I white balanced each image to the third gray patch from the left. I then pushed each image in Lightroom by the amount by which it had been underexposed. Here are the full frame ISO 100 and ISO 3200 exposures.

ISO 100, five stop push


ISO 3200, no push

Now let’s look at some tight crops of the Macbeth chart:

ISO 3200, no push


ISO 1600, 1 stop push


ISO 800 2 stop push


ISO 400, 3 stop push


ISO 200, four stop push


ISO 100, five stop push

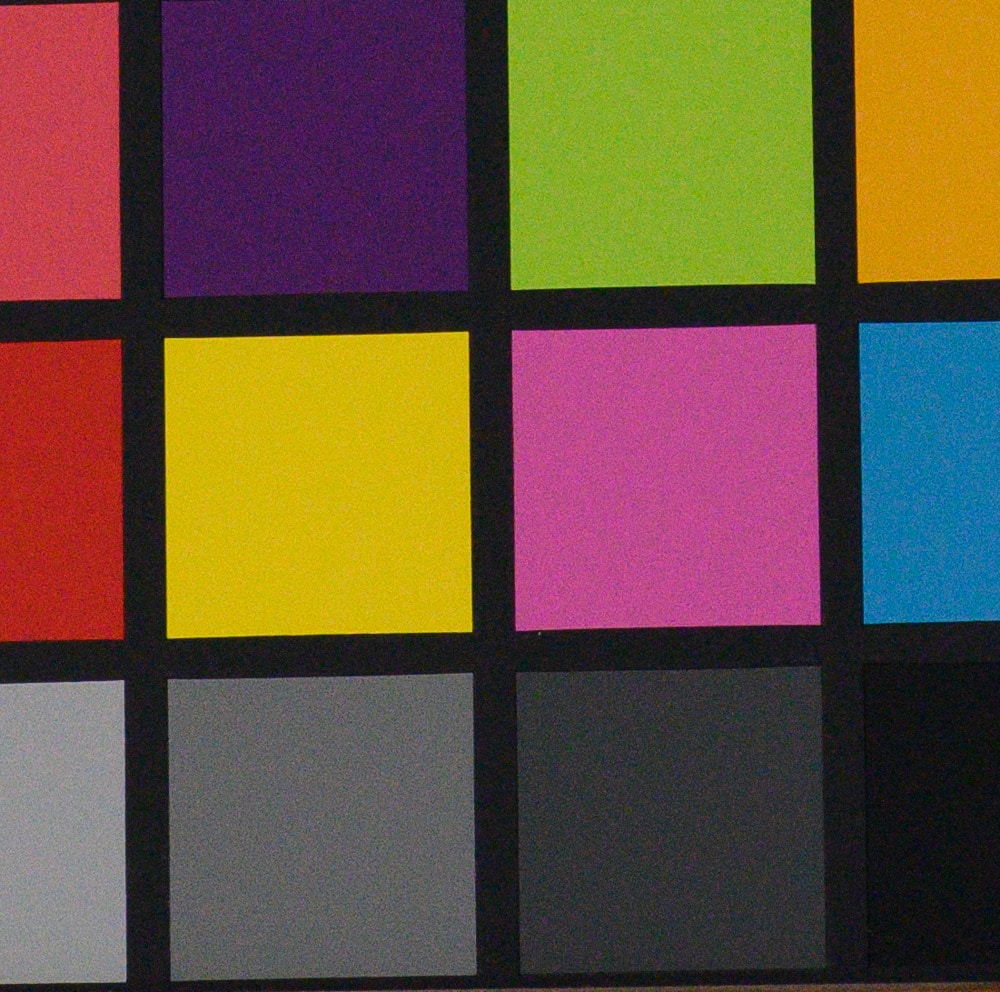
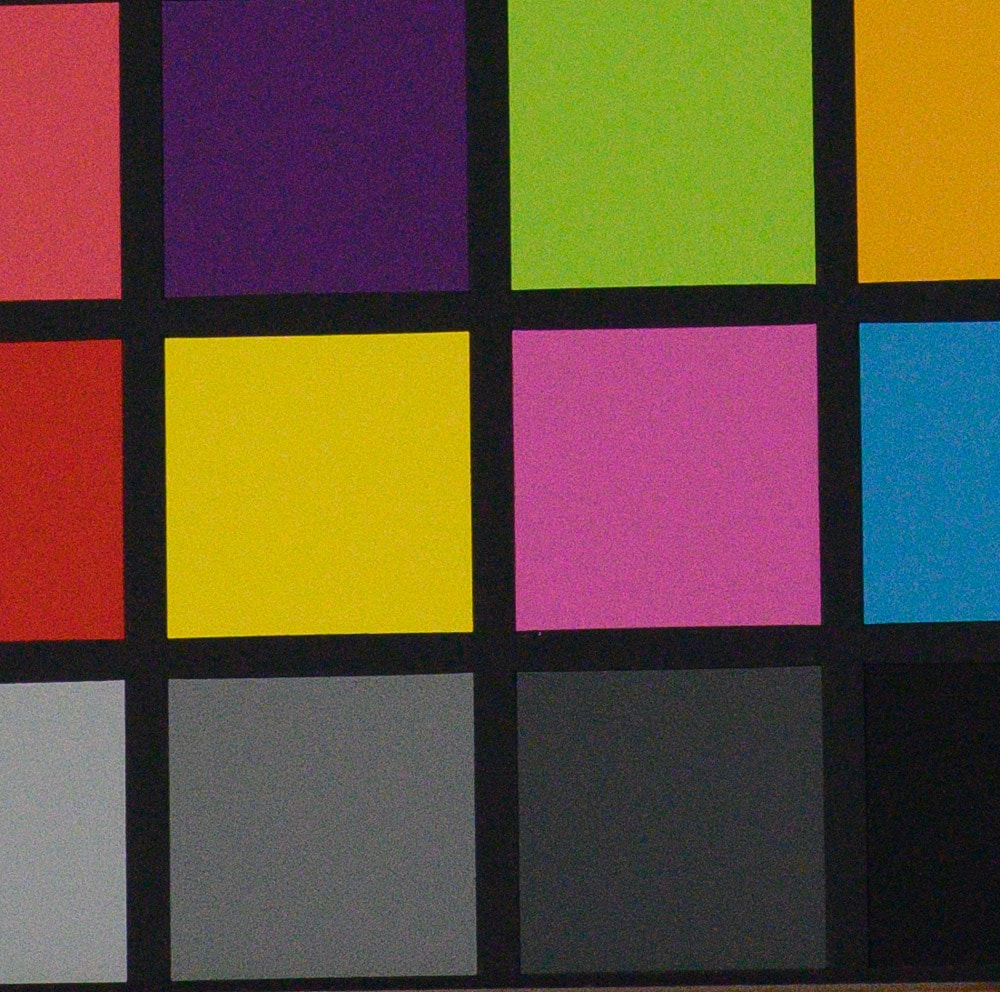
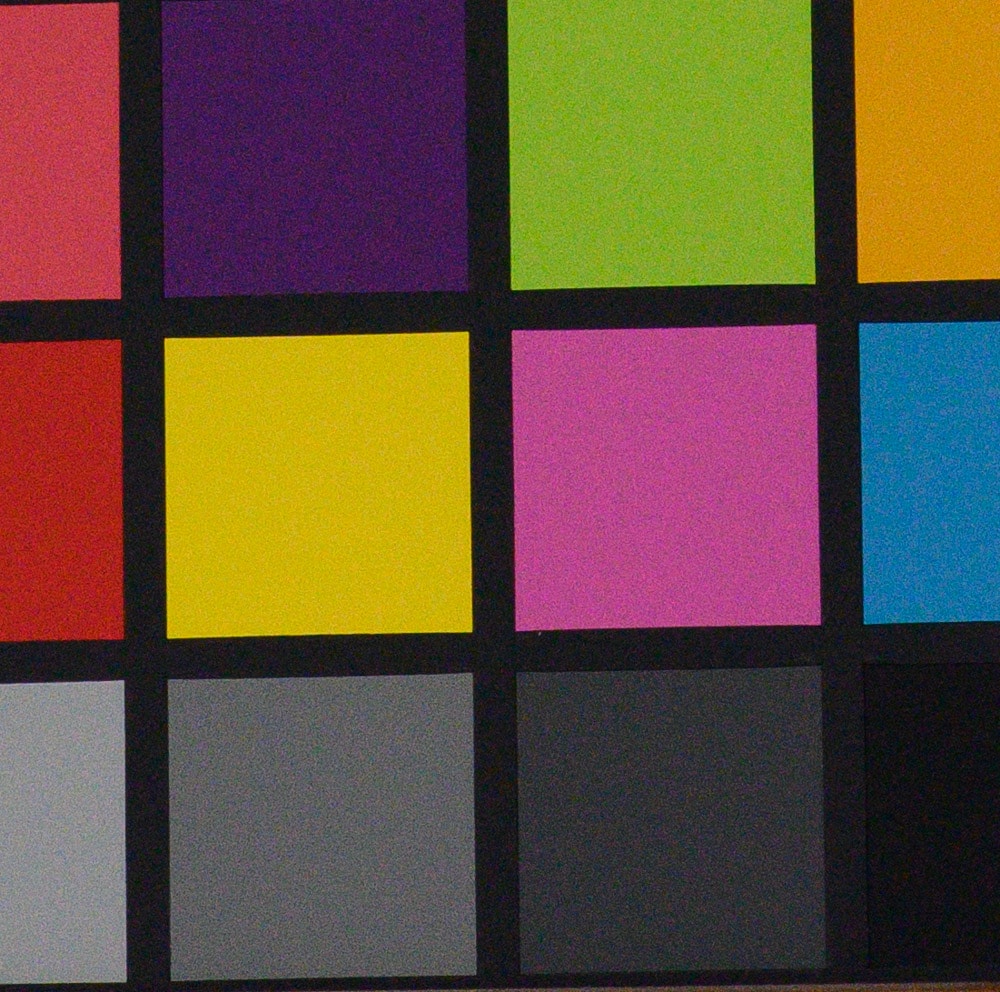
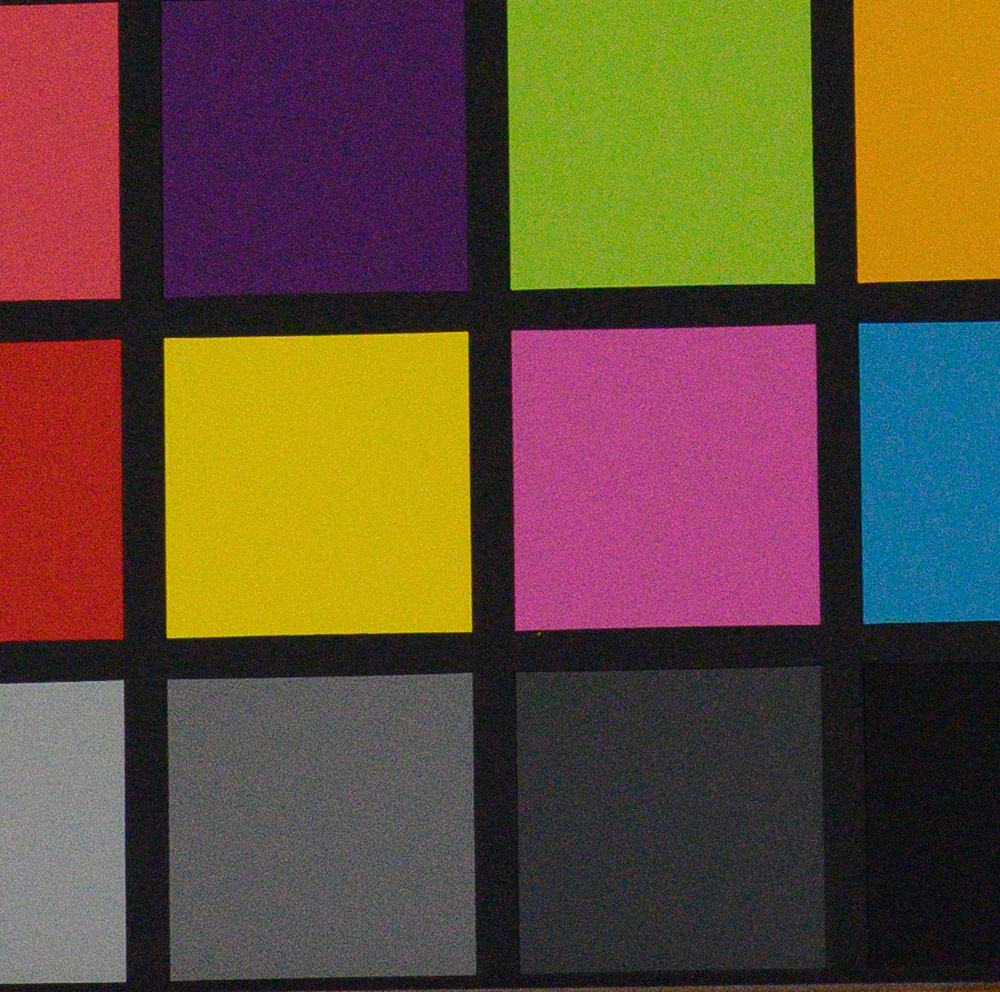
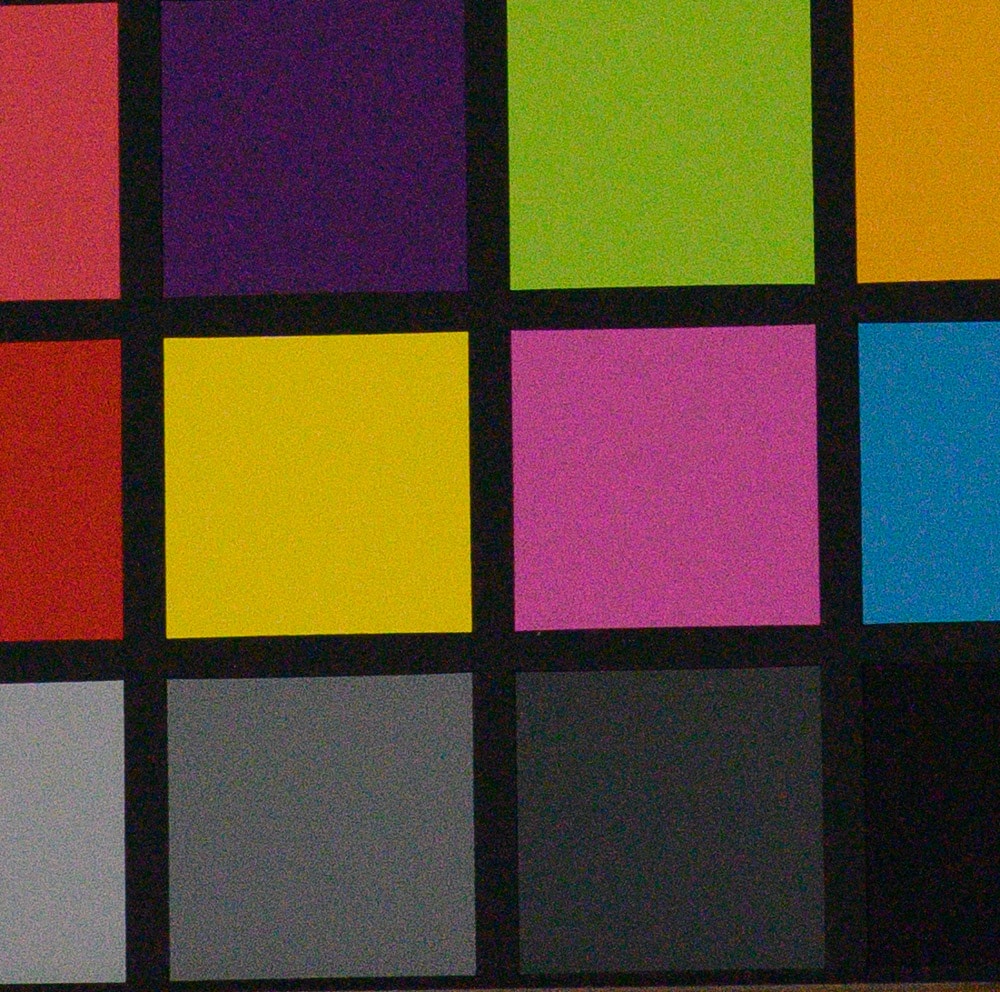
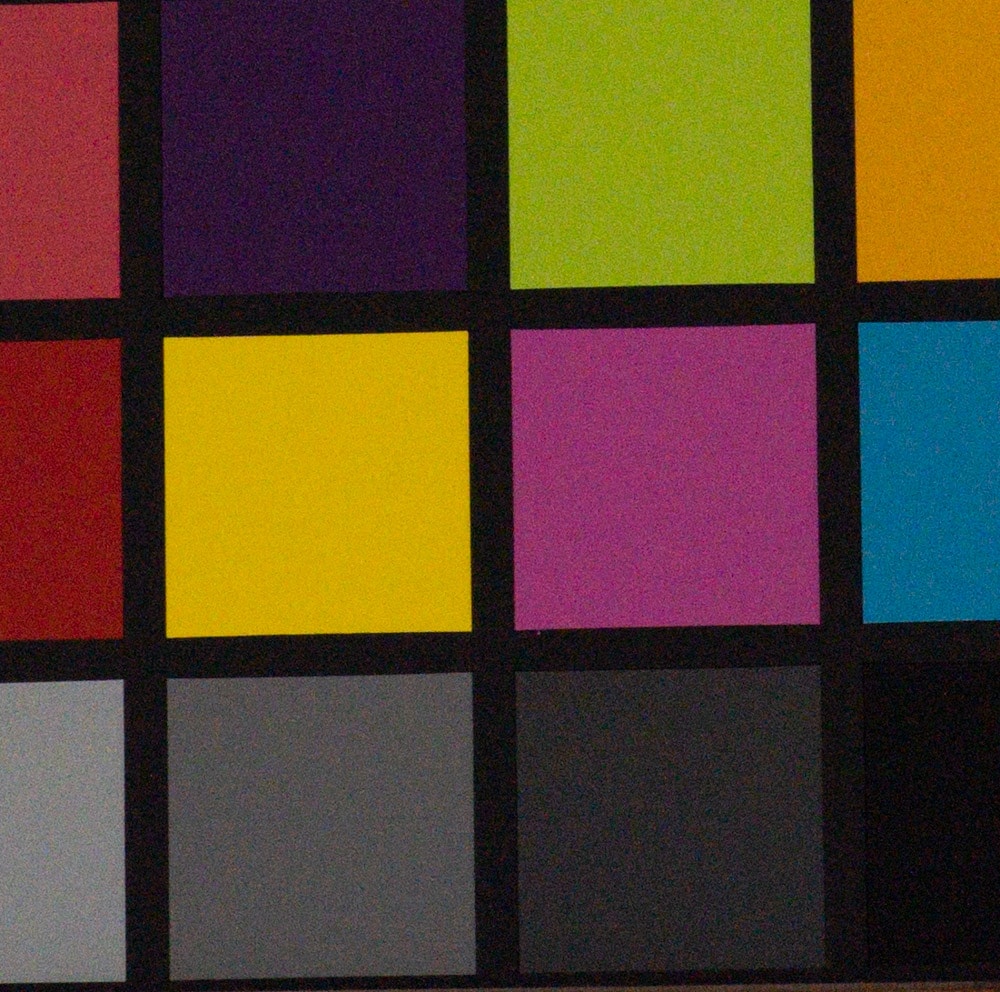
The row artifacts are minimal.

Here’s a part of the image with some gradients:

ISO 3200, no push


ISO 1600, 1 stop push


ISO 800 2 stop push


ISO 400, 3 stop push


ISO 200, four stop push


ISO 100, five stop push


Pretty darned clean, and none of the color shifts that you’d see in a similar series with the a7RIV.


Z50

← Nikon Z50 RN, FWC, and PDR Sony a9II RN, FWC, and PDR →

Comments

  1. Horshack says

    November 16, 2019 at 6:54 am

    Jim,

    As you now the banding on the Z6/Z7 is particularly finicky about when it manifests, which is part of the issue since it’s hard to predict (and avoid) the precise scenarios it will occur in actual shooting. Depending on your interest level in reproducing it on the Z50 I would first reproduce it on your Z6/Z7 as the control, then use that same known reproduction setup on the Z50 for a definitive check. Keep in mind the reproduction will be sensitive to FOV so when reproducing it on the Z6/Z7 make sure you use a FOV that can be replicated on the Z50 with consideration for its crop factor.

    Reply
    • JimK says

      November 16, 2019 at 8:14 am

      You are correct. It’s the GFX 100 that shows PDAF banding independent of the lighting. I’ll do a more rigorous test. Thanks for keeping me on the straight and narrow.

      Reply
    • JimK says

      November 16, 2019 at 1:40 pm

      Proving your point, I did a series of shots today that didn’t show banding with either the Z50 or the Z7. I’ll get back to it, but I have a problem. In picking lenses for equivalent FOV, I tried to use the 55 and 85 Otus lenses, and ran into an old issue with the FTZ adapter: the sharp-edged aperture projection on the Otus lenses hangs up on the sensing lever on the FTZ, and you can’t turn the aperture ring on the Otus to the locked f/16 position. The camera sees that, and refuses to fire. I tried it with a dumb adapter, and that works fine, but I’m not going to hang a lens as heavy as either Otus off the plastic Z-mount on the Z50 and support the camera with the tripod mount on the body. I’ll have to find another pair of lenses.

      Reply
      • Horshack says

        November 18, 2019 at 6:37 am

        I think a zoom would be much easier to work with for the banding reproduction. I used the 24-70 f/4 Z for my banding investigations.

        Reply
  2. zafar says

    November 16, 2019 at 9:02 pm

    Wouldn’t using Z7 in DX mode eliminate the FOV equivalence issue?

    Reply

Leave a Reply Cancel reply

Your email address will not be published. Required fields are marked *

May 2025
S M T W T F S
 123
45678910
11121314151617
18192021222324
25262728293031
« Apr    

Articles

  • About
    • Patents and papers about color
    • Who am I?
  • How to…
    • Backing up photographic images
    • How to change email providers
    • How to shoot slanted edge images for me
  • Lens screening testing
    • Equipment and Software
    • Examples
      • Bad and OK 200-600 at 600
      • Excellent 180-400 zoom
      • Fair 14-30mm zoom
      • Good 100-200 mm MF zoom
      • Good 100-400 zoom
      • Good 100mm lens on P1 P45+
      • Good 120mm MF lens
      • Good 18mm FF lens
      • Good 24-105 mm FF lens
      • Good 24-70 FF zoom
      • Good 35 mm FF lens
      • Good 35-70 MF lens
      • Good 60 mm lens on IQ3-100
      • Good 63 mm MF lens
      • Good 65 mm FF lens
      • Good 85 mm FF lens
      • Good and bad 25mm FF lenses
      • Good zoom at 24 mm
      • Marginal 18mm lens
      • Marginal 35mm FF lens
      • Mildly problematic 55 mm FF lens
      • OK 16-35mm zoom
      • OK 60mm lens on P1 P45+
      • OK Sony 600mm f/4
      • Pretty good 16-35 FF zoom
      • Pretty good 90mm FF lens
      • Problematic 400 mm FF lens
      • Tilted 20 mm f/1.8 FF lens
      • Tilted 30 mm MF lens
      • Tilted 50 mm FF lens
      • Two 15mm FF lenses
    • Found a problem – now what?
    • Goals for this test
    • Minimum target distances
      • MFT
      • APS-C
      • Full frame
      • Small medium format
    • Printable Siemens Star targets
    • Target size on sensor
      • MFT
      • APS-C
      • Full frame
      • Small medium format
    • Test instructions — postproduction
    • Test instructions — reading the images
    • Test instructions – capture
    • Theory of the test
    • What’s wrong with conventional lens screening?
  • Previsualization heresy
  • Privacy Policy
  • Recommended photographic web sites
  • Using in-camera histograms for ETTR
    • Acknowledgments
    • Why ETTR?
    • Normal in-camera histograms
    • Image processing for in-camera histograms
    • Making the in-camera histogram closely represent the raw histogram
    • Shortcuts to UniWB
    • Preparing for monitor-based UniWB
    • A one-step UniWB procedure
    • The math behind the one-step method
    • Iteration using Newton’s Method

Category List

Recent Comments

  • JimK on Goldilocks and the three flashes
  • DC Wedding Photographer on Goldilocks and the three flashes
  • Wedding Photographer in DC on The 16-Bit Fallacy: Why More Isn’t Always Better in Medium Format Cameras
  • JimK on Fujifilm GFX 100S II precision
  • Renjie Zhu on Fujifilm GFX 100S II precision
  • JimK on Fuji 20-35/4 landscape field curvature at 23mm vs 23/4 GF
  • Ivo de Man on Fuji 20-35/4 landscape field curvature at 23mm vs 23/4 GF
  • JimK on Fuji 20-35/4 landscape field curvature at 23mm vs 23/4 GF
  • JimK on Fuji 20-35/4 landscape field curvature at 23mm vs 23/4 GF
  • Ivo de Man on Fuji 20-35/4 landscape field curvature at 23mm vs 23/4 GF

Archives

Copyright © 2025 · Daily Dish Pro On Genesis Framework · WordPress · Log in

Unless otherwise noted, all images copyright Jim Kasson.