This is one in a series of posts on the Nikon Z9. You should be able to find all the posts about that camera in the Category List on the right sidebar, below the Articles widget. There’s a drop-down menu there that you can use to get to all the posts in this series; just look for “Z9”.
When I published this post about the noise behavior vs ISO setting in the Nikon Z9, I got some pushback, saying that it doesn’t work that way with real raw developers, and that you’re better off giving up the headroom advantages of backing off on ISO and pushing in post away from base ISO, and that you ought to seek to crank up the ISO in camera instead.
While I admit that there are some white balance and profile twist issues that can make heroic pushes inadvisable — not to mention that the finder can get very dim if you’re planning on such a push — my contention is that those things aren’t issues with up to three stop pushes. In this post, I’ll show you images with up to four stop pushes.
I used this now-familiar scene:
- Z9 on Smallrig bracket on Arca C1 on RRS legs
- Sigma 35 mm f/1.4 lens set to f/5.6
- Self timer
- Two series of images at ETTR settings, and with one-stop steps decreasing exposure after that
- The first series all at ISO 500
- The second series increasing the ISO setting in one-stop steps as the exposure is decreased
- Exposure times for ETTR (EV 0) and some underexposures indicated by how many stops down from there
I developed the images in Lightroom with default settings except for the following:
- White balanced to the second from the left gray patch on the Macbeth CC
- Slight contrast cut
- No sharpening
- No noise reduction
- Exposure boost for the first series of images in the amount of the underexposure for the ETTR exposure
I’ll show you crops at about 200% magnification.
The two base exposures. They ought to look the same:
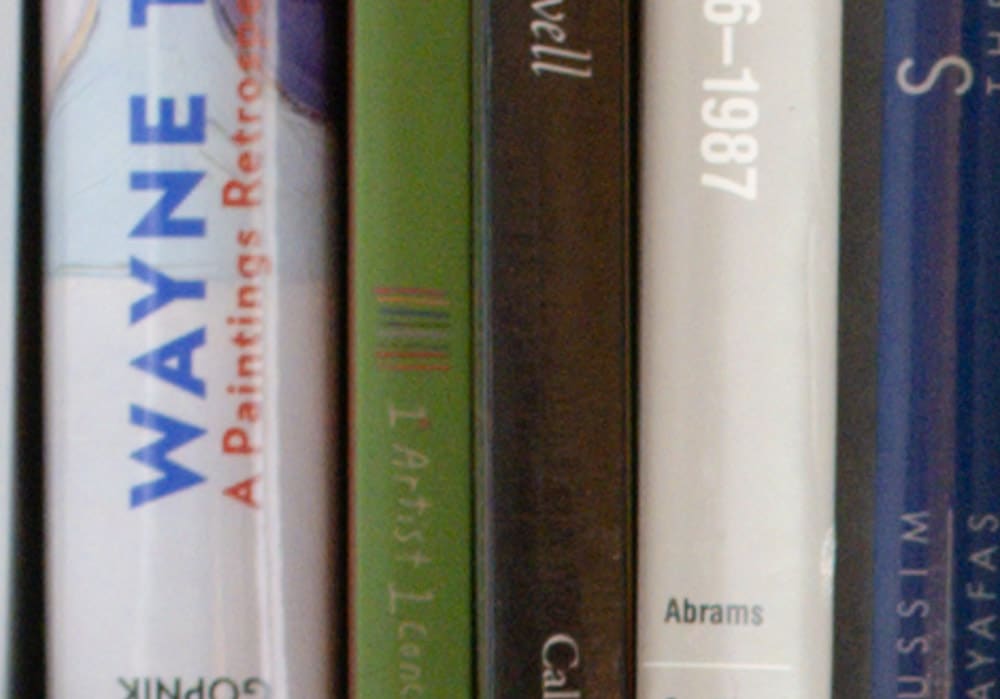
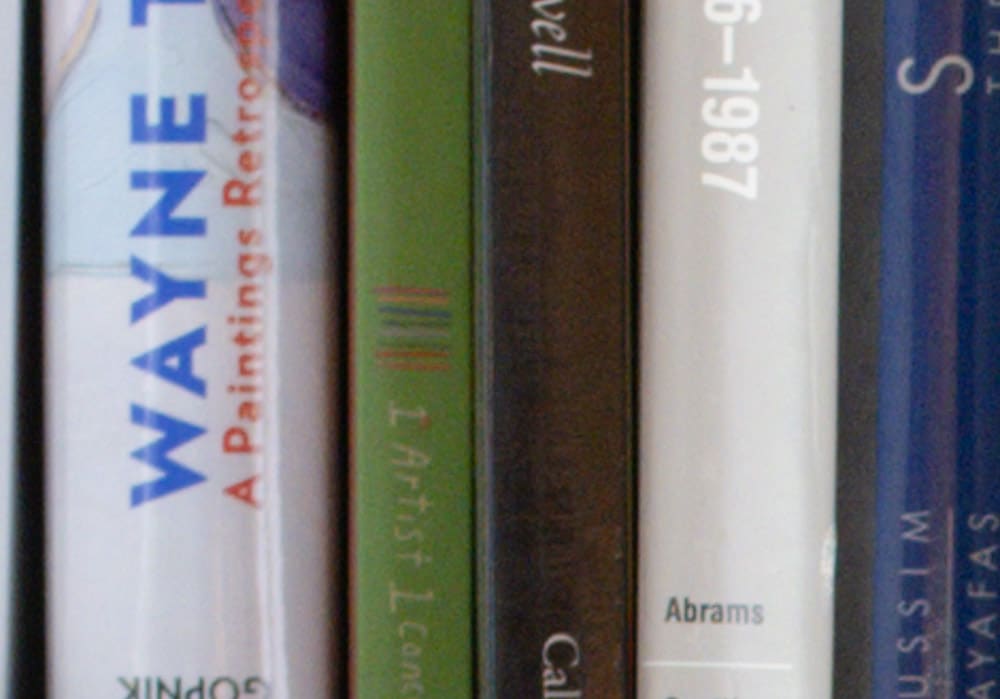
One stop underexposed is up next.
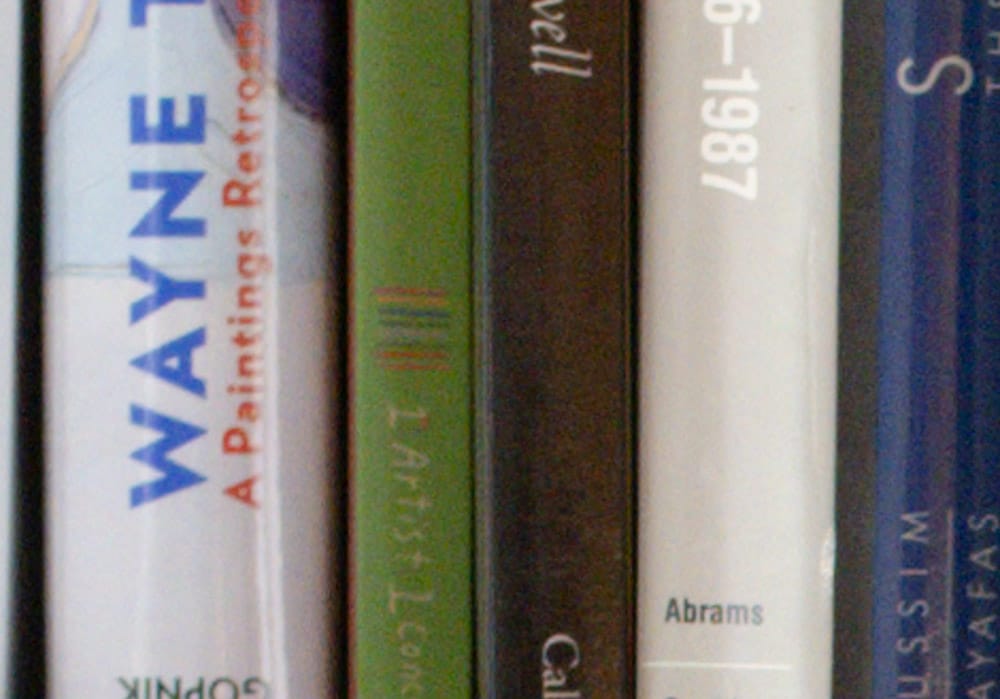
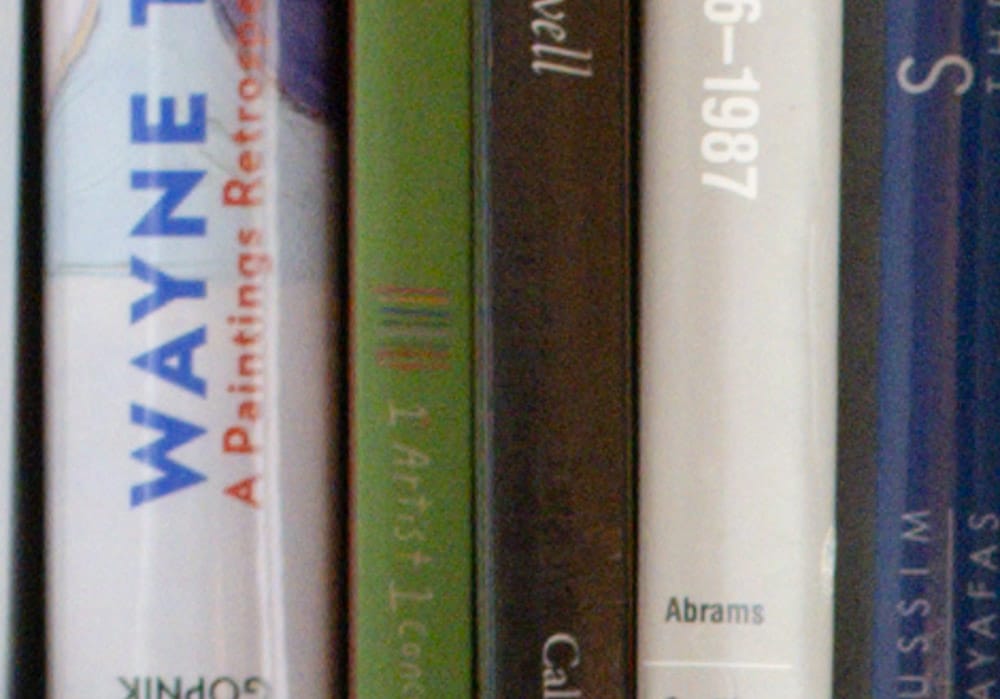
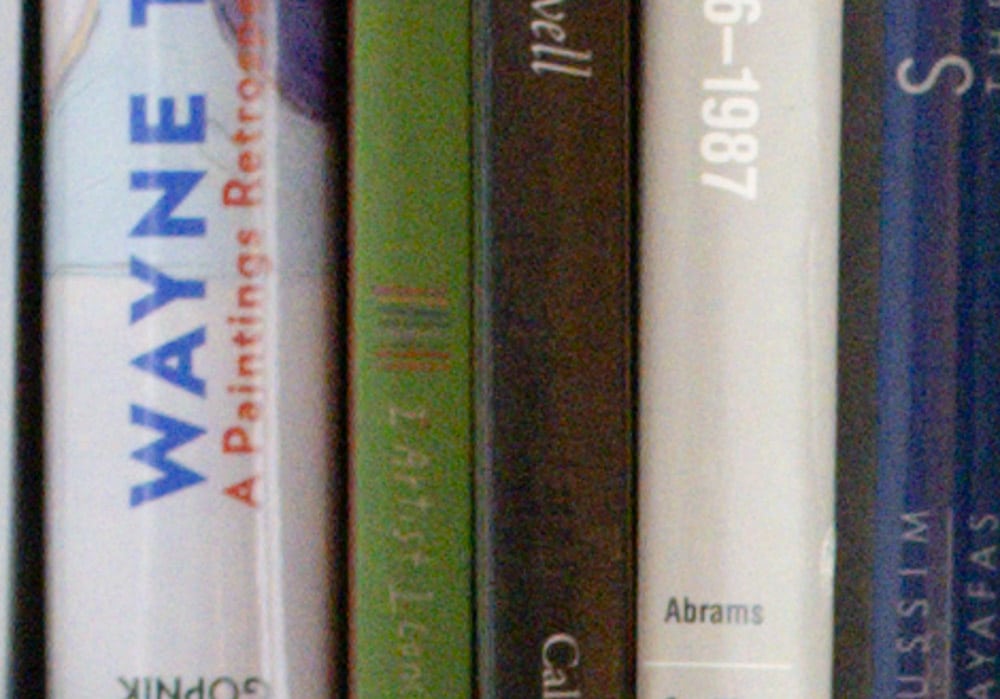
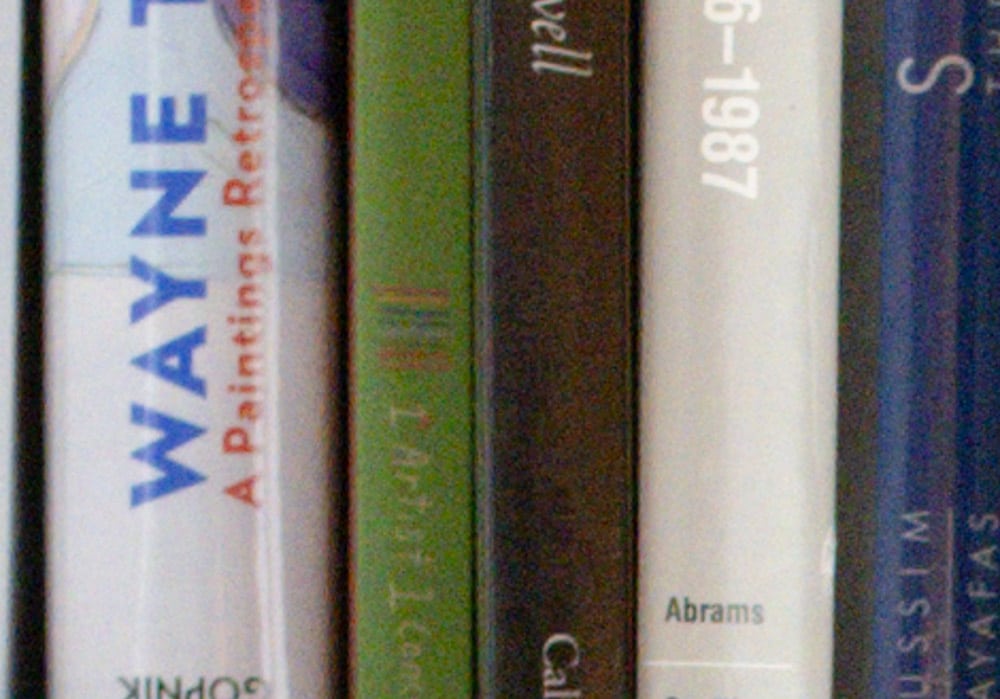
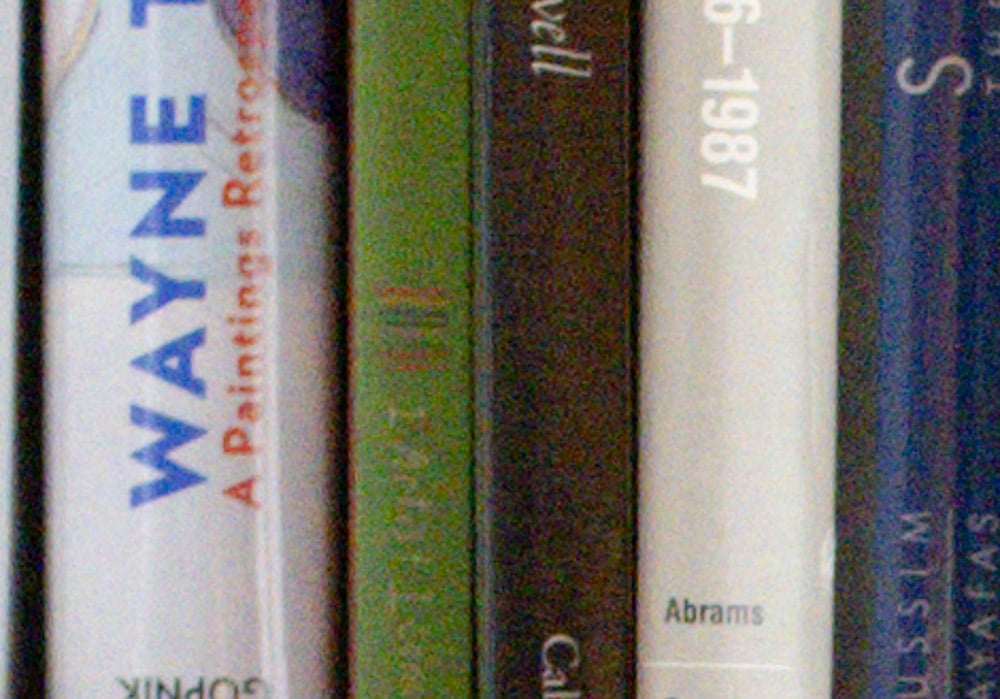
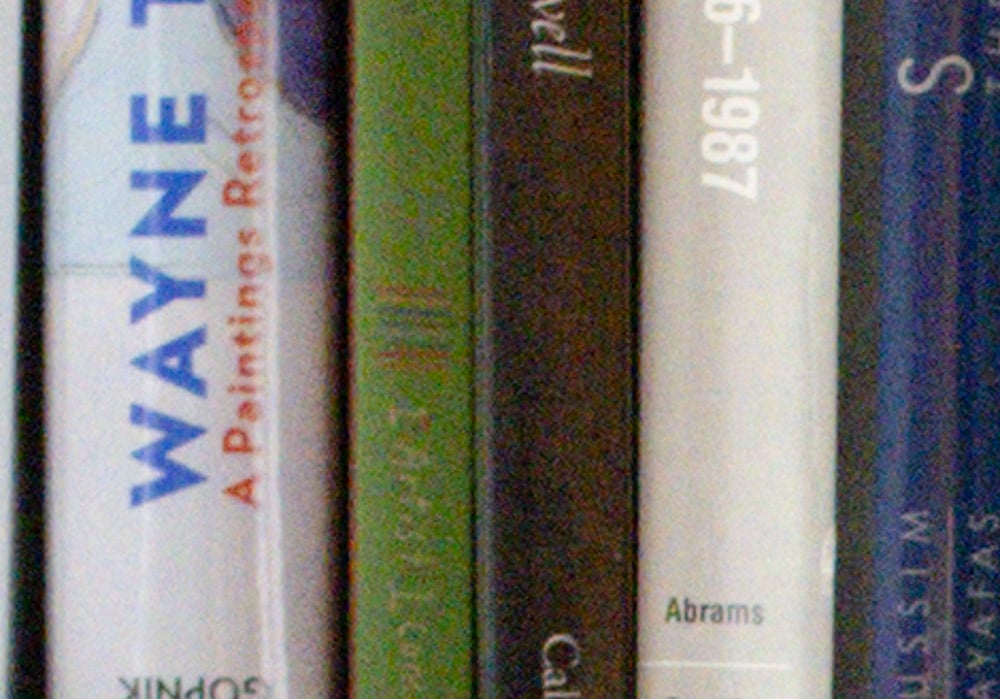
QED, I think. And this was stacking the deck against big pushes by picking Adobe Color Profile.

Christer Almqvist says
Maybe, when shooting at an equivalent of ISO 2000, one gets files that look more like ISO 500 files than ISO 2000 files if one shoots at 500 and underexposes 2EV rather than shoot at ISO 2000. But it is difficult to see the difference even at 200%.
The problem is that ISO 2000 files look pretty much like ISO 500 files, at least at 100%, so that there is not much to be gained by shooting at low ISO and underexposing.
Except, of course, if you underexpose in order to avoid burned out highlights. But then, underexposing by one EV is usually enough, depending on your metering proficiency and the harshness of the light.
In the film days the two stop difference between ASA 100 and ASA 400 was for everybody to see.
And yes, I alway underexposed then, but for another reason than today. Shutter speed.