This is a continuation of the development of a simple, relatively foolproof, astigmatism, field curvature, and field tilt test for lens screening. The first post is here.
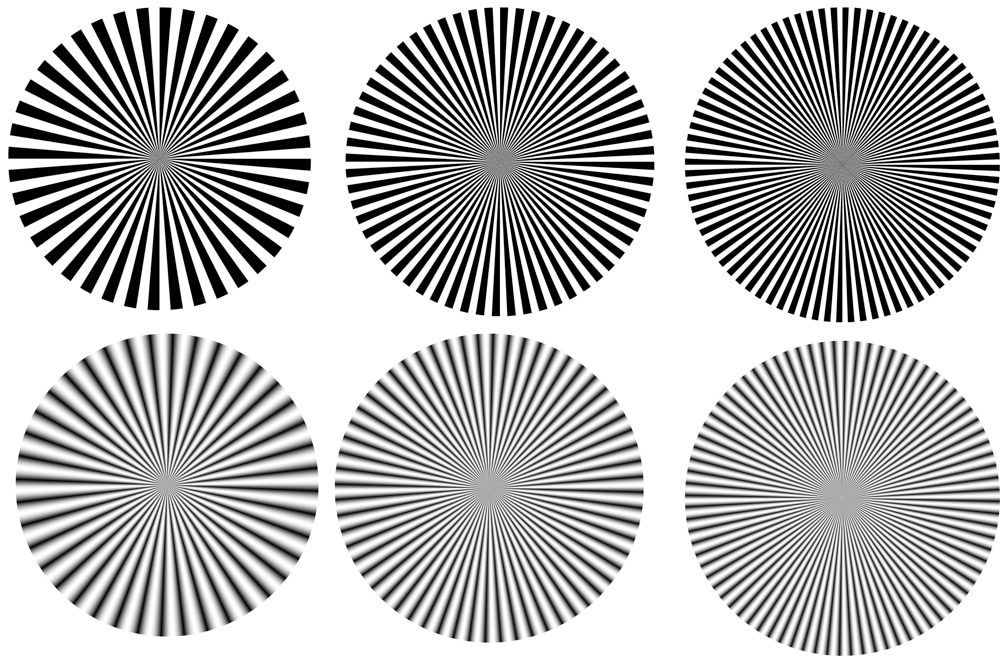
The fine Siemens Stars I used in the last post were OK, but the coarse ones were too coarse. I made binary and sinusoidal stars with 40, 60, and 80 spokes:
I wanted to test a sharper lens on a camera with a sharper sensor than the pair I chose for yesterday’s post. I picked the GFX 50S, which has the sharpest sensor of any available to me, and the Fuji 110 mm f/2 lens, which is wickedly sharp on-axis.
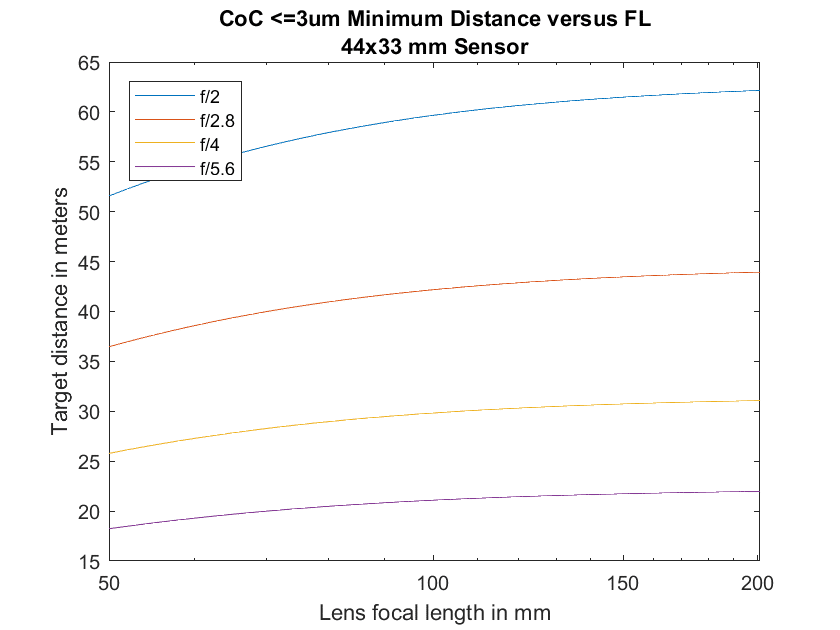
I ran a set of curves to see how far away I’d have to be:
The sharpest f-stop for the 110/2 is f/2.8. Looks like I need to be at 40 meters to get the CoC down to 3 um at the corners for this test.
I set up 40 meters away with the lens at f/2.8:
I made 4 sets of nine images (center, top, bottom, left, right and corners) and picked the series that was the sharpest in the center. All four series were about the same. I developed all the images in Lr with default settings except for Daylight white balance.
Here’s a tight crop of the center.
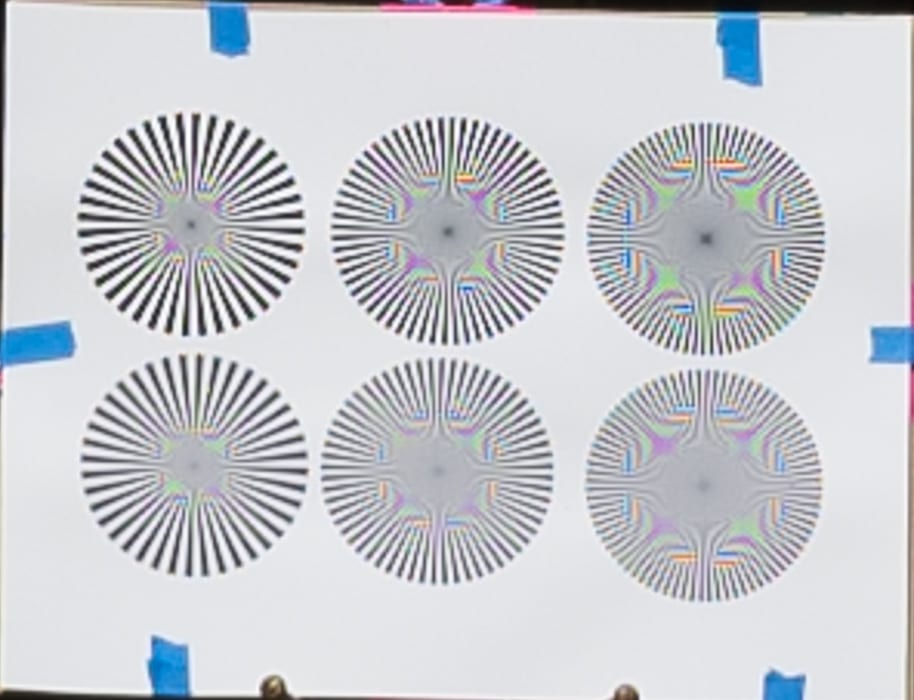
The false color and aliasing is more obvious with the binary stars (the ones on the top row), but the nature of the effects is essentially the same. Note the symmetry of the aliasing.
Now we’ll go around the outside of the image clockwise, starting at the upper left corner.

It’s clear that we’ve lost some contrast here, and indeed all the way around the outside of the frame. The lens isn’t quite as sharp, either, as indicated by the greater radii of the flat gray areas in the center of the stars. We can also see some asymmetric behavior. It’s most obvious in the top right (binary, 80 spokes) star. The lens is sharper tangentially than sagittally. By the way, we’re mostly looking for differences in the corner images, but let me point out that this lens is very sharp in the extreme corner.
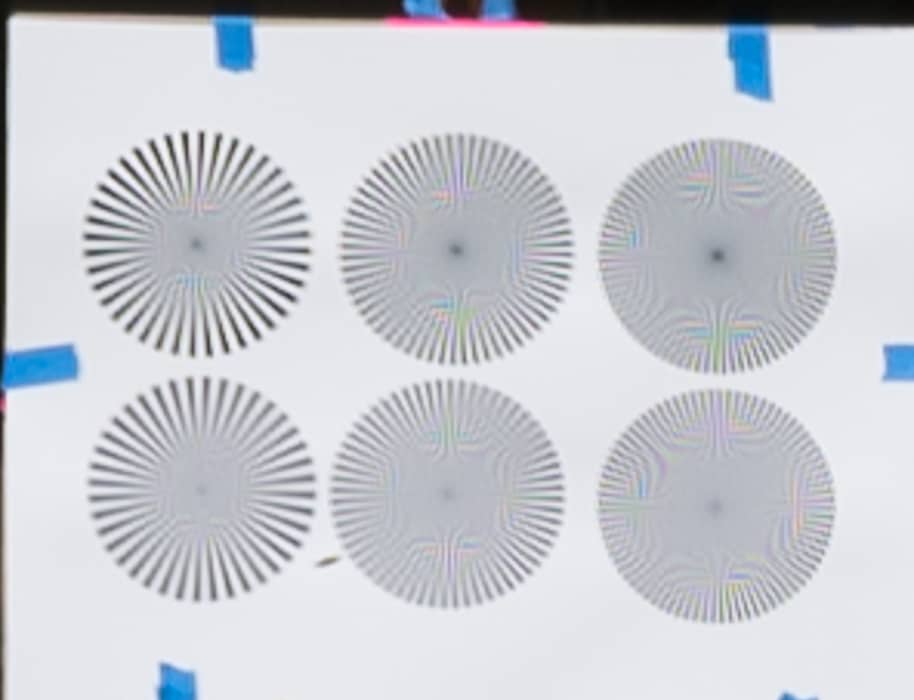
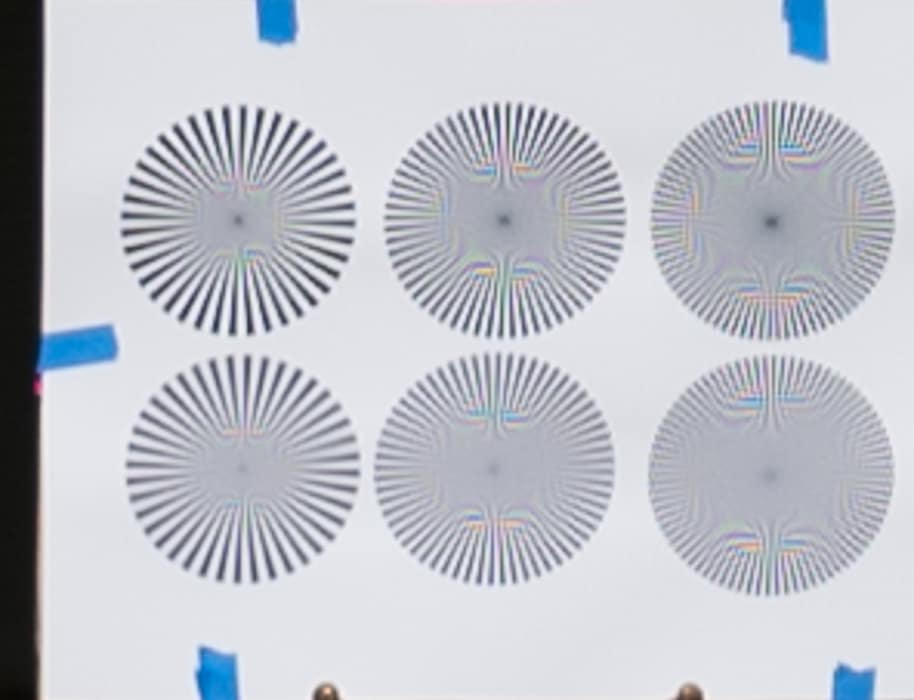
In the upper right, we see the asymmetric behavior, but it’s not oriented as a mirror image of the way it looked in the upper left, which is what you’d expect. Instead, the lens is sharper for vertical lines than for horizontal ones.
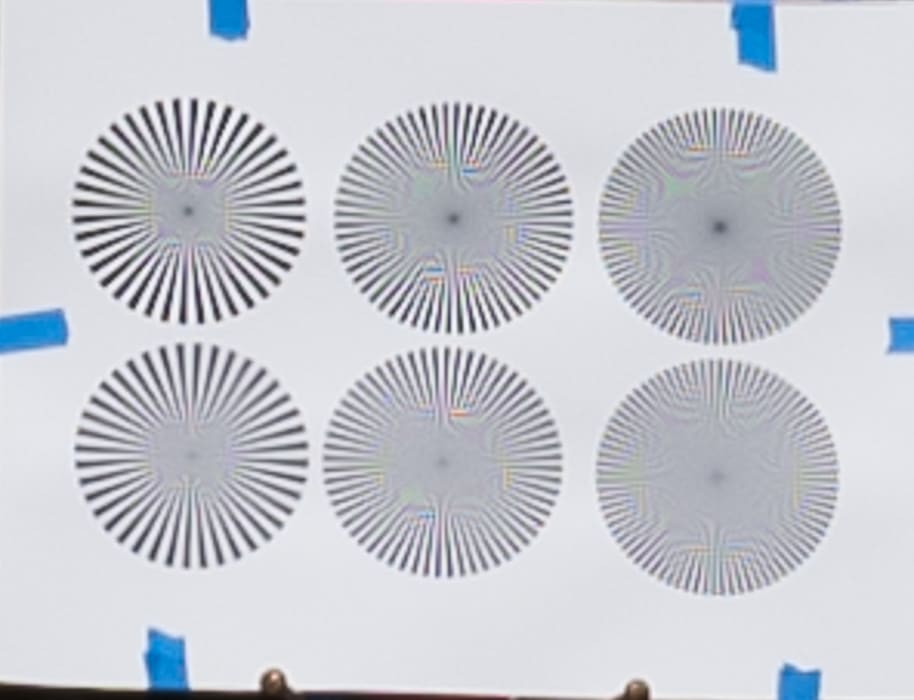
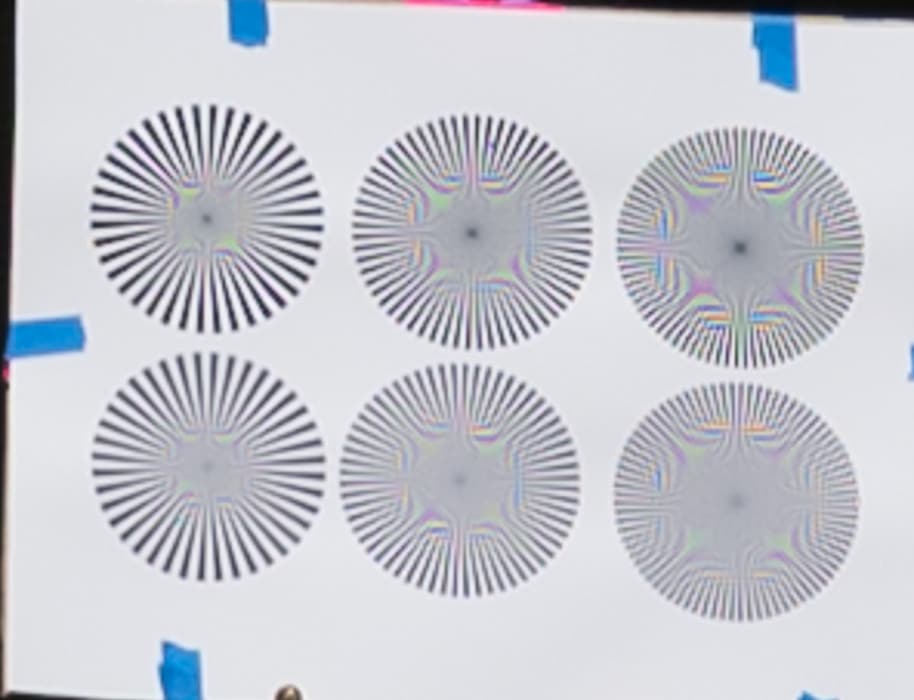
There’s more symmetry in the lower right corner than in either of the two upper corners.
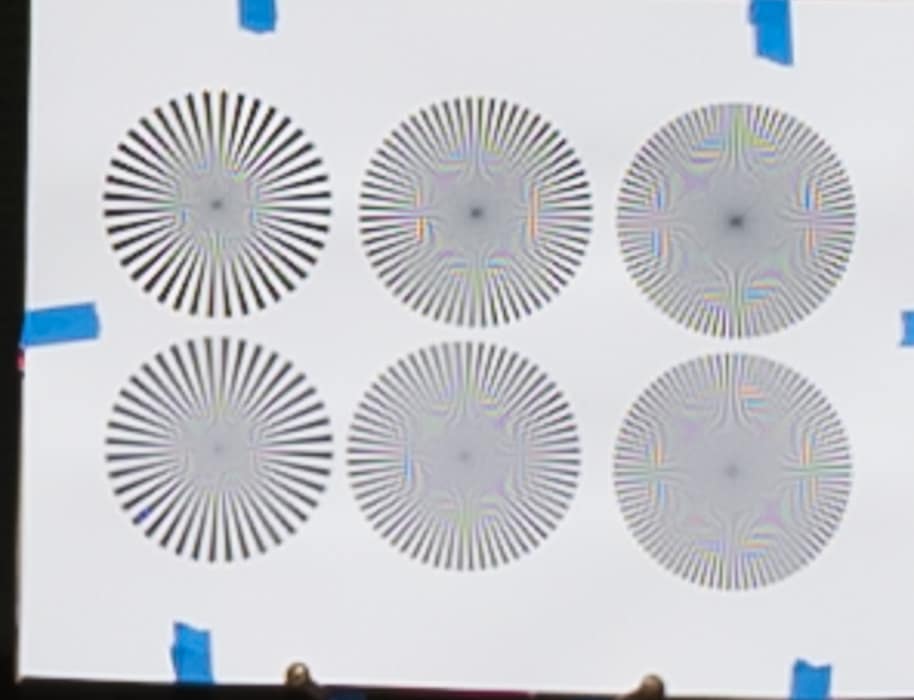
Looks like the bottom center is a hair sharper than the top.
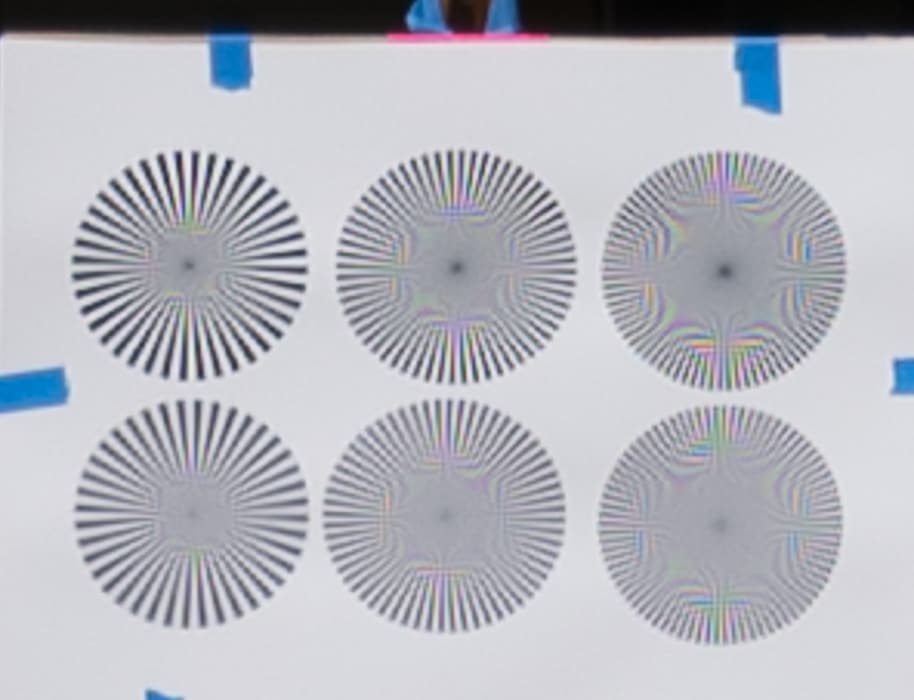
We are again seeing symmetric sharpness.
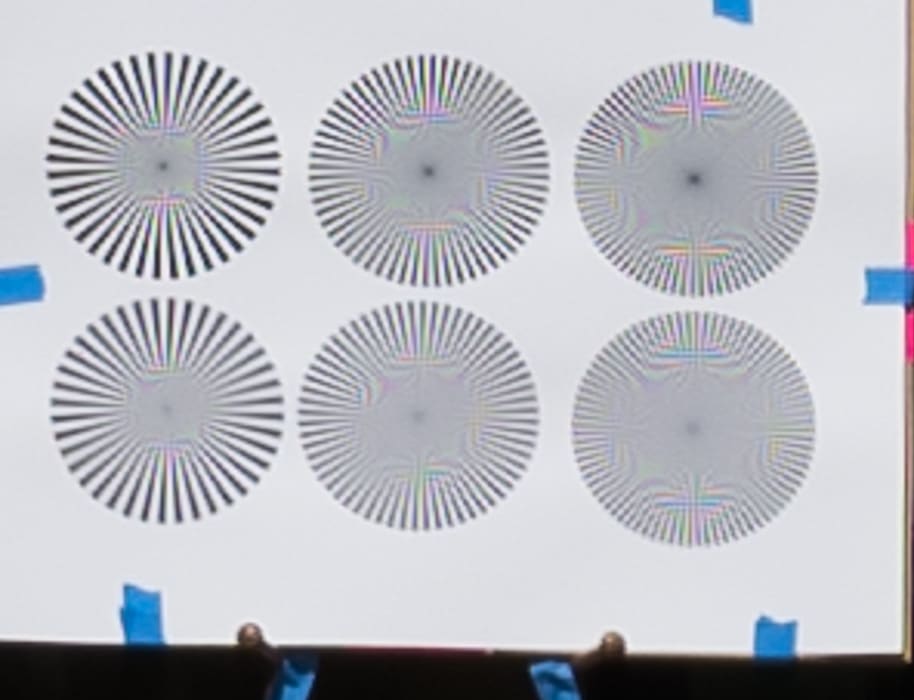
Well, you can see some differences top to bottom, but you’d never see them in real photography. This is a very sensitive test. I am not convinced of the benefits of the sinusoidal stars if we’re going to be judging the images visually, although they would probably help with quantitative machine-controlled evaluation.

Jack Hogan says
Excellent test Jim. I’ve always wondered about the pattern visible near the center of a Siemens Star in tests like this: what size are those cutout boxes on the sensor? Are we looking at the effective PSF on silicon, the combined effect of lens, aberrations, microlenses and pixel aperture?
In other words, is the COC really a pillow of confusion?
JimK says
Jack, as I’m sure you know, the CoC term only applies to the defocus component of the blur. And that applies only in the region of the image where the OOF PSF presents as a circle — ie where it is not partially occluded by other parts of the lens. In the case of diaphragms with few straight blades, the CoC is not a circle, but some other shape. Pentagon of Confusion, anyone?
As to the “pillows” — I like that term — I believe they come from the fact that the sensor and the CFA are oriented in a Cartesian fashion, so that for lines at a 45-degree angle to the cardinal compass points, the pitch is 1.414 times the pitch for lines that go from cardinal point to cardinal point.
Jack Hogan says
Right Jim. Would the squarish pillow look more like a circle if the pixel aperture were circular?
JimK says
I don’t think so, as long as the pixels were arranged in a Cartesian grid. But I don’t really know for sure. Changing the sample size doesn’t affect the Nyquist frequency in the various directions.