This is one in a series of posts on the Sony alpha 7 R Mark IV (aka a7RIV). You should be able to find all the posts about that camera in the Category List on the right sidebar, below the Articles widget. There’s a drop-down menu there that you can use to get to all the posts in this series; just look for “A7RIV”.
The Sony a7RIII introduced 4-shot pixel-shift shooting to the alpha family of cameras. It was effective if your subject — and your camera — would hold sufficiently still for long enough. The a7RIV ups the ante, adding 16-shot pixel-shift shooting to the mix. The four-shot sets get rid of almost all Bayer CFA artifacts. The 16-shot series, since they use half-pixel shifts, should in theory allow greater resolution and freedom from aliasing. The resolution gains will be limited by the fact that the a7RIV microlenses have almost 100% coverage.
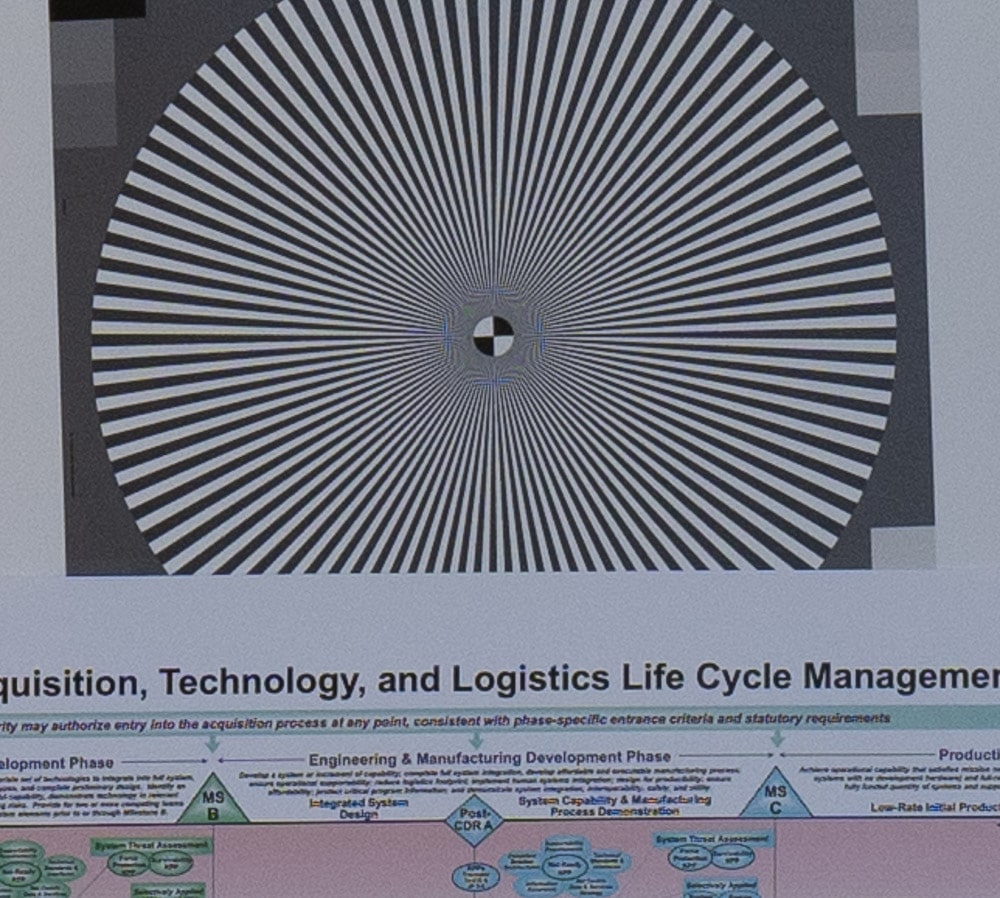
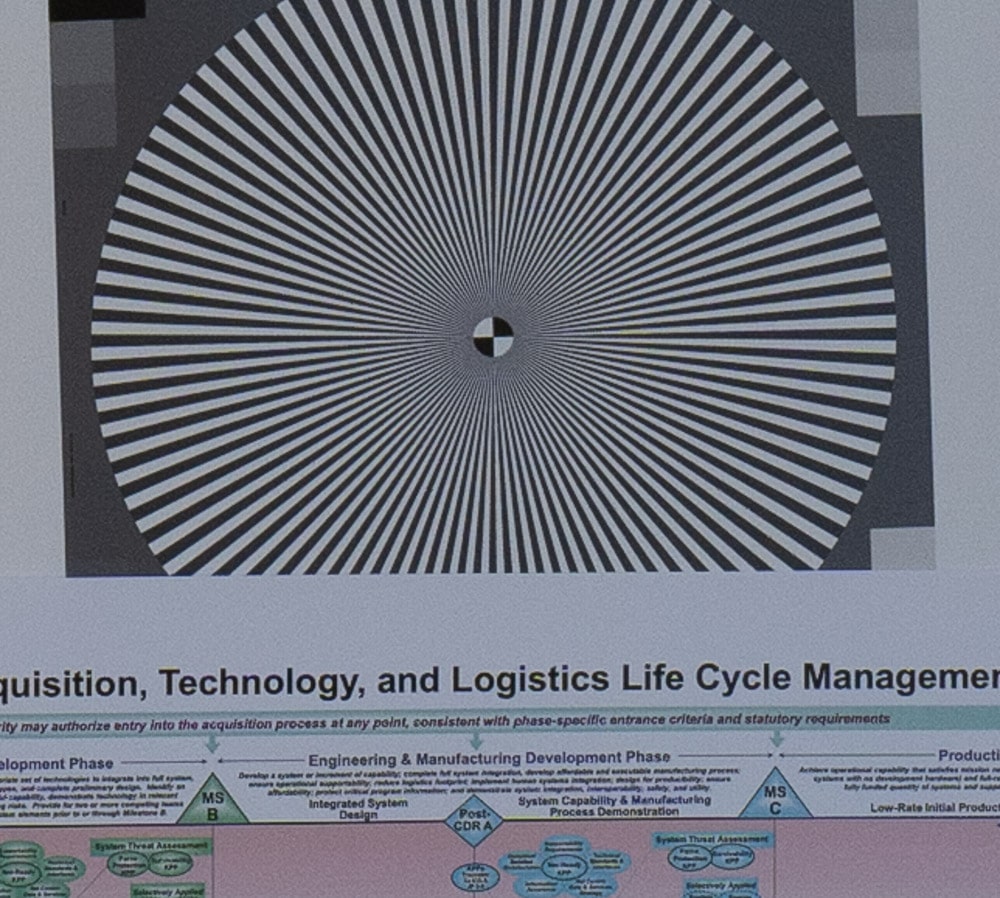
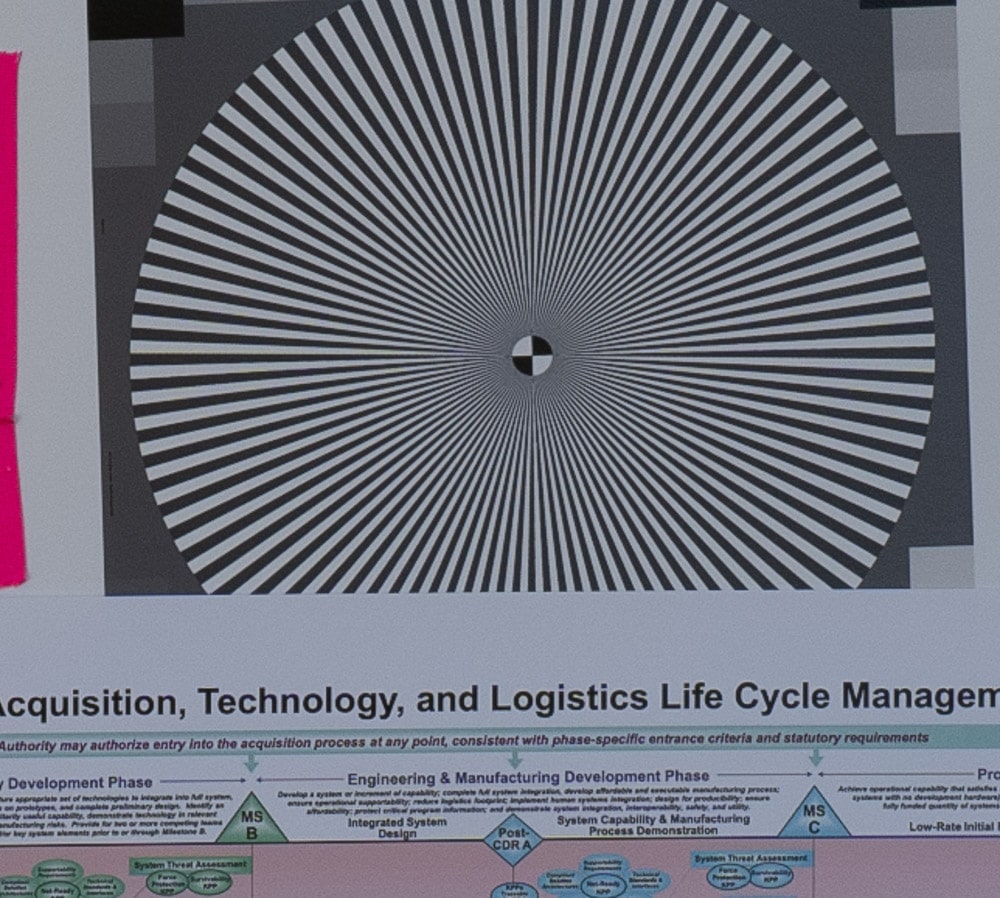
Horshack, with whom I have collaborated on several previous projects, asked me to take a look at how well the a7RIV did using a target that he had been using to test other pixel-shift cameras. I photographed that target this afternoon, along with a Siemens Star, using an a7RIV and the Zeiss Batis 135 mm f/2.8 lens set to f/5.6. I used ISO 320.
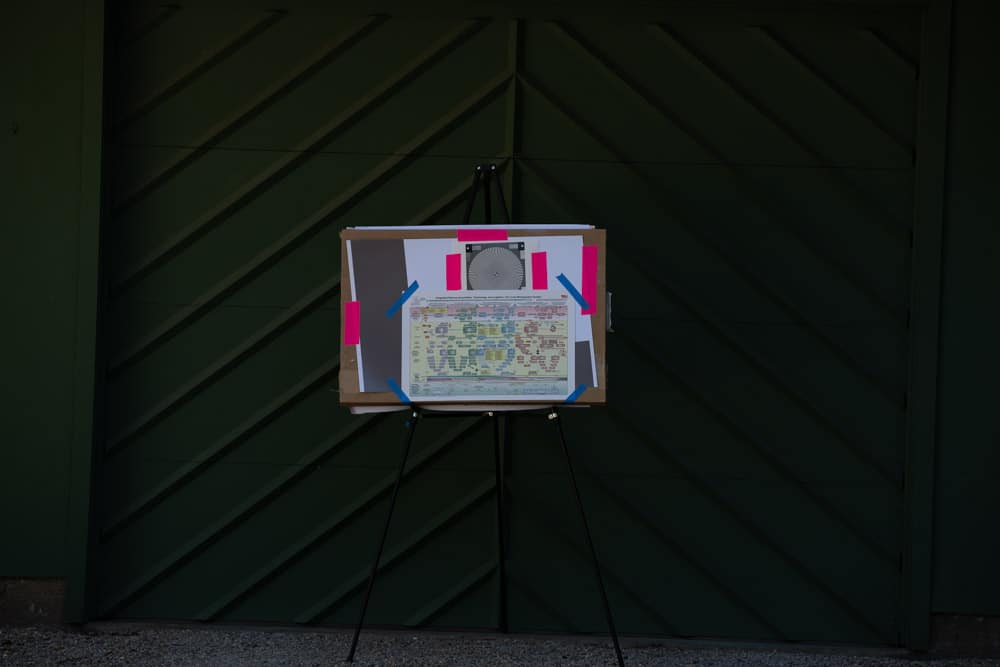
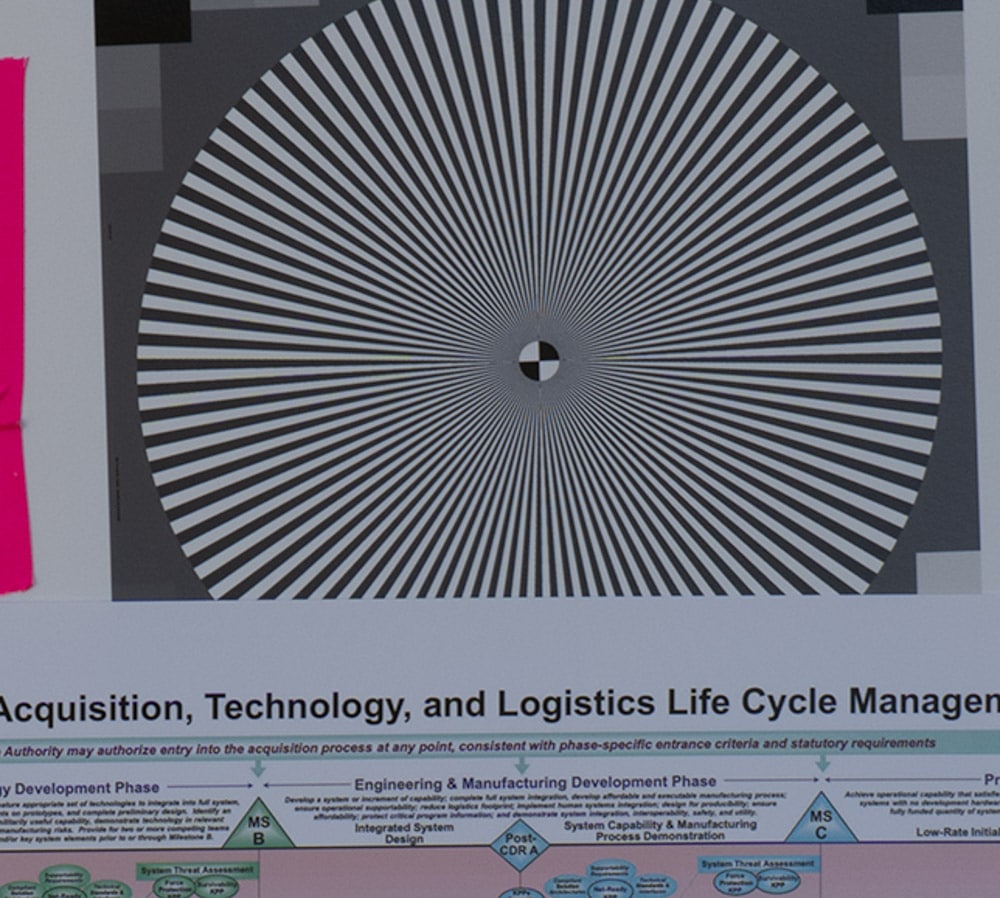
The overall scene:
I developed the single capture in Lightroom with default settings. Here is a slightly-greater-than-100% crop:
Lightroom’s default oversharpening is apparent.
I also used Lightroom’s Enhanced Details AI-based demosaicing algorithm:
I composited the 4-shot set in Sony’s Imaging Edge program with default settings:
Both the Enhanced Details image and the 4-shot composite have far less false color than the single capture. The 4-shot series is smoother by virtue of averaging over 4 shots.
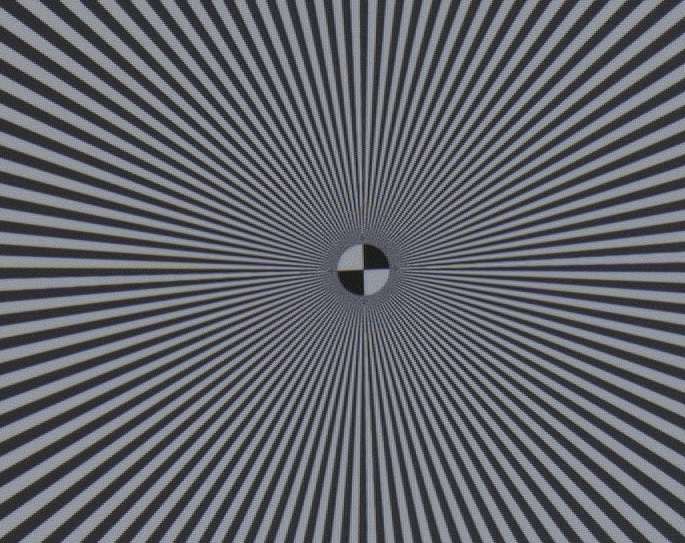
Here’s the 16-shot series as produced by Imaging Edge, resampled down to 50% size in Photoshop with the default reduction resampling algorithm:
That is a lovely image. The biggest difference is that there seems to be no aliasing at all.
Here’s the 16-shot image before downsampling at 100%:
There is a tiny bit of aliasing, which was eliminated in the downsampled image above.
Here is a 200% magnification of the area below the star:
There are some wormy artifacts in the background.
A few people for a7r III complained that even on tripod, there were artifacts. (For example Tony Northrup said he had to use a heavy tripod in the basement to get pixel shift to work reliably.) Is it really that sensitive?
I never had much trouble with the a7RIII, since it only had 4-shot mode, but you have to work at stability harder with the a7RIV’s 16-shot mode, if you’re going to use the file that Imaging Edge puts out at full size. There are a few artifacts in that file in the shot above. Horshack as used a different option set in Imaging Edge in his versions of this image, and, if I understand him properly, his version is higher resolution, but has artifacts. Horshack thinks they are the result of imprecision in the sensor positioning. However, they could be the result of camera motion. The camera was on a $1400 set of sturdy RRS legs, but I was outdoors on a chipseal driveway, and there was a light breeze. I stood between the camera and the direction the wind was coming from, but some of it probably got by me.
Jim, I’ll try to summarize what I understood; could you correct me where I’m wrong?
A) LightRoom’s Enhanced Detail processing is very good in killing aliasing above about 110% of Nyquist, and keeping details below this value. (How do they do it?!!! I have no clue how to do this — for slanted edges it is simple, but they seem to be equally good for horizontal/vertical ones…)
B) The lens resolves “reasonably well” up to double-Nyquist (and a bit beyound that!).
C) The camera seems to be “functioning well” (given the level of shake) up to (and including) the double-Nyquist… (So this is not what happens with 100% fill of microlenses.)
Hi Ilya,
My take is that the lens ‘resolves’ equally well with or without pixel shift. It is just that the reconstruction of the sampled signal is better with pixel shift, in some conditions. And you are right, most other things should remain the same as unshifted, including MTF readings via the slanted edge method.
“The biggest difference is that there seems to be no aliasing at all.”
In fact, with neutral targets like this, the biggest difference in pixel shifted images that sample between pixels is that sampling pitch is shorter and therefore the dirac comb in the frequency domain has wider teeth. Nyquist being half of distance between deltas, it grows consequently. Higher Nyquist means less aliasing.
Half the pitch, twice the Nyquis frequencyt; 1/4 the pitch, four times Nyquist; most other things staying the same.
D’accord. It’s nice when theory and practice are congruent.
For the 16-shot aliasing and artifacts, I wonder if things like turning off IBIS and using the longest self-timer available (10s) would make a difference?
IBIS was off. I don’t think the camera will let you use IBIS under these circumstances. Remote release was used, as I remember. I always use the self-timer if I release directly with a camera on a tripod.