This is one in a series of posts on the Fujifilm GFX 100. You should be able to find all the posts about that camera in the Category List on the right sidebar, below the Articles widget. There’s a drop-down menu there that you can use to get to all the posts in this series; just look for “GFX 100”.
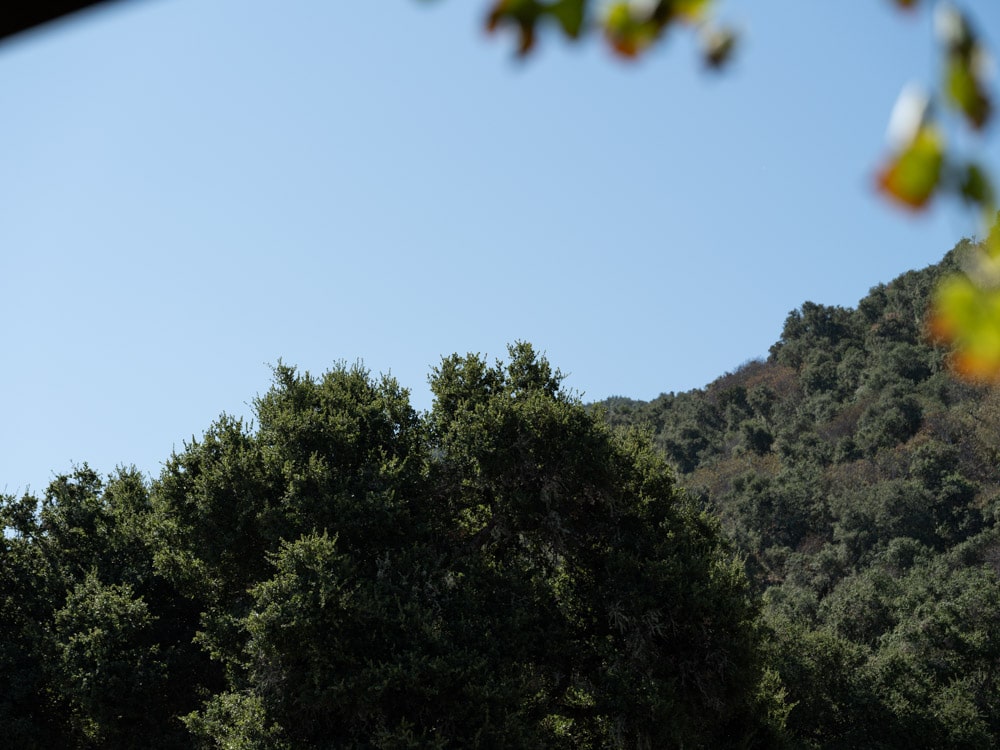
In the last few posts, I’ve been comparing measurements of laboratory-made images using the Fuji 110 mm f/2 lens on both the GFX 100 and GFX 50S bodies. We’ve found that, with that lens at f/4, the GFX 50S is at least as sharp as the GFX 100, if slanted edge modulation transfer functions are the metric of sharpness. Note that MTF curves don’t measure how finely the image is sampled, but only the characteristics of the pixel aperture. For a comparison that factors in both MTF and sampling density, I turn to a long-suffering photographic subject, seen here with the 110/2 on the GFX 100:
The tree in the middle is a bit over 30 meters away from the camera. I used a pair of heavy RRS carbon-fiber legs, and an Arca Swiss C1 head. With both the GFX 100 and GFX 50R, I set the lens to f/4, stopped it down to taking aperture and focused on the tree, and made an exposure that produced a 14-bit losslessly compressed raw file. I did that a few more times. I brought the images into Lightroom and used the default settings except for the following:
- WB set to Daylight
- Adobe Color Profile
- Exposure boost
- Shadow boost
- Sharpening amount set to 20, radius to 0.5, and detail to 0
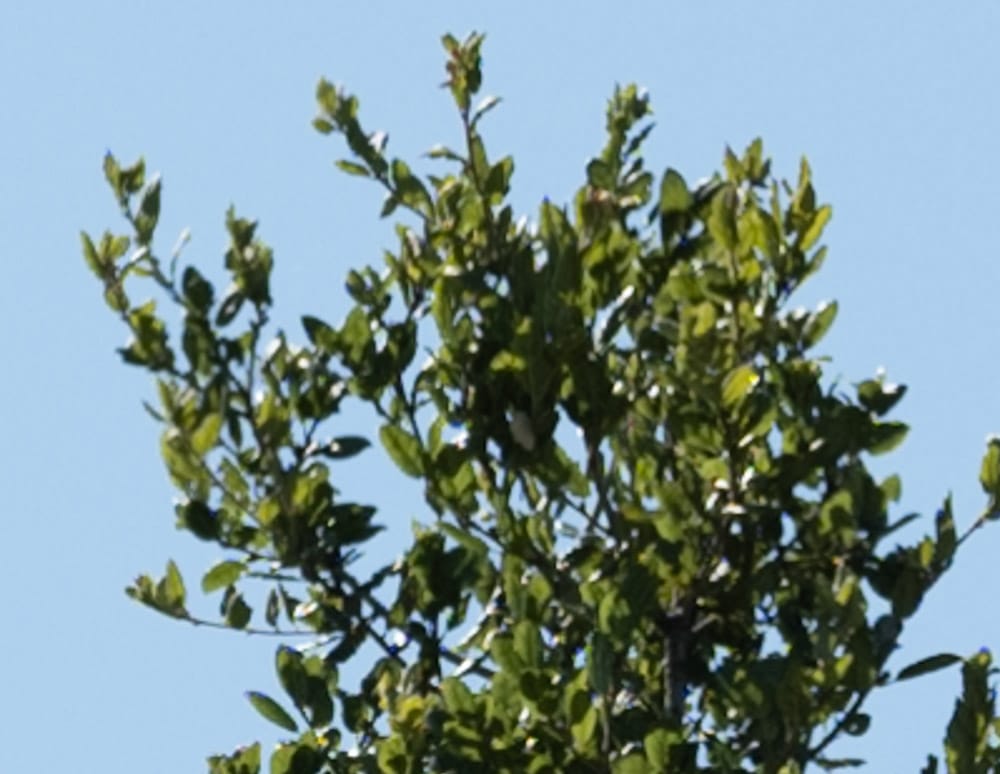
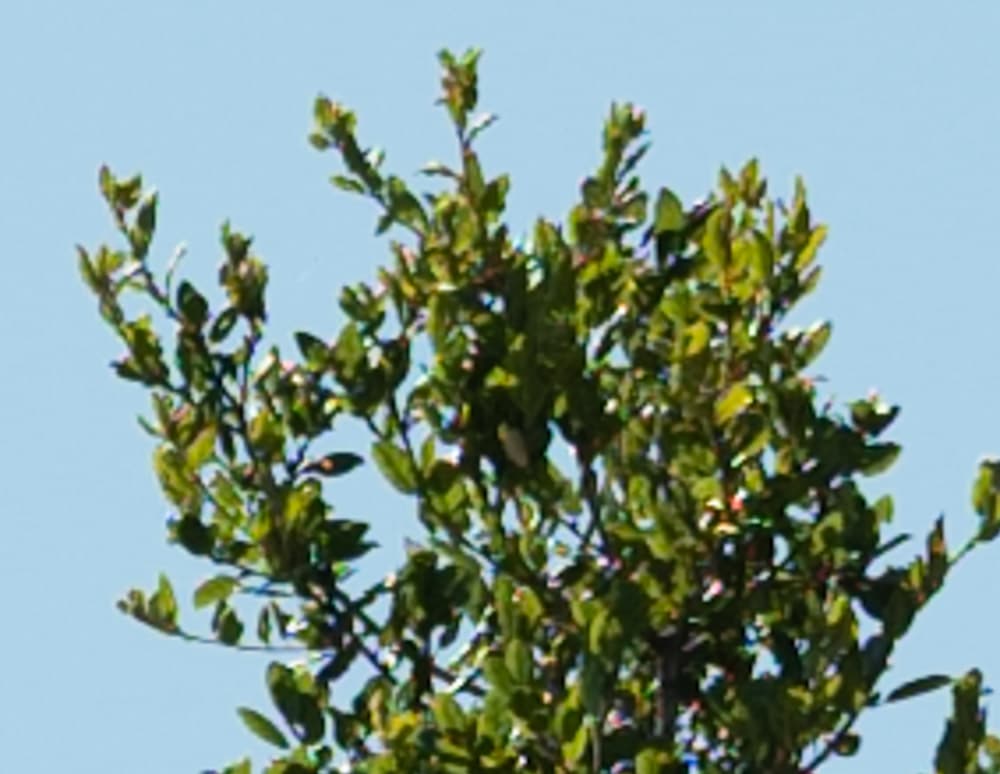
I picked the sharpest image from both cameras, and created some of my usual very tight crops.
If you’ve seen these here before, just jump to the images. If not, I need to spend some time telling you how to interpret them. They’re at roughly 250% magnification, enlarged to 700 pixels high on export from Lightroom. If you just want a rough idea of the differences, just look at the images as displayed in-line in the posts. However, if you wish to compare these images in detail, you should view these images by clicking on them to see the source files, then set your browser for 100% zooming. Even better, download them and make Photoshop stacks.
No matter what you do, these crops are all going to look horrible. I’m blowing them up so much so that they will represent the original file after JPEG’s discrete cosine transform has had its way with them. If you want to get a good idea of what the images would look like printed, get far away from your monitor. No, farther than that. Put a bunch of the images up on the screen and back up until the best one starts to look good. Then look at the others. There’s another reason why these images won’t look like the best thing the camera/lens combination can deliver. They’re demosaiced with Lightroom. Lightroom is not awful, but for a particular image, there are usually better raw processors. I use Lr because it’s a de facto standard, because I know it well, and because it’s got good tools for dealing with groups of images.
Here’s how to use these highly-magnified crops. The dimensions of the GFX 50R sensor is 8256×6192 pixels. If we make a full-frame print from the GFX50 R on a printer with 360 pixels per inch native driver-level resolution, like the Epson inkjet printers, we’ll end up with a 23×17.2 inch print. The 283×219 pixel crop you’re looking at will end up 0.8×0.6 inches. Let’s imagine that you or your viewers are critical, and will look at the 23×17.2 inch print from about 18 inches (conventional wisdom is that the distance would be a little greater than that, or 29 inches (the diagonal), but you did buy a high-resolution camera for a reason, didn’t you?). The GFX 100 crops are 399×309, so they are blown up a bit less to make the picture height the same.
The next step is dependent on your monitor pitch, which you may or may not know. Turns out, you don’t have to know it. Just take the crops and view then at 1:1. How high are they? Get out your ruler and measure, or just guess. Let’s say they are 6 inches high. 6 inches is about 7 times 0.8, so in order to view the crops the way they’d look from 18 inches on the print is to view them from 7 times as far away, or 10.5 feet.


The color balance is different between the two images. I’ll put that down to Adobe’s support of the GFX 100 currently being preliminary.
The GFX 100 image doesn’t look unequivocally sharper, but it is more detailed and smoother. But there are other systematic differences:
- There is far less false color in the GFX 100 image.
- The blue/purple fringing in the GFX 50R image that appeared to be LoCA isn’t present in the GFX 100 image, indicating that it was a false color artifact.

Hot take, but I think the GFX 100 image looks a little better. Could the difference in color between the cameras be the result of slightly different spectral profiles between the cameras for the RGB filters?
Sure. Your guess is as good as mine.
The reduction in false color alone is a huge improvement IMO.
I hope you turn the IBIS off in your testing.
Yes I do. But with the ES, it doesn’t make much difference. With the C1 head, it’s easy to tell if you’ve accidentally left it on, because you turn the knobs to get the frame where you want it, and then the camera proceeds to screw that up.