This is one in a series of posts on the Fujifilm GFX 100S. You should be able to find all the posts about that camera in the Category List on the right sidebar, below the Articles widget. There’s a drop-down menu there that you can use to get to all the posts in this series; just look for “GFX 100S”.
In the this post, I looked at the field flatness/corner sharpness of the Fujifilm 23/4 and 30/3.5 lenses on the GFX 100S, and found them flat and sharp enough for distant landscape and aerial use. But there’s a problem with those lenses for aerial photography, and that’s the focusing. They are focus by wire lenses, and there’s no way to lock the focus plane in one place. In addition, Fuji GFX lenses suffer from infrequent, but problematical focus shift over time. Together, that means that the only semi-practical way to focus the lenses is by using automatic focusing. However, aerial photography means dealing with vibration and low contrast subject matter, which confuses AF.
The standard way to do aerial photography is to take a piece of gaffer tape and tape the focusing ring at the infinity position. I got to thinking about finding a way to make a wide angle manual focusing lens work on the GFX 100S. I decided that combining the Zeiss 15 mm f/2.8 ZF.2 with the Metabones NF-GFX 1.26 Expander would give me a 19 mm lens that had a chance of being sharp in the corners.
I floundered around trying to get the adapter to focus to infinity, and finally figured out how to make the adjustment. Now I can report the results.
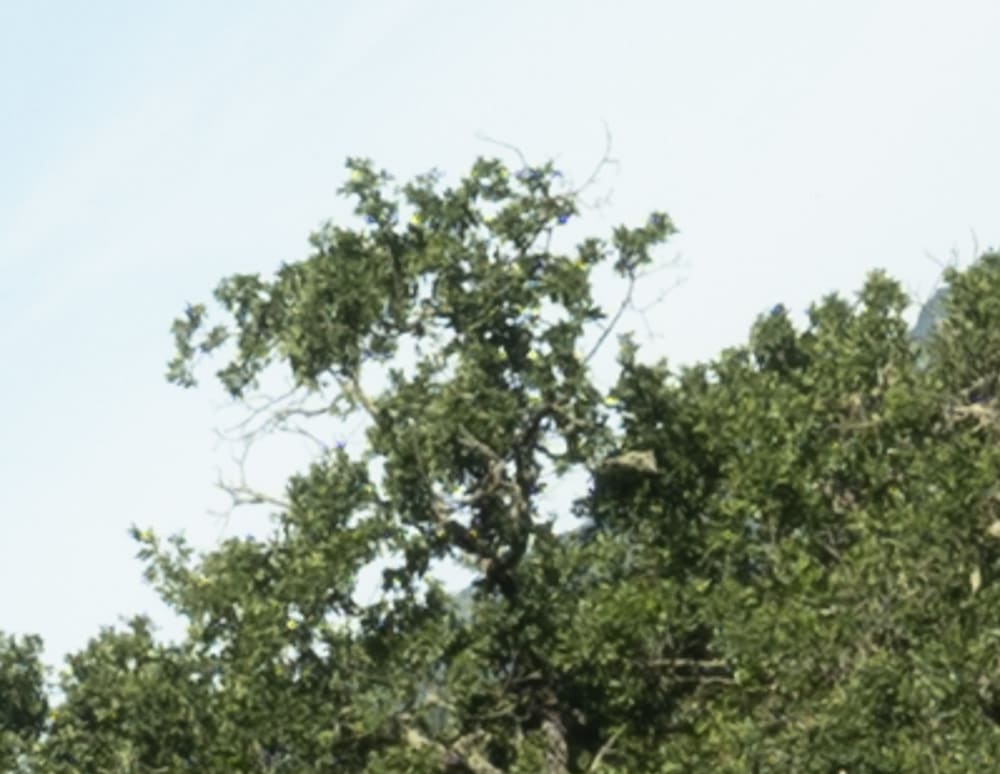
The scene, at f/2.8:
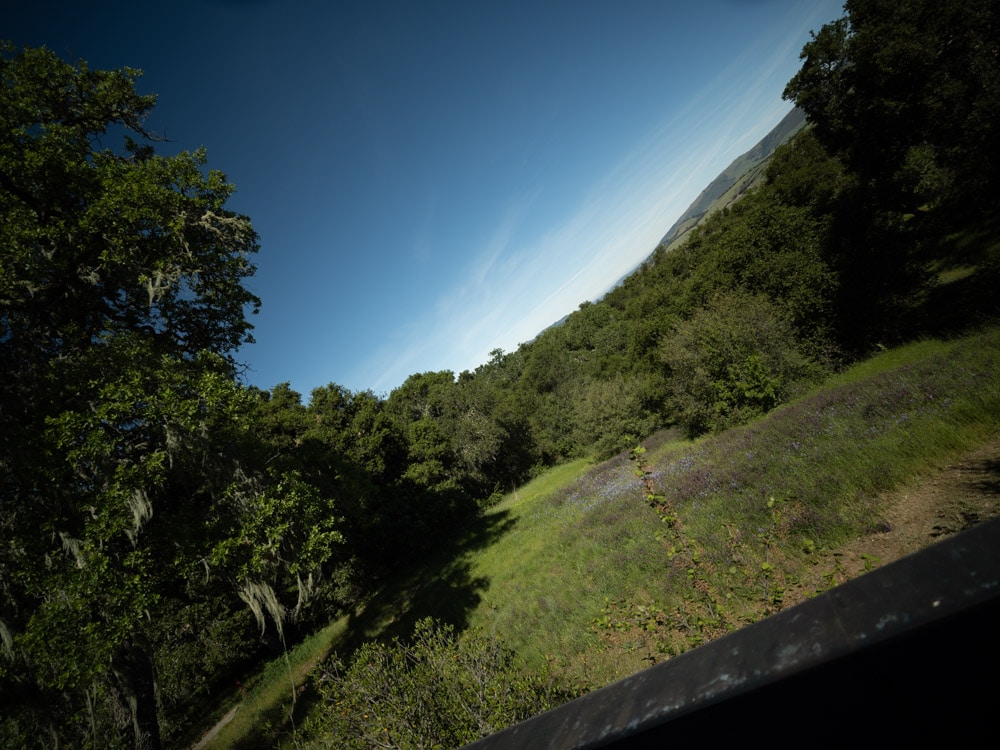
The setup:
- GFX 100S
- Zeiss 15 mm f/2.8 Distagon DF.2
- RRS carbon fiber legs
- C1 head
- Target distance 90 meters
- ISO 100
- Electronic shutter
- 2-second self timer
- f/2.8, f/4, f/5.6, and f/8 indicated (actual stops a bit slower than that_
- 1/1000, 1/500, 1/250, 1/125 second
- Focus in center, make an exposure, reposition camera so that subject is in corner, make another exposure
- Do the above three times, pick the sharpest center image in post, and use the associated corner shot.
- Develop in Lightroom 10.2
- Sharpening amount 25, radius 1, detail 25
- Daylight white balance
- Same minor exposure adjustment applied to all images
- Rest of settings at default
Now I’ll show you some crops.
No matter what you do, these crops are all going to look horrible. I’m blowing them up so much so that they will represent the original file after JPEG’s discrete cosine transform has had its way with them. If you want to get a good idea of what the images would look like printed, get far away from your monitor. No, farther than that. Put a bunch of the images up on the screen and back up until the best one starts to look good. Then look at the others. There’s another reason why these images won’t look like the best thing the camera/lens combination can deliver. They’re demosaiced with Lightroom. Lightroom is not awful, but for a particular image, there are usually better raw processors. I use Lr because it’s a de facto standard, because I know it well, and because it’s got good tools for dealing with groups of images.
Here’s how to use these highly-magnified crops. The dimensions of the GFX 100S sensor is 11648×8736 pixels. If we make a full-frame print from the GFX 100S on a printer with 360 pixels per inch native driver-level resolution, like the Epson inkjet printers, we’ll end up with a 32.4×24.3 inch print. The 399×309 pixel crop you’re looking at will end up roughly 1.2×0.8 inches. Let’s imagine that you or your viewers are critical, and will look at the 32×24 inch print from about 24 inches (conventional wisdom is that the distance would be a little greater than that, or 40 inches (the diagonal), but you did buy a high-resolution camera for a reason, didn’t you?).
The next step is dependent on your monitor pitch, which you may or may not know. Turns out, you don’t have to know it. Just take the crops and view then at 1:1. How high are they? Get out your ruler and measure, or just guess. Let’s say they are 6 inches high. 6 inches is about 6 times 0.9, so in order to view the crops the way they’d look from 24 inches on the print is to view them from 6 times as far away, or 12 feet.
In the center:
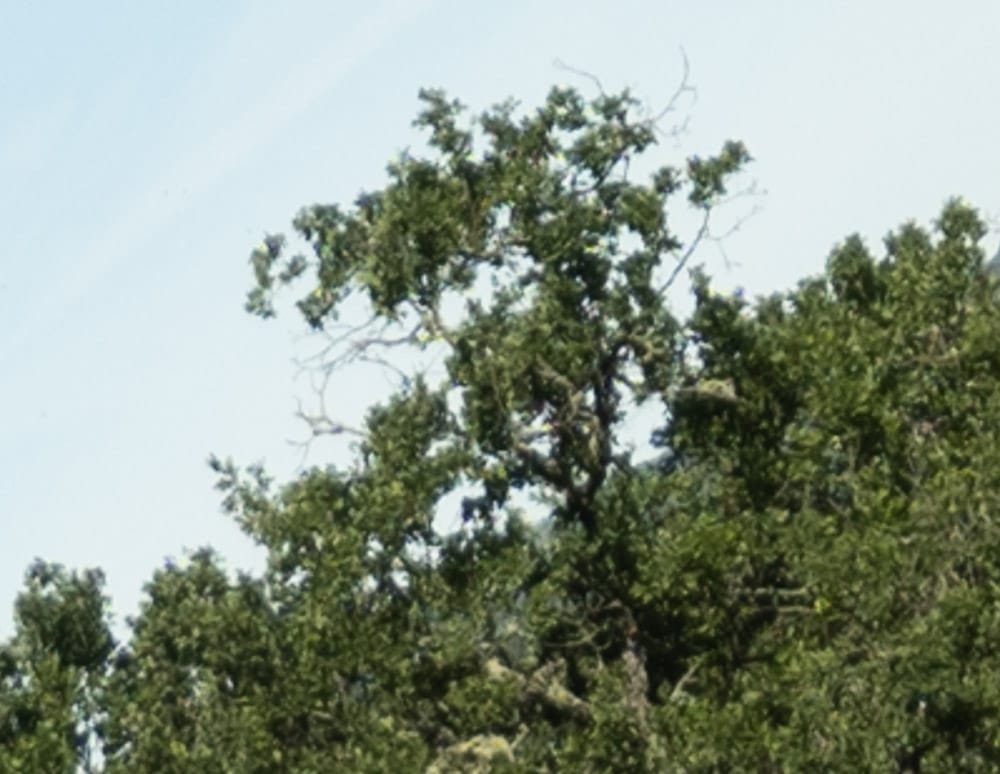
That is pretty darned good. We’ve got single-pixel branches there.

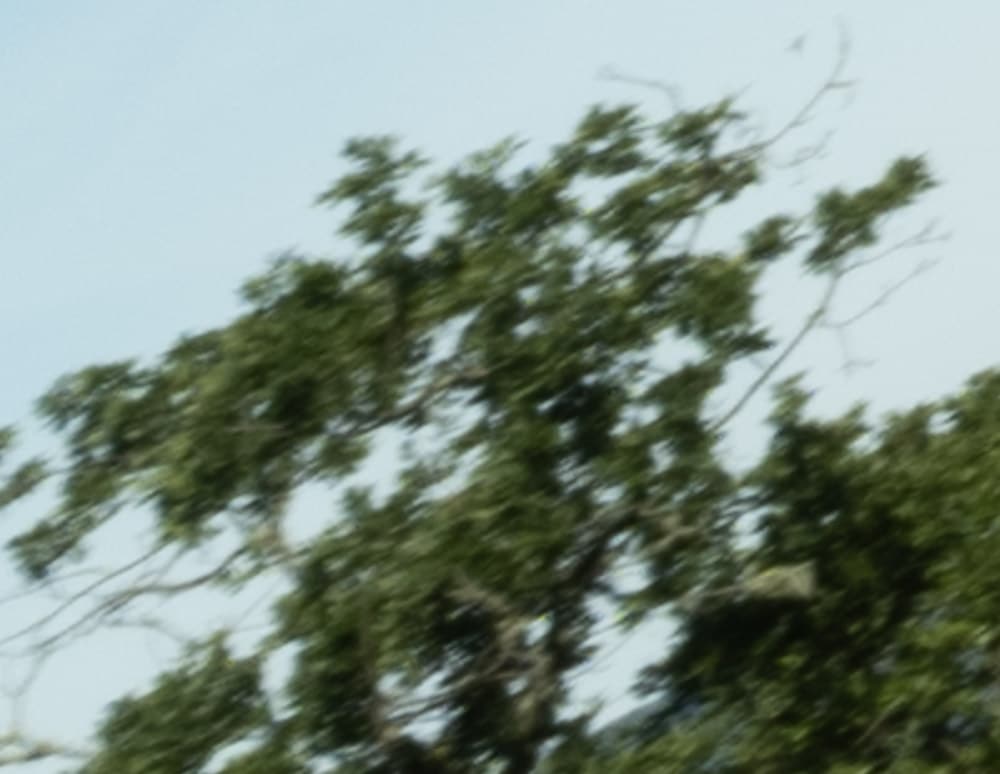
The corners wide open are considerably darker than the center. They are also considerably less sharp.
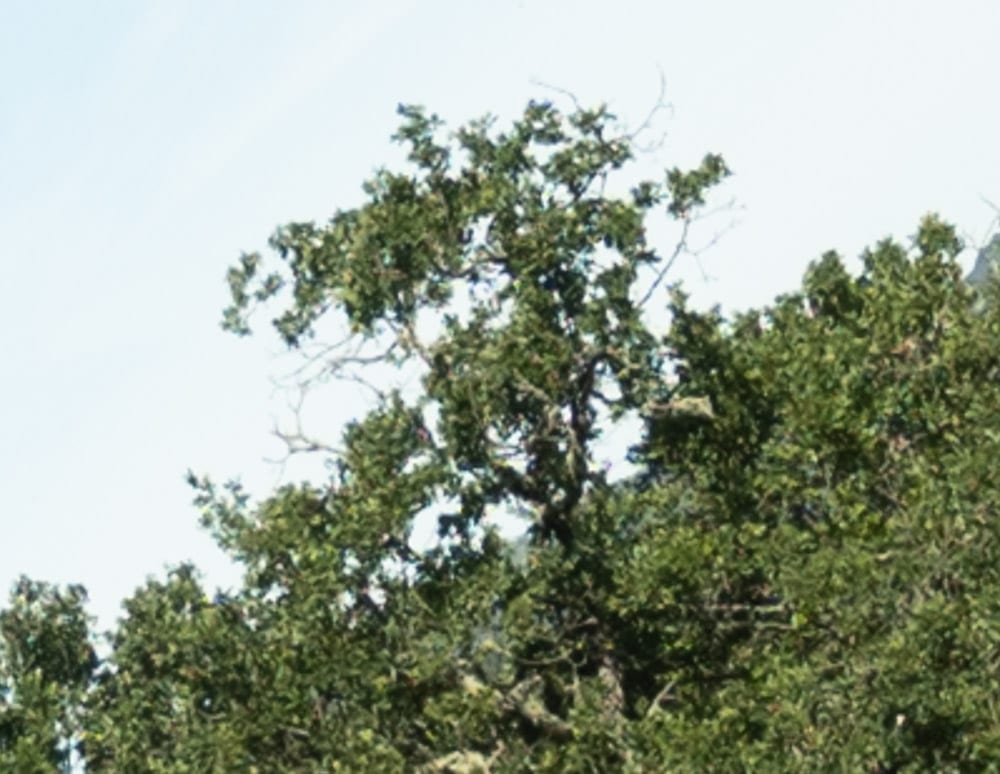
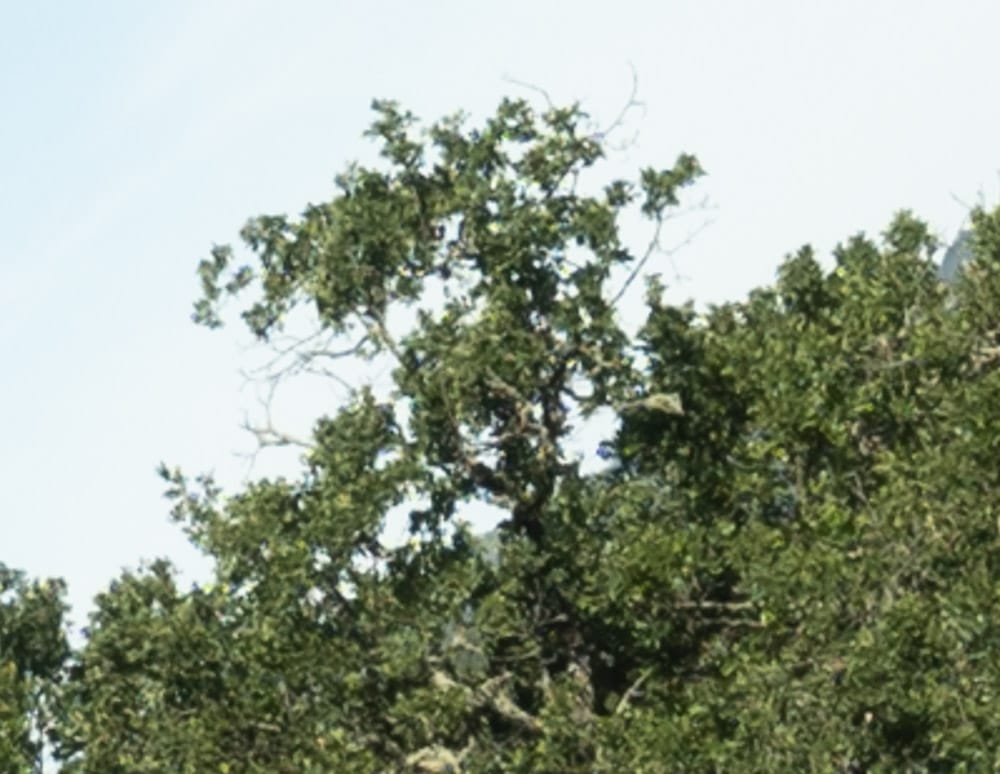
Looks fine.
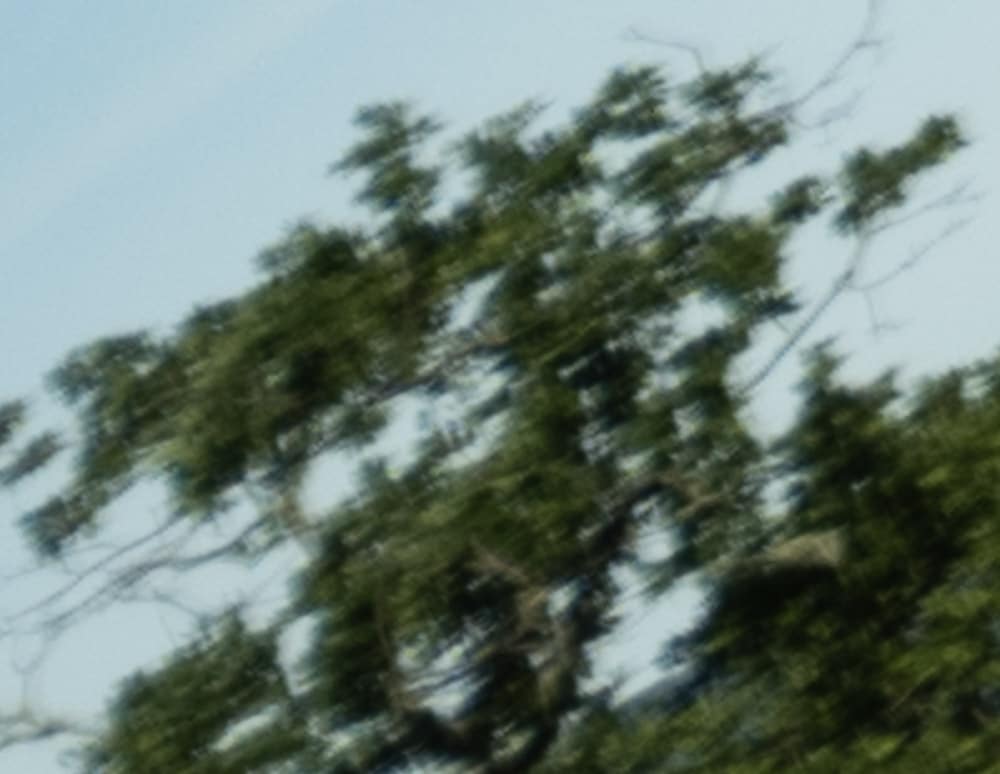
Blurry.
Good.
Better, but still not great.
Good.
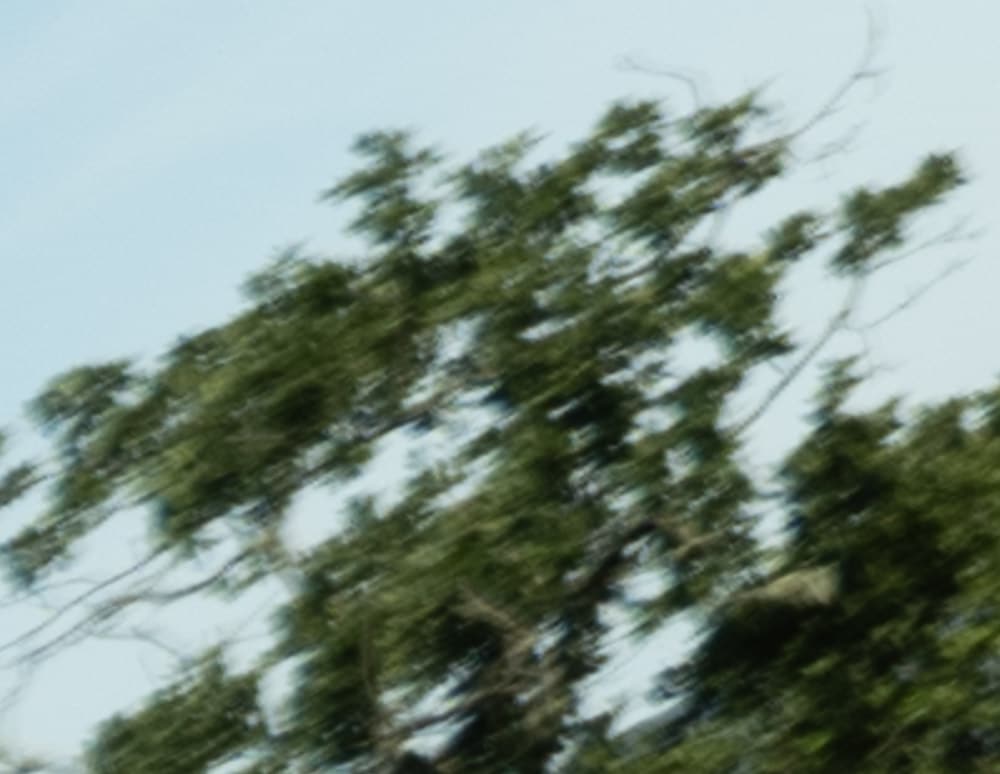
Still not winning any prizes.
Well, it was worth a try.
Hello again, dear Jim,
three concrete questions today:
– What do you think – is the poor performance in the corners caused (mainly) by the optical design of the lens itself or by that of the Expander? (Or the combination of both?)
– Are there eventually other lenses which perform better with the Expander (more modern and advanced designs like most of the ART lenses from Sigma)?
– And: what was the actual problem with the infinity setting, and how did you solve it?
best, Tom
Old lenses can loose infinity focus. This is how to fix it if you use metabones adapters
https://www.metabones.com/article/of/infinity-adjustment-speed-booster-only
The viltrox speed booster isn’t calibrated, most likely why only $150. So for them you just turn the element in front of lens mount carefully with your hand. No screw adjustment. Correct until it’s good clockwise or counterclockwise.
Interesting the Sigma 18-38mm f1.8 can be used as a para focal lens with micro four thirds cameras with a slight infinity correction with these adapters.
That’s the same link I referenced in the post. However, The issue with my lenses is not their fault. The Distagon and Makro Planar achieve infinity focus when mounted on a Nikon F-mount camera, and also do so on the GFX, Z7, and a7Rx with any adapter I’ve tried.
Do you mean “parfocal”?
Either of the last two. The lens itself does well in the corners if there’s no glass between it and the sensor.
There are indeed:
https://blog.kasson.com/gfx-100/metabones-1-26x-expander-on-gfx-100-with-otus-55/
– And: what was the actual problem with the infinity setting, and how did you solve it?
For the answer to both, see here:
https://www.metabones.com/article/of/infinity-adjustment-speed-booster-only
Metabones tries to blame the lens in all cases, but that wasn’t what was going on for me.
That’s exactly the radial smearing that I saw when using the 15 on a D810 (no adapter required), and exactly why I replaced it… serially. First with the Tamron 15-30 (only slightly better, and oh the weight and bulk). Secondly and finally, with the 14-30 S on a Z7.
I brought the 15 to Cuba along with a 24-70/2.8. Old Havana’s narrow streets are abundant in fascinating ultra wide scenes. The 15’s results were bimodal, half of the shots were really good, the rest quite disappointing. It’s very sensitive to variations in the nature of subject details. The zoom on the other hand had a vastly better keeper ratio.
F/8 and 5.6 look better than I expected from this ~120° combo of 2 optical sets that were not specifically designed to work together. I could not notice significant amounts of CA/LOCA, so it seems that this can be an usable option for creative work.
I agree.
Tom asked,
“– is the poor performance in the corners caused (mainly) by the optical design of the lens itself or by that of the Expander? (Or the combination of both?)”
Unfortunately the smearing in the corners looks quite a bit like what I saw with my ZF.2 Distagon on the Nikon D810 (directly mounted). Sometimes a subject wouldn’t suffer too much from that, sometimes it did; 24x24mm crops were typically stellar.
I see folks opting to for the 33×33 override as their better option (assuming there’s no 3:2 baffle on the back of the lens). That’s still 75% of the 4:3 frame, and shooting share isn’t a bad way to go.
After so many years shooting 6×6 Hasselblads, I’m a big fan of square images.