This is one in a series of posts on the Fujifilm GFX 50S and 50R. You should be able to find all the posts about that camera in the Category List on the right sidebar, below the Articles widget. There’s a drop-down menu there that you can use to get to all the posts in this series; just look for “GFX 50S”. It’s also in the Z6/7 category.
In the last two posts I conducted an informal comparison between the Fuji 100-200 mm f/5.6 zoom on the GFX 50R against the excellent Nikon 70-200/2.8E on the Nikon Z7 at 100 mm for the Fuji and 70 mm for the Nikon, and 200 mm for the Fuji 145 mm for the Nikon. I received a request to test those two lenses at the FF equivalent of 85 mm (117 mm for the Fuji), and to throw the Otus 85 into the mix. The Z7 and the GFX have the same resolution horizontally, but I’m a fan of 4:3 pictures, so I equalized for image height. If you like wide aspect ratios, you may consider that to be stacking the deck.
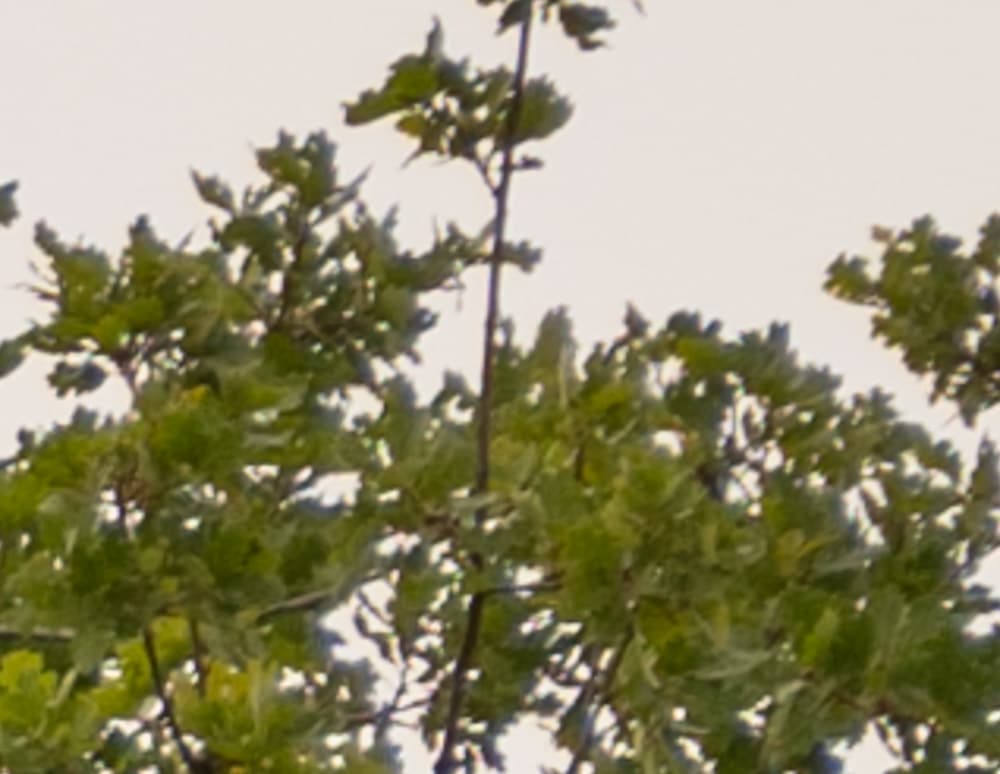
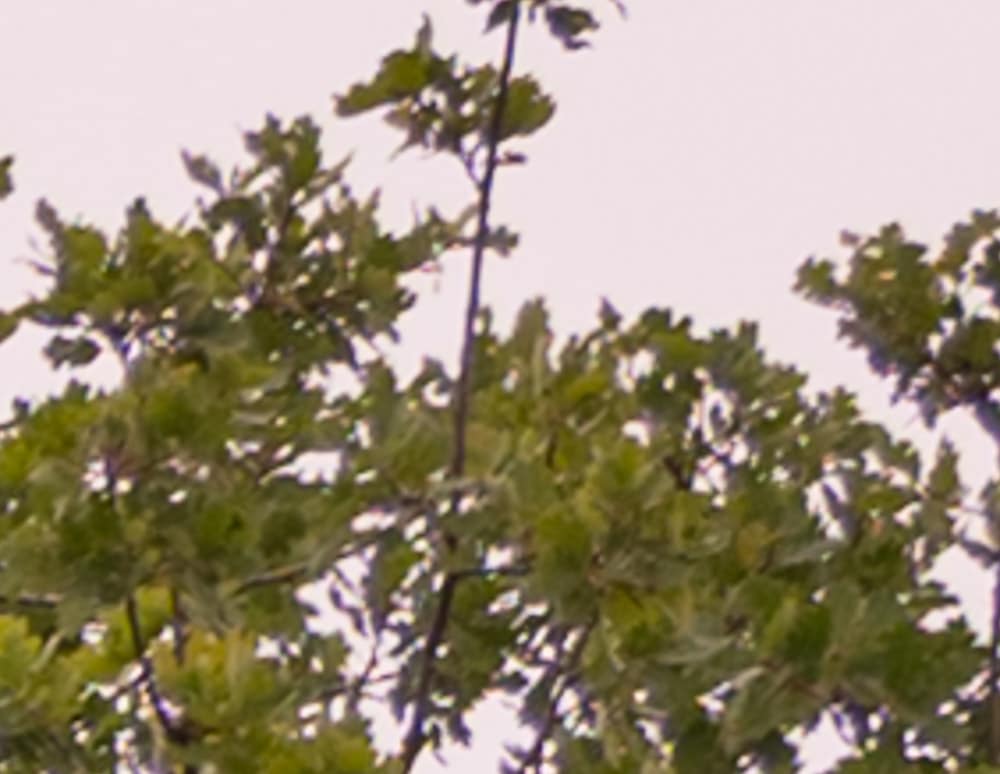
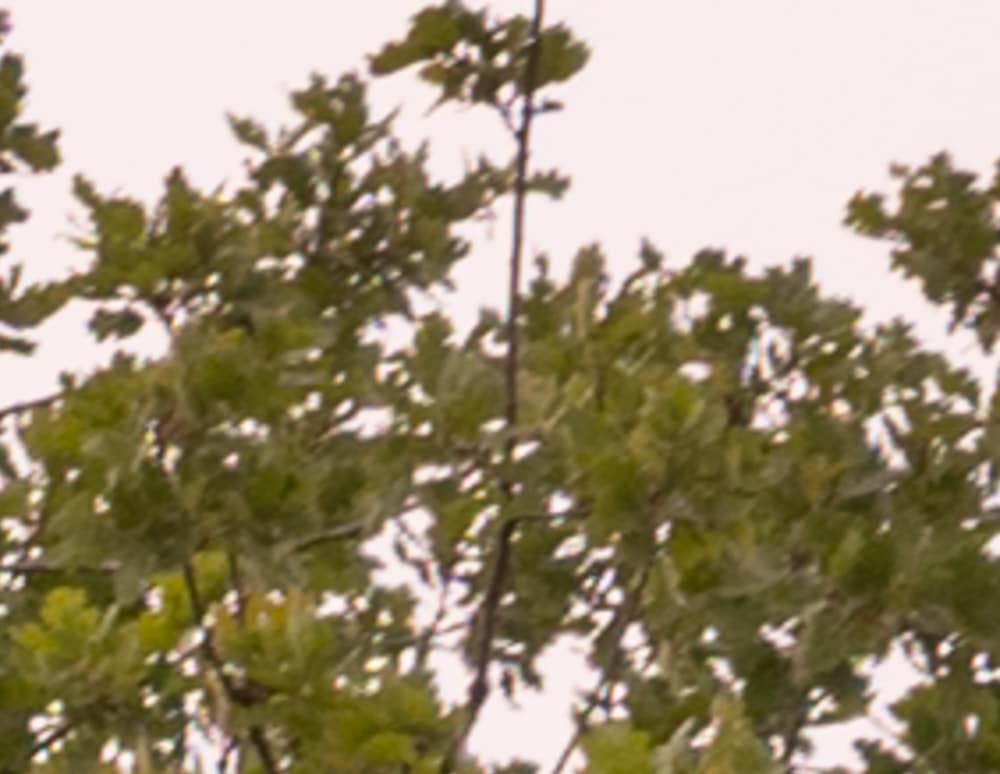
Here’s the scene with the GFX and the zoom set to 117 mm, with the target area in the upper right corner. The tree top is about 40 meters away.

Making three shots for each variation and picking the sharpest, I exposed at base ISO of 100 for the GFX, and 64 for the Z7. I used pinpoint AF on the Z7 with the zoom, which means that both cameras were using CDAF. The CDAF on both of them is so good that there was far more variation between the sets of shots than there was within each series of three at the same settings. I could almost have flipped a coin to pick the sharpest. I used AF-S and a small spot, focusing on the target grove of trees. For the Otus, I focused at maximum magnification with peaking turned on.
Images developed in Lightroom, with default settings except:
- WB set to Cloudy
- Adobe Color Profile
- Shadows +78
- Highlight -26
- Sharpening 20, radius 1
I did not try to defeat Lightroom’s silent distortion correction.
We’ll look at some very tight crops.
If you’ve seen these here before, just jump to the images. If not, I need to spend some time telling you how to interpret them. They’re at roughly 250% magnification, enlarged to 700 pixels high on export from Lightroom. If you just want a rough idea of the differences, just look at the images as displayed in-line in the posts. However, if you wish to compare these images in detail, you should view these images by clicking on them to see the source files, then set your browser for 100% zooming. Even better, download them and make Photoshop stacks.
No matter what you do, these crops are all going to look horrible. I’m blowing them up so much so that they will represent the original file after JPEG’s discrete cosine transform has had its way with them. If you want to get a good idea of what the images would look like printed, get far away from your monitor. No, farther than that. Put a bunch of the images up on the screen and back up until the best one starts to look good. Then look at the others. There’s another reason why these images won’t look like the best thing the camera/lens combination can deliver. They’re demosaiced with Lightroom. Lightroom is not awful, but for a particular image, there are usually better raw processors. I use Lr because it’s a de facto standard, because I know it well, and because it’s got good tools for dealing with groups of images.
Here’s how to use these highly-magnified crops. The dimensions of the GFX sensor is 8256×6192 pixels. If we make a full-frame print from the GFX on a printer with 360 pixels per inch native driver-level resolution, like the Epson inkjet printers, we’ll end up with a 23×17.2 inch print. The 317×246 pixel crop you’re looking at will end up 0.8×0.68 inches (2.12×1.74 cm). Let’s imagine that you or your viewers are critical, and will look at the 23×17.2 inch print from about 18 inches (conventional wisdom is that the distance would be a little greater than that, or 29 inches (the diagonal), but you did buy a high-resolution camera for a reason, didn’t you?). The Z7 crops are 282×219, so they are blown up a bit more to make the picture height the same. As I said earlier, that stacks the deck against the Z7.
The next step is dependent on your monitor pitch, which you may or may not know. Turns out, you don’t have to know it. Just take the 250% crops and view then at 1:1. How high are they? Get out your ruler and measure, or just guess. Let’s say they are 6 inches high. 6 inches is about 7 times 0.8, so in order to view the crops the way they’d look from 18 inches on the print is to view them from 7 times as far away, or 10.5 feet.
Everything here scales proportionately. If the image on your screen is bigger than 6 inches, increase your viewing distance by the ratio of your image height to 6 inches. If you think your viewers are going to almost get their nose to that print and look at it from six inches, divide that 10.5 feet by 3, and look at the image on the monitor from three and a half feet away.

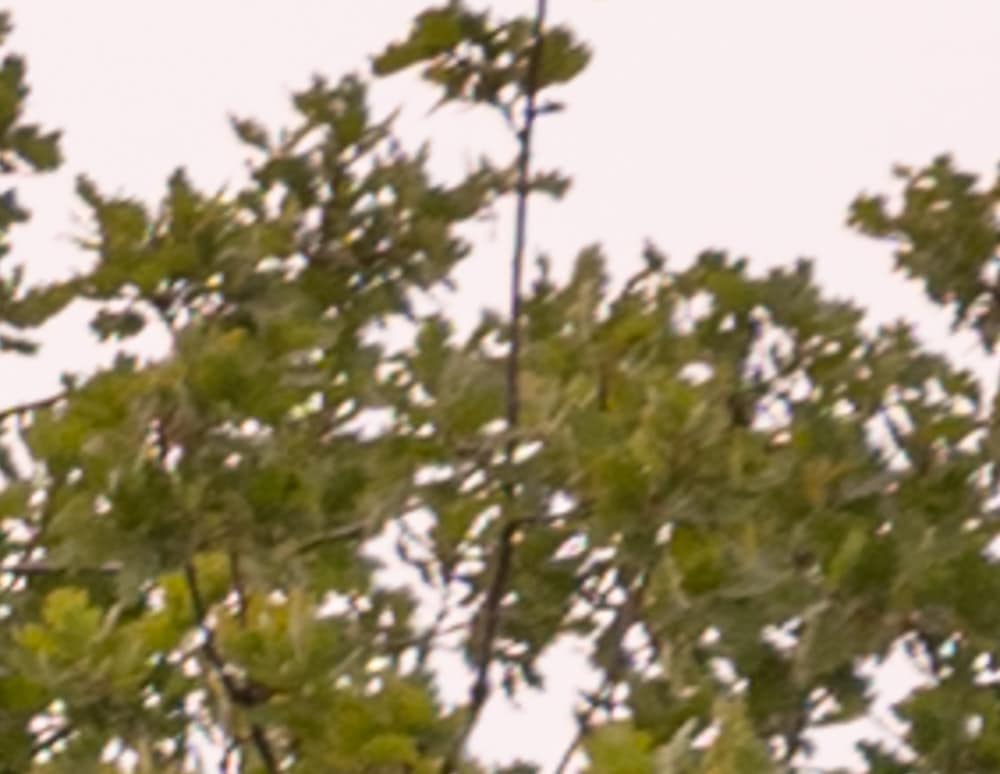
You can see that the Otus has the least purple fringing, though it is not much sharper than the other two. However, in the 4:3 corner case, it is the only lens that is sharp enough there to show aliasing. I don’t consider the sharpness differences to be significant. The Otus also has the most contrast. The Nikkor has a moderate amount of purple fringing. This is excellent performance for the Fuji zoom.
I think that all three lenses are so good that mostly what you’re seeing is the increased sharpness that is available with a physically-larger sensor with a greater number of pixels in an image column. When viewed at native resolution, the Z7 images appear sharper in comparison, but they get more magnification in theses crops to make the field of view the same for both formats.

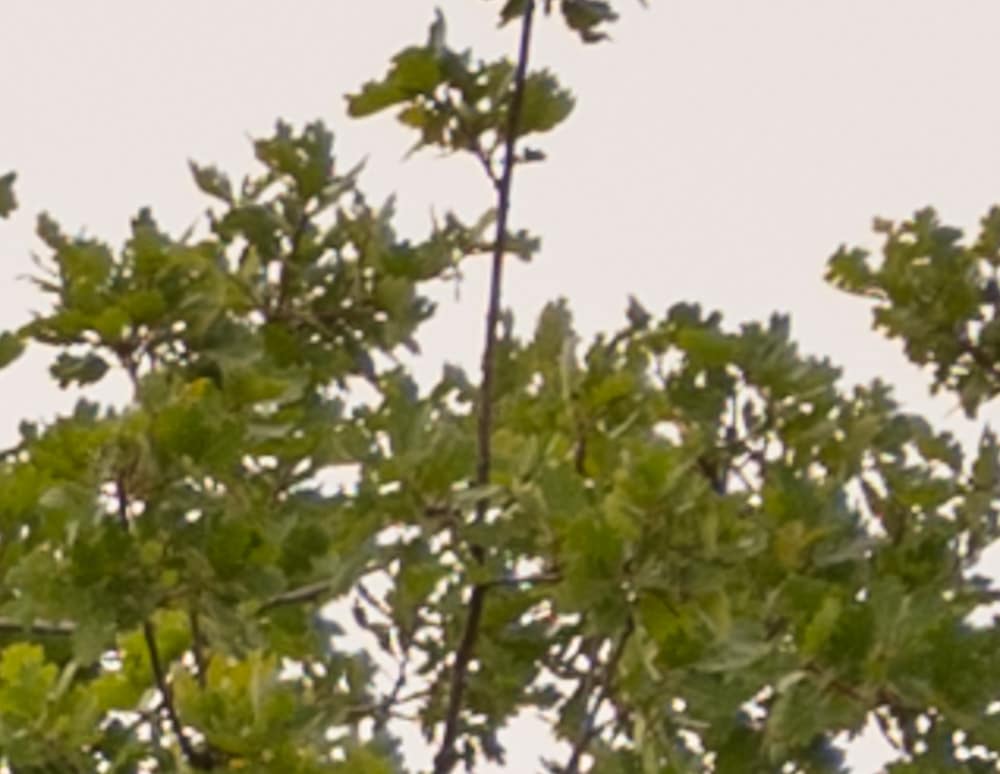
Again, the Otus shows aliasing artifacts. The Nikon’s purple fringing has cleaned up by a lot. The Fuji is sharper in its corner than the Otus is at the extreme corner of the 2:3 frame. Again, this is excellent performance for the Fuji Zoom, and a very good showing from the Nikkor.
Last set:
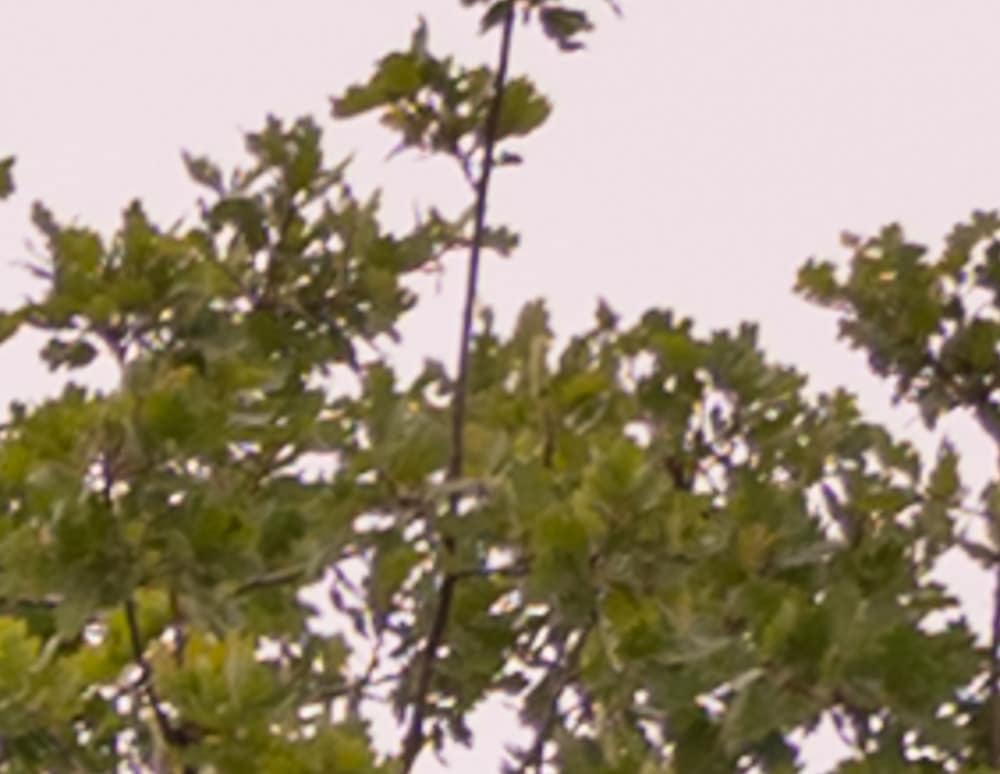

The Nikkor’s purple fringing isn’t entirely gone. Other than that, there is little difference among these.
Good show, Fuji!
The Otus extreme corner images are a good example of the particular look of astigmatism in out of focus images. Viewers who like the way that looks should shop for lenses with astigmatism, those that don’t should look for lenses without.
Can you moint your nikon 70-200E on gfx to show if the image circle could cover the whole sensor or .kt? (steelring just released the new nikon >gfx AF adapter to control E lens)