• site home
  • blog home
  • galleries
  • contact
  • underwater
  • the bleeding edge

the last word

Photography meets digital computer technology. Photography wins -- most of the time.

You are here: Home / GFX 50S / Light painting with the GFX 50S — a demo

Light painting with the GFX 50S — a demo

April 22, 2018 JimK 3 Comments

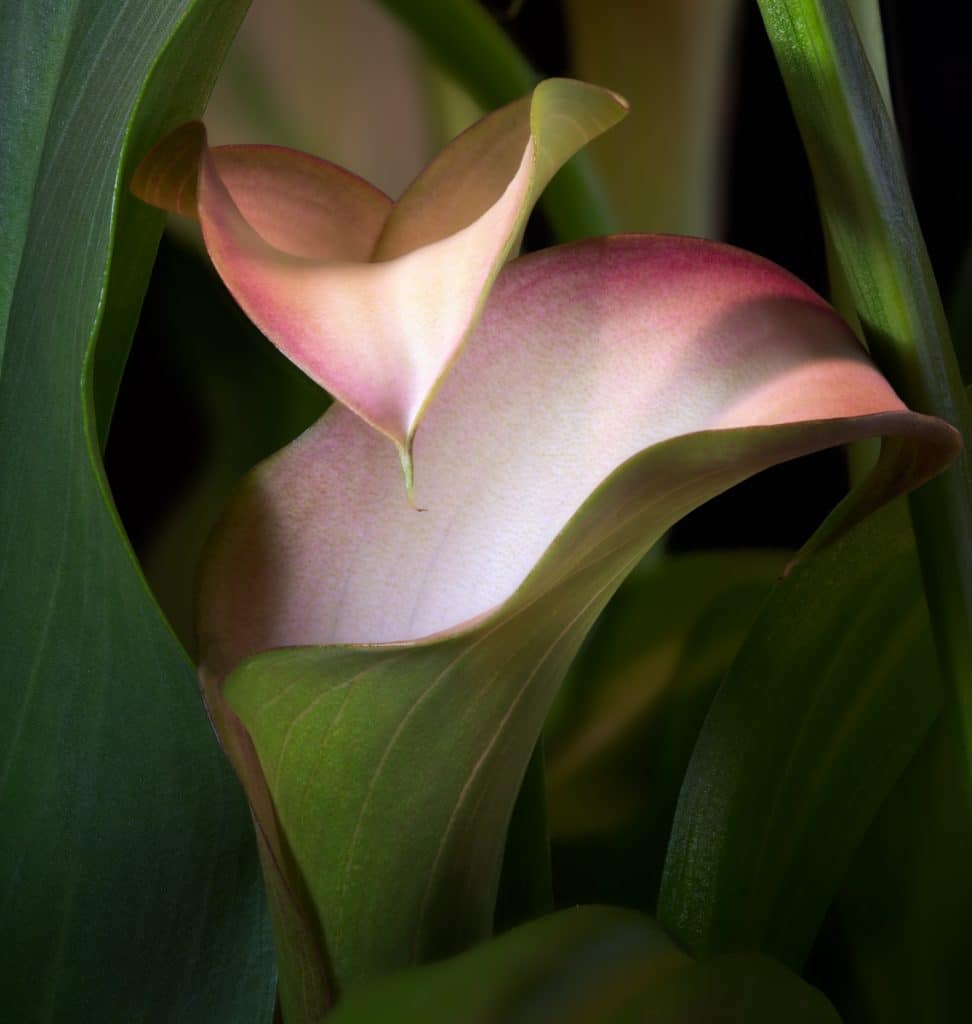
Yesterday I reported on using the Fuji GFX 50S  and the Fuji 120 mm f/4 macro for focus stacking. One of the images was of this lily:


Now I’m going to show you another thing I’ve been doing with the same subject, lens, and camera. 
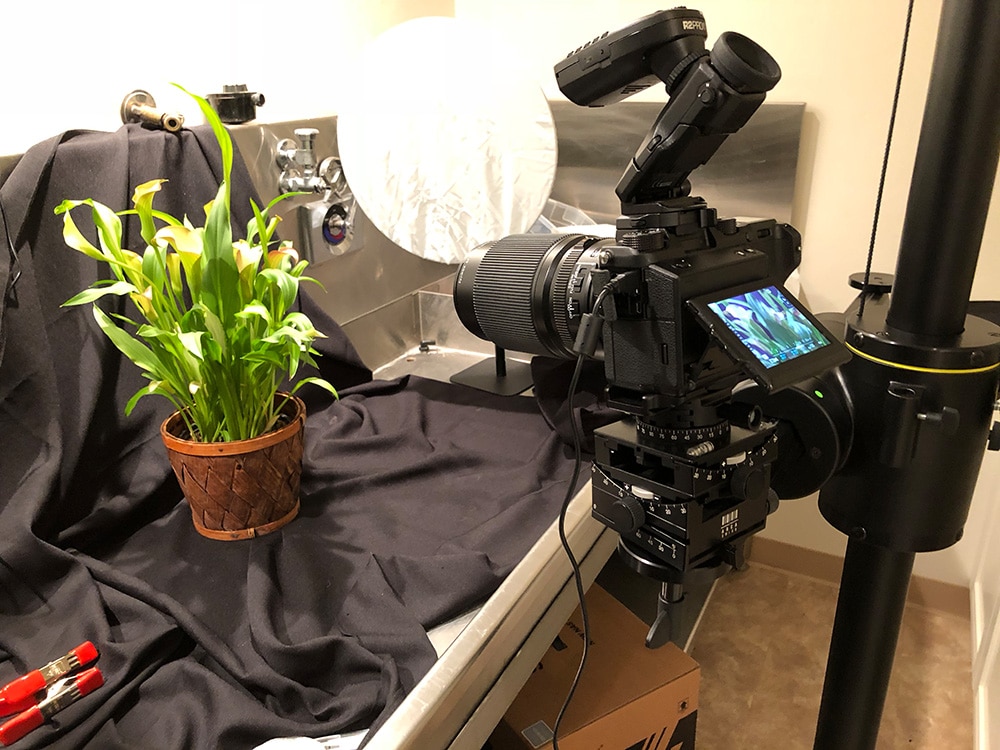
Here’s the setup:

I’m using two lights for most of my painting. The first is a Nicro B22 CRI 95 LED flashlight:

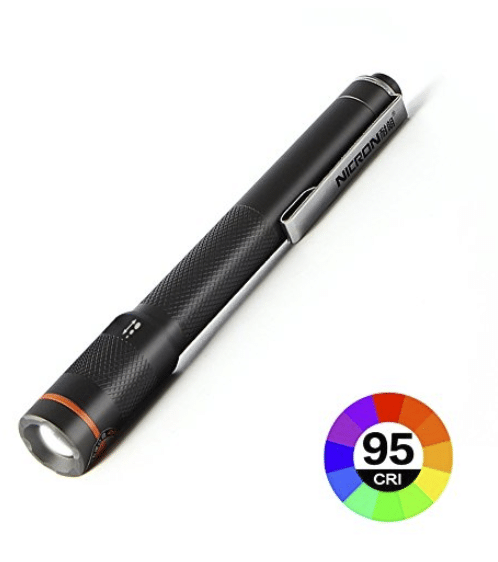
It’s not obvious by looking at the above, but this light has a very useful feature: you can adjust the beam angle by pushing and pulling on the part with the red band.

The other is a light made for photography by Westcott:


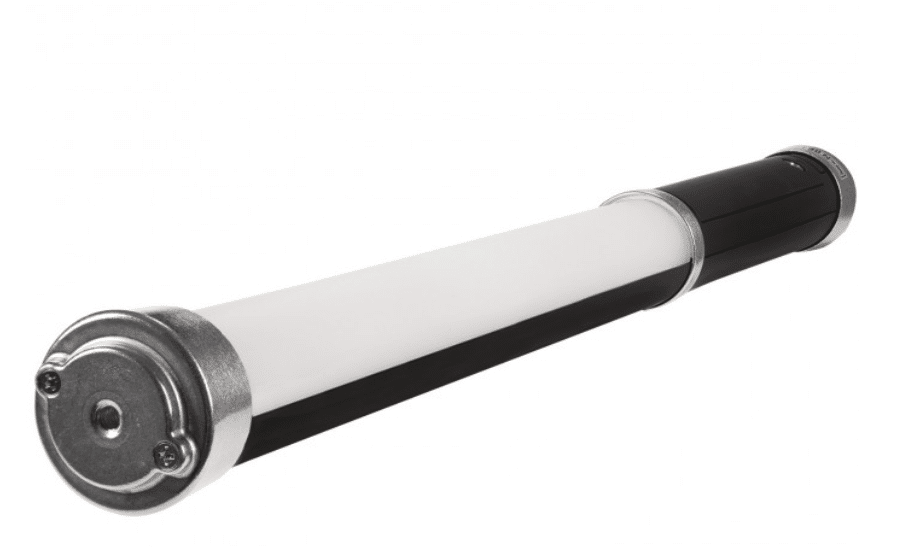
The ICE wand is a couple of feet long and casts a broad, soft beam. It is adjustable in power over a wide range. Color temperature is 5500 degrees Kelvin, which is somewhat cooler than the flashlight.

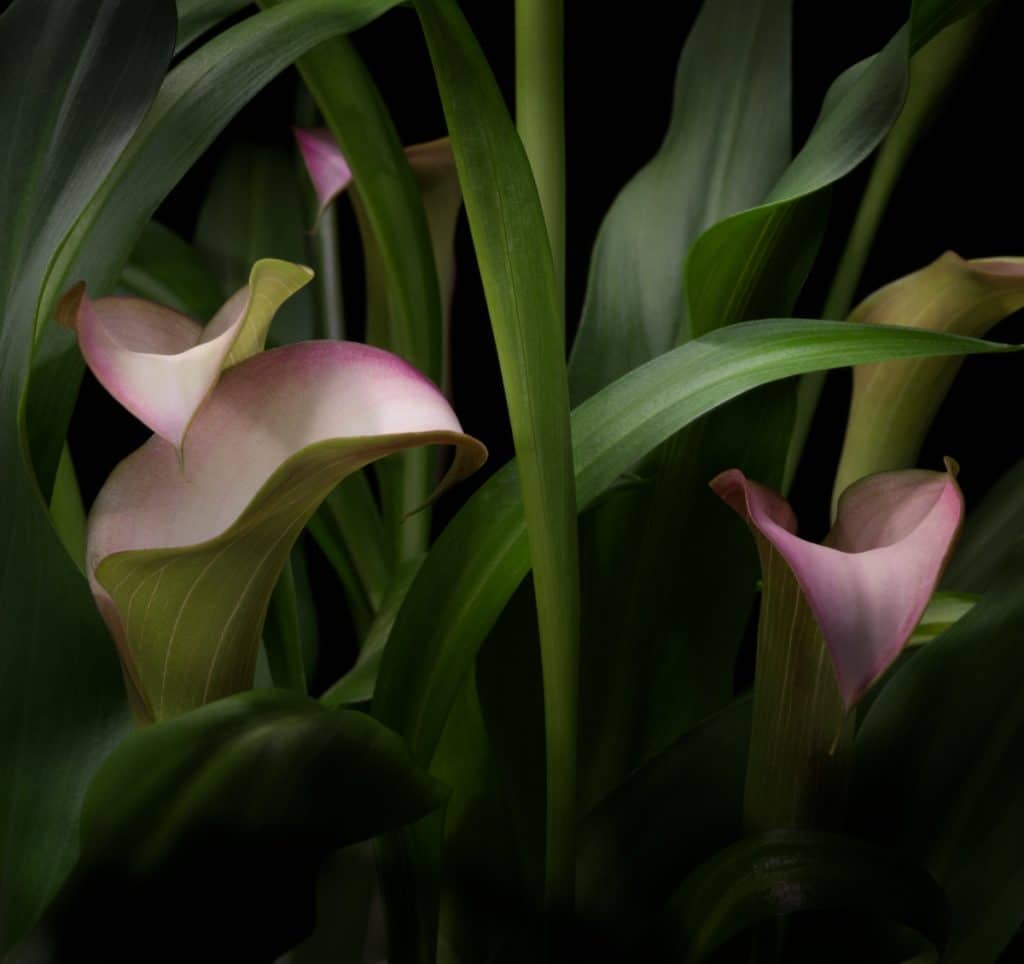
Here’s the result of painting with the flashlight:

And this is with the Westcott ICE light:

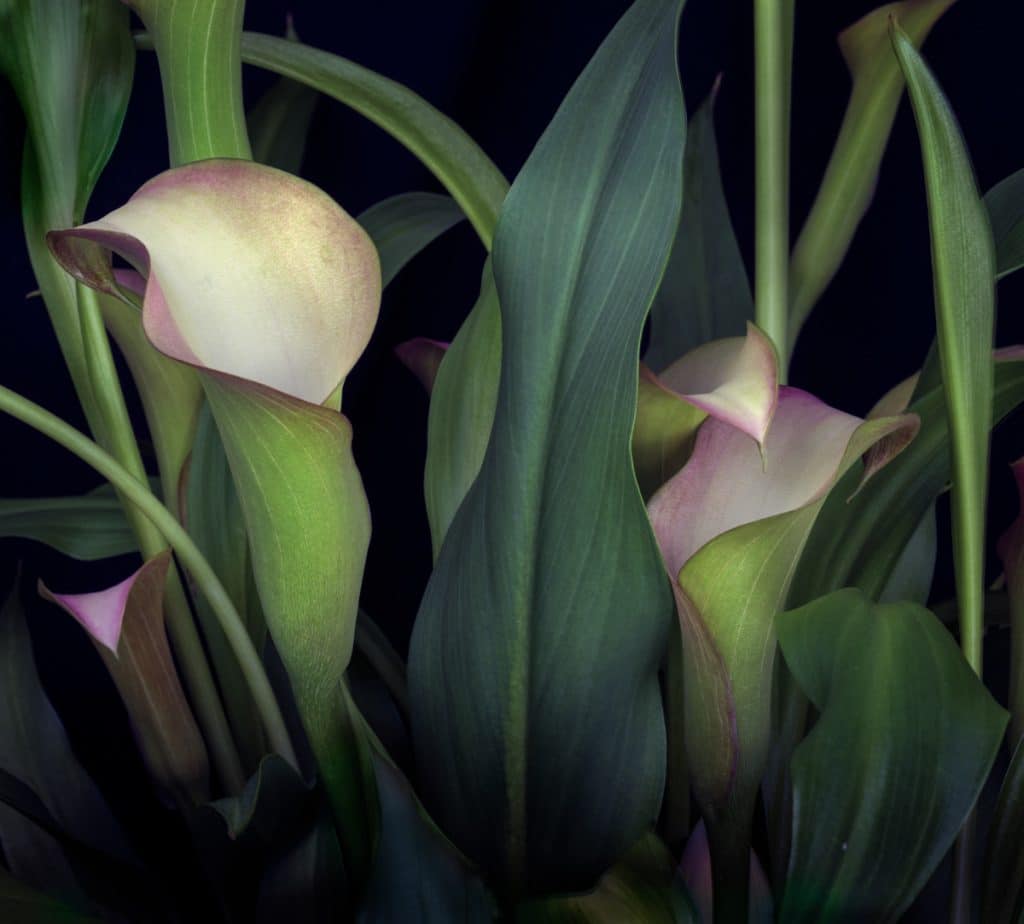
It is difficult to control the specular reflections from the shiny leaves.

This is with both:

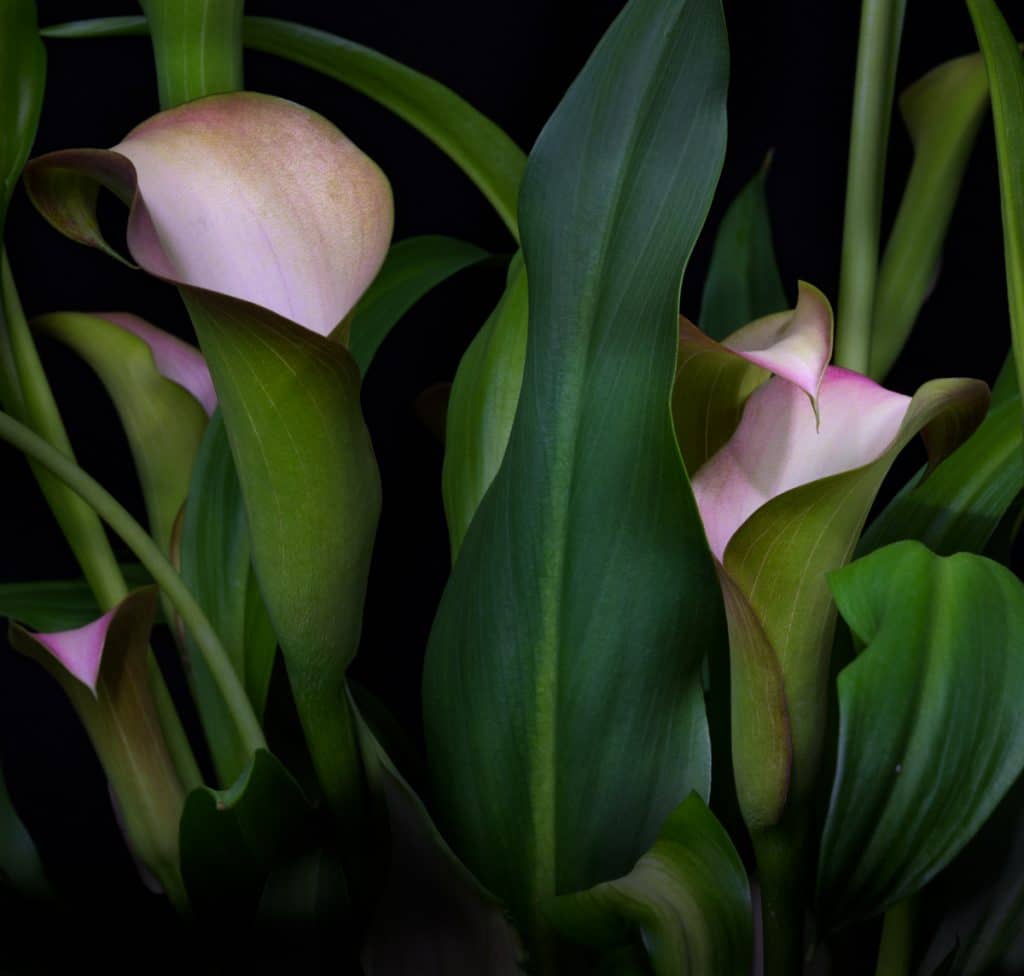
I thought I’d have to work hard to control the two different color temperatures of the lights, but it turned out to be pretty easy. I don’t think I’ll have to gel one of them.

GFX 50S

← Focus stacking with the GFX 50S — a demo Sony A7III testing – and tribalism →

Comments

  1. Jack Hogan says

    April 23, 2018 at 12:16 am

    Nice! What were the Exposure settings while you painted?

    Reply
    • JimK says

      April 23, 2018 at 6:33 am

      Each exposure was 5 seconds. Apertures usually f/22 or f/32. About a dozen exposures per image. No ND filter, although I may start using one.

      Reply
  2. AndrewZ says

    May 11, 2018 at 4:16 am

    If you use a polariser it may help with those highlights, at least on one access. I’ve used it to good effect shooting plastics.

    Reply

Leave a Reply Cancel reply

Your email address will not be published. Required fields are marked *

May 2025
S M T W T F S
 123
45678910
11121314151617
18192021222324
25262728293031
« Apr    

Articles

  • About
    • Patents and papers about color
    • Who am I?
  • How to…
    • Backing up photographic images
    • How to change email providers
    • How to shoot slanted edge images for me
  • Lens screening testing
    • Equipment and Software
    • Examples
      • Bad and OK 200-600 at 600
      • Excellent 180-400 zoom
      • Fair 14-30mm zoom
      • Good 100-200 mm MF zoom
      • Good 100-400 zoom
      • Good 100mm lens on P1 P45+
      • Good 120mm MF lens
      • Good 18mm FF lens
      • Good 24-105 mm FF lens
      • Good 24-70 FF zoom
      • Good 35 mm FF lens
      • Good 35-70 MF lens
      • Good 60 mm lens on IQ3-100
      • Good 63 mm MF lens
      • Good 65 mm FF lens
      • Good 85 mm FF lens
      • Good and bad 25mm FF lenses
      • Good zoom at 24 mm
      • Marginal 18mm lens
      • Marginal 35mm FF lens
      • Mildly problematic 55 mm FF lens
      • OK 16-35mm zoom
      • OK 60mm lens on P1 P45+
      • OK Sony 600mm f/4
      • Pretty good 16-35 FF zoom
      • Pretty good 90mm FF lens
      • Problematic 400 mm FF lens
      • Tilted 20 mm f/1.8 FF lens
      • Tilted 30 mm MF lens
      • Tilted 50 mm FF lens
      • Two 15mm FF lenses
    • Found a problem – now what?
    • Goals for this test
    • Minimum target distances
      • MFT
      • APS-C
      • Full frame
      • Small medium format
    • Printable Siemens Star targets
    • Target size on sensor
      • MFT
      • APS-C
      • Full frame
      • Small medium format
    • Test instructions — postproduction
    • Test instructions — reading the images
    • Test instructions – capture
    • Theory of the test
    • What’s wrong with conventional lens screening?
  • Previsualization heresy
  • Privacy Policy
  • Recommended photographic web sites
  • Using in-camera histograms for ETTR
    • Acknowledgments
    • Why ETTR?
    • Normal in-camera histograms
    • Image processing for in-camera histograms
    • Making the in-camera histogram closely represent the raw histogram
    • Shortcuts to UniWB
    • Preparing for monitor-based UniWB
    • A one-step UniWB procedure
    • The math behind the one-step method
    • Iteration using Newton’s Method

Category List

Recent Comments

  • Mike MacDonald on Your photograph looks like a painting?
  • Mike MacDonald on Your photograph looks like a painting?
  • bob lozano on The 16-Bit Fallacy: Why More Isn’t Always Better in Medium Format Cameras
  • JimK on Goldilocks and the three flashes
  • DC Wedding Photographer on Goldilocks and the three flashes
  • Wedding Photographer in DC on The 16-Bit Fallacy: Why More Isn’t Always Better in Medium Format Cameras
  • JimK on Fujifilm GFX 100S II precision
  • Renjie Zhu on Fujifilm GFX 100S II precision
  • JimK on Fuji 20-35/4 landscape field curvature at 23mm vs 23/4 GF
  • Ivo de Man on Fuji 20-35/4 landscape field curvature at 23mm vs 23/4 GF

Archives

Copyright © 2025 · Daily Dish Pro On Genesis Framework · WordPress · Log in

Unless otherwise noted, all images copyright Jim Kasson.