This is one in a series of posts on the Nikon Z7. You should be able to find all the posts about that camera in the Category List on the right sidebar, below the Articles widget. There’s a drop-down menu there that you can use to get to all the posts in this series; just look for “Nikon Z6/7”.
In the previous post, the Nikon 24-70 mm f/4 S lens on the Z7 produced such remarkably low focus shift and longitudinal chromatic aberration (LoCA) that I was anxious to see how sharp it was. Since it was a nice day, and I’d already spent most of it in what passes for my lab, I decided to put off quantitative testing for another day, and see how the lens performed in my informal landscape test. I usually pick something for comparison in these tests, so I mounted a Nikon 24-70 mm f/2.8 G ED on a D850, and set off, listing a bit because of the unequal weight. I plunked a set of heavy-duty RRS legs down, with an Arca-Swiss C1 on top, set the lenses to 35 mm, and clipped them in serially. I used manual focus at each stop for the D850, and just wide open for the Z7, since the Nikkor S has so little focus shift. I made five sets of captures for each camera at f/4, f/5.6, f/8, and f/11, and picked the set for each camera with the best f/4 center sharpness. Subject distance to the trees in the center of the image was 47 meters.
I tried to use Lightroom to develop the images, but the Nikkor G images looked sharpened. That was a head scratcher, since Lr didn’t employ a non-defeatable lens correction profile for them, like it did for the Nikkor S. In search of a way to level the playing field, I developed the images in Raw Therapee, with the Neutral profile, then added a bit of saturation so that the images didn’t look so flat. There is no sharpening at all with these images, so the crops are going to look even worse that usual.
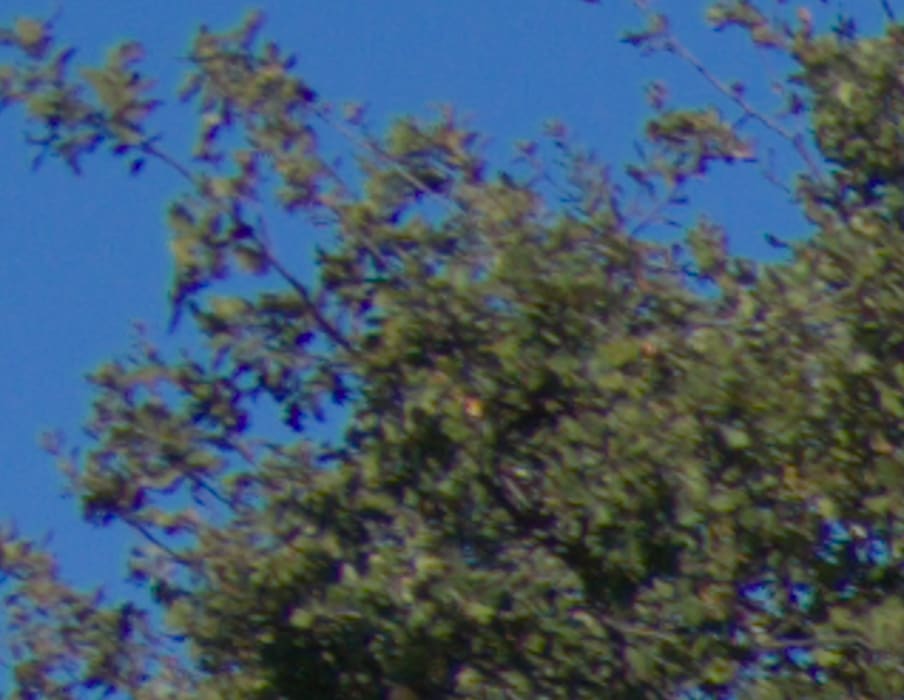
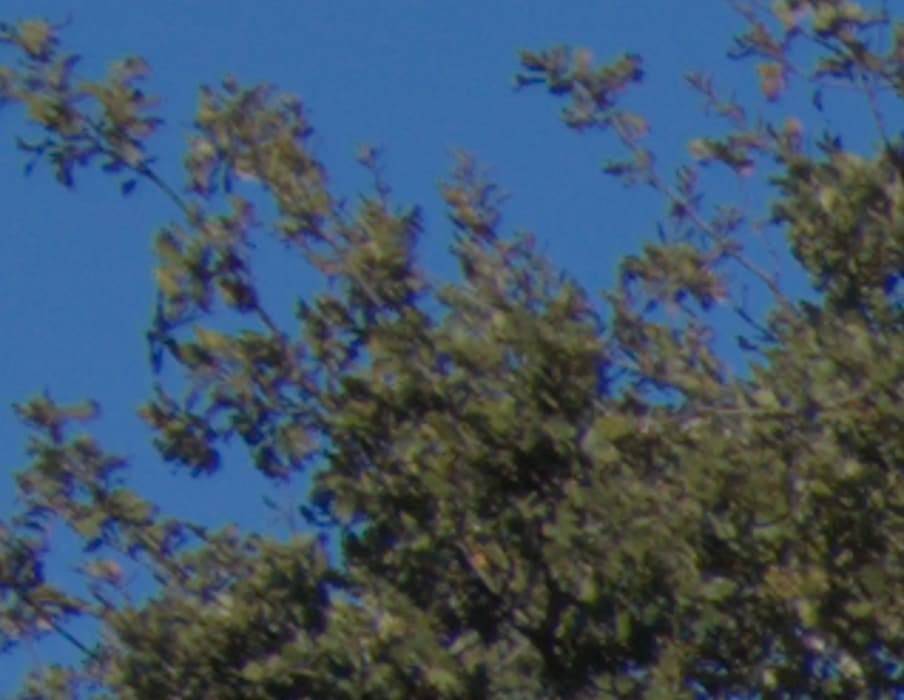
Here’s the scene at f/4 with both setups.
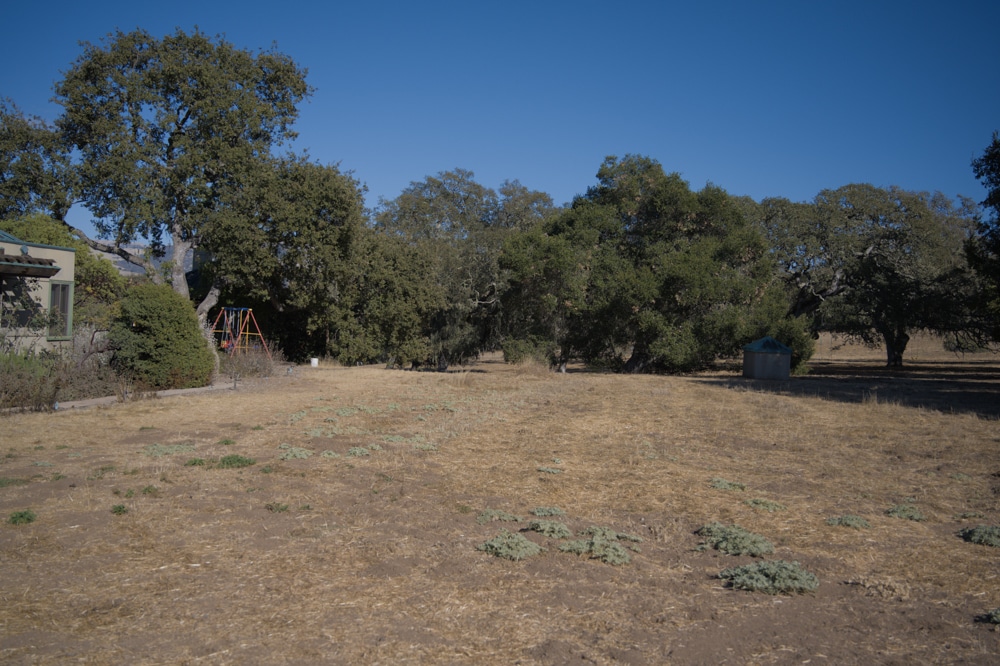
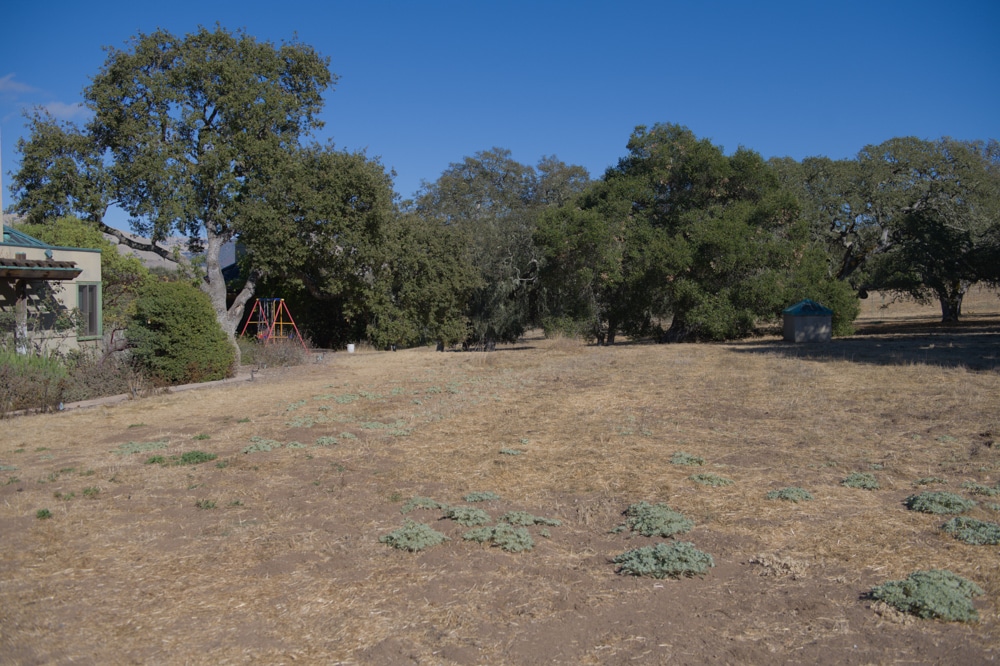
You’ll note that the S lens vignettes a bit more than the G. I verified that to be the case by examining the raw files. I am frankly surprised that the smaller, built-to-a-price, Nikkor S performs as well as it does in that regard. The colors are quite different between the two images. Is that because of a difference in the Adobe Color Profile, or a difference in the color filter arrays in the two cameras. I’ll want to look at that in the future.
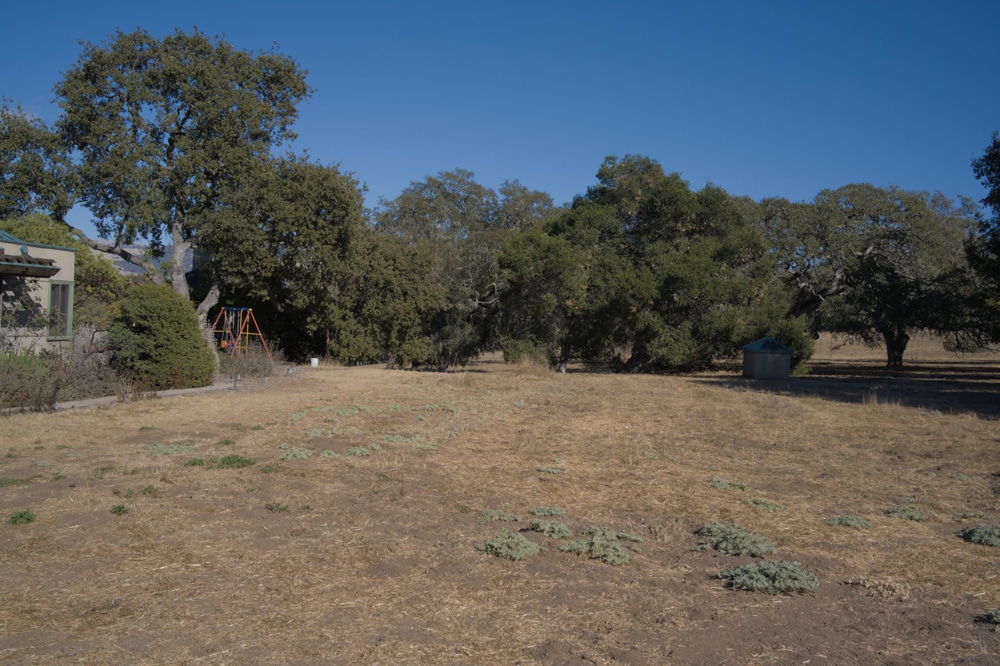
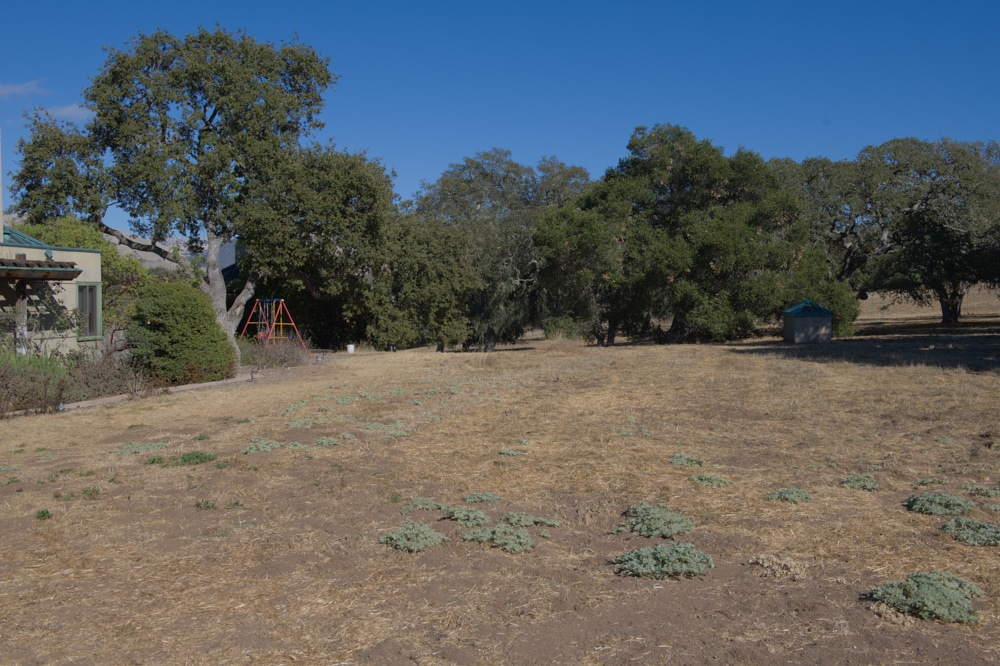
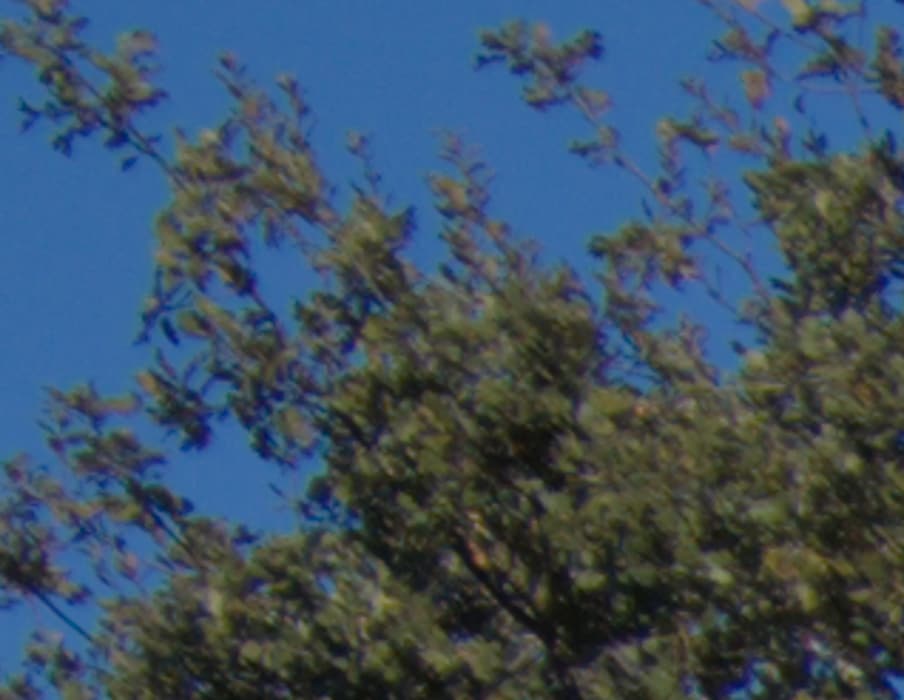
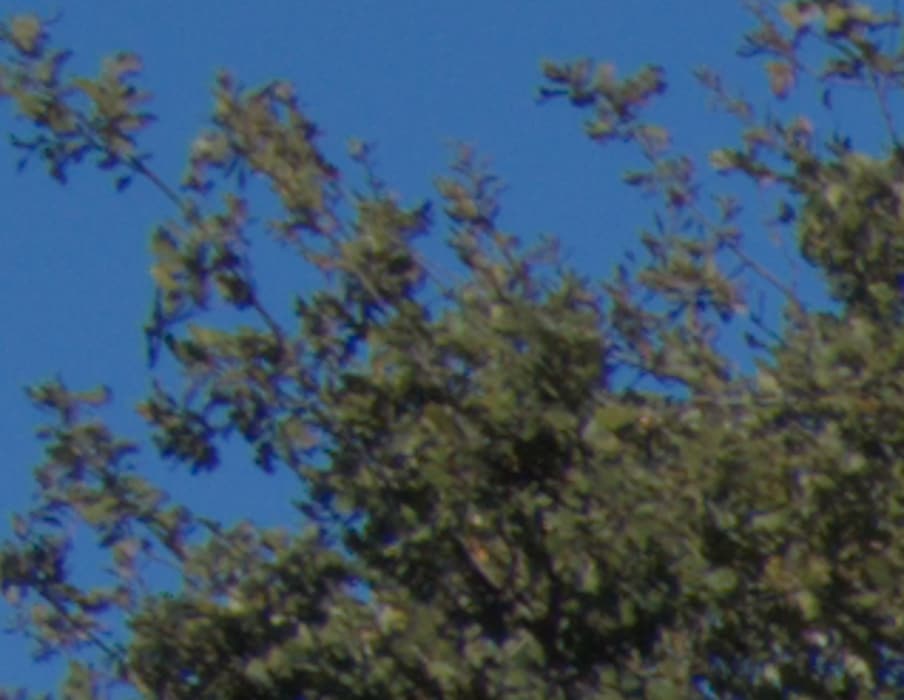
Stopped down to f/11:
Now I’m going to show you some highly magnified crops. If you’ve seen these here before, just jump to the images. If not, I need to spend some time telling you how to interpret them. They’re at roughly 250% magnification, enlarged to 700 pixels high on export from Lightroom. If you just want a rough idea of the differences, just look at the images as displayed in-line in the posts. However, if you wish to compare these images in detail, you should view these images by clicking on them to see the source files, then set your browser for 100% zooming. Even better, download them and make Photoshop stacks.
No matter what you do, these crops are all going to look horrible. I’m blowing them up so much so that they will represent the original file after JPEG’s discrete cosine transform has had its way with them. If you want to get a good idea of what the images would look like printed, get far away from your monitor. No, farther than that. Put a bunch of the images up on the screen and back up until the best one starts to look good. Then look at the others.
Here’s how to use these highly-magnified crops. The dimensions of the Z7 and D850 sensors are 8256×5504 pixels. If we make a full-frame print from the GFX on a printer with 360 pixels per inch native driver-level resolution, like the Epson inkjet printers, we’ll end up with a 23×15 inch (58×39 cm) print. The 318×246 pixel crop you’re looking at will end up 0.8333×0.6833 inches (2.12×1.74 cm). Let’s imagine that you or your viewers are critical, and will look at the 22×15 inch print from about 18 inches (conventional wisdom is that the distance would be a little greater than that, or 28 inches (the diagonal), but you did buy a high-resolution camera for a reason, didn’t you?).
The next step is dependent on your monitor pitch, which you may or may not know. Turns out, you don’t have to know it. Just take the 253% crops and view then at 1:1. How high are they? Get out your ruler and measure, or just guess. Let’s say they are 6 inches high. 6 inches is about 7 times 0.8333, so in order to view the crops the way they’d look from 18 inches on the print is to view them from 7 times as far away, or 10.5 feet.
Everything here scales proportionately. If the image on your screen is bigger than 6 inches, increase your viewing distance by the ratio of your image height to 6 inches. If you think your viewers are going to almost get their nose to that print and look at it from six inches, divide that 10.5 feet by 3, and look at the image on the monitor from three and a half feet away.
I’ve prepared a little table:
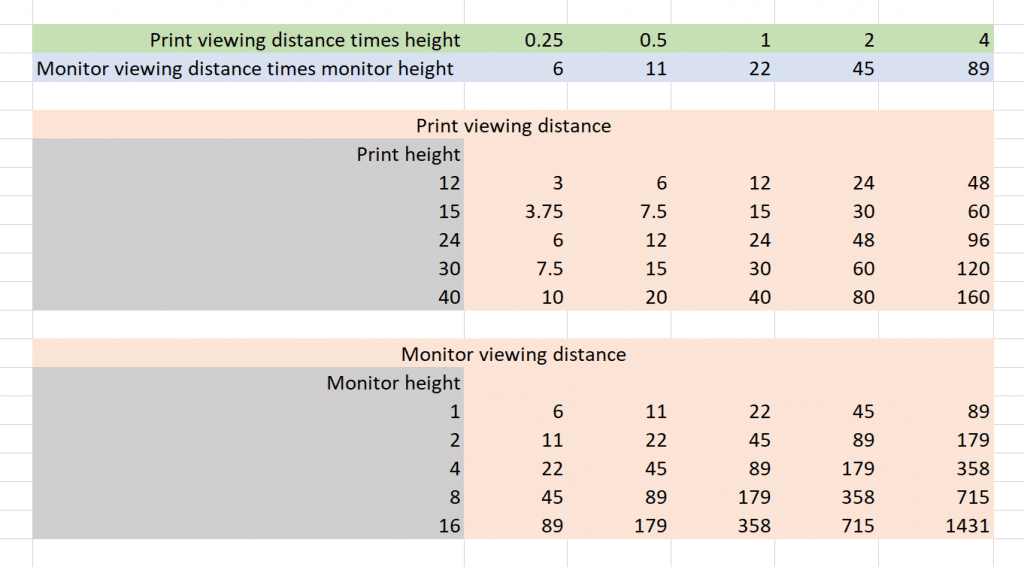
It’s all based on ratios, so you can use whatever unit you please: inches, centimeters, heck, if you’re going to make billboards, even meters. I’ve calculated viewing distances based on five ratios to the image height: quarter, half, same as image height, double, and quadruple. If you view the print at its image height, you’ll want to view the image on the monitor at 22 times its height. If you view the print at half its image height, you’ll want to view the image on the monitor at 11 times its height. From that distance, the image on the monitor is going to appear small, but remember, we’re only looking at 1/22 of the height of the whole print.
The next two blocks in the table above are merely examples for viewing the print (top) and the image on the monitor (bottom). As long as you measure the print height and monitor height in the same units as the distance, you can use any units that please you.
This procedure elides the diminution in sharpness caused by the printer’s halftoning and the spread of ink on the paper, but it should get you close.
The first set of images are center crops.
They look about the same. The Nikkor G is a hair sharper, but it’s not material.
Basically the same.
That’s true for f/8 and f/11, too:
Significant diffraction at f/11.
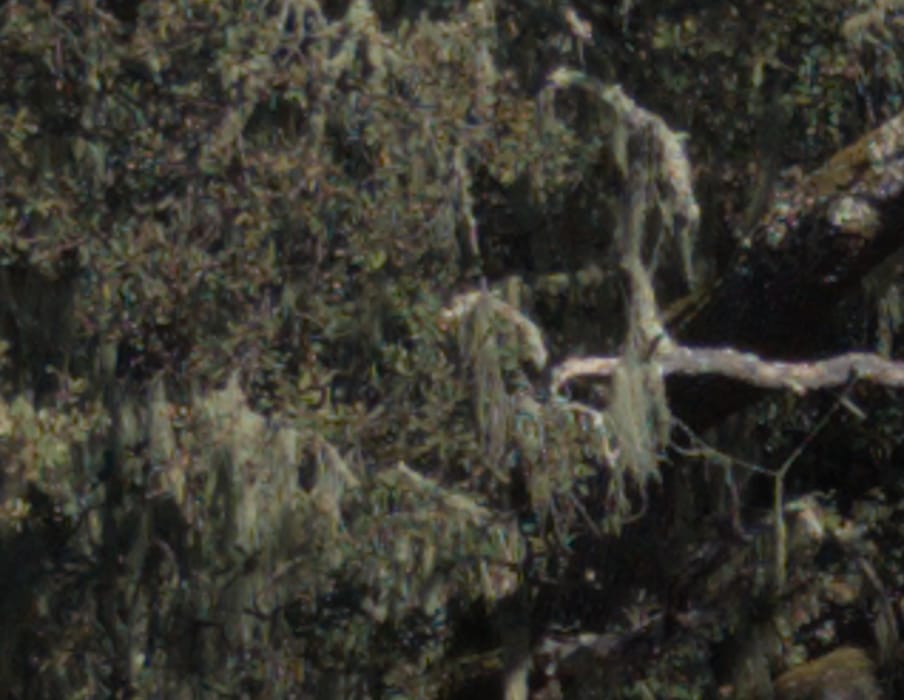
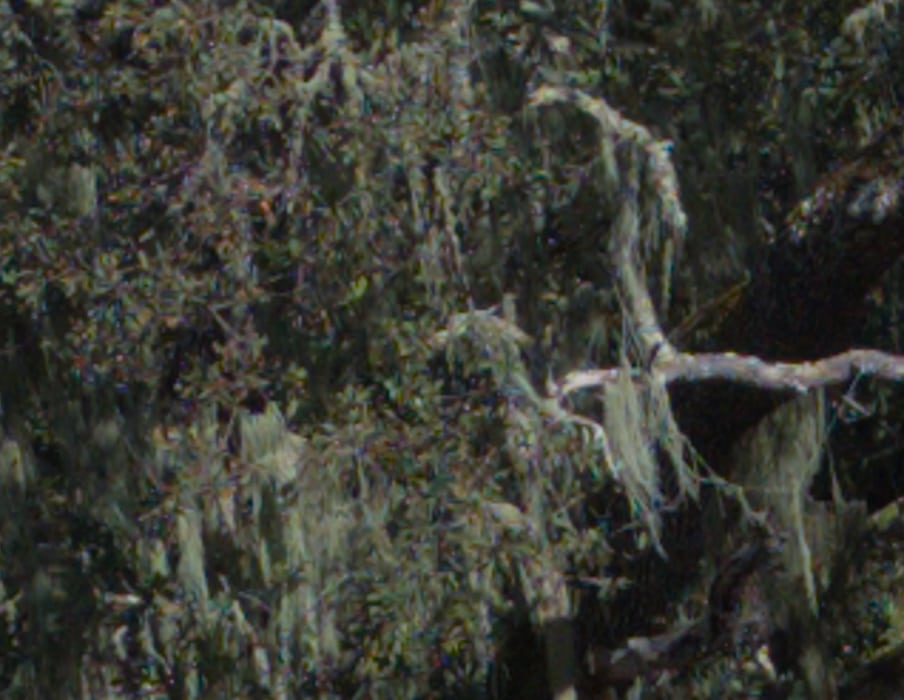
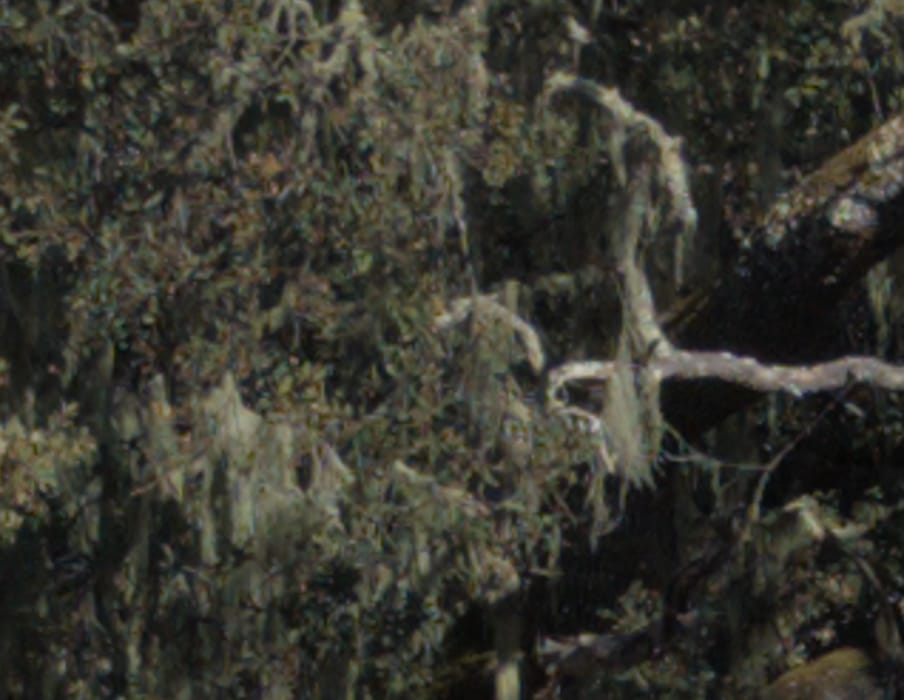
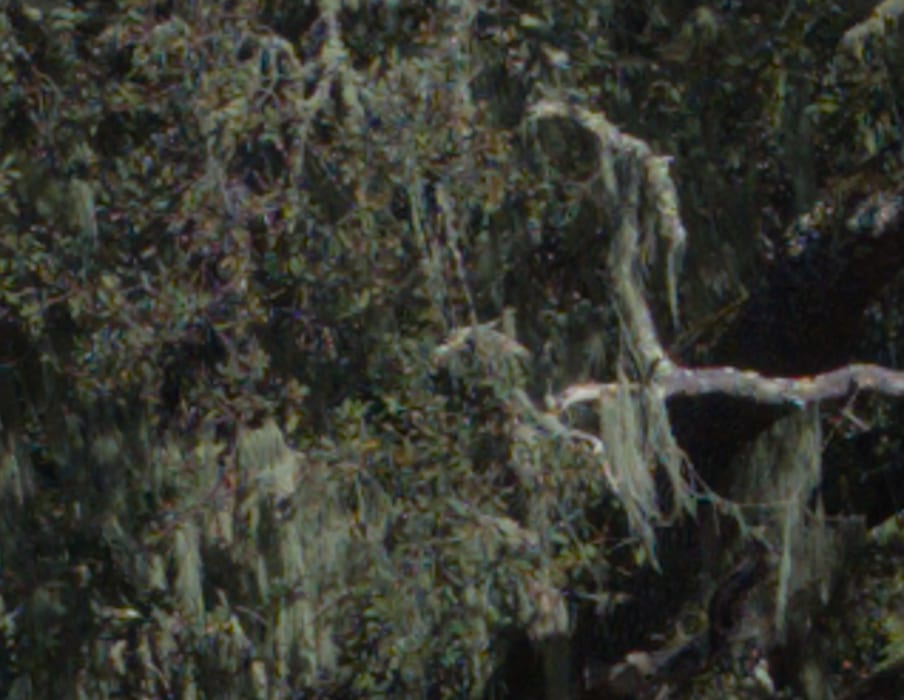
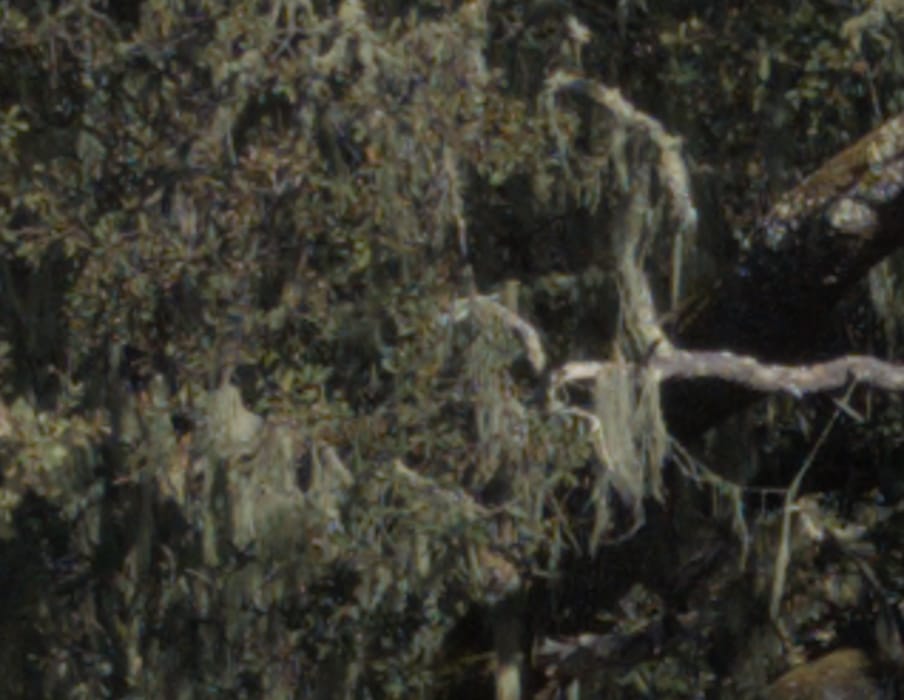
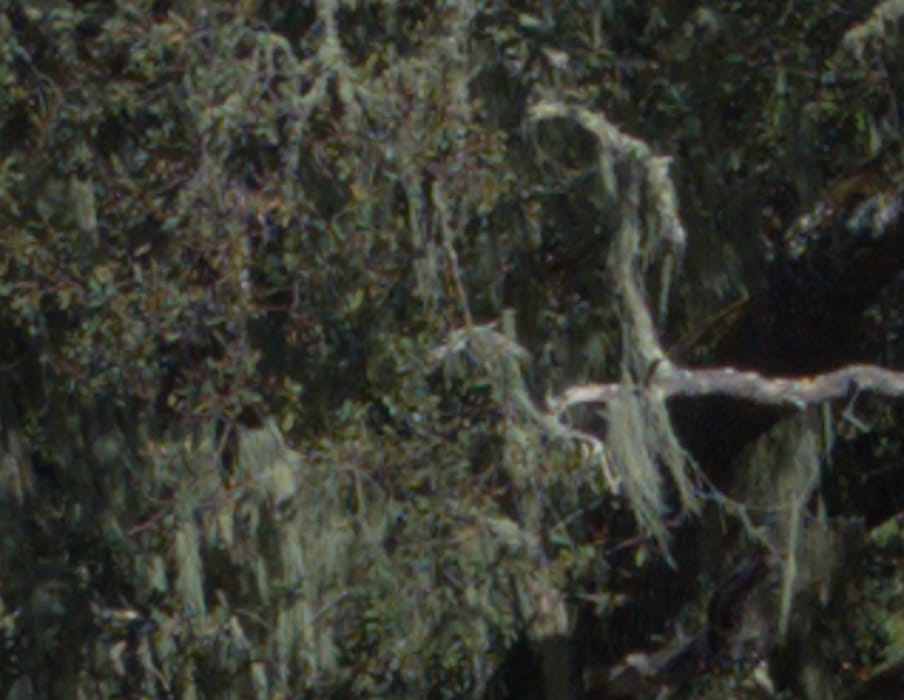
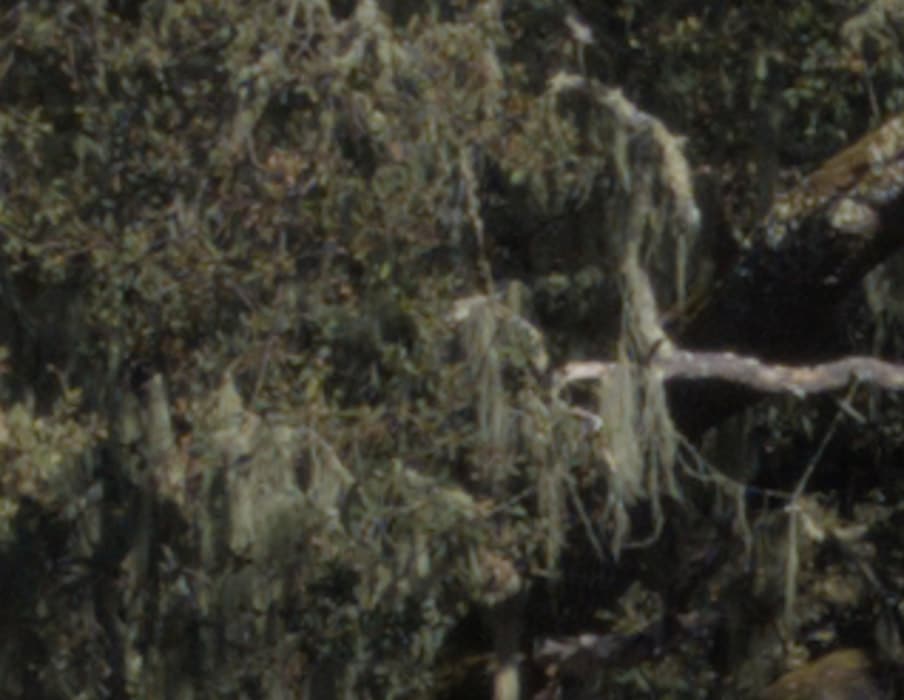
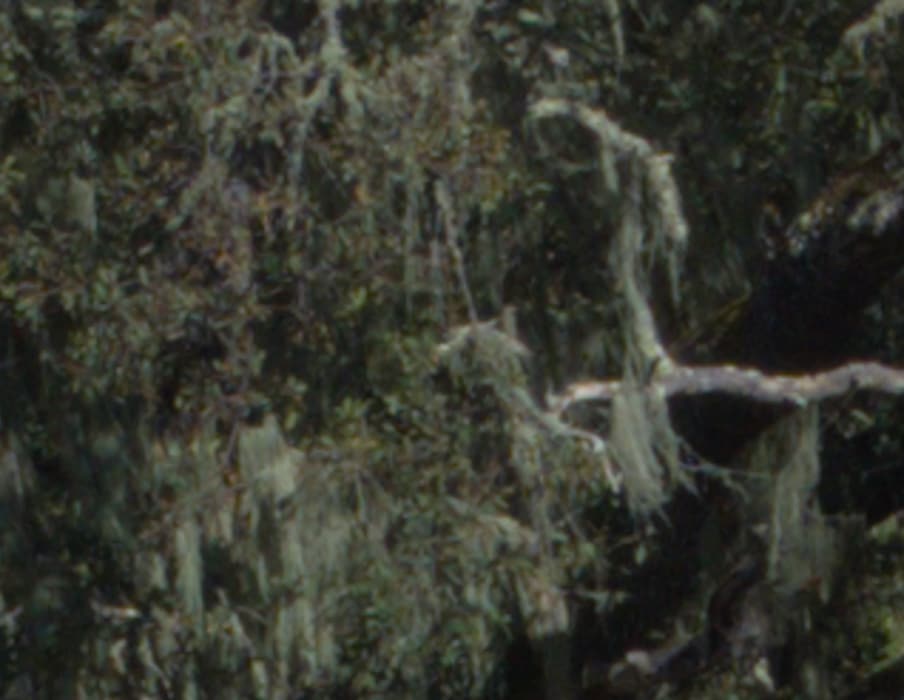
Now we’ll take a look at the upper left corner.

The Nikkor S isn’t quite as sharp, but it has less purple fringing, and less of that green aura, which looks to me like laterial chromatic aberration (LaCA).


These lenses are very close in performance. While not quite as sharp as the G lens, the Nikkor S is better corrected in the corners. The street price of the S is about a kilobuck. The Nikkor G goes for $1800, and is considerably larger. Of course, it’s a stop faster.
Hi Jim,
What is the correct abbreviation of kilobuck? is it kB , kb or possibly kib.
Best regards
Erik
Ps. There is a related a related question, bang for the buck.
I think it ought to be K$.
The disappointing thing isn’t the cameras or obviously the sensors, but the LENSES, especially at the edge. This is what always (except with the very best glass) strikes me when I go from good m4/3rds lenses that are sharp to the edge by f/4.0 to FF glass. Most of the time it’s a let-down. For sheer resolution, even a modest lens on a 45mp camera will resolve detail, but it’s soft and not attractive.
Late to the thread but…
I am with you on this …. I have the Olympus em1 III mated to zuiko 1.2 45 mm and corners are as sharp as center…..frustrated with my D850 mated to nikkor 24-70 E ED VR I find my self opting for the Oly, my Zuiko at 1.2 is mind blowing with sharpness, I am mindful of in body stabilization on Oly but Zuiko does not have IS, so that offsets the other combo where my nikkor has VR and D850 lacks IS.
I do not think the nikkor 24-70 resolves the mega pixel sensor on D850 while my nikkor 70-200 does it brilliantly.
I mated the same lens 24-70 to Z6II at a local camera store and I was blown by the sharpness, ( my lens is fine tuned , on Z6II IS was on and lens’s VR off)
” I used manual focus at each stop for the D850, and just wide open for the Z7, since the Nikkor S has so little focus shift.”
What does “wide open” have to do with manual focus or focus shift?
If there’s no focus shift as you stop the lens down, then you can safely focus the lens at its widest aperture, or “wide open”. If there is sufficient spherical aberration that the plane of focus shifts materially as you stop down, then you should focus near the taking aperture.