the last word

Photography meets digital computer technology. Photography wins -- most of the time.

  • site home
  • blog home
  • galleries
  • contact
  • underwater
  • the bleeding edge
You are here: Home / Technical / Resampling for printing — basic alternatives

Resampling for printing — basic alternatives

January 31, 2011 JimK 1 Comment

After a couple of false starts, I created the following test image for resampling tests:
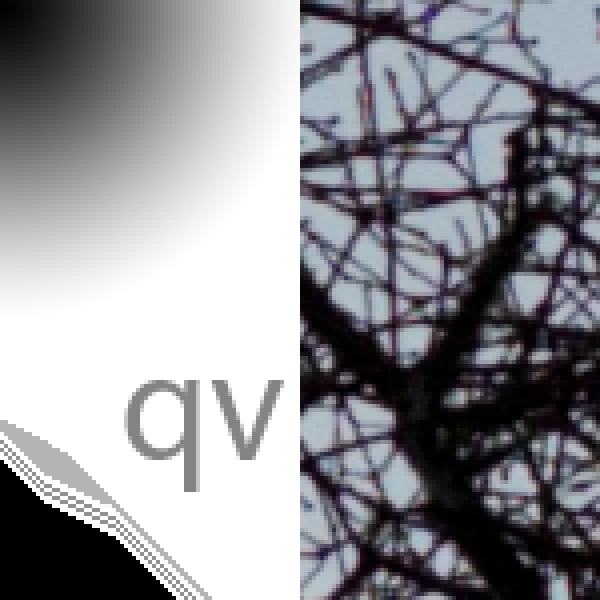
resamplingtgt

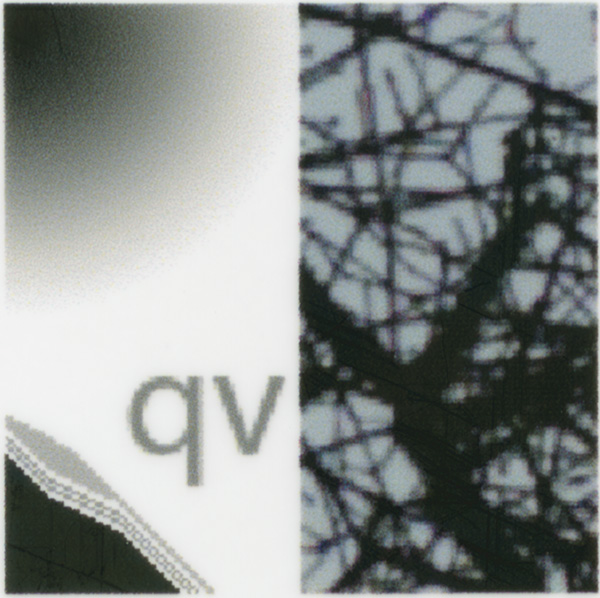
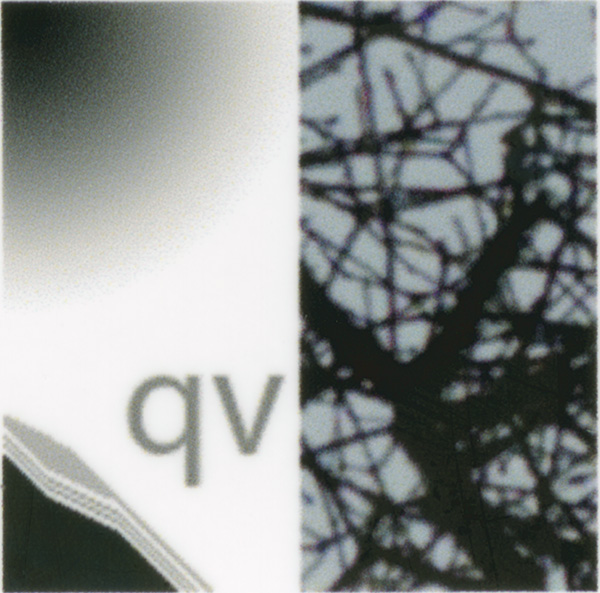
The test image has a smooth gradient in the upper left corner, a series of lines at two tones and two angles in the lower left corner, two characters of Zone V antialiased text, and a crop from an actual Nikon D3s photograph at full resolution, with no sharpening applied. This test image is 150×150 pixels, and I set the pixel pitch as 240 ppi. The image you’re looking at has been scaled to 600×600 using nearest neighbor, so you can see the actual pixels. I can explain why nearest neighbor is appropriate in this particular situation, in spite of its problems in most situations, if anybody wants to know, but it’s kind of complicated and I’ll leave it out for now.

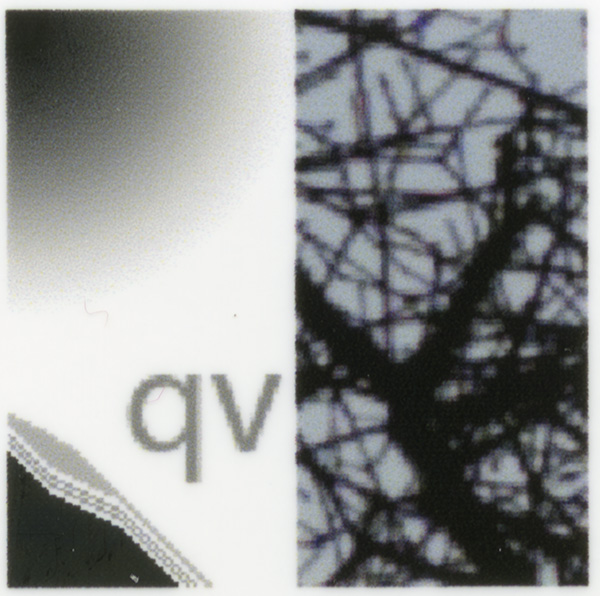
If you just take that image and sent it off to the 3880 with the driver set for 1440/720 dpi, color, microweave on, high speed off, and print the image on Epson Premium Glossy, it looks like this:

res240to360printer

There are extra, irregular, steps inserted in the lines. The text has acquired jaggies. The gradient is a little noisy. The photograph looks blocky.

Before I go on, I’d like to confess something. This is the second crack I’ve made at this post. In the first attempt, the text in all the Photoshop-resampled images looked the same, and it looked great. After I had finished writing the image descriptions, it dawned on me that, since the text was in its own layer, Photoshop was rerasterizing it every time I resampled. Doh! I flattened the image for the tests that follow.

I resampled the test image to 360 ppi in Photoshop using nearest neighbor, and got this:

240-360nn

The lines look similar to the print resampled by the printer driver. The text is very close. The gradient is similar. The photograph looks similar, but there are minor differences. It’s six of one, half a dozen of the other.

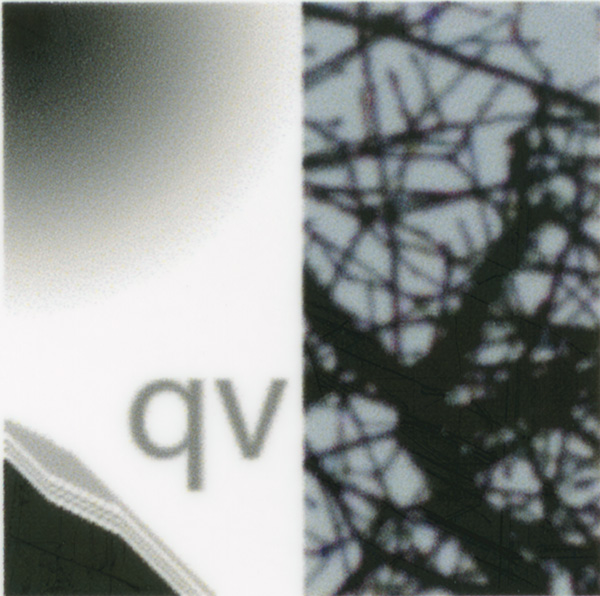
Moving right along, I tried resampling using bilinear.

240-360bilin

The lines are much improved. The gradient is smoother. The text is smoother, but soft. The tree branches aren’t blocky, but they’re fuzzy.

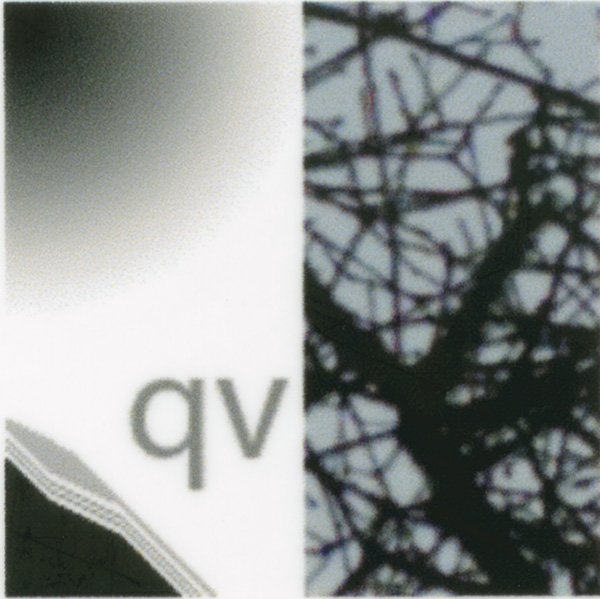
Bicubic interpolation produces the following:

240-360bicubic

The lines are better. The text is sharper than bilinear. The gradient is about the same. The tree branches aren’t as fuzzy.

Bicubic smoother produces the following:

240-360bicubicsmooth

It’s a close call between bicubic smoother and plain vanilla bicubic.

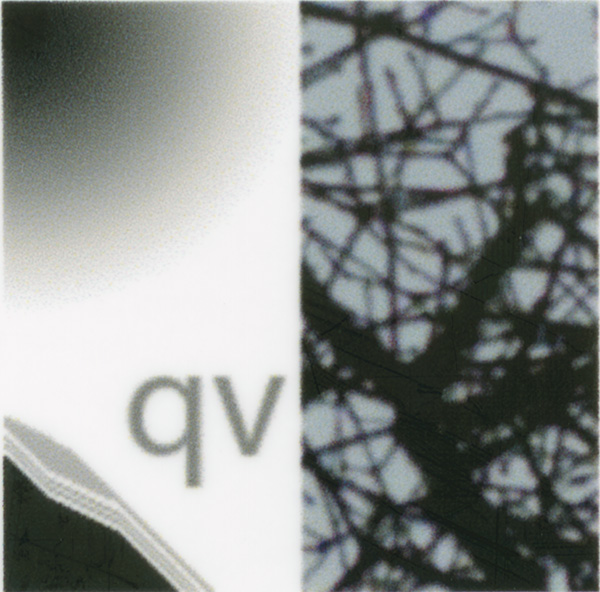
Bicubic sharper looks like this:

230-360bicubicsharp

I find the sharpening a bit annoying, but it’s a matter of taste. If you’re trying to compensate for the printer’s lack of sharpness, you can’t do much at 1440/720 dpi, since the rolloff really starts setting in above 360 ppi.

Conclusion: for best results, you really need to resample your images before you send them to the printer. If you print on Epson printers at 1440/720, resample to 360 ppi using bicubic or bicubic smoother. If you print on Epson printers using 2880/1440, you should ask yourself why, since there’s not much sharpness to be gained at the highest resolution; the printer produces a uniform gray when fed alternating white and dark one-pixel bars. If you go ahead and use the high-res setting, you shoud resample to 720 ppi before sending the file to the printer.

There are other ways to resample than using Photoshop. I’ll get to some of them.
Technical, The Bleeding Edge

← Inkjet printing on Epson, part 4 Resampling for printing in Lightroom →

Trackbacks

  1. Resampling for printing, revisited | The Last Word says:
    June 21, 2011 at 4:27 pm

    […] use the same test target as before; you can see it here. The basic testing operation is to take the image, resize it without resampling to some pixel pitch […]

    Reply

Leave a Reply Cancel reply

Your email address will not be published. Required fields are marked *

March 2023
S M T W T F S
 1234
567891011
12131415161718
19202122232425
262728293031  
« Jan    

Articles

  • About
    • Patents and papers about color
    • Who am I?
  • Good 35-70 MF lens
  • How to…
    • Backing up photographic images
    • How to change email providers
  • Lens screening testing
    • Equipment and Software
    • Examples
      • Bad and OK 200-600 at 600
      • Excellent 180-400 zoom
      • Fair 14-30mm zoom
      • Good 100-200 mm MF zoom
      • Good 100-400 zoom
      • Good 100mm lens on P1 P45+
      • Good 120mm MF lens
      • Good 18mm FF lens
      • Good 24-105 mm FF lens
      • Good 24-70 FF zoom
      • Good 35 mm FF lens
      • Good 60 mm lens on IQ3-100
      • Good 63 mm MF lens
      • Good 65 mm FF lens
      • Good 85 mm FF lens
      • Good and bad 25mm FF lenses
      • Good zoom at 24 mm
      • Marginal 18mm lens
      • Marginal 35mm FF lens
      • Mildly problematic 55 mm FF lens
      • OK 16-35mm zoom
      • OK 60mm lens on P1 P45+
      • OK Sony 600mm f/4
      • Pretty good 16-35 FF zoom
      • Pretty good 90mm FF lens
      • Problematic 400 mm FF lens
      • Tilted 20 mm f/1.8 FF lens
      • Tilted 30 mm MF lens
      • Tilted 50 mm FF lens
      • Two 15mm FF lenses
    • Found a problem – now what?
    • Goals for this test
    • Minimum target distances
      • MFT
      • APS-C
      • Full frame
      • Small medium format
    • Printable Siemens Star targets
    • Target size on sensor
      • MFT
      • APS-C
      • Full frame
      • Small medium format
    • Test instructions — postproduction
    • Test instructions — reading the images
    • Test instructions – capture
    • Theory of the test
    • What’s wrong with conventional lens screening?
  • Previsualization heresy
  • Privacy Policy
  • Recommended photographic web sites
  • Using in-camera histograms for ETTR
    • Acknowledgments
    • Why ETTR?
    • Normal in-camera histograms
    • Image processing for in-camera histograms
    • Making the in-camera histogram closely represent the raw histogram
    • Shortcuts to UniWB
    • Preparing for monitor-based UniWB
    • A one-step UniWB procedure
    • The math behind the one-step method
    • Iteration using Newton’s Method

Category List

Recent Comments

  • JimK on Fujifilm GFX 100S pixel shift, visuals
  • Sarmed Mirza on Fujifilm GFX 100S pixel shift, visuals
  • lancej on Two ways to improve the Q2 handling
  • JimK on Sony 135 STF on GFX-50R, sharpness
  • K on Sony 135 STF on GFX-50R, sharpness
  • Mal Paso on Christmas tree light bokeh with the XCD 38V on the X2D
  • Sebastian on More on tilted adapters
  • JimK on On microlens size in the GFX 100 and GFX 50R/S
  • Kyle Krug on On microlens size in the GFX 100 and GFX 50R/S
  • JimK on Hasselblad X2D electronic shutter scan time

Archives

Copyright © 2023 · Daily Dish Pro On Genesis Framework · WordPress · Log in

Unless otherwise noted, all images copyright Jim Kasson.