This is the 72nd in a series of posts on the Fujifilm GFX-50S. The series starts here.
I’ve tested the Fuji 110 mm f/2 G lens and the 120 mm f/4 G macro lens on the GFX before. They are both great lenses. I’ve had several requests to test them head-to-head for a distant subject. I can understand why that test might prove useful to someone primarily interested in landscapes who might do studio work or macro shooting on the side, and doesn’t want to spring for both lenses, so here goes.
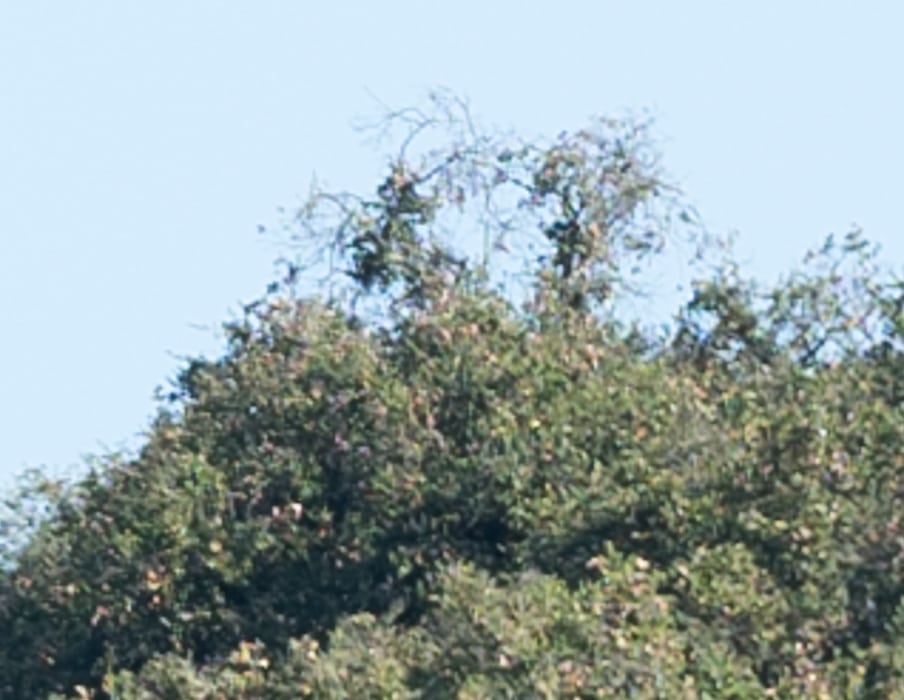
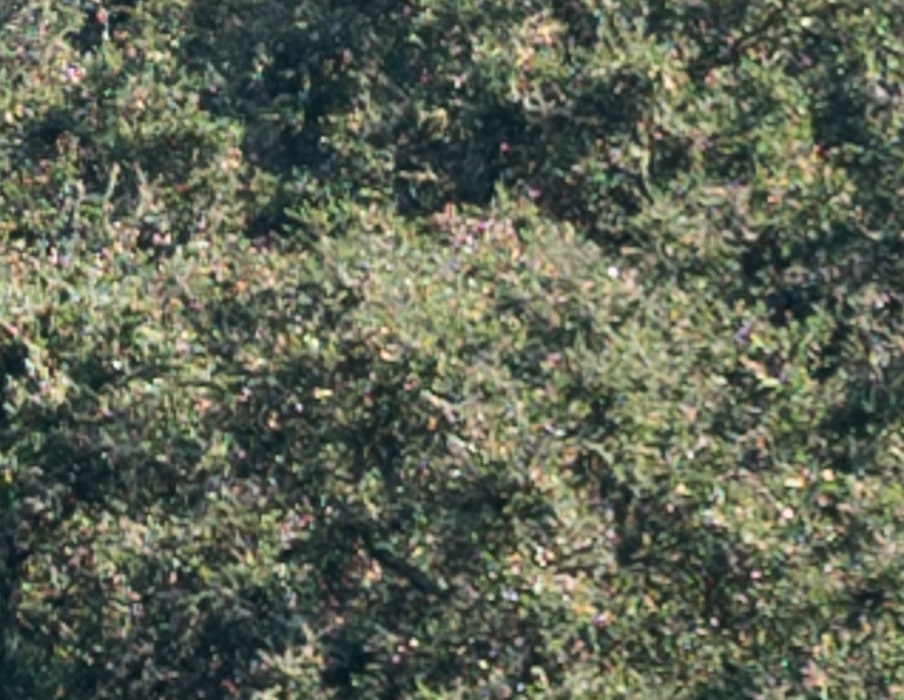
The scene, wide open with the 120 and at f/4 with the 110:
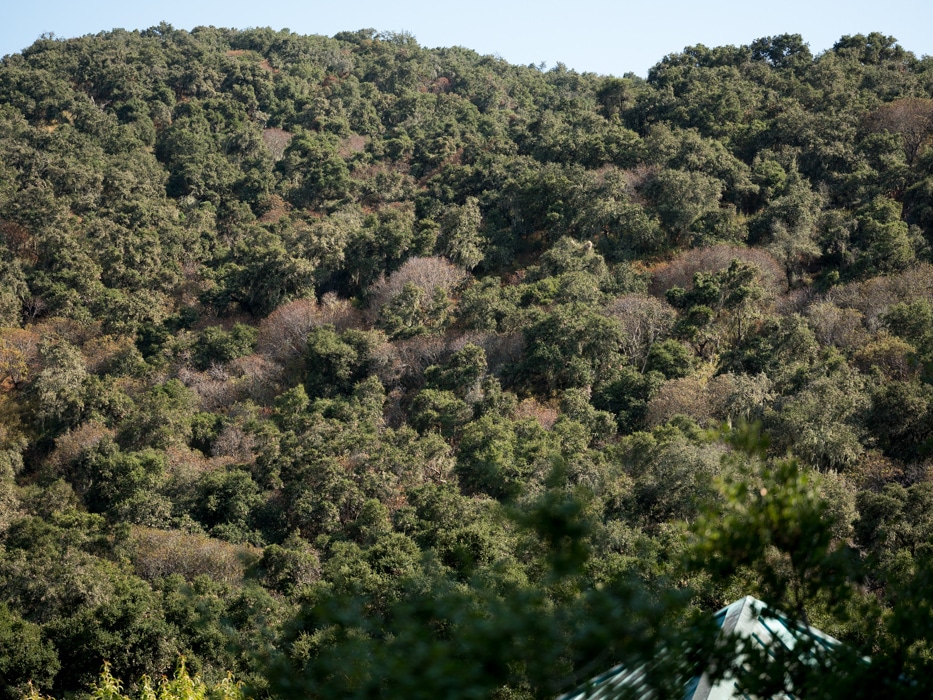
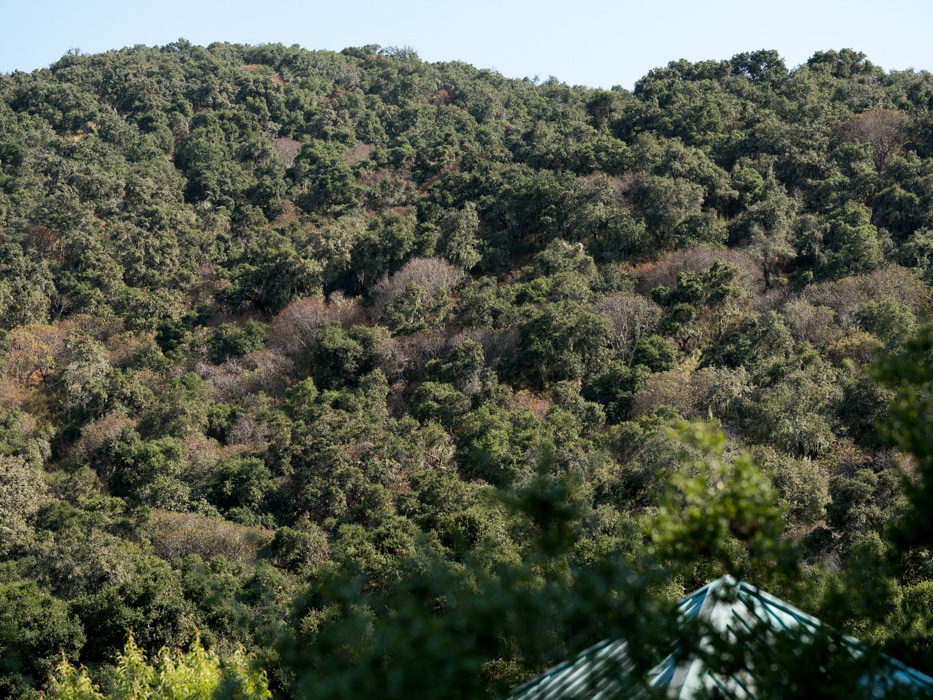
Because it was windy, I picked a more distant subject than usual. My focus point, slightly above and to the right of the middle of the frame, was 300 meters away as measured with my Nikon rangefinder. The upper left corner was beyond the range of that instrument and was probably about 500 meters away. At those distances, the DOF is more than adequate.
ISO set to 100. Shutter set to EFCS, which meant it really was EFCS for the narrower apertures for the GFX. Exposure compensation set to 0, with a 1/3-stop pull in post. Manual focusing. Four shots at each setting, and I picked the best one. 2-second self-timer. Arca-Swiss C1 Cube on RRS sticks. All images were refocused at each aperture. I developed all the images in Lightroom with default settings, except for Exposure and setting white balance to Daylight. GFX firmware version was 1.11.
I exported tight crops from the developed images as 700-pixel-wide JPEGs. That means that the images are all heavily upsampled. The GFX images are 253% of their original size in both dimensions.
If you just want a rough idea of the differences, just look at the images as displayed in-line in the posts. However, if you wish to compare these images in detail, you should view these images by clicking on them to see the source files, then setting your browser for 100% zooming. Even better, download them and make Photoshop stacks.
No matter what you do, these crops are all going to look horrible. I’m blowing them up so much so that they will represent the original file after JPEG’s discrete cosine transform has had its way with them. If you want to get a good idea of what the images would look like printed, get far away from your monitor. No, farther than that. Put a bunch of the images up on the screen and back up until the best one starts to look good. Then look at the others. There’s another reason why these images won’t look like the best thing the camera/lens combination can deliver. They’re demosaiced with Lightroom. Lightroom is not awful, but for a particular image, there are usually better raw processors. I use Lr because it’s a de facto standard, because I know it well, and because it’s got good tools for dealing with groups of images.
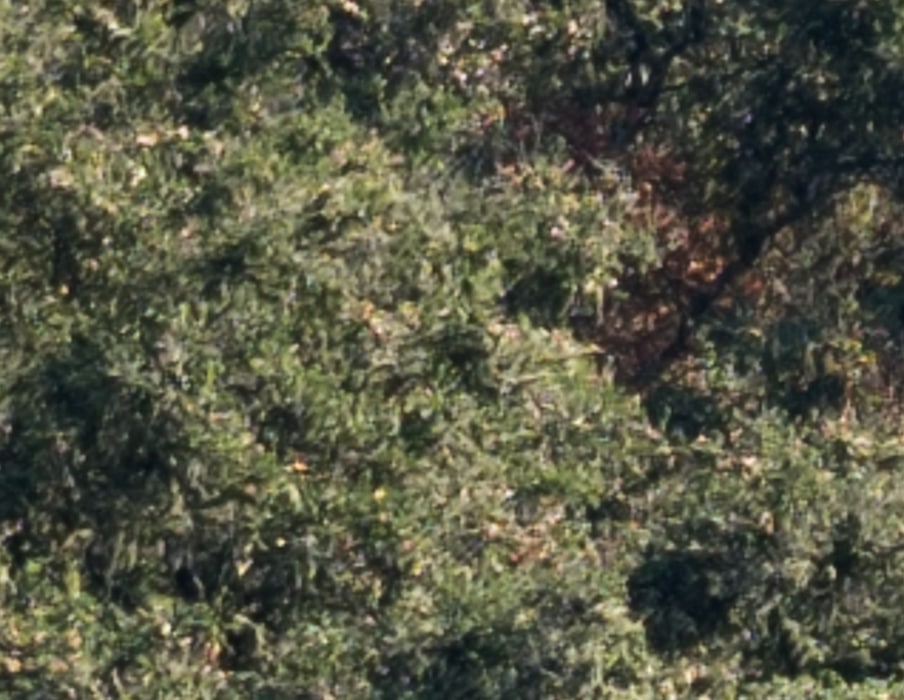
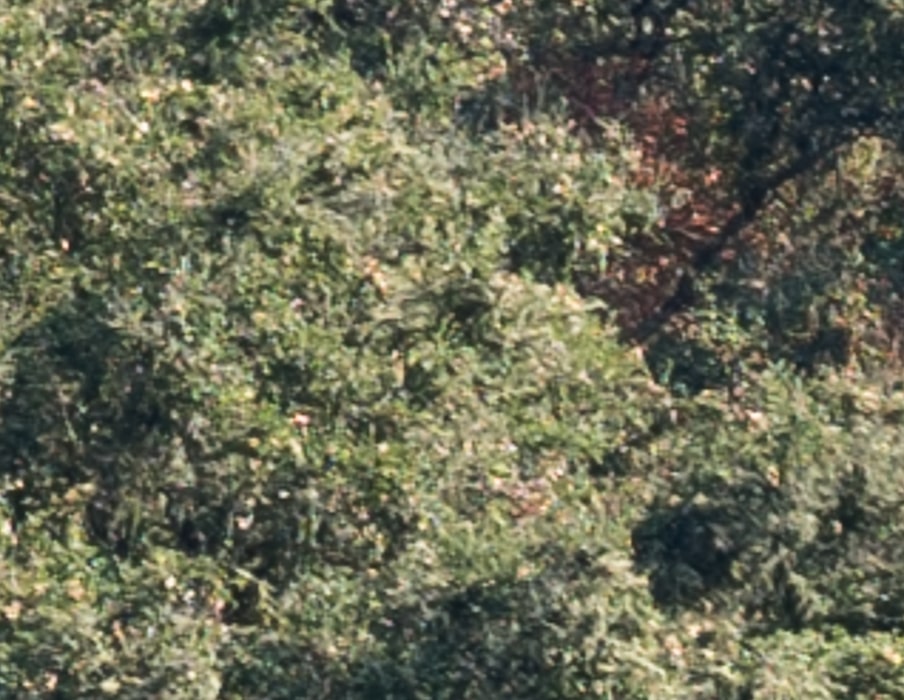
At the focus point:
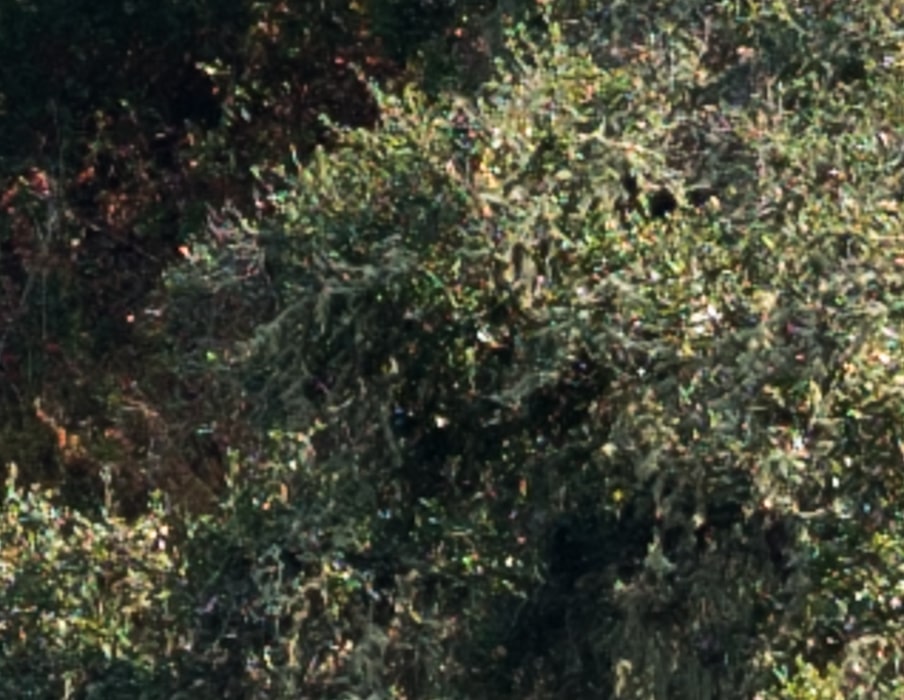

In neither case is the lens the main limiter of IQ. Maybe when we get to 100 MP sensors, we’ll see a significant difference, but not now.
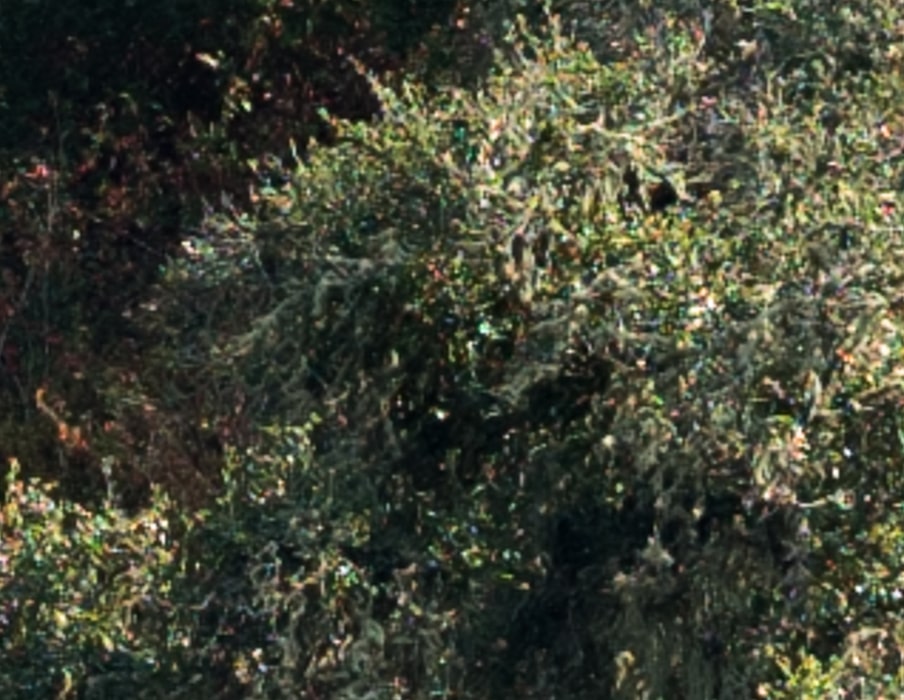
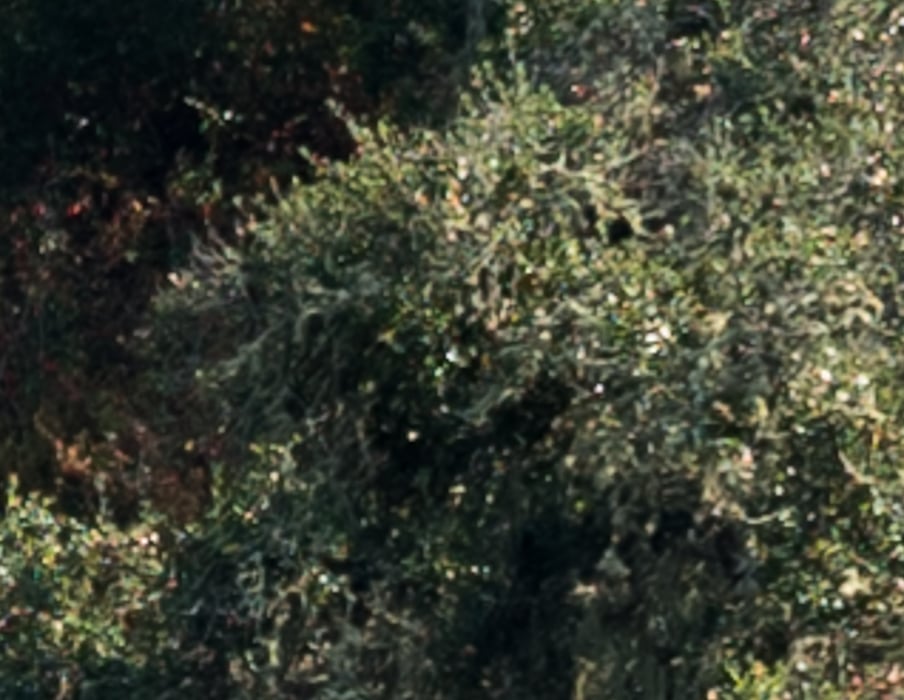


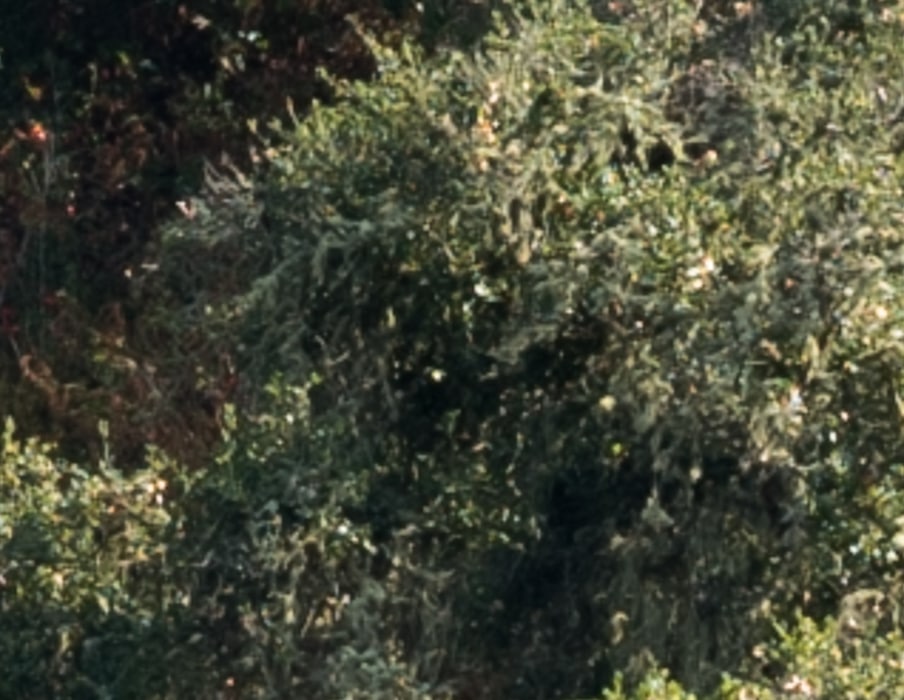

There is no winner here, or a loser, either.
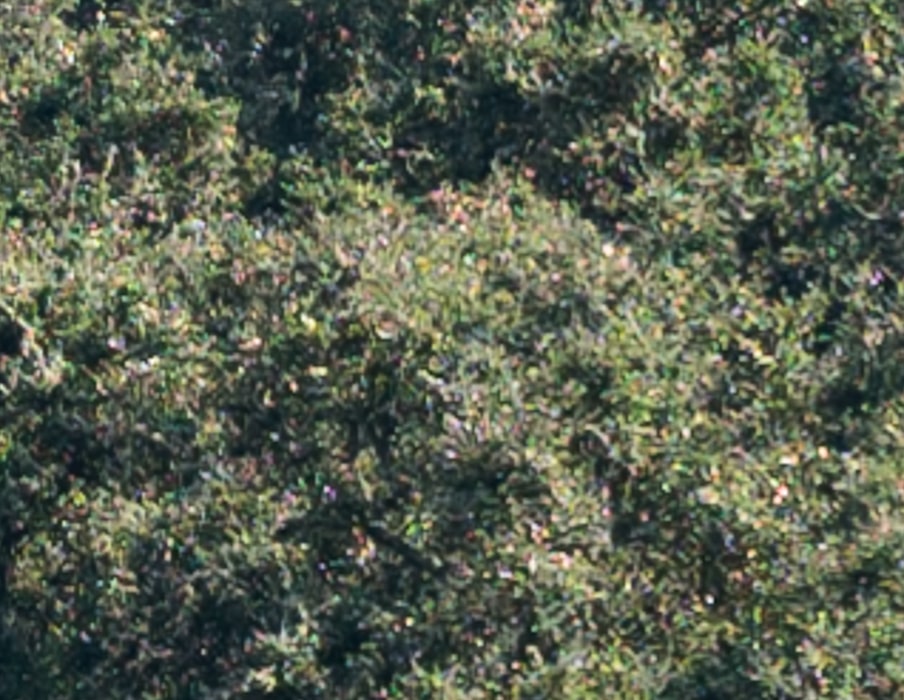
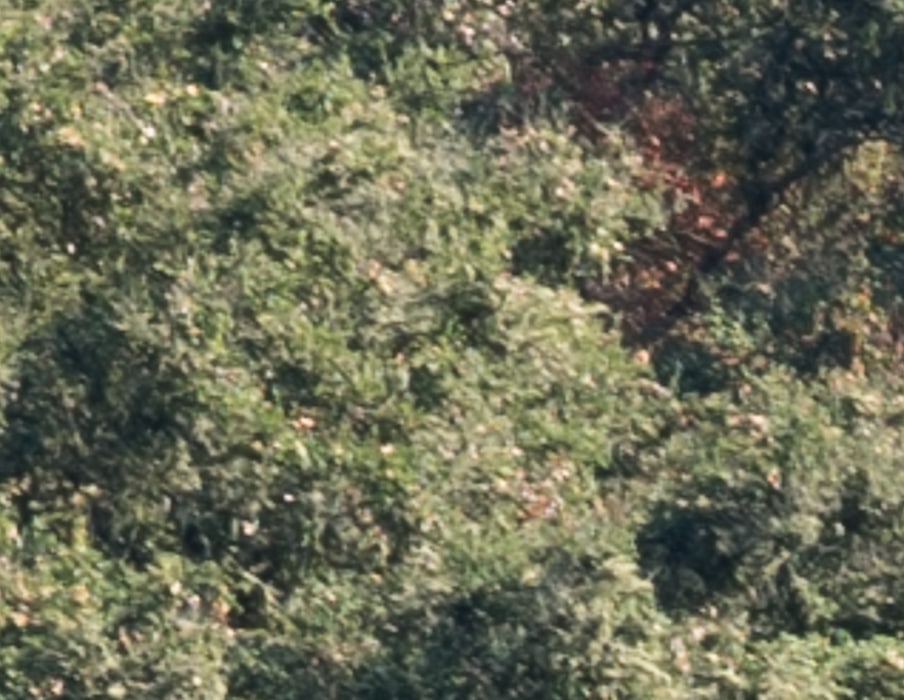
In the upper left corner, with the crop moved a bit so that the same part of the scene is in both sets of images:
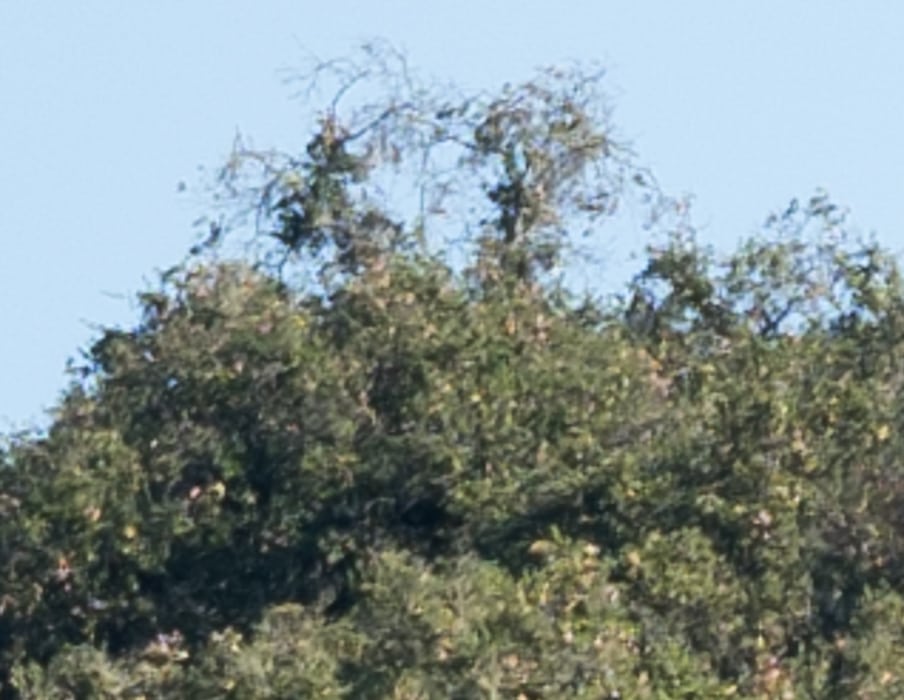

There is more falloff with the macro than with the 110. Both images are incredibly sharp, but the 110 is slightly sharper.


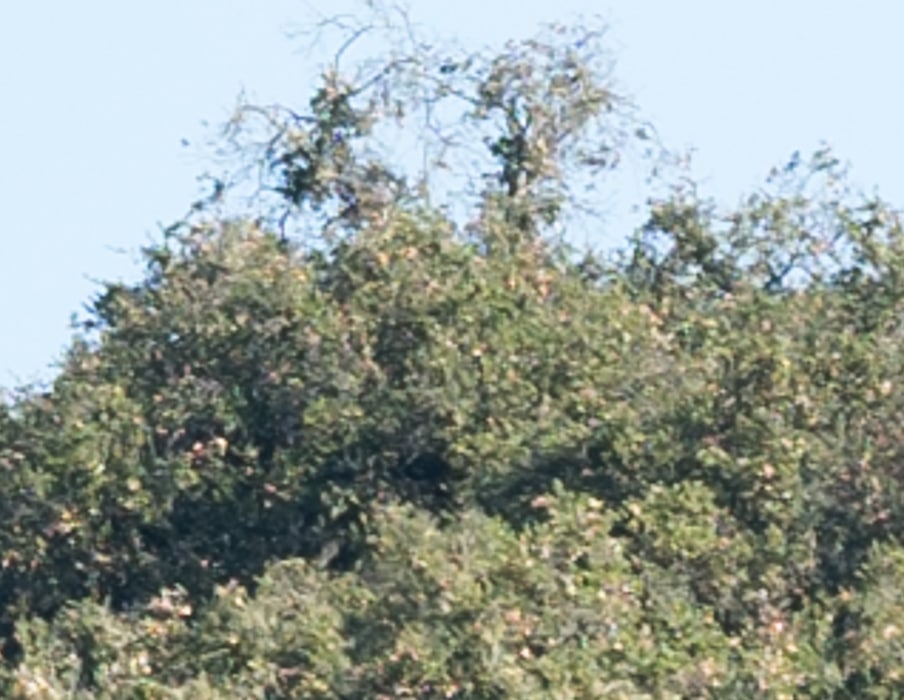
Now it’s a tie.


Well, I’m impressed.
Now we’ll look at the same place on the sensor in the upper left corner, although the field fo view of the two lenses is different, so the part of the scene that we’re observing will also perforce be different.
Now the difference is even less.
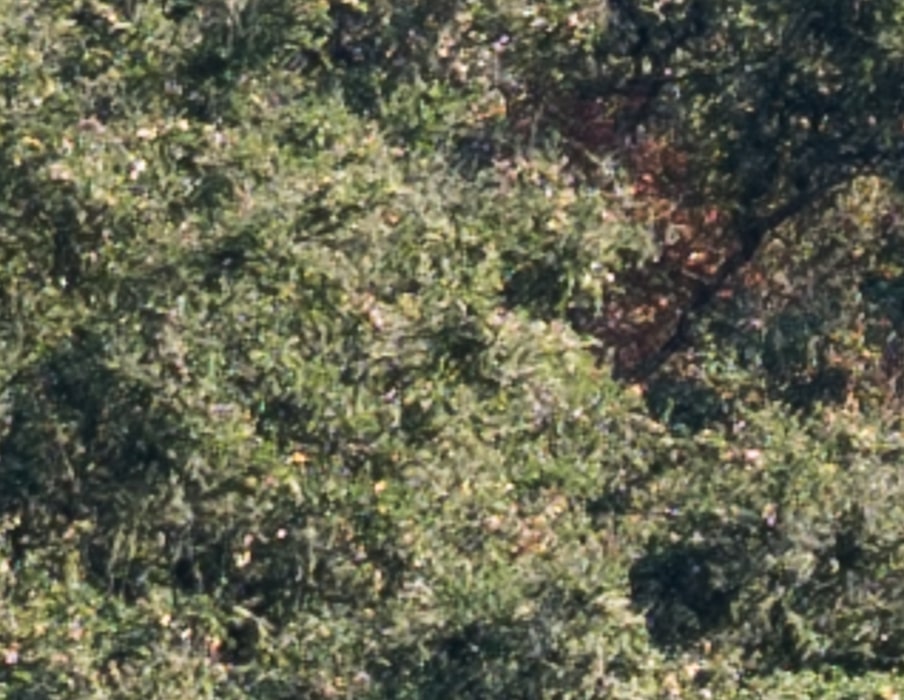

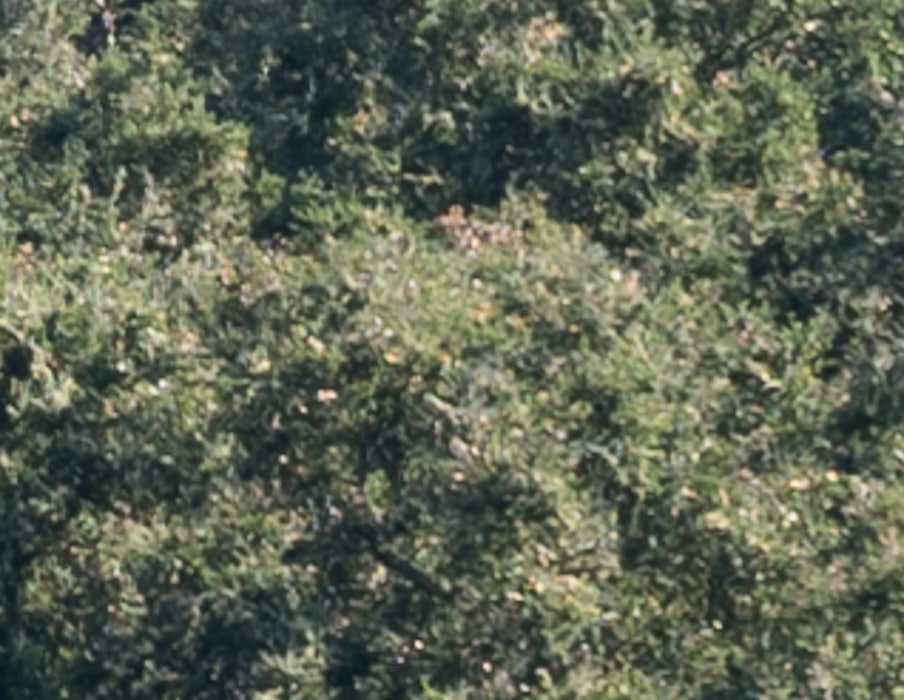
This is as close to a tie as I can remember seeing in my lens testing career.
Thank you Jim,
Both lenses are impressive , bokeh versus OIS may be a deciding factor.
Ed
i was going to ask how the bokeh differed between these two lenses
Hi Jim,
First, thanks for all the great information on your website, it was helpful in my decision making in recently purchasing a GFX (and the 23mm, 45mm, and 63mm lenses). I wanted to ask, one year on from the above article, if you could rate the 110 as a “close-up” lens when using one of the macro extension tubes (maybe you posted that somewhere already)? I’m trying to decide on which of the lenses above would work best as an all-round short telephoto lens for landscape, portraiture, and close-up photography (I don’t necessarily need 1:1 or 1:2, but I do occasionally like to get close) . Thanks for any advice you can provide.
Jon
Since I have the 120 macro, I’ve not tried the 110 with tubes. Sorry.
Thanks…I appreciate the quick reply. I’m sure I can’t go wrong with either lens given what I have seen so far. The OIS would be nice to have, but so would the rendering of the f/2…
Jon
Hi Jim
I still could not decide between 110mm and 120mm for landscape trip for Patagonia.Is it possible for you to share these comparissons raw files for me to play a bit ?
Sorry, I’ve deleted the raws.
Sorry, I just see mush on all those crops, there is no way I could judge any of these two amazing lenses based on this images.
Here are some more specific instrustions about how to view the images:
Here’s how to use these highly-magnified crops. The dimensions of the GFX sensor is 8256×6192 pixels. If we make a full-frame print from the GFX on a printer with 360 pixels per inch native driver-level resolution, like the Epson inkjet printers, we’ll end up with a 23×17.2 inch print. The 317×246 pixel crop you’re looking at will end up 0.8×0.68 inches (2.12×1.74 cm). Let’s imagine that you or your viewers are critical, and will look at the 23×17.2 inch print from about 18 inches (conventional wisdom is that the distance would be a little greater than that, or 29 inches (the diagonal), but you did buy a high-resolution camera for a reason, didn’t you?).
The next step is dependent on your monitor pitch, which you may or may not know. Turns out, you don’t have to know it. Just take the 250% crops and view then at 1:1. How high are they? Get out your ruler and measure, or just guess. Let’s say they are 6 inches high. 6 inches is about 7 times 0.8, so in order to view the crops the way they’d look from 18 inches on the print is to view them from 7 times as far away, or 10.5 feet.
Everything here scales proportionately. If the image on your screen is bigger than 6 inches, increase your viewing distance by the ratio of your image height to 6 inches. If you think your viewers are going to almost get their nose to that print and look at it from six inches, divide that 10.5 feet by 3, and look at the image on the monitor from three and a half feet away.