the last word

Photography meets digital computer technology. Photography wins -- most of the time.

  • site home
  • blog home
  • galleries
  • contact
  • underwater
  • the bleeding edge
You are here: Home / The Last Word / More sharpening and luminance

More sharpening and luminance

June 16, 2014 JimK Leave a Comment

This is a continuation of yesterday’s post. I took a look at some of the other Photoshop sharpening filters on the Bruce Lindbloom test image.

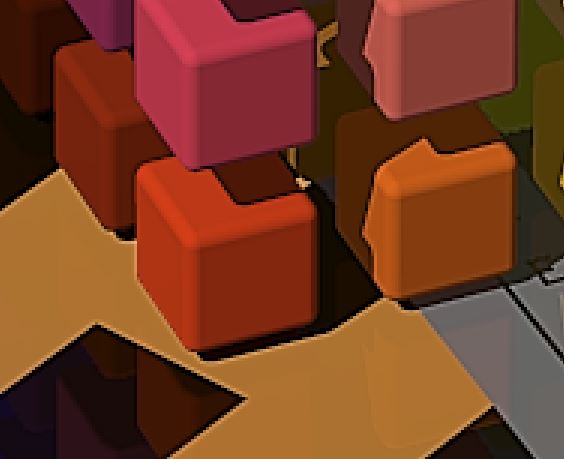
“Sharpen More” with normal blending exhibits the lime-green artifacts:

sharpen more norm

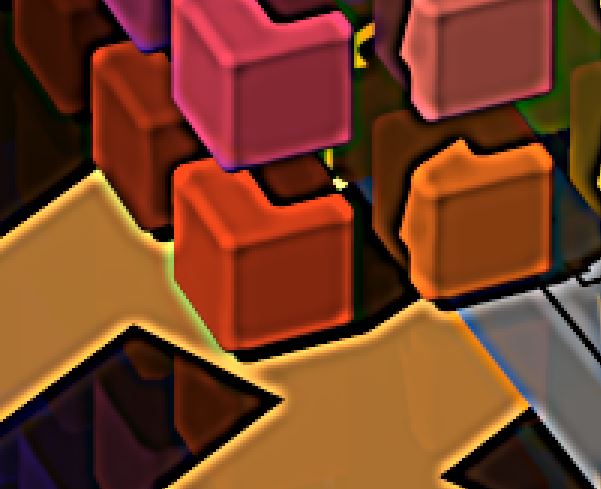
With Luminance blending, the color artifacts are absent:

sharpen more L

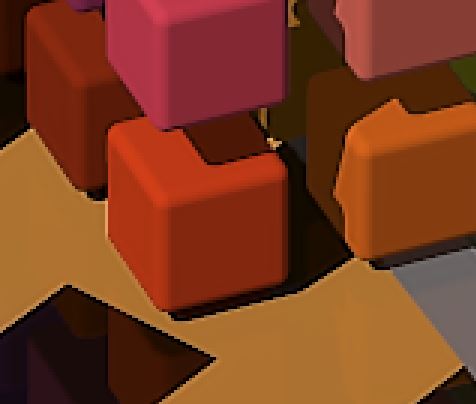
Is “Smart Sharpen” smart enough to avoid color artifacts with normal blending?

smart sharpen norm

No, but changing the blending mode to Luminance removes the artifacts:

smart sharpen L

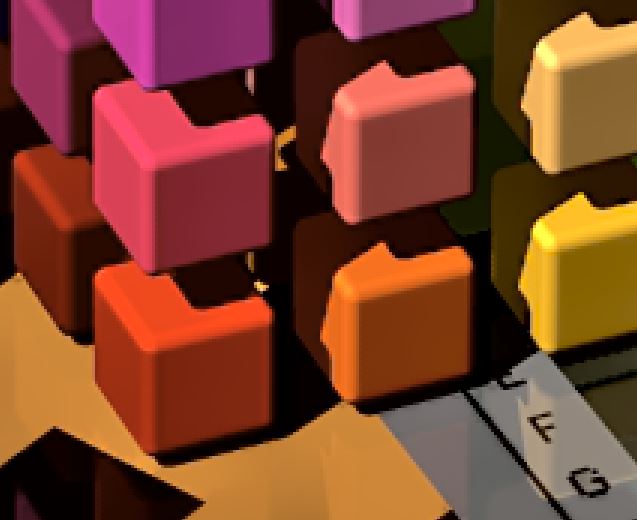
How about the shake reduction filter? It shows color errors with normal blending:

shake reduction norm

But not with Luminance blending:

shake red L

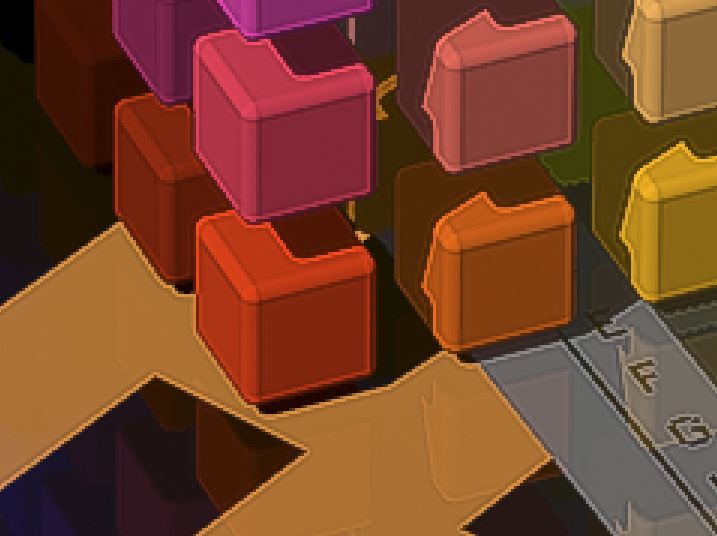
Topaz Detail is a popular third-party sharpening filter that also does color correction. It would be awkward to have to run it twice, once with Luminance blending for the sharpening, and once with normal blending for the color effects. Fortunately, it’s smart enough that you won’t usually have to do that. Here it is with normal blending:

topazdetail norm

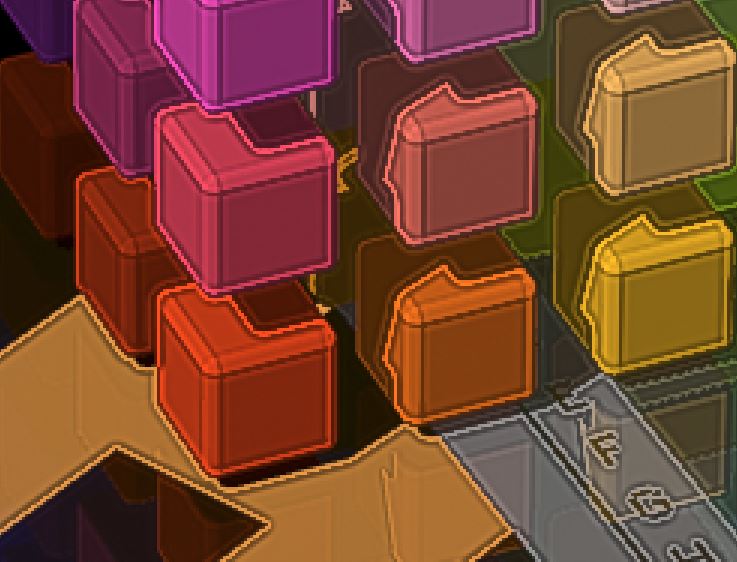
Note that Topaz Detail changes the colors, even at the default settings. There’s just a little bit of color error on the highlights on the yellow cubes. It goes away with luminance blending:

topaz detail L

How about Lightroom’s sharpening? Is it color-artifact free? Indeed it is. Here’s a look with one set of adjustments:

LR sharpening

And another set of slider moves:

LR sharpening 2

Note that all of these filters were applied to a degree that is outside the envelope of normal photography, and to a ray-traced – and therefore noiseless – image. In a real photographic image, the image noise could be expected to mask some of the color errors. So what you see here is close to a worst-case set of examples.

The Last Word

← Sharpening and luminance Fuji gets it completely wrong →

Leave a Reply Cancel reply

Your email address will not be published. Required fields are marked *

February 2023
S M T W T F S
 1234
567891011
12131415161718
19202122232425
262728  
« Jan    

Articles

  • About
    • Patents and papers about color
    • Who am I?
  • Good 35-70 MF lens
  • How to…
    • Backing up photographic images
    • How to change email providers
  • Lens screening testing
    • Equipment and Software
    • Examples
      • Bad and OK 200-600 at 600
      • Excellent 180-400 zoom
      • Fair 14-30mm zoom
      • Good 100-200 mm MF zoom
      • Good 100-400 zoom
      • Good 100mm lens on P1 P45+
      • Good 120mm MF lens
      • Good 18mm FF lens
      • Good 24-105 mm FF lens
      • Good 24-70 FF zoom
      • Good 35 mm FF lens
      • Good 60 mm lens on IQ3-100
      • Good 63 mm MF lens
      • Good 65 mm FF lens
      • Good 85 mm FF lens
      • Good and bad 25mm FF lenses
      • Good zoom at 24 mm
      • Marginal 18mm lens
      • Marginal 35mm FF lens
      • Mildly problematic 55 mm FF lens
      • OK 16-35mm zoom
      • OK 60mm lens on P1 P45+
      • OK Sony 600mm f/4
      • Pretty good 16-35 FF zoom
      • Pretty good 90mm FF lens
      • Problematic 400 mm FF lens
      • Tilted 20 mm f/1.8 FF lens
      • Tilted 30 mm MF lens
      • Tilted 50 mm FF lens
      • Two 15mm FF lenses
    • Found a problem – now what?
    • Goals for this test
    • Minimum target distances
      • MFT
      • APS-C
      • Full frame
      • Small medium format
    • Printable Siemens Star targets
    • Target size on sensor
      • MFT
      • APS-C
      • Full frame
      • Small medium format
    • Test instructions — postproduction
    • Test instructions — reading the images
    • Test instructions – capture
    • Theory of the test
    • What’s wrong with conventional lens screening?
  • Previsualization heresy
  • Privacy Policy
  • Recommended photographic web sites
  • Using in-camera histograms for ETTR
    • Acknowledgments
    • Why ETTR?
    • Normal in-camera histograms
    • Image processing for in-camera histograms
    • Making the in-camera histogram closely represent the raw histogram
    • Shortcuts to UniWB
    • Preparing for monitor-based UniWB
    • A one-step UniWB procedure
    • The math behind the one-step method
    • Iteration using Newton’s Method

Category List

Recent Comments

  • Brian Olson on Fuji GFX 100S exposure strategy, M and A modes
  • JimK on Picking a macro lens
  • JimK on Picking a macro lens
  • Glenn Whorrall on Picking a macro lens
  • JimK on What pitch do you need to scan 6×6 TMax 100?
  • Hatzipavlis Peter on What pitch do you need to scan 6×6 TMax 100?
  • JeyB on Internal focusing 100ish macro lenses
  • JimK on How focus-bracketing systems work
  • Garry George on How focus-bracketing systems work
  • Rhonald on Format size and image quality

Archives

Copyright © 2023 · Daily Dish Pro On Genesis Framework · WordPress · Log in

Unless otherwise noted, all images copyright Jim Kasson.