This is the fifth in a series of posts on the effect of camera resolution on the quality of downsampled images. The series starts here.
In the first post in this series, I used Lightroom to process images of a Siemens Star, in an attempt to find out how well the superior image quality of a high resolution camera translated to images viewed on a 4k monitor. Now I’m going to show you how the images look with other downsampling algorithms than the Lightroom export one. To review, I started out with images made with the 12 megapixel Sony a7S and the 61 MP a7RIV, both using the Zeiss Otus 55 mm f/1.4 lens.
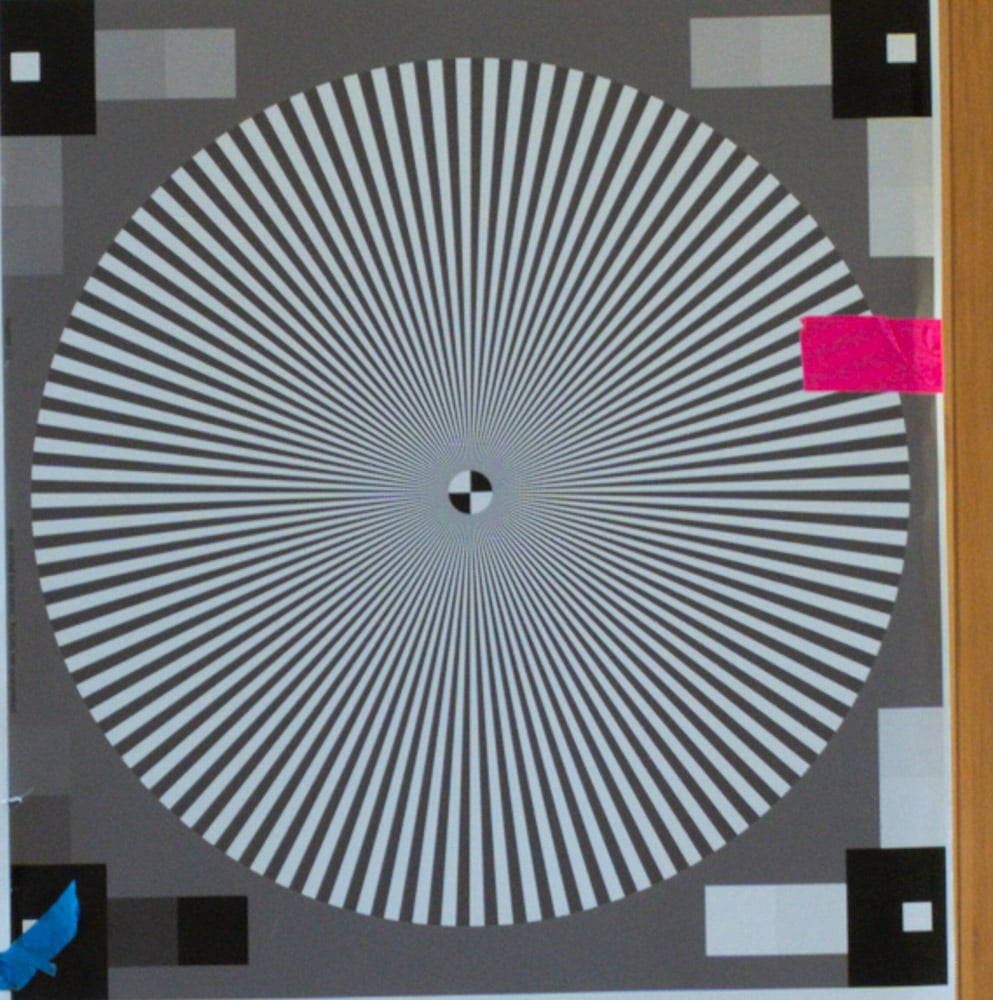
Here are tight crops of the two images using Lightroom’s enhanced detail demosaicing. Be sure to look at these images with your browser set to 100%, or else you’ll be looking at your browser’s resampling.
Now we’ll look at tight crops from 4K images made from the above using various algorithms for downsampling.
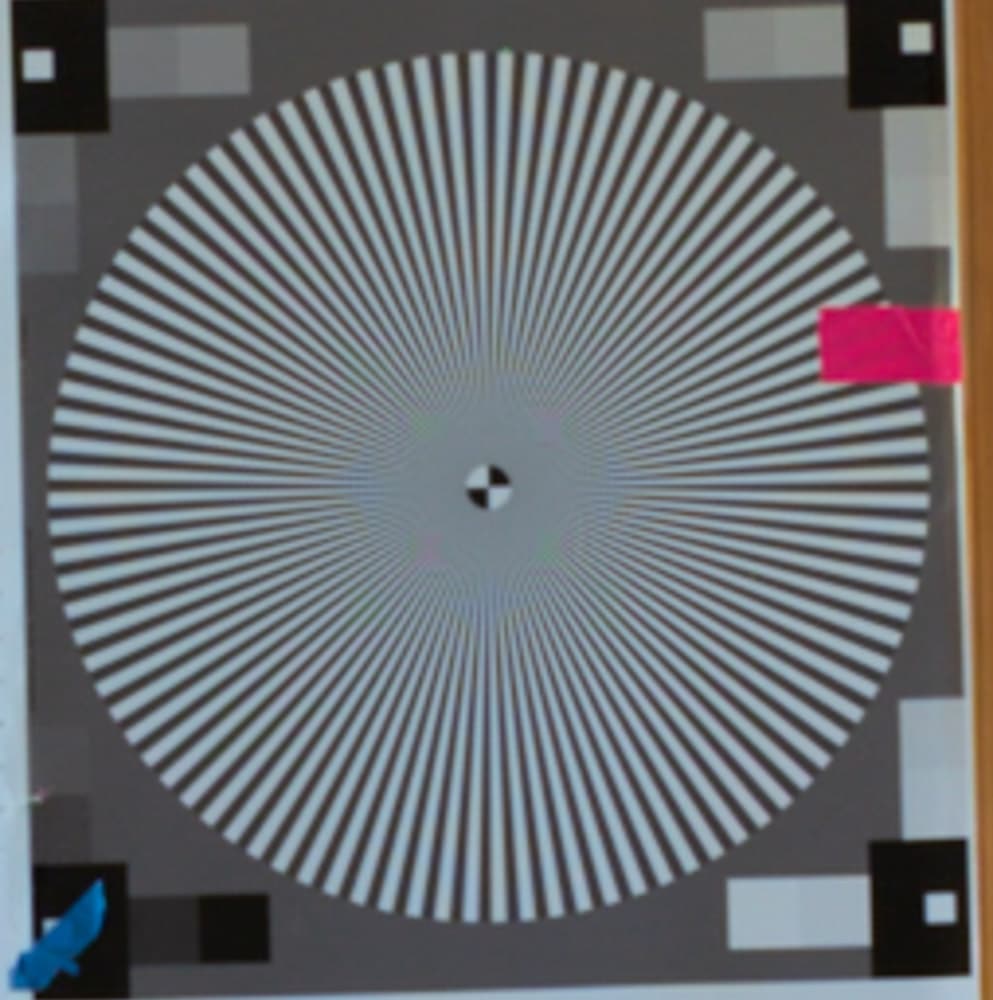
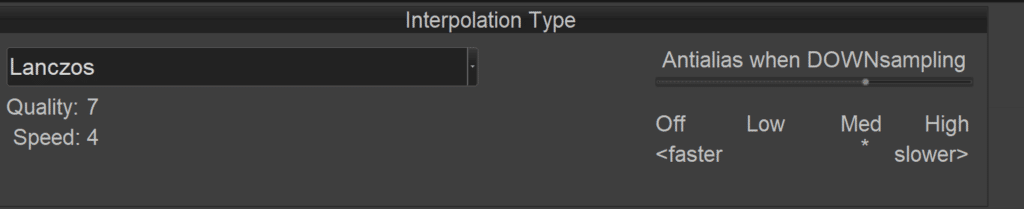
First up, Lanczos, which is pretty much the gold standard for downsampling. I used QImage Ultimate 2020 with these Lanczos settings:
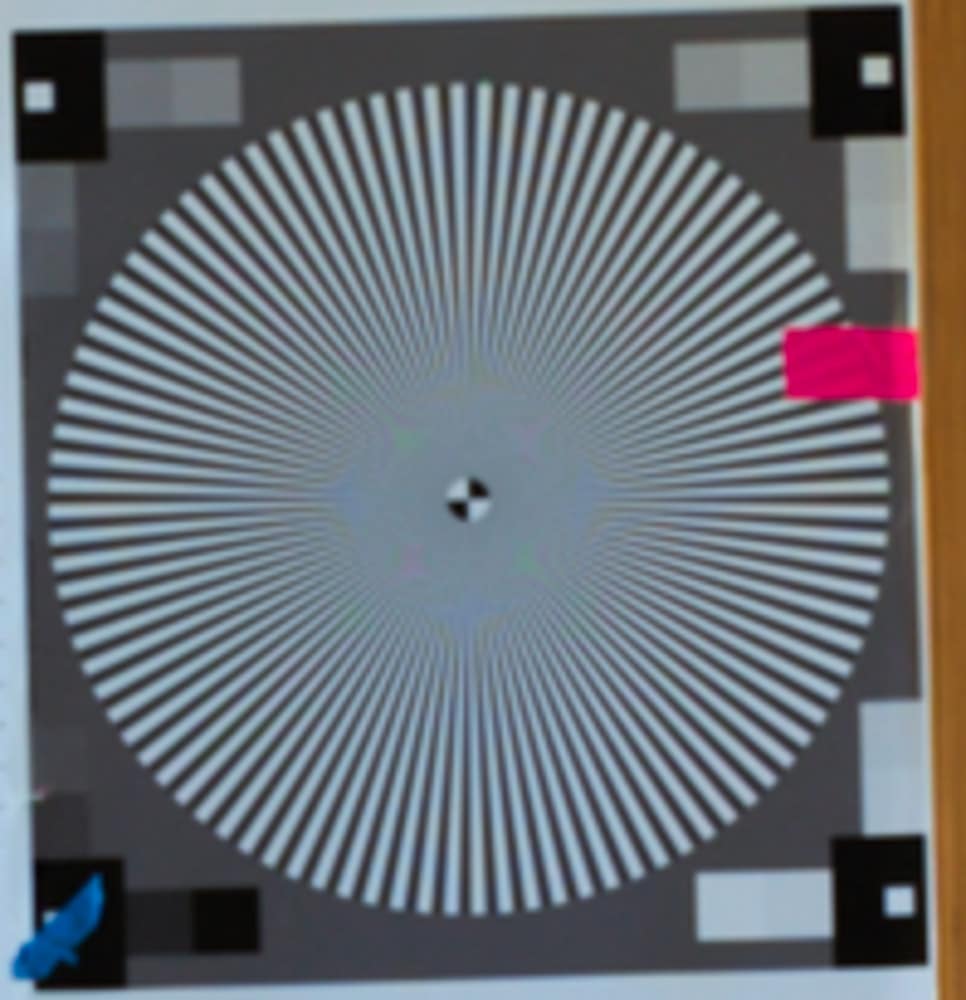
The downsampling has introduced significant aliasing into the a7RIV image, but is comewhat crisper than the a7S crop.
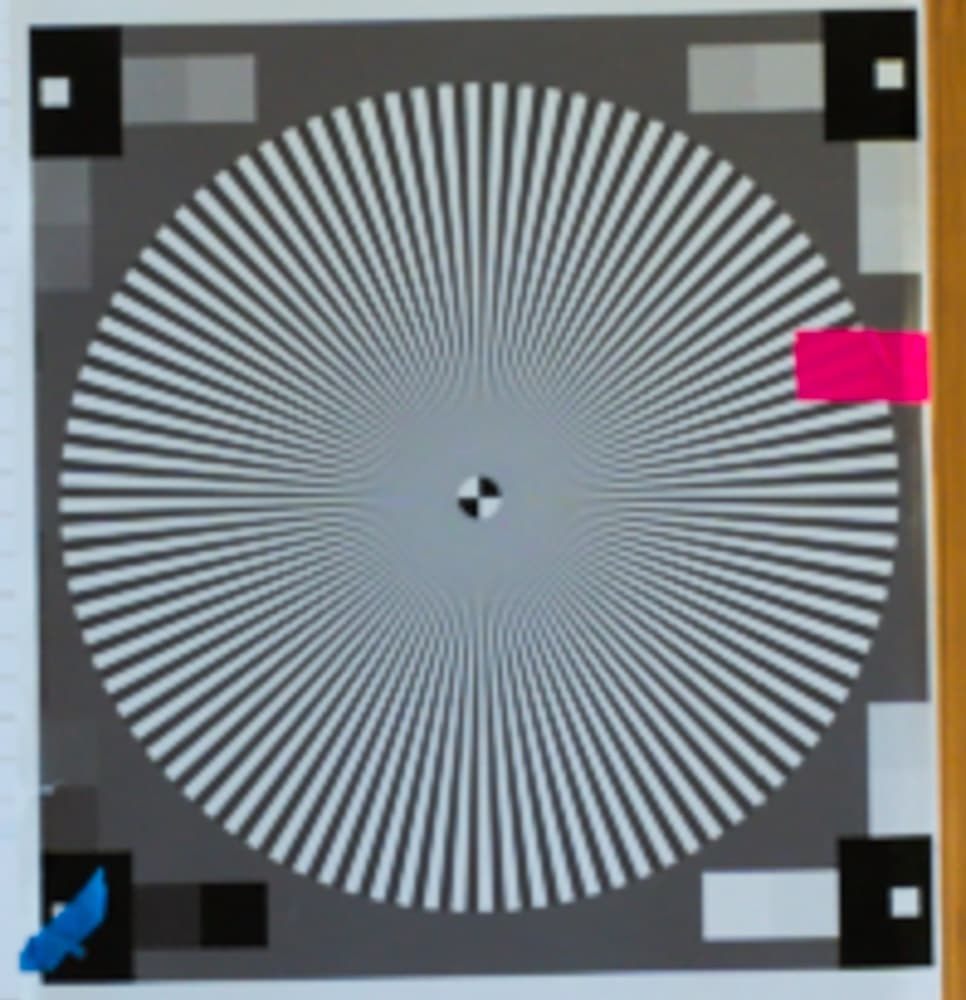
How about our old friend bicubic?

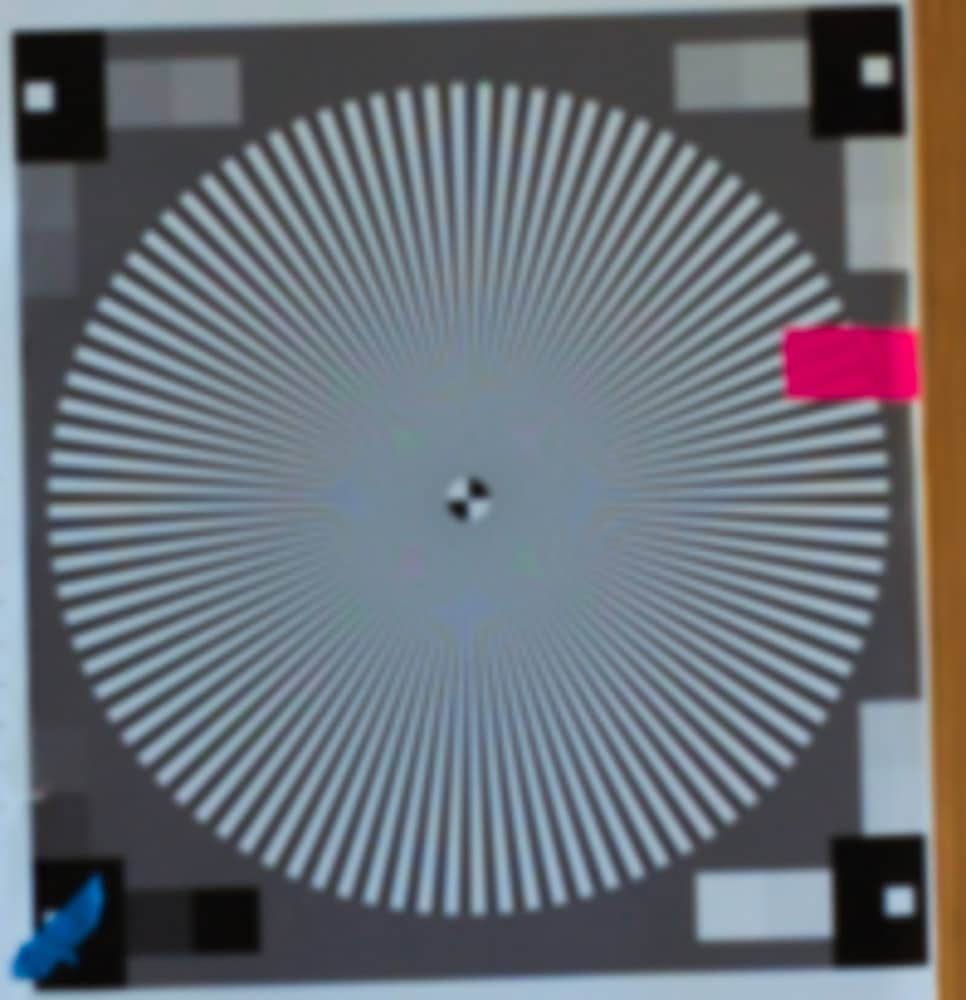
The aliasing in the a7RIV image has gotten better, but the image is on the whole softer. The a7S image is softer yet, but less aliased.
Now QImage’s default algorithm, which they call Fusion.

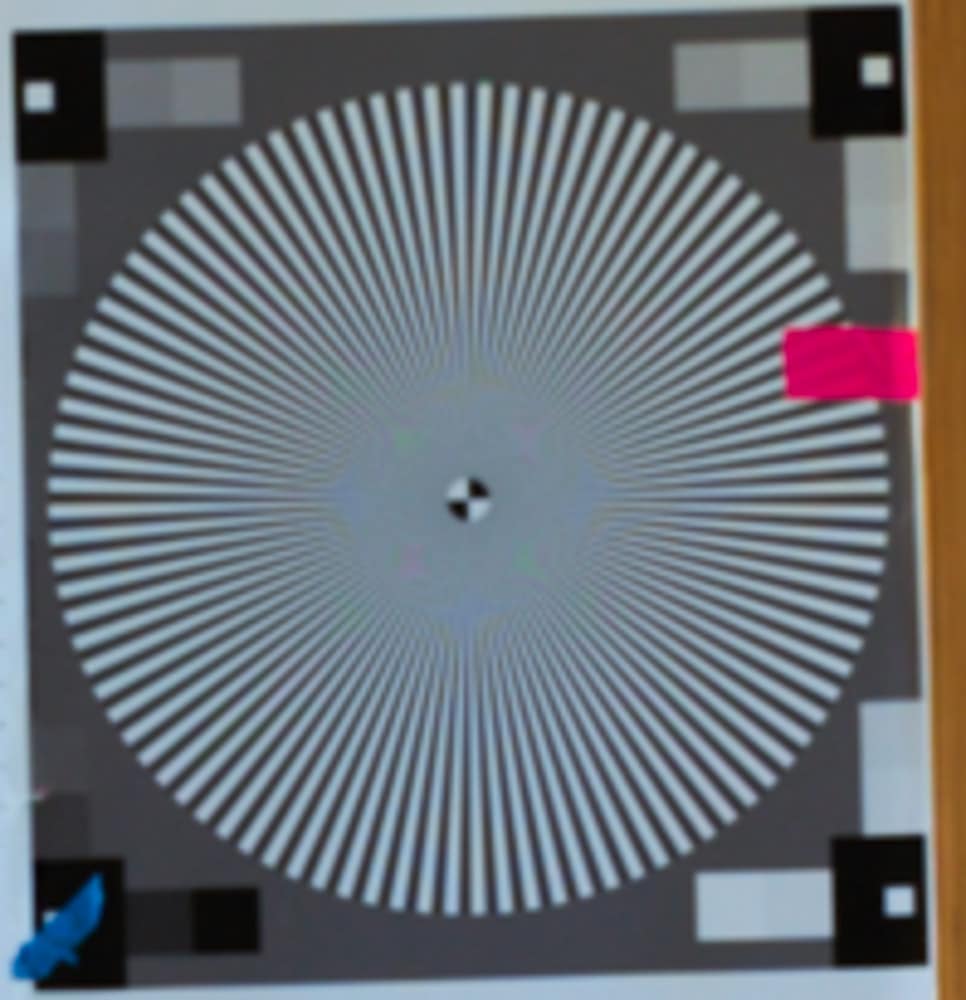
Fusion does indeed appear to be a decent compromise, but the results are quite close to Lanczos. There are artifacts at the lower spatial frequencies away from the center. These are less apparent with Fusion than with Lanczos.
It would be good to also compare bicubic but with staggered downsampling – 10% at a time – I ‘ve read this makes significant improvement to aliasing reduction, rather than a one stop reduction.
I’ve tried that before, but found Lanczos to be better.
Jim, I do not know what happens with your images. I just downloaded the JPEG, then run
convert DSC4914-enhanced.jpg -resize 40% DSC4914-Siemens-resized.jpg
convert DSC4914-enhanced.jpg -resize 40% -resize 250% DSC4914-Siemens-resized-back.jpg
(this is from ImageMagick). Both obtained images HAVE NO ARTIFACTS WHATSOEVER — and are much sharper than what you provide…
Maybe I know part of the problems: WE DO NOT SEE WHAT YOU EXPECT US TO SEE!
For example, your image(s) are 966×1000 — but my browser shows them much smaller than this. Since we have no control over the scaling used by the browser, this rescaling-in-browser causes TONS of artifacts (on both browsers I tried: FF v55, and Chrome in a large-screen Android).
I think ALL the nice stuff you show us is very often ruined by the browsers…
In the past, I’ve suggested viewing the images at 1:1. I neglected to do that this time. I will make the change.
This would be better indeed (but in Chrome on Android I have no clue how to show an image at 100%).
On the other hand, I just downloaded your QImageLanczos4914-Enhanced.jpg and compared it with what ImageMagick resizing to 40% does (as above). ImageMagick produced 397×400 image. It is TWICE as sharp as your Lanczos result.
I’m completely lost… I put the result to
http://ilyaz.org/software/tmp/DSC4914-Siemens-resized.jpg
(Again, it is a 40% resize of DSC4914-Enhanced.jpg with default parameters.)
To the best of my knowledge there is NO Android browser that displays bitmaps in any civilized manor. I’ve brought up the subject a few times on DPReview and I think it is just unnoticed or ignored but it drives me nuts. For years I’ve struggled to get my 900 pixel high PBase images to fill ANY Android phone or Android tablet screen properly and they are often too small or flow off the page depending on screen orientation and the whim of the computer gods. No setting works uniformly and no browser helps. There appears to be a very limited family of fundamental Android browser code and they all displaying images imporperly. There are two issues here. Most germane is the concept of 1:1 image display on a phone or tablet is contrary to the concept of universal OS screen scalability and Android treats this as an ignored non-issue. And elegant universal ‘fit to screen’ in both a horizontal and vertical oriented screen is also seemingly Android unobtainable, for whatever reason. I haven’t checked but doubt that’s changed recently. (iOS works scaling-wise even from early days but of course this behind the scenes scaling is inappropriate for our 1:1 purposes here.)
Things tend to get better in Microsoft land. However my 2 older Win 10 MS Surfaces can easily confuse apps like Adobe Bridge from a pixel dimension vs. screen-res standpoint and insanity ensues (off topic but I’m venting). In addition, on my Surfaces, browsers don’t display ‘100%’ properly…maybe. Specifically, one of my surface displays images that are approximately 100% image pixel to display pixel accurate at a browser setting of 70%. ??? Fortunately 1:1 viewing is NEVER a problem on any of my MS desktops no matter the OS version or browser and I wait until I get home to view Jim’s example details on my workstations.
My point here is to reinforce that lack of 100% (ie 1:1) screen viewing makes critical pixel level viewing of images problematic yet many or most are not even aware they even have an issue. …and Android is not helping.
Have you tried something like spline36resize
You’re wasting your time with all those senseless interpolation methods. 2-lobe Hanning gives the best result in any situation (and no, Lanczos is never better than Hanning). No ugly “halos” or other artifacts, and the best compromise between aliasing and sharpness.
Using the low quality jpg you posted as a source is not ideal, but anyway:
https://musepack.net/pictures/star-imagew_hanning2.jpg
Output from ImageWorsener. Filter “hanning2”. Downsampled x0.25, upsampled x4.
Is there a fairly-commonly used tool that implements 2-lobe Hanning? Not something like Imagemagick. I’m only interested in using tools that a large number of people actually preparing images for 4K presentation would be likely to use.
Unfortunately, I believe there isn’t. Most programs don’t even have gamma correction, with resampling in a linear color space, and most that do, have a poor implementation. IW and IM do it properly. GIMP does too, but they only have low quality bicubic, and the “NoHalo” and “LoHalo” algorithms are problematic and ruin sharpness.
Adobe prefers lousy interpolation with a ton of artifacts, and the only sane interpolation they give you is low quality bicubic. Almost everyone else also just throws poor quality algorithms into their software, without knowing enough at all about image interpolation. Those people never did any real tests, they just repeat the mistakes of countless others, with some minor variations. So because so few software authors know what they’re doing, people don’t even have access to proper image processing like “resizing” in their…image processing software… Of course, that includes various commercial programs like Qimage Ultimate and Gigapixel, all of which are nonsense.
By the way, I was only talking about downscaling. Upscaling is a completely different matter. The previous image was upscaled using the same algorithm I used for downscaling (Hanning), but that’s of course far from ideal if you want to decrease aliasing. There are several ways to upscale with minimal artifacts while decreasing aliasing, but by far the best available algorithm for this is NGU Soft, as implemented in madvr.
Original downscaled file (filter “hanning2” in ImageWorsener):
https://musepack.net/pictures/star-downscaled.png
Note: It’s not actually x0.25, I set the size for the star’s size to match the other images that were posted, which have more content at the edges.
Downsampled image upscaled using NGU Soft in madvr:
https://musepack.net/pictures/star-upscaled.jpg
Settings: madvr “chroma upscaling” set to NGU Soft “very high quality”. madvr “image upscaling” settings: luma doubling: very high ; luma quadrupling: disabled ; chroma: very high ; doubling: … only if any upscaling is needed.
right cklick in your browser on the image – “show images/grafic ”
then you see a “plus” (mouse over) click again on the image and the image is shown “100%”
or better download it and show parallel two or more images with XNVIEW or IRFANVIEW.
Both are much better than QIMAGE and have some better functions than many other
pay software.
— > Important !!
By default, Firefox will try to color manage tagged images (JPEGs and PNGs). You can review and experiment with the following preferences to see whether one of them is causing the problem:
(1) In a new tab, type or paste about:config in the address bar and press Enter/Return. Click the button promising to be careful.
(2) In the search box above the list, type or paste gfx.c and pause while the list is filtered
gfx.color_management.mode – governs application of color management to images
0 = off 1 = on for ALL images 2 = on for TAGGED images (default)
I can’t recall whether you need to quit/restart Firefox before this change, or changes to the below preferences, takes effect.
I think the following are only relevant if you have profiled your monitor (e.g., pro photographer).
gfx.color_management.display_profile – if you have created a custom monitor profile and Firefox is not using it, you can enter the path to it here.
gfx.color_management.enablev4 – double-click to toggle to true if your custom monitor profile is an ICC v4 profile
gfx.color_management.rendering_intent – whether Firefox honors or overrides the intent flag in the ICC profile, by default, overrides to Perceptual
For details, see: https://developer.mozilla.org/Firefox/Releases/3.5/ICC_color_correction_in_Firefox
You are touching on some dangerous ground here ?? Discussions on the perfect downsizing method are just as contentious (and vigorously argued) as those around the perfect demosaicing algorithm.