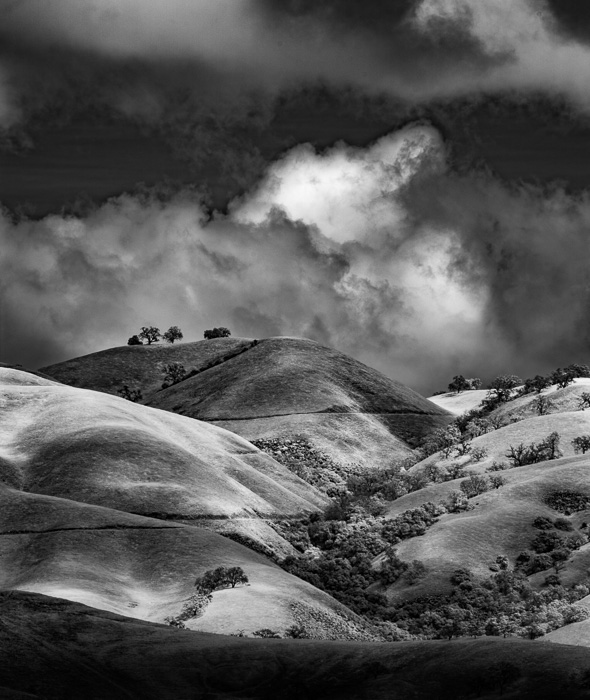
In conjunction with their annual photographic contest, the Weston Scholarship Fund is having an exhibition on May 5, and they’ve invited some guest photographers to participate. Gina Weston emailed me my invitation a few weeks ago. Last week I printed the picture.
All guest work will all be matted to 16×20 inches, so I wanted to print an 11×14 of this image:
I looked it over in Lightroom. There has been quite a bit of contrast stretching and shadow enhancement, so, when viewed at 200% on a 4K monitor, a lot of noise was visible, especially in the clouds. At 100% it didn’t look bad, but you could still see some. It’s roughly a 5300×6300 pixel image, so it needed to be downsampled somewhat to print on an Epson 4900. I thought about working on the noise, but decided to make a test print first.
It looked fine. I examined it closely with a loupe. No noise.
First do no harm is — or should be — the motto of image editing. I left the image alone.
Sometimes you can see too much on a computer screen.

So, so true.
A really useful preset for Lightroom (especially when used on a 5k or 4k screen which perceptually from about 1m is not far off looking at a print) would be zoom settings that show you the image as it would look at different print sizes.
Of course it’s easy enough to figure out, but I think that it might help a lot of people if it was there – it would teach them that relative to an intended output, there’s a lot of stuff they lose sleep and money over that literally doesn’t make any difference at all.
I’ve noticed that downsampling an image is not the same as shrinking the image at the same original resolution.
Since getting a 4k screen I hardly sharpen or apply noise reduction anymore, because if there are real details visible, there’s no need to make them stand out like crazy, and the noise just disappears as you noticed when printing.
Amen++