the last word

Photography meets digital computer technology. Photography wins -- most of the time.

  • site home
  • blog home
  • galleries
  • contact
  • underwater
  • the bleeding edge
You are here: Home / Nikon Z6/7 / A quasi-worst-case adapter test

A quasi-worst-case adapter test

September 21, 2018 By JimK 1 Comment

This is a continuation of a series of posts about adapter pitfalls and pleasures (I promise that I’ll get to the pleasures). The first four posts are here, here,  here, and here.

In the last post we saw that, in spite of my intuition, at identical magnifications, that adapter tilt affected defocus blur more with short lenses than with long ones. I kept that in mind when I set up the test you’ll read about here, a test that stacks the deck against adapters. First off, I used a test protocol that is very sensitive, allowing you to see errors clearly that never would be a problem inn real-world photography. Second, I picked the shortest rectilinear prime I own, and it is sharp enough to draw blood: The Zeiss 15 mm f/2.8 Distagon ZF.2. Third, I used the lens wide open, something that you wouldn’t do in the field if you wanted corner-to-corner sharpness.

I tested two combinations: the 15/2.8 on a Nikon D850, and the same lens mounted on a Sony a7RIII with a not-very-good adapter which has about 16-18 um of tilt (it’s hard for me to measure tilt precisely).

You can read about the test here.

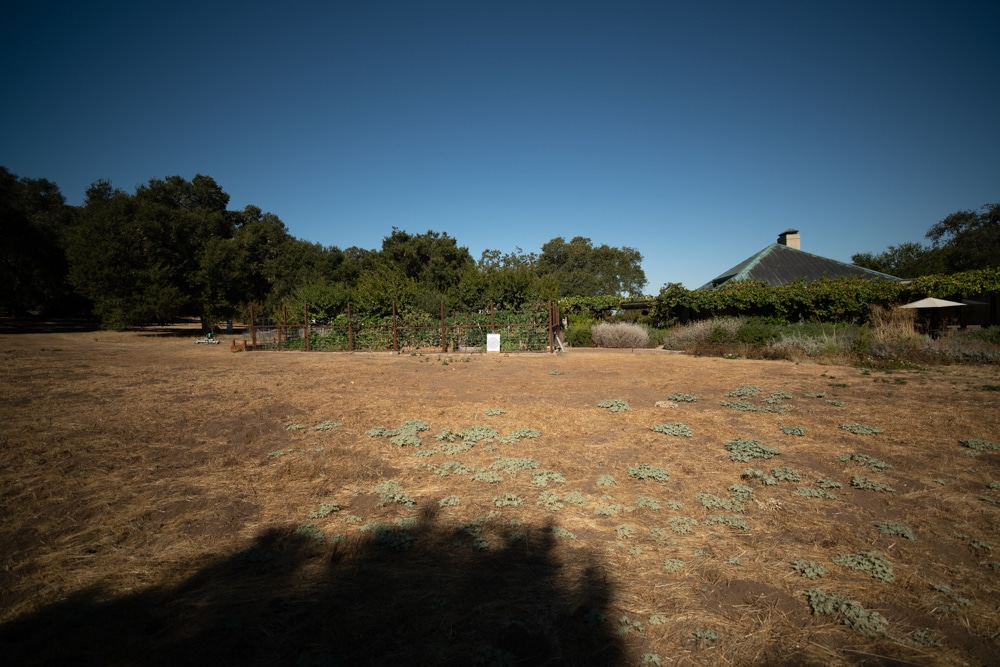
I set up the cameras 20 meters from the target. Here’s what it looked like to the Nikon:

Here are the crops, magnified to 2000×2000 pixels from  a little smaller than 1000×1000, equalized for field of view, which gives the slightly-higher-res  Nikon


Nikon D850


Sony a7RIII

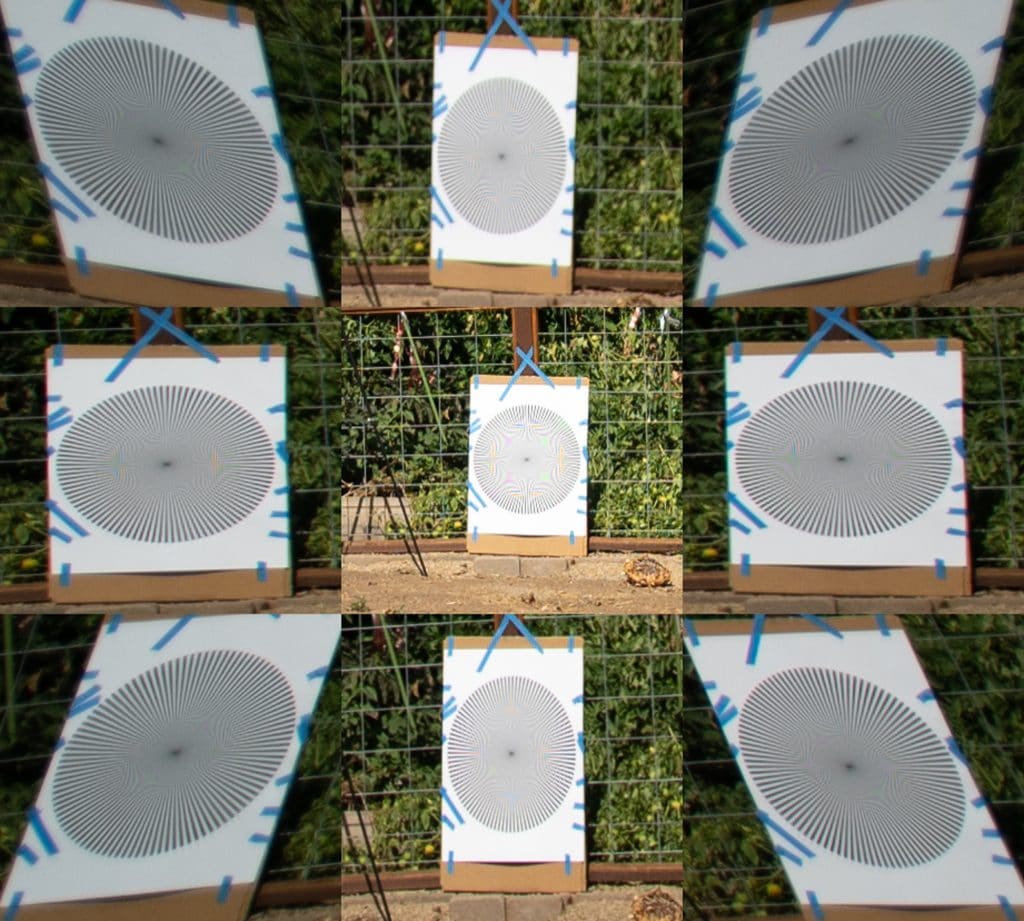
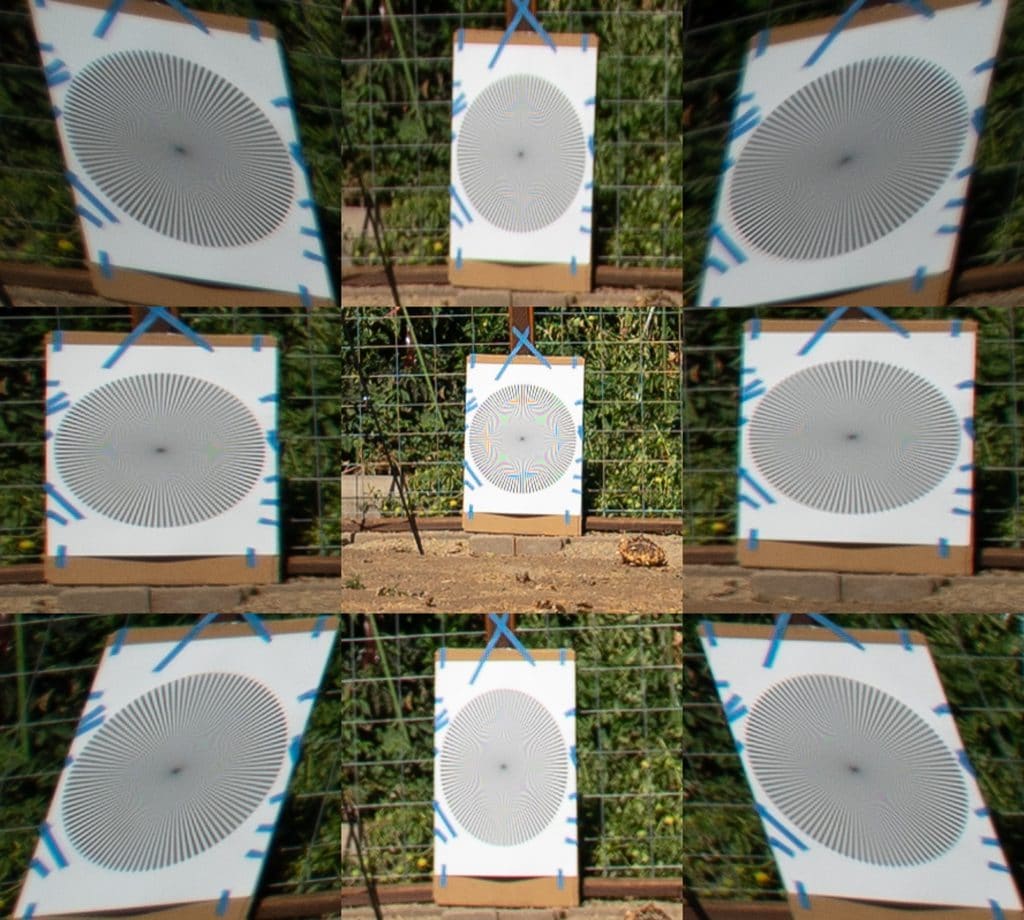
The Nikon image is sharper in the corners and sides. But there’s still enough resolution in the Sony image to show aliasing in every star. For the great majority of actual photography, as opposed to this kind of contrived test, the Sony a7RIII and the Distagon would do just fine. For star fields, you might prefer the D850. with an adapter with 10 um of tilt, it would be even closer.

← How tilt errors add up Adapted lens upsides →

Trackbacks

  1. Adapted lens upsides says:
    September 22, 2018 at 9:21 am

    […] This is a continuation of a series of posts about adapter pitfalls and pleasures (I promise that I’ll get to the pleasures). The first five posts are here, here,  here, here. and here. […]

    Reply

Leave a Reply Cancel reply

Your email address will not be published. Required fields are marked *

April 2021
S M T W T F S
 123
45678910
11121314151617
18192021222324
252627282930  
« Mar    

Articles

  • About
    • Patents and papers about color
    • Who am I?
  • How to…
    • Backing up photographic images
    • How to change email providers
  • Lens screening testing
    • Equipment and Software
    • Examples
      • Bad and OK 200-600 at 600
      • Excellent 180-400 zoom
      • Fair 14-30mm zoom
      • Good 100-200 mm MF zoom
      • Good 100-400 zoom
      • Good 100mm lens on P1 P45+
      • Good 120mm MF lens
      • Good 18mm FF lens
      • Good 24-105 mm FF lens
      • Good 24-70 FF zoom
      • Good 35 mm FF lens
      • Good 60 mm lens on IQ3-100
      • Good 63 mm MF lens
      • Good 65 mm FF lens
      • Good 85 mm FF lens
      • Good and bad 25mm FF lenses
      • Good zoom at 24 mm
      • Marginal 18mm lens
      • Marginal 35mm FF lens
      • Mildly problematic 55 mm FF lens
      • OK 16-35mm zoom
      • OK 60mm lens on P1 P45+
      • OK Sony 600mm f/4
      • Pretty good 16-35 FF zoom
      • Pretty good 90mm FF lens
      • Problematic 400 mm FF lens
      • Tilted 20 mm f/1.8 FF lens
      • Tilted 30 mm MF lens
      • Tilted 50 mm FF lens
      • Two 15mm FF lenses
    • Found a problem – now what?
    • Goals for this test
    • Minimum target distances
      • MFT
      • APS-C
      • Full frame
      • Small medium format
    • Printable Siemens Star targets
    • Target size on sensor
      • MFT
      • APS-C
      • Full frame
      • Small medium format
    • Test instructions — postproduction
    • Test instructions — reading the images
    • Test instructions – capture
    • Theory of the test
    • What’s wrong with conventional lens screening?
  • Previsualization heresy
  • Privacy Policy
  • Recommended photographic web sites
  • Using in-camera histograms for ETTR
    • Acknowledgments
    • Why ETTR?
    • Normal in-camera histograms
    • Image processing for in-camera histograms
    • Making the in-camera histogram closely represent the raw histogram
    • Shortcuts to UniWB
    • Preparing for monitor-based UniWB
    • A one-step UniWB procedure
    • The math behind the one-step method
    • Iteration using Newton’s Method

Category List

Recent Comments

  • JimK on Relative sensitivity of Sony a7RIV and GFX 100S
  • CarVac on Relative sensitivity of Sony a7RIV and GFX 100S
  • JimK on Relative sensitivity of Sony a7RIV and GFX 100S
  • Ilya Zakharevich on Pixel shift with the Fujifilm GFX 100S
  • Ilya Zakharevich on Relative sensitivity of Sony a7RIV and GFX 100S
  • JimK on GFX 100S sensor is a 4-shot stitch
  • John Leathwick on GFX 100S sensor is a 4-shot stitch
  • Christer Almqvist on GFX 100S sensor is a 4-shot stitch
  • JimK on Three dimensionality and sensor format
  • Tom Hegeman on Three dimensionality and sensor format

Archives

Unless otherwise noted, all images copyright Jim Kasson.