This is the 47th in a series of posts on the Fujifilm GFX-50S. The series starts here.
I’m starting to get to the end of the GFX testing, at least for now. I have Leica M, Hasselblad V, and Leica R adapters on order, and I’ll do some testing with lenses from those families when I can attach them to the GFX. For now, I have a few more Nikon F mount lenses to try.
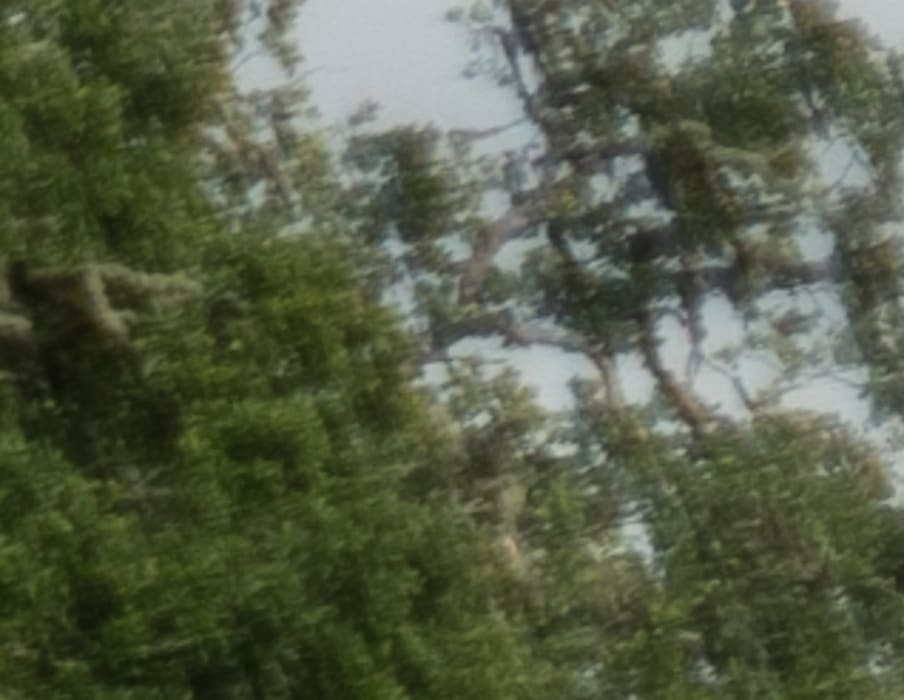
This post is about the Sigma ART series 50 mm f/1.4 G. First we’ll look at coverage. My interest in this lens is mostly in a setting where I’ll be opening it up, so I went all the way to f/1.4, which I haven’t done for any of the other lenses for which I’ve done these informat tests. All images were refocused at each aperture. Daylight white balance selected in Lightroom, and Exposure to taste with a bit more in the crops; all other Lr settings at default.
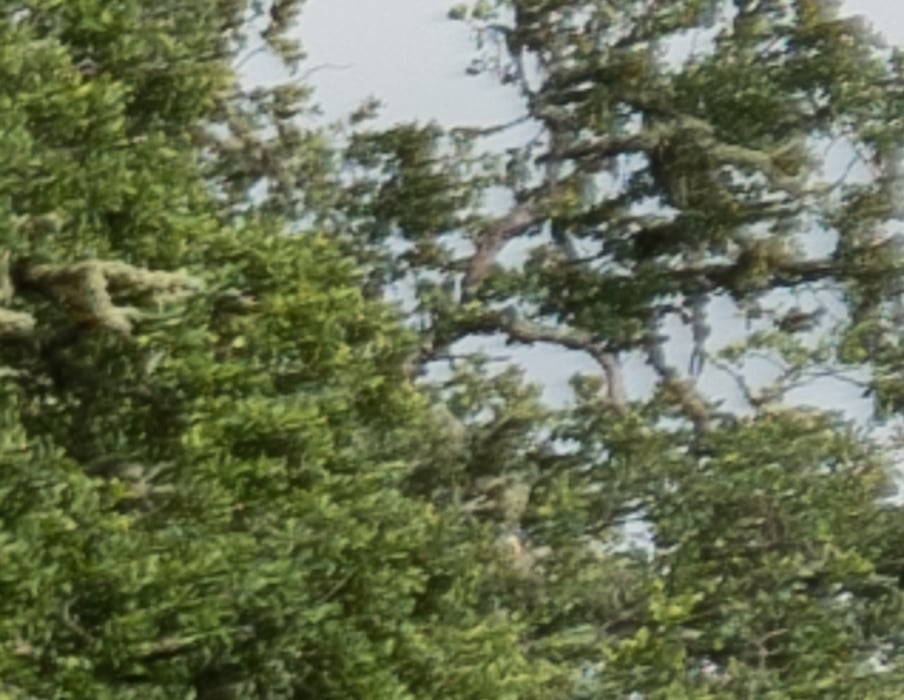
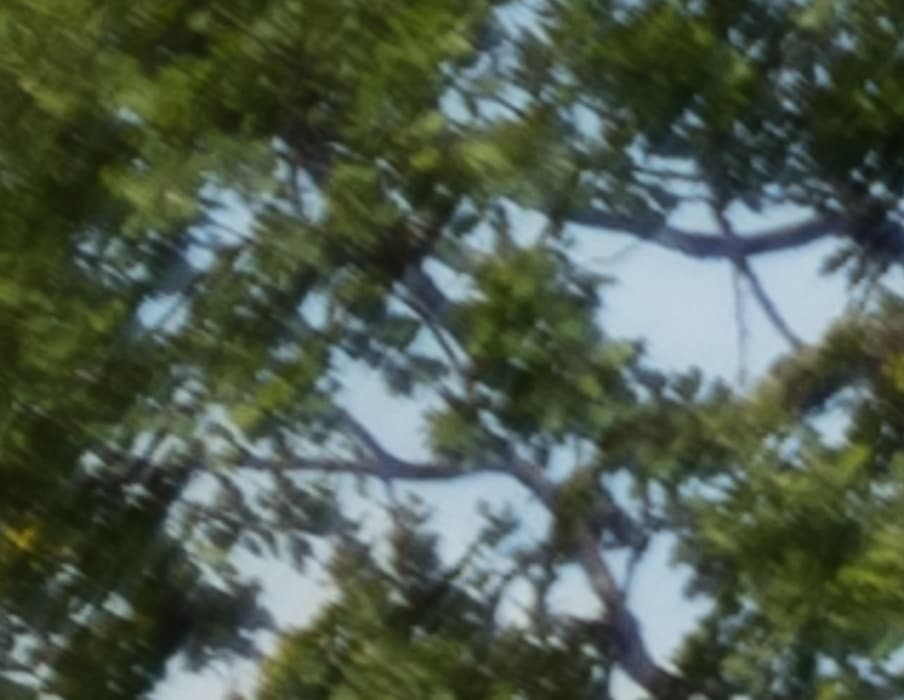
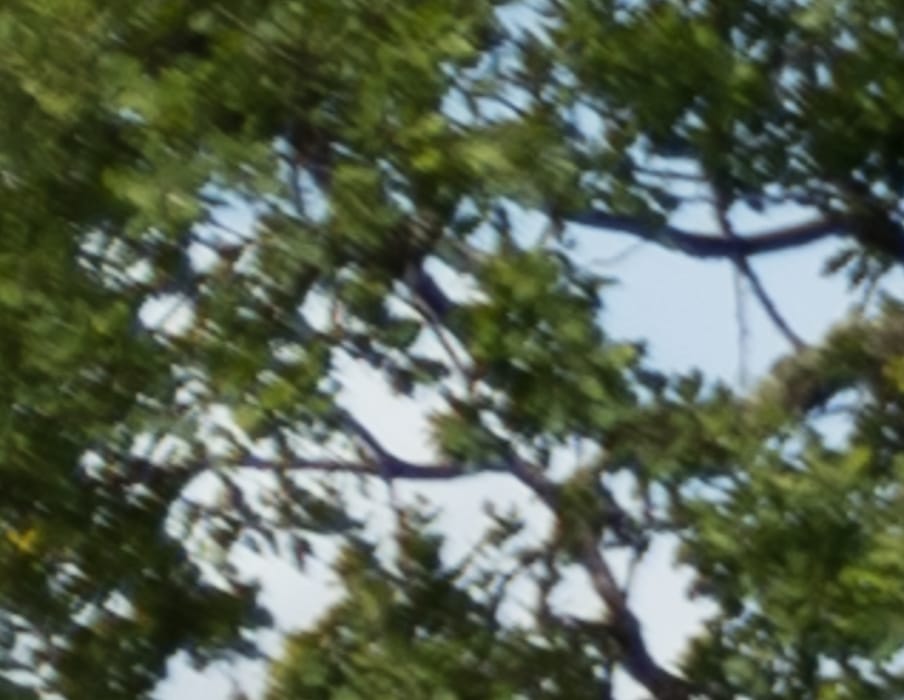
Here’s a look at coverage at f/1.4 through f/4.
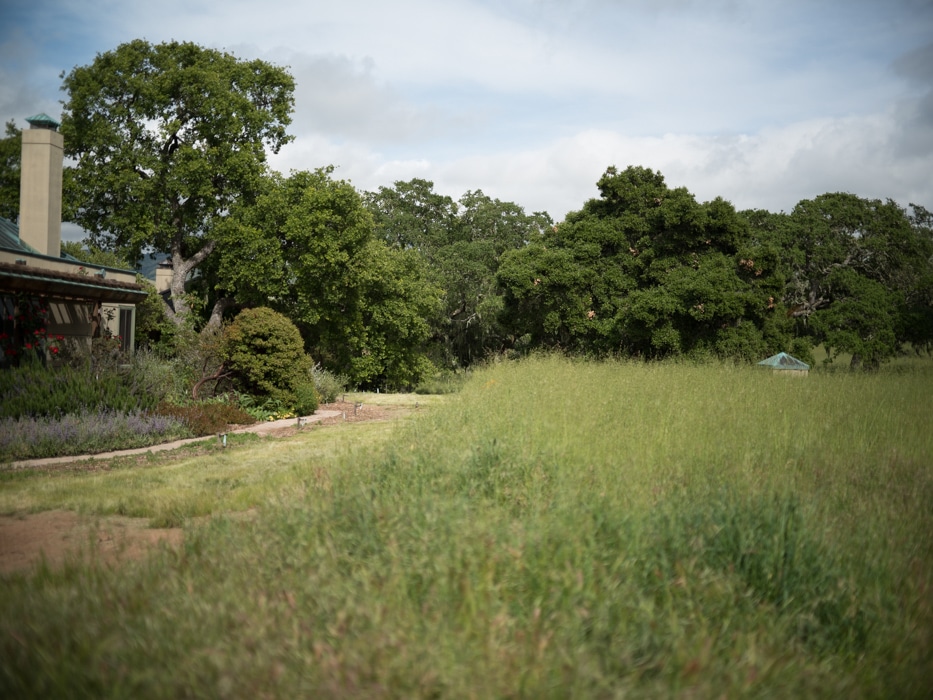
There is some corne falloff, probably correctable full frame, and certainly usable at 4:5 aspect ratio.
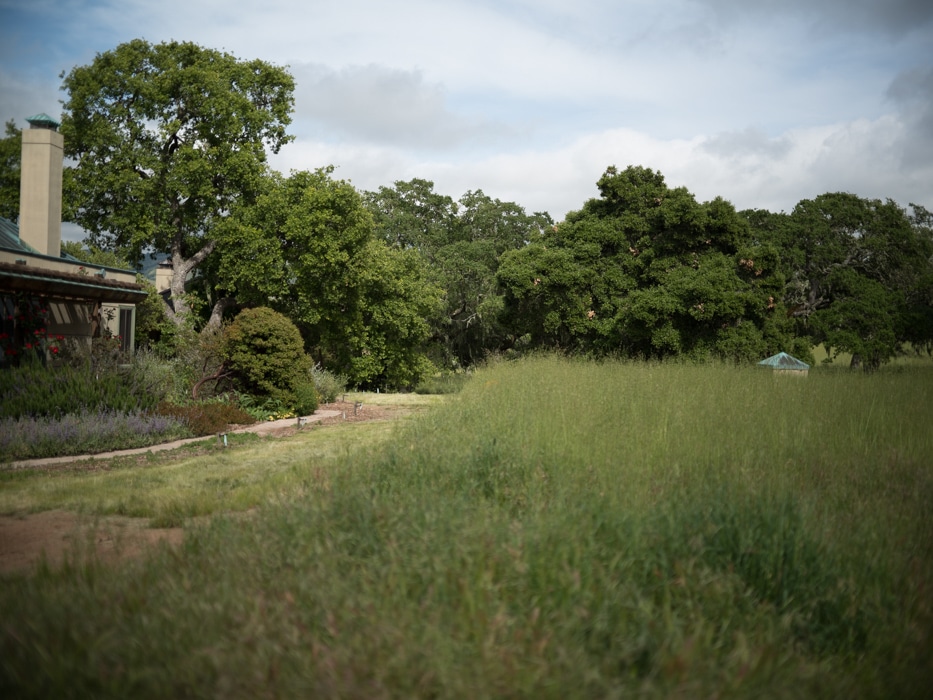
Getting a bit better
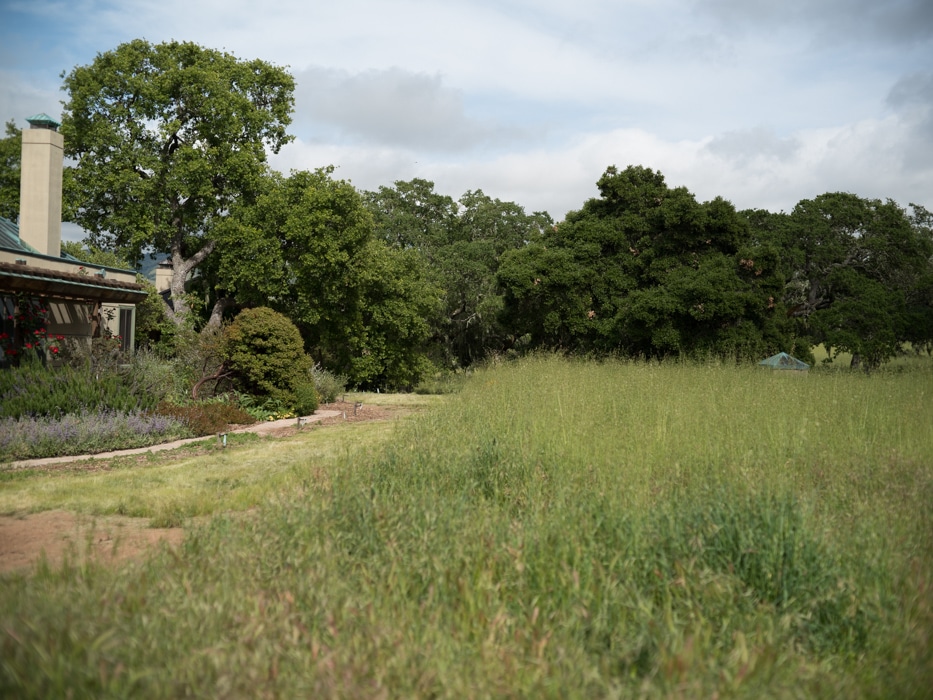
Great at 4:5.
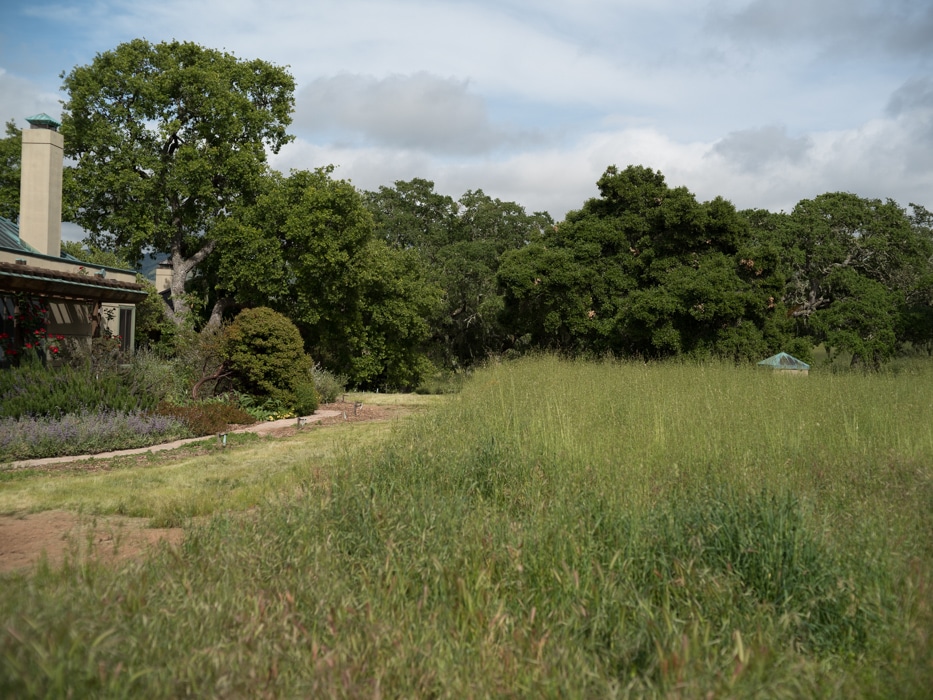
About as good as it gets.
Now I’m going to show you some very tight crops; here’s how to use them. The dimensions of the GFX sensor are 8256×6192 pixels. If we make a full-frame print from the GFX on a printer with 360 pixels per inch native driver-level resolution, like the Epson inkjet printers, we’ll end up with a 23×17 inch (58×44 cm) print. The 318×246 pixel crop you’re looking at will end up 0.8333×0.6833 inches (2.12×1.74 cm). Let’s imagine that you or your viewers are critical, and will look at the 22×17 inch print from about 18 inches (conventional wisdom is that the distance would be a little greater than that, or 28 inches (the diagonal), but you did buy a high-resolution camera for a reason, didn’t you?).
The next step is dependent on your monitor pitch, which you may or may not know. Turns out, you don’t have to know it. Just take the 253% crops and view then at 1:1. How high are they? Get out your ruler and measure, or just guess. Let’s say they are 6 inches high. 6 inches is about 7 times 0.8333, so in order to view the crops the way they’d look from 18 inches on the print is to view them from 7 times as far away, or 10.5 feet.
Everything here scales proportionately. If the image on your screen is bigger than 6 inches, increase your viewing distance by the ratio of your image height to 6 inches. If you think your viewers are going to almost get their nose to that print and look at it from six inches, divide that 10.5 feet by 3, and look at the image on the monitor from three and a half feet away.
On a 30 inch 4K display, a 1:1 presentation of these crops will be about 4 inches, so to simulate the effect of viewing the print from 18 inches, you’ll want to back up to about seven feet. A couple of feet for a 6 inch print viewing distance. On a 17 inch laptop 4K display, a 1:1 presentation of these crops will be about 2 inches, so to simulate the effect of viewing the print from 18 inches, you’ll want to back up to about three and a half feet. A foot for a 6 inch print viewing distance.
It may seem cruel to blow up f/1.4 images like this, but that’s the kind of guy I am.
In the center:
This is just great for such an inexpensive lense wide open.
Better.
Not much improvement.
On the far right, which would be the corner at 1:1 or a little wider:

There is a low-contrast, smeared look to this image that indicates that it’s suffering a bit that far off-axis, yet the details are pretty sharp.

Now we’re getting some contrast, and the smeary look is gone. There are pixel-level details here.
This is excellent.
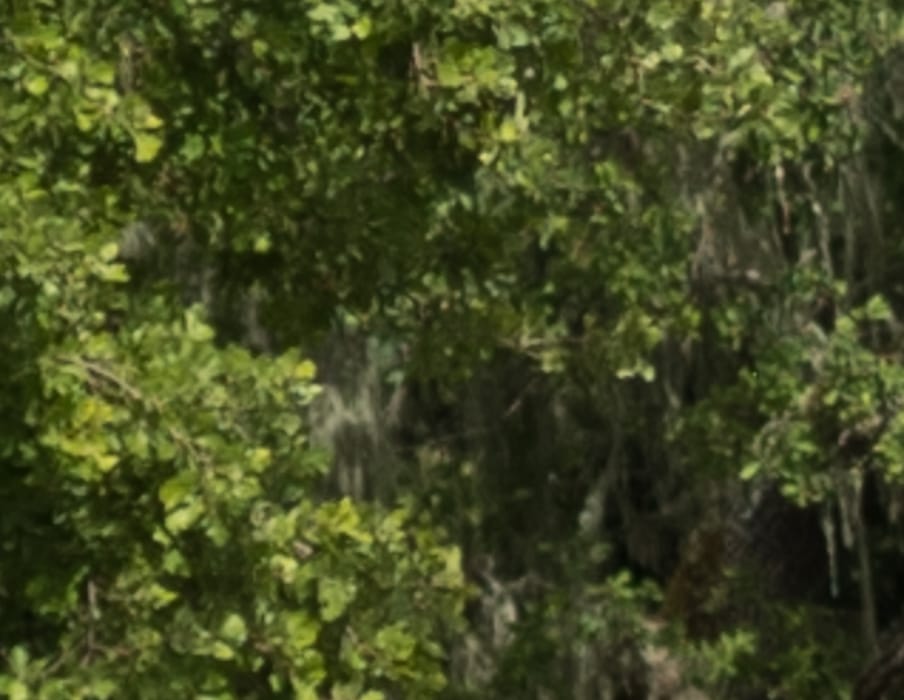
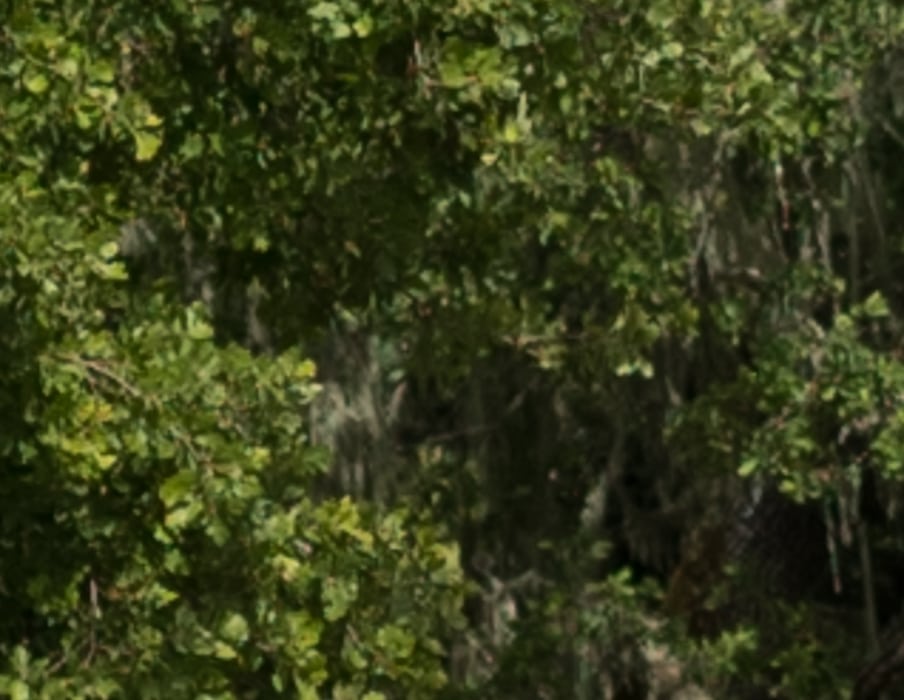
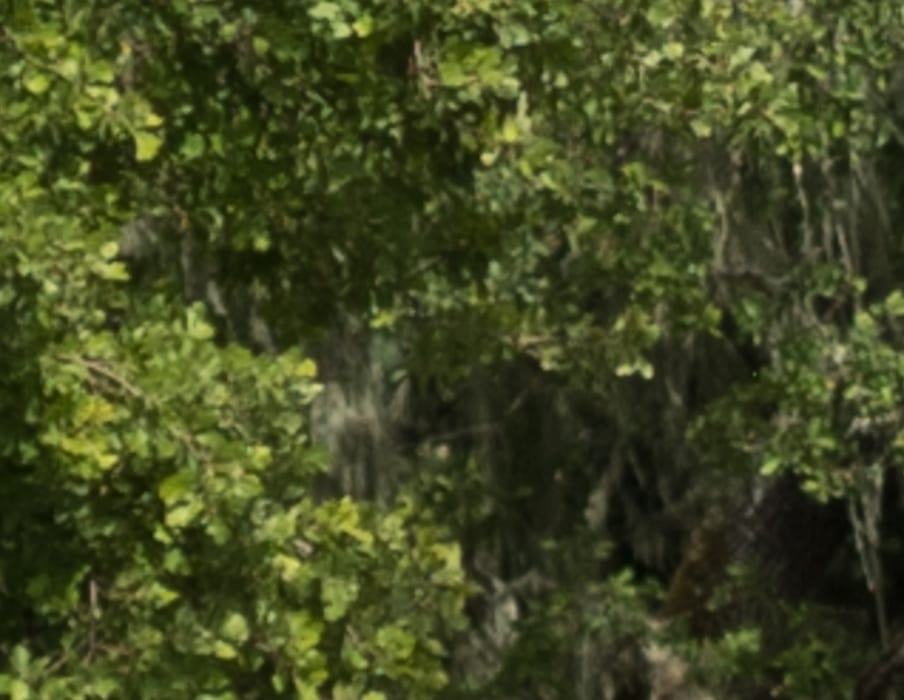
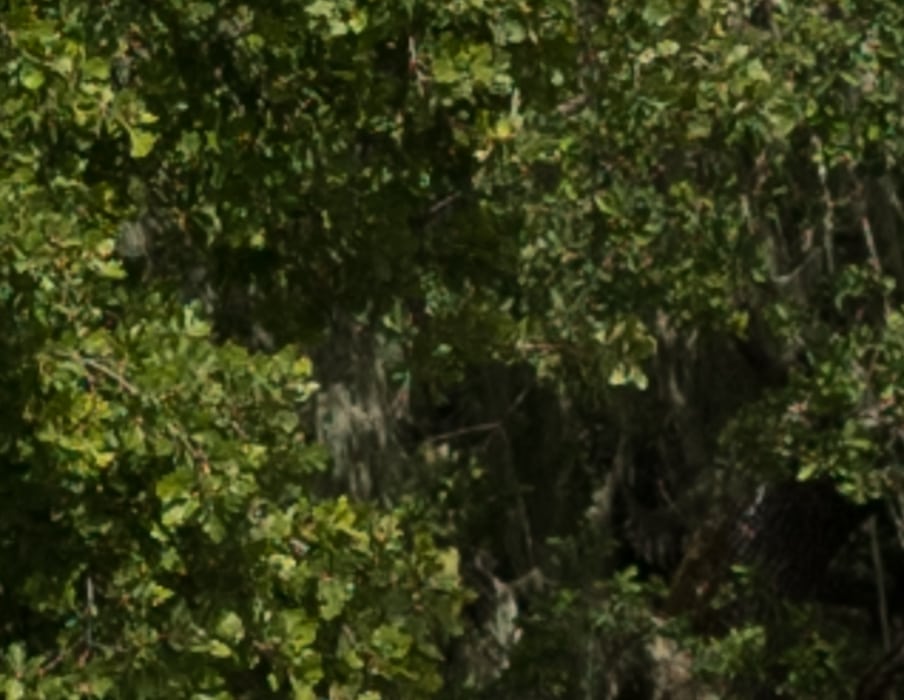
Now let’s really test the off-axis performance and look at the upper left corner. For this series I focused on the area I’m showing you.
A little smeary.
Contrast is better, but not sharpness.
Now we’re picking up some sharpness.
That’s looking really good, considering.
This lens is a strong performer at 1:1 and 4:5 aspect ratios.
Hi, what adapter did you use
I don’t remember. Probably Kipon.